- Joined
- Oct 7, 2011
- Messages
- 197
- Motherboard
- Gigabyte Z390 Designare
- CPU
- i7 8700
- Graphics
- RX580 Nitro+
- Mac
- Mobile Phone
Awesome, thanks so much!Sure... It is easier if you do this:
- Open the SSDT in the Micro-Guide using MacIASL.
- On the left side is a hierarchical list of devices and sub-devices.
- You can expand that until you find RP05 --> UPSB --> DSB0 --> NHI0 or you can just scroll the main window on the right side until you see ThunderboltDROM.
- Then modify bytes 3-7 directly there, calculate new CRC8 checksum, and enter that in the first byte position.
- Then select File --> Save.
- You're done.
- Copy the file to CLOVER/ACPI/patched and remove the previous Thunderbolt SSDT.
I did exactly this, saved, rebooted and system information shows me the same thing with a different Domain UUID.
Is it supposed to behave differently?
I'm using a Startech TB3 to TB adapter.
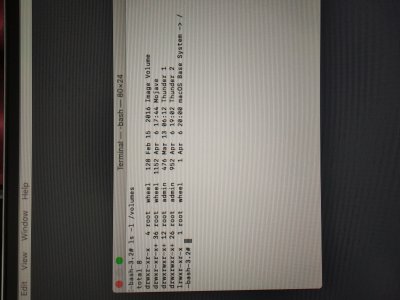
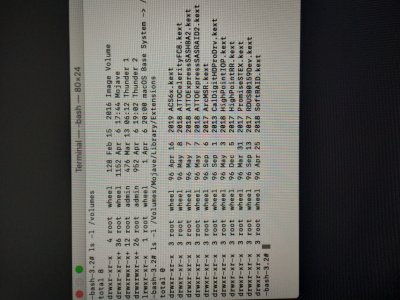
Here's my ACPI folder: