- Joined
- Nov 17, 2009
- Messages
- 7,366
- Motherboard
- Z370N WIFI
- CPU
- i7 8700K
- Graphics
- HD 630
- Mac
- Classic Mac
- Mobile Phone
Here's a quick guide to create a macOS 14 Sonoma Public Beta Installation USB. Please note, this guide is not universal, and may not work for all systems.
Note: Sonoma does not support Broadcom WiFi cards such Fenvi T919. See this thread for possible solution.

 www.tonymacx86.com
STEP 1: Download macOS Sonoma Public Beta
1. Enroll in the Free Apple Beta Software Program
2. Download Public Beta Access Utility
3. Run installer. System Preferences / Software Update will then open.
4. Choose Upgrade Now to download the 12 GB installation Application.
The Application Install macOS Sonoma Beta will appear in /Applications.
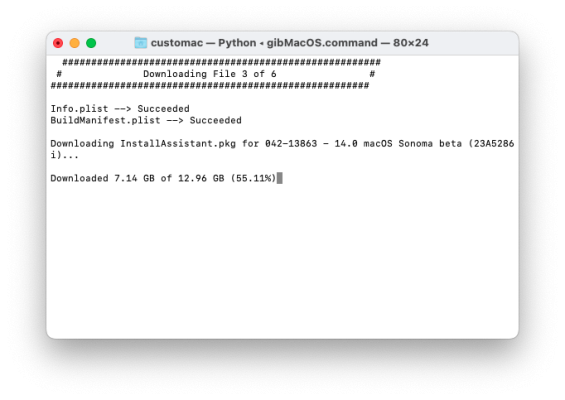
Alternative download: Download macOS Sonoma using gibMacOS
STEP 2: Prepare Bootable USB Drive
This step extracts the Installer contents, then installs Clover bootloader to the USB stick.
1. Insert the USB drive
2. Open /Applications/Utilities/Disk Utility
3. Highlight the USB drive in left column
4. Click on the Partition tab
5. Click Current and choose 1 Partition
6. Click Options...
7. Choose GUID Partition Table
8. Under Name: type USB (You can rename it later)
9. Under Format: choose Mac OS Extended (Journaled)
10. Click Apply then Partition
11. Open /Applications/Utilities/Terminal
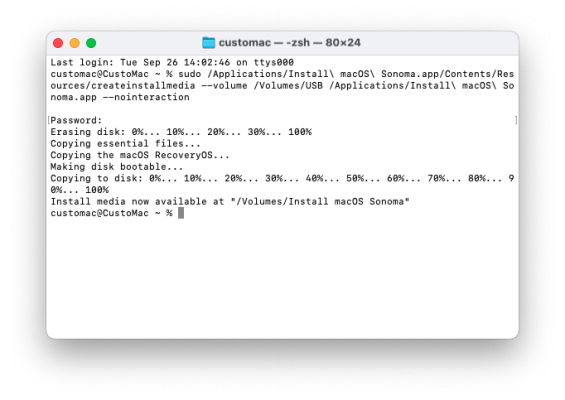
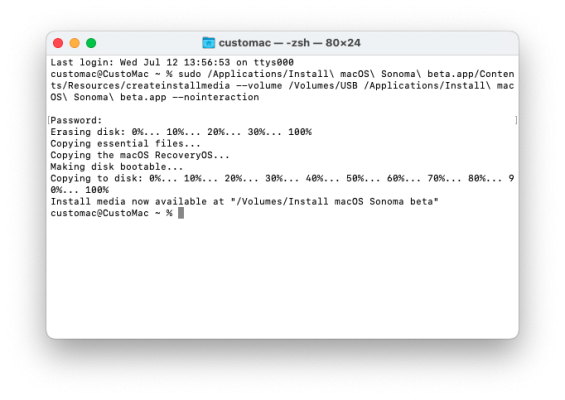
12. Type the following, enter password and hit enter. This command completely erases the USB, then creates native installer media from the Install macOS Beta Application.
macOS Sonoma (Release)
Upon completion, the USB will be renamed Install macOS Sonoma.
macOS Sonoma (Public Beta)
Upon completion, the USB will be renamed Install macOS Sonoma beta.
Option 1: OpenCore Bootloader
13. Download OpenCore Bootloader 0.9.2 or higher from the official downloads section.
14. Install OpenCore EFI using the USB's EFI partition (Install macOS Sonoma beta) as the target volume.
15. Navigate to /EFI and apply necessary kexts, SSDTs.
Option 2: Clover Bootloader
13. Download the standalone Clover Bootloader v5.0 r5152 or higher from the official downloads section.
14. Install UEFI or Legacy Clover version using the USB (Install macOS Sonoma beta) as the target.
15. Navigate to /EFI/CLOVER/kexts/Other/ and apply necessary kexts.
Your macOS Installation USB is now finished.
This thread is not a Help thread! Post your question(s) as a standalone thread in the Sonoma Desktop Support forum section.
Note: Sonoma does not support Broadcom WiFi cards such Fenvi T919. See this thread for possible solution.

Fenvi T919 and Broadcom wifi back in Sonoma with OCLP
Note: macOS Sonoma 14.4 breaks OCLP patch Post 418 (page 42). Good morning. My wifi is Fenvi T919. I know that it is not the ideal situation that many of us want to have the system as vanilla as possible, but what the OCLP team has achieved is amazing. I have followed TO THE LETTER the...
 www.tonymacx86.com
STEP 1: Download macOS Sonoma Public Beta
1. Enroll in the Free Apple Beta Software Program
2. Download Public Beta Access Utility
3. Run installer. System Preferences / Software Update will then open.
4. Choose Upgrade Now to download the 12 GB installation Application.
The Application Install macOS Sonoma Beta will appear in /Applications.
Alternative download: Download macOS Sonoma using gibMacOS
STEP 2: Prepare Bootable USB Drive
This step extracts the Installer contents, then installs Clover bootloader to the USB stick.
1. Insert the USB drive
2. Open /Applications/Utilities/Disk Utility
3. Highlight the USB drive in left column
4. Click on the Partition tab
5. Click Current and choose 1 Partition
6. Click Options...
7. Choose GUID Partition Table
8. Under Name: type USB (You can rename it later)
9. Under Format: choose Mac OS Extended (Journaled)
10. Click Apply then Partition
11. Open /Applications/Utilities/Terminal
12. Type the following, enter password and hit enter. This command completely erases the USB, then creates native installer media from the Install macOS Beta Application.
macOS Sonoma (Release)
Code:
sudo /Applications/Install\ macOS\ Sonoma.app/Contents/Resources/createinstallmedia --volume /Volumes/USB /Applications/Install\ macOS\ Sonoma.app --nointeractionmacOS Sonoma (Public Beta)
Code:
sudo /Applications/Install\ macOS\ Sonoma\ beta.app/Contents/Resources/createinstallmedia --volume /Volumes/USB /Applications/Install\ macOS\ Sonoma\ beta.app --nointeractionUpon completion, the USB will be renamed Install macOS Sonoma beta.
Option 1: OpenCore Bootloader
13. Download OpenCore Bootloader 0.9.2 or higher from the official downloads section.
14. Install OpenCore EFI using the USB's EFI partition (Install macOS Sonoma beta) as the target volume.
15. Navigate to /EFI and apply necessary kexts, SSDTs.
Option 2: Clover Bootloader
13. Download the standalone Clover Bootloader v5.0 r5152 or higher from the official downloads section.
14. Install UEFI or Legacy Clover version using the USB (Install macOS Sonoma beta) as the target.
15. Navigate to /EFI/CLOVER/kexts/Other/ and apply necessary kexts.
Your macOS Installation USB is now finished.
This thread is not a Help thread! Post your question(s) as a standalone thread in the Sonoma Desktop Support forum section.
Last edited:


