Hi everyone! This is my first post here, but I read this great forum not from today. Thanks to mindblowing Rehabman's work here I have build my first hackintosh on Probook 4540s few years ago. It works fine and I'm writing to you from it.
")
Last month I decided to build another one. This time on desktop with thunderbolt (for Universal Audio devices). Pretty fast I found, that this thread gives a lot of detailed informations and realized that its Founder is another hackintosh superhero. Thank you
CaseySJ! So to make my life easier I decided to go well described path and I bought:
Gigabyte Z390 Designare (F8)
Intel i5-9600K
Corsair Vengeance LPX 32GB (2x16GB) ddr4-3200
Samsung EVO 970 M.2 NVMe (500GB)
CoolerMaster MPX 5501
(no grafic card, no WiFi/BT)
I put it all together and for testing I used one of Linux liveUSB distro. It looks like there is no hardware issues.
But this post is not only for thanksgiving. I have a problem, which I can't solve on my own despite spending hours and days on googling, reading, trying and.. frustrating. That's why I decided to bother you.
I tried many times to go through exact every point of tutorial from first post of this thread checking twice every step to install MacOs 10.14.6. And every time I stuck at black screen (on -v boot) with words: "
End randomseed" as last info.
Current state:
Unibeast-prepared USB pluged in "blue" port on MoBo
Monitor on HDMI port
Ethernet cable in i219 port
UEFI settings as described in spoiler of this tutorial (Post#1)
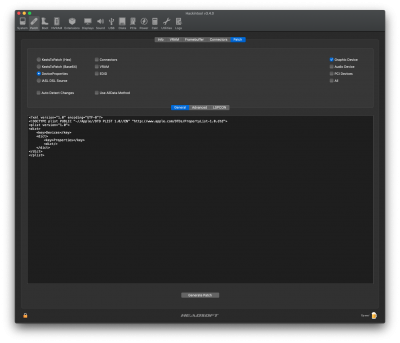
config.plist as described in spoiler of this tutorial (Post#1)
kexts and .efi files on its place
I have read that it this problem can be caused by incorrect "memory fix" file but I followed the tutorial and used
OsxAptioFix2Drv-free2000.efi in combination with slide=0.
What I'm doing wrong? What informations should I add to make your help possible? Please help.