Contribute
Register

[SUCCESS] Gigabyte Designare Z390 (Thunderbolt 3) + i7-9700K + AMD RX 580

Hello guys! It looks now that my computer is stable and works properly and I am very happy about it, thanks to @CaseySJ! I still have emulated NVRAM running and I'm thinking to switch to the native one but honestly, I'm a little afraid to do this! There's something about modifying the firmware that makes me nervous :D
I'm curious if this procedure would affect Windows in any way since I have it dual boot.

You mean unlocking MSR? Worked fine for me, Windows 10 is still OK. The only thing is, that after loading a different BIOS setting(and updating your BIOS, but that's to be expected) the MSR gets locked again.
So keep the GRUB stick at hand for unlocking it again. Also, after the first boot(from Grub), I get stuck and only after a proper reboot I can boot into MacOS again.
 
I have performed the Intel 630HD speed boost and have experienced no problems. It might be in my head, but I could swear that my dock animation is zippier. I can confirm through h.265 video playback and the Intel Power Gadget that it worked! Also, here are my before and after GB4 scores of my Radeon VII and the Radeon Boost kext w/SSDT.

View attachment 465557

Hi! Can you share your EFI. We have more or less same hardware configuration. I have random freeze with Radeon VII. Maybe you have the solution........... Thank you!
 
Because both the PSU and Raspberry Pi supply 3.3V, it should not cause a short circuit or other failure. The photograph shows no damage to nearby SMDs. Others reported similar issue where Thunderbolt UID would appear as all zero even when ThunderboltDROM was setup properly. For them the problem was an electrical break or disconnect between the chip's Pin 7 and the upper end of the adjacent SMD. Please have a look at this photo:

View attachment 465412

If you have a multimeter, try the following:
  • Turn on the PSU, but do not turn on the computer itself.
  • Put the Multimeter into DC Voltage mode and Auto Ranging if it has the feature.
  • Place the red probe on Pin 7 as indicated above.
  • Place the black probe on the item pointed to by the "this" arrow above.
  • What voltage do you measure?
  • Then keep red probe on Pin 7 and touch black probe to Pin 4 (GND).
  • What voltage do you measure?
  • Now, while keeping black probe on GND (Pin 4), check voltages on the other pins.
Reads and writes are possible even without the PSU powered on. Most of my early work was done without PSU powered on. But I found it much easier with PSU powered on, but Vcc disconnected.
Correct. We should not apply two sources of power to the same pin at the same time.
This is correct if we want to supply power ourselves to Pin 8 (Vcc). But if PSU is used to supply power, then LEDs should be bright yellow to indicate maximum contact with SOIC clip (and then Pin 8 should be disconnected before PSU is turned on).
This is mostly a fortunate happenstance that partial recognition is possible without anything connected to Vcc. But the rule of thumb is:
  • If using our own power on Pin 8 to read and write the chip, LEDs should be dim red color.
  • If using PSU to power the chip (and we disconnect Pin 8), LEDs should be bright yellow for full contact with clip.
Thank you so much for your help @CaseySJ! Every time I think all options have been exhausted, you seem to have another possility up your sleeve :clap:.

I will get a multimeter and check the voltages between the points you pointed out. As I can't access the chip's pins while the motherboard is assembled in my case, I'll remove the board from the case and attach PSU only. Starting to become quite proficient in disassembling and reassembling ;).

If others have experienced electrical breaks between pin 7 and the adjacent SMD, woudl that be indicative of issues in production quality or is that purely a result of tempering with the motherboard?

Your clarifications on the flashing procedure are excellent and very helpful ... thank you!
 
Last edited:
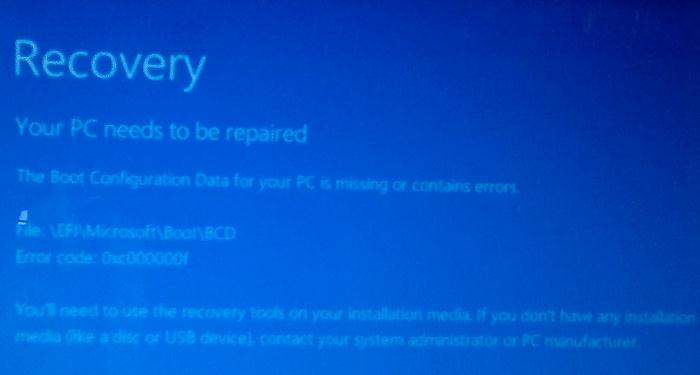
I'm having a pretty serious random issue now. After I enabled the "Windows Insider Version" and updated to Windows 10 v.2004 + installed "Windows Subsystem for Linux" and "Virtual Machine Platform", I cannot boot into Windows from Clover anymore. I need these things for WSL2.

I can press F12 and select Windows just fine, but Clover -> Windows EFI entry results in a Windows BSOD (SYSTEM THREAD EXCEPTION NOT HANDLED).

I thought it was Windows and then re-installed Windows, repeated the same steps, and Voila! Same exact issue. No issue booting Windows until I update to 2004 (very stable version), add "Windows Subsystem for Linux" and "Virtual Machine Platform", then Clover can't boot anymore.

My only guesses are that it's something to do with OcQuirks or Vt-d. I'm not sure yet. Anyone else have issues of this sort?

 
(Figured out my mistake :) )

I did a “mount —rw /“ in order to disable “mediaanalysisd”...root was staying RW post reboot.

Just had to:

1) Reboot
2) Do a "mount -ur /"

Thanks,
Lam

Did you find a good solution for the mediaanalysisd problem? I have the same issue ---- and its very annoying :(
I have this issue since the installation of my system. I don't know exactly how - but at some time of testing the mediaanalysisd finished all media and it didn't occured a long time. But now i have a bunch of new photos and videos and it's like in the beginning of my hackintosh machine.

Any suggestions to that?
@CaseySJ maybe I also didn't keep up to all updates / posts here. Did you maybe read anything about this?
I've read that this is also maybe a problem regarding 5700 XT + Samsung 970 EVO ssd (which FW is up to date).

Thanks guys.
 
** Micro-Guide: Significantly Speed Up Intel UHD630 iGPU **

Thanks for that information. I cant download the 4K video. Is there another way to test it? How should Hackintool look like in the VRAM tab? Could you show your's for the headless setup for SMBIOS 19.1?
 
And what method did you use to fix the 15 USB ports max requirement?
Reverting back to USBInjectAll 0.7.1 can be done just by replacing the kext. The USB SSDT remains the same and is processed by any version of USBInjectAll.
 
Back
Top