Contribute
Register

[SUCCESS] Gigabyte Designare Z390 (Thunderbolt 3) + i7-9700K + AMD RX 580

Just follow the steps in the mini guide HERE

I’ve seen this guide, it’s just that I’m on OpenCore and not Clover. It also appears that I have working NVRAM. (Did the [TestVar Hello] on the bottom of the guide). Could some other issue be the cause of FaceTime/Message not working?

My original Question Post: Here
 
Last edited:
Maybe this file in my EFI means I actually have EMULATED NVRAM and not NATIVE NVRAM?
Screenshot 2020-03-15 at 18.07.04.png


My original Question Post: Here
 
Last edited:
I’ve seen this guide, it’s just that I’m on OpenCore and not Clover. It also appears that I have working NVRAM. (Did the [TestVar Hello] on the bottom of the guide). Could some other issue be the cause of FaceTime/Message not working?

My original Question Post: Here
If MSR 0xE2 is locked then it must be unlocked. It's only necessary to follow the setup_var_3 procedure for unlocking MSR 0xE2. You may skip the CLOVER-related steps.
 
@CaseySJ does the GUI version of tbpatch File>Dump version work for you when on original firmware and with custom SSDT?
 
@CaseySJ Hello, I would like to thank you for this guide and the help you give me/gave to this community.

The MacOsCatalina is now 100% working ;
- IMessage (Had to contact Apple)
- Facetime
- AirPlay (Had to change Shigiva=80)
- SideCar
- All USB
- All thunderbolt
- NativeNvram.

Thank you again
 
** Mini-Guide: Running Osy86's "tbpatch" Automatically on System Startup **
Please do not quote this mini-guide in its entirely. Post a link instead.​
...
And then :mrgreen:

Bash:
#!/bin/bash -xe
sudo /Users/Shared/tbpatch patch -p RP05 -f Z390_Designare_Apple_Mode.plist

BUT ... patching takes 3 times of simple reading .. the sequences are Reading/Writing/Reading (last for verifying).
That mean you have to test first step (only reading by batch to see if time is enough) 3 TIMES and one more for safety.
 
Last edited:
If MSR 0xE2 is locked then it must be unlocked. It's only necessary to follow the setup_var_3 procedure for unlocking MSR 0xE2. You may skip the CLOVER-related steps.

Ty, I'm on BIOS F7 will I need to flash F9b or can I do it without doing this? Updated some info on my original post as well.
 
Save the modified firmware via SPI, I can write an tool for patching via macos without the risk to brick the chip if you are not in time.
@S1lla
What is your suggestion in order to be sure that 0xe00002eb error won't appear during flashing process ?
 
The suspense!! Here's the latest update:
  • Used Raspberry Pi to flash original firmware back to Designare Test Bench.
  • Tested automated script to read first 4K bytes from address 0x4000 successfully.
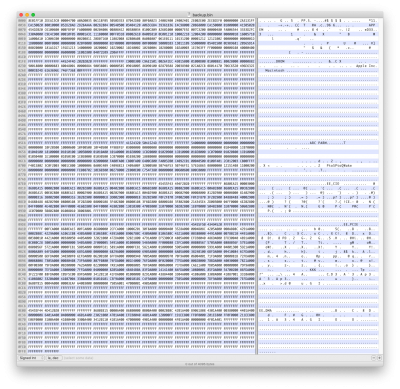
    • Screenshot below shows GIGABYTE DROM.
Screen Shot 2020-03-15 at 7.43.23 AM.png
BUT ... patching takes 3 times of simple reading .. the sequences are Reading/Writing/Reading (last for verifying).
That mean you have to test first step (only reading by batch to see if time is enough) 3 TIMES and one more for secure.
Now I'm going to modify the automatic script to read 0x4000 to 0x5000 four times. When we actually flash the changes, we write a full page of data at a time, which means 0x4000 to 0x5000 even though we're only modifying 7 bytes! Therefore, this test should tell me if there's enough time...

Here's the modified script:
Bash:
#!/bin/bash -xe
# sudo /Users/Shared/tbpatch list 2> /Users/Shared/patchlist.txt
sudo /Users/Shared/tbpatch dump -p RP05 -o 0x4000 -s 0x1000 -f /Users/Shared/backup1.bin 2> /Users/Shared/tbpatch_output1.txt
sudo /Users/Shared/tbpatch dump -p RP05 -o 0x4000 -s 0x1000 -f /Users/Shared/backup2.bin 2> /Users/Shared/tbpatch_output2.txt
sudo /Users/Shared/tbpatch dump -p RP05 -o 0x4000 -s 0x1000 -f /Users/Shared/backup3.bin 2> /Users/Shared/tbpatch_output3.txt
sudo /Users/Shared/tbpatch dump -p RP05 -o 0x4000 -s 0x1000 -f /Users/Shared/backup4.bin 2> /Users/Shared/tbpatch_output4.txt


Stand by...


UPDATE: Et voilá ... it works!

Screen Shot 2020-03-15 at 9.46.42 AM.png
 
Last edited:
Back
Top