What's not working:
- HDMI (connected to dGPU)
- Thunderbolt 3. USB-C works, but you have to insert the device before booting up!
- Synaptic Trackpad. Generic one works, but not after sleep!
- Audio does not work properly. AppleALC works for headphones but not for anything else. VoodooHDA works for everything except headphones.
- dGPU (Optimus is not supported in macOS)
- As of 10.12.4 the built-in keyboard don't work automatically.
Needed:
- Working macOS installation.
- 16 GB USB drive.
- Purchased copy of El Capitan, Sierra or High Sierra from the Mac App Store. If you purchased Sierra in the past. It'll be available to download from the purchased list in El Capitan.
- BCM94352Z Wi-Fi card.
- T5 Torx screwdriver.
- External mouse and keyboard.
If you missed the window of purchasing El Capitan:
If you are running Snow Leopard, jump to step 7 and you are done. The rest, follow steps down below:
- You will need Xcode, Mac App Store and Safari.
- Launch all of them. Don't end the session of the applications during the process.
- Take two backups of: /System/Library/CoreServices/SystemVersion.plist
- Open one of them with Xcode.
- Replace the following strings into SystemVersion.plist:
Code:
<key>ProductBuildVersion</key>
<string>9L31a</string>
<key>ProductCopyright</key>
<string>1983-2009 Apple Inc.</string>
<key>ProductName</key>
<string>Mac OS X</string>
<key>ProductUserVisibleVersion</key>
<string>10.6.8</string>
<key>ProductVersion</key>
<string>10.6.8</string>
- Save the SystemVersion.plist file and drag it over to: /System/Library/CoreServices and replace.
- Go to!
- Purchase it, you will now have it in your purchased list in the Mac App Store!

- Put the vanilla version of SystemVersion.plist back and you are done.
Preparation:
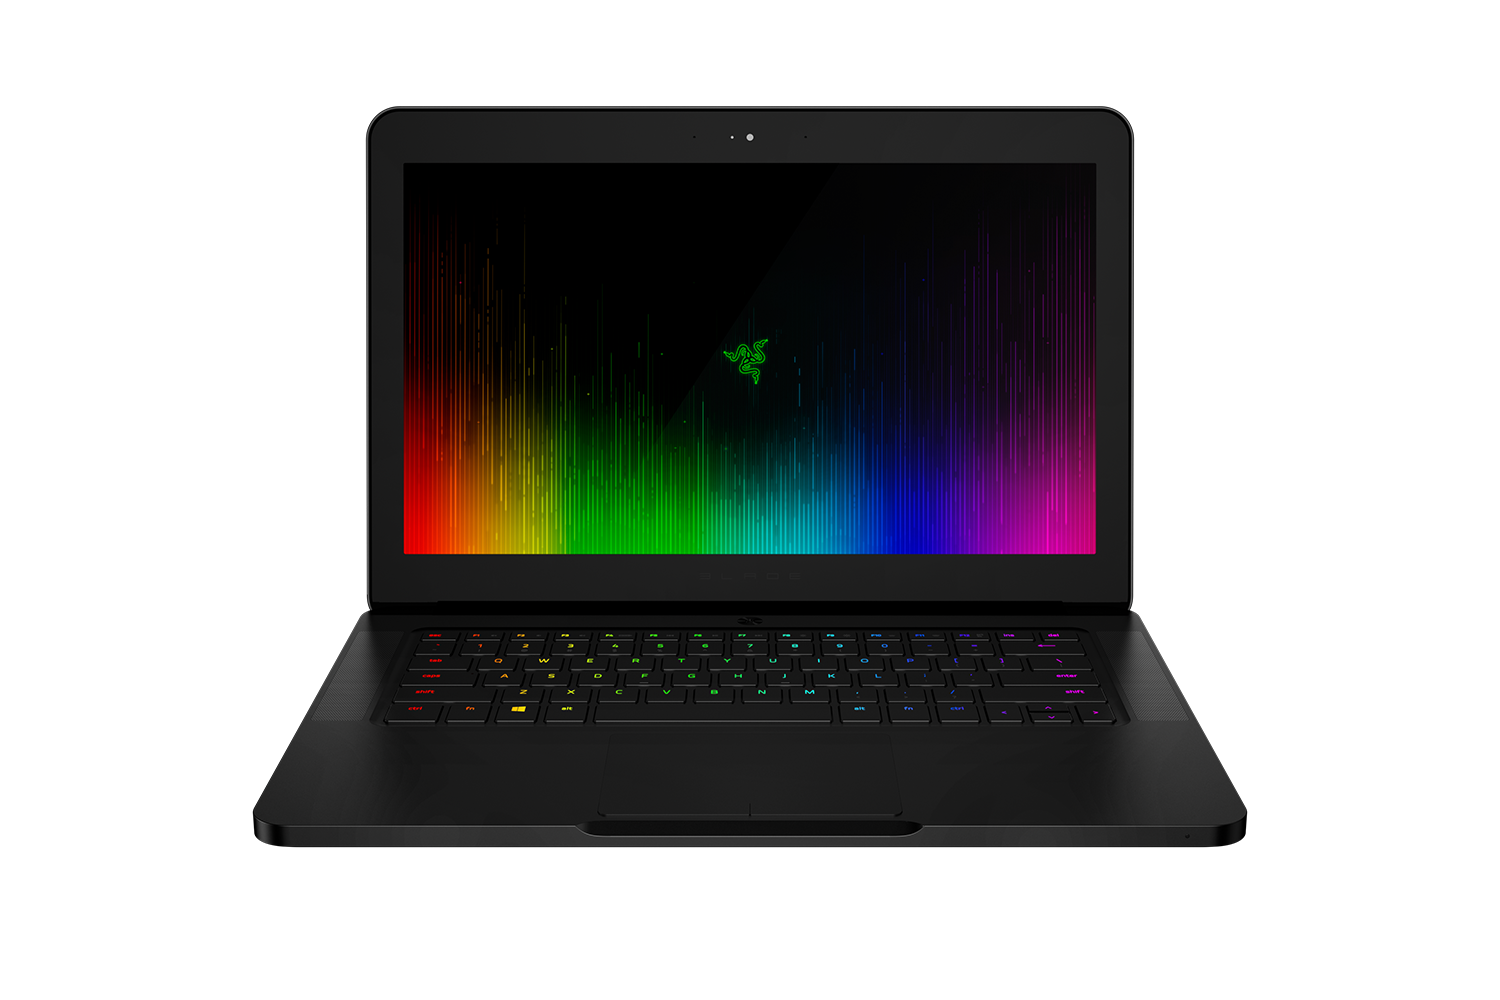
- Open the blade and install BCM94352Z Wi-Fi card.
- Insert USB into a working macOS installation and erase it with Disk Utility. It should be GPT, APFS for High Sierra or HFS+ for El Capitan and name it "MyVolume".
- Open a terminal window and apply:
For El Capitan:
Code:
sudo /Applications/Install\ OS\ X\ El\ Capitan.app/Contents/Resources/createinstallmedia --volume /Volumes/MyVolume --applicationpath /Applications/Install\ OS\ X\ El\ Capitan.app
For Sierra:
Code:
sudo /Applications/Install\ macOS\ Sierra.app/Contents/Resources/createinstallmedia --volume /Volumes/MyVolume --applicationpath /Applications/Install\ macOS\ Sierra.app
For High Sierra:
Code:
sudo /Applications/Install\ macOS\ High\ Sierra.app/Contents/Resources/createinstallmedia --volume /Volumes/MyVolume
- Download Clover!
- Run it, click "Change Installation", select your USB, click "Customize", select "Install for UEFI Booting Only", "Install Clover in the ESP", expand section "drivers64UEFI" and select "OsxAptioFixDrv" and click "Install", type your password and confirm.
- Open the newly created EFI partition and migrate to EFI\Clover\drivers64UEFI." Place HFSPlus.efi, apfs.efi and remove VBoxHfs.efi
- Make sure the latest "FakeSMC.kext" is present in EFI\Clover\kexts\Other.
- This step is not needed in High Sierra as it supports NVMe drives now natively. Head over to EFI\Clover\ACPI\patched and place "SSDT-NVMe-Pcc", open config.plist and make sure it is present under SortedOrder in ACPI section. Find and place "HackrNVMeFamily.kext" in EFI\Clover\kexts\Other.
- For Sierra and High Sierra set "cpus=4" as custom bootflag in config.plist! (They will not boot without it.)
- Start the Blade, click F1 and enter BIOS. Type F3 for Optimized defaults.
- Disable "Secure Boot" and "Fast Boot."
- Set "XHCI Handoff" to Enabled.
- Confirm Legacy USB Support is Enabled
- Confirm "CSM Support" is Enabled.
- Set "Boot filter" to "UEFI and Legacy"
- Set "Network" to "Legacy"
- Set "Video" to "Legacy"
- Set "Storage" to "Legacy"
- Set "Other PCI Devices" to "LegacyOpROM"
- Save changes and exit.
Installation:
- Insert the USB drive, start the blade, click F12 and enter boot options.
- Select UEFI "Your thumb drive" and click enter.
- Boot into the installer…
- Select Utilities and start Disk Utility.
- Select your disk and format it to GPT, HFS+ or APFS.
- Click Install, it will automatically restart after installation, but it's not complete, so you have to run the installer once more.
- After the second restart, boot up your newly installed copy of macOS/OS X.
- Connect to the Internet, download latest clover and install just like we did with the USB.
Post-installation:
- Keyboard:
- Install Razer Synapse. It will automatically restart!
- In the boot process it will turn off, quickly press any key to wake it then. You can not wake it after the OS have loaded. It has to be done every time you boot up.
- Backlight:
- Add SSDT-PNLF in EFI/Clover/ACPI/patched and make sure it's under SortedOrder in config.plist.
- Copy the KextToPatch values for enabling AppleBacklight from config.plist.
- Make sure GFX0 is renamed to IGPU in DSDT.
- Install AppleBacklightInjector.kext in SLE.
- Restart!
- Trackpad:
- Patch DSDT with rename _DSM to XDSM. Do not remove _DSM methods.
- Apply Windows 10 OS patch.
- Change XDSM back to _DSM in device TPD0.
- Remove hotpatch "change _DSM to XDSM" in config.plist.
- Remove LPSSI2C kexts in SLE.
- Install VoodooI2C.
- Restart!
- iMessage
- I recommend using MacBookPro13,3 as SMBIOS for Sierra and High Sierra. If you want to use all supported operating systems then use MacBookPro11,5. You have to use Pike's freqVectorsEdit script for PM.
- Power Management:
- Open a terminal window, type "sudo" and press space.
- Drag and drop ssdtPRGen.sh and apply.
- The AML output will be in /Users/"username"/Library/ssdtPRGen/ssdt.aml
- Copy it to your EFI partition in EFI/Clover/ACPI/Patched.
- Restart!
Razer Chroma:
- Install Xcode and launch it.
- Open main.m file.
- Head down and find "razer_attr_write_mode_breath" and change that to the effect you want. Find the effects in razerkbd_driver.c
- Build and run the project.
- NOTE: Some modes will not work. Breath, Wave, Starlight and Spectrum are confirmed working. You can't set your own custom for now in macOS.
Thanks to the entire community for making this possible!