
- Joined
- Apr 21, 2012
- Messages
- 221
- Motherboard
- ASUS SABERTOOTH X79
- CPU
- Intel Core i7 3930K @ 4.8 GHz
- Graphics
- Dual EVGA GTX 660 2GB SC
- Mac
- Classic Mac
- Mobile Phone
Nathan991's $40 PowerMac G5 Mod / Front I/O
Hi everyone, just wanted to start off by thanking the amazing community we have here who helped me get my hackintosh running about 9 months ago.
Anyway here it is:
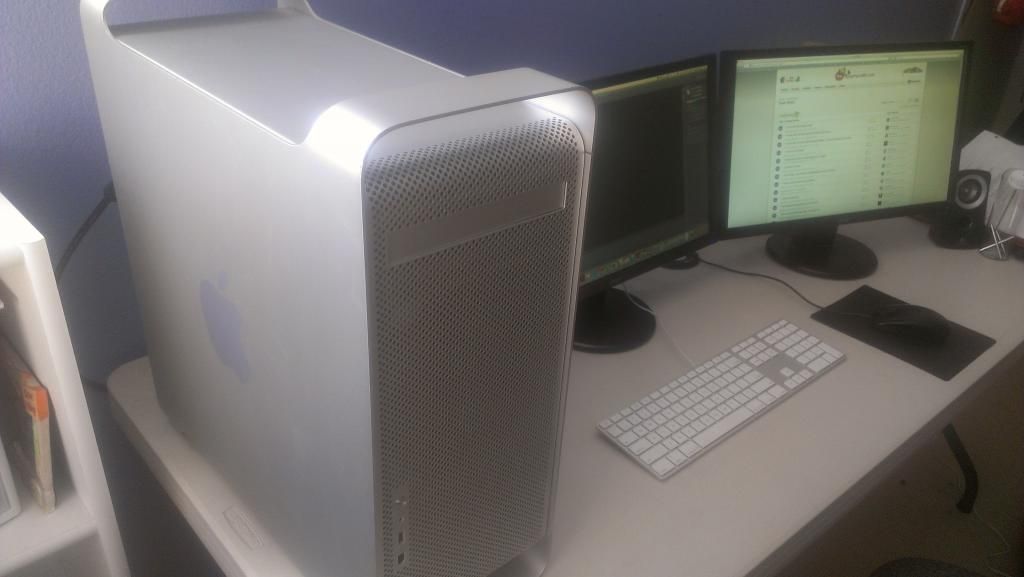
Specs:
Gigabyte GA-P67X-UD3-B3
Intel Core i5 2500k @ 4.21 Ghz
Gigabyte AMD 6850 Overclocked Model
16 GB Corsair 1600MHZ Vengeance Ram
Boot Drive: OCZ Vertex 4 SSD 256GB
Storage: WD Caviar Green 1TB
750W Raidmax PSU Bronze
Geekbench Score: 11096
The Mod:
After looking around both locally and on ebay, I was able to find a powermac g5 case originally priced at 60$ including shipping. I submitted a best offer and got it for 40$")
Seeing the large amount of G5 Mods here on the forums, I figured many of you have seen enough of the process of modding and putting everything in the case, so I didn't take any pictures as I put everything together. However I did mod the front panel a little different than many of you who have posted here. I soldered the power switch wires directly to the button , as i didn't have the board with the ports included with the case. I also hot-glued ( yes i know....tacky) a homemade female USB to internal ATX connection cord.
heres what it looks like, very easy to do, and can save you some $
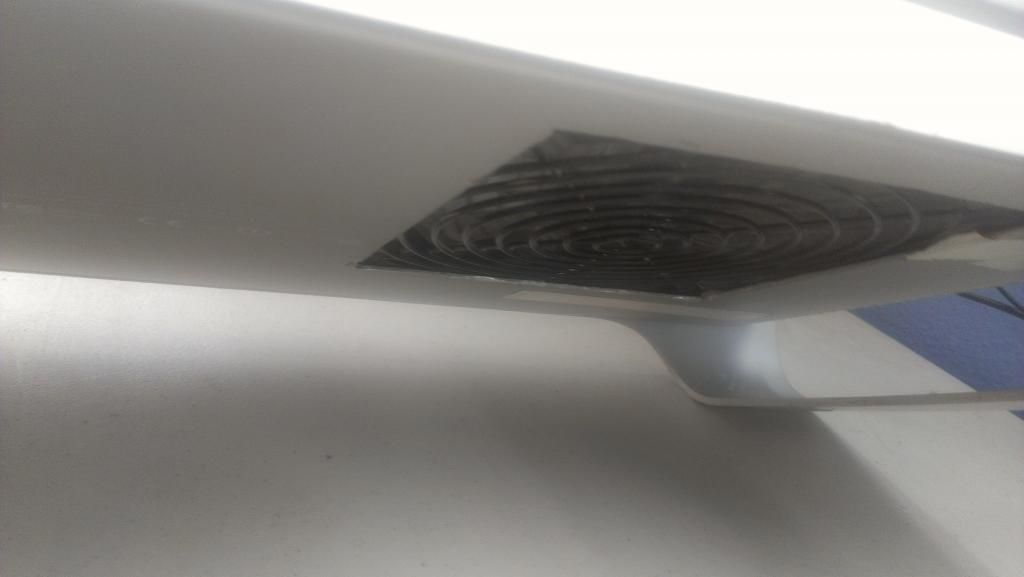
Next, I measured up a square on the bottom of the case where my power supply fan would take air in. The aluminum was fairly easy to cut, and nobody can really see the bottom of the case anyway. In my opinion, making a hole just big enough for the fan intake is better than making a hole where the power supply drops down and fits into. here what it looks like from the bottom when you turn it over:
After I did that, I cut the back I/O openings from the back of the case. I didn't want to use a motherboard tray, seeing as they cost more than what i paid for the entire G5 case. It was much easier and I am actually quite happy with cutting the back I/O area from the case.
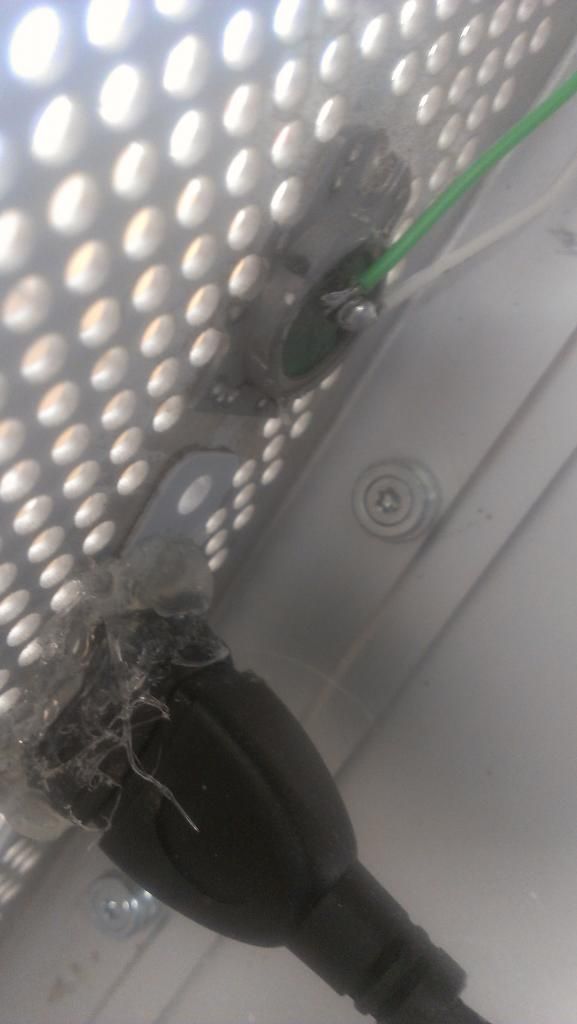
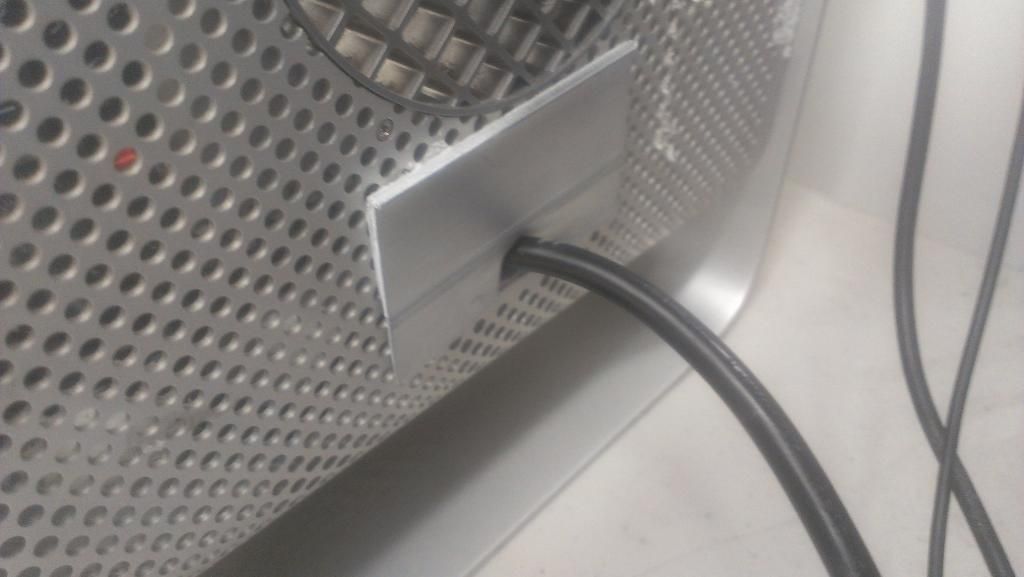
As for the power cord from the power supply, I found and adhesive gray, rubber like material from a previous mod. This covered the larger hole for the original power cord connection.
Once this was done, the exterior of my case was pretty much how I wanted it. Next I used pliers and broke off each of the motherboard standoffs in the case. Once this was done, I reglued 9 of them back on the case, in the standard ATX layout.
Heres how to do it:
1. Screw in the screws directly to your motherboard and into the standoffs.
2. Place your motherboard with the standoffs on it inside the G5, lining it up with the PCI Slots.
3. Place your graphics card on the motherboard, and line it up with the bottom PCI Slot.
4. Using a pencil, mark the areas where the standoffs are. It doesn't have to be anything special, just so long as you have an idea where to glue on the case.
5. Lift your motherboard off the case and using JB weld, or some epoxy, place a drop of it on each pencil mark. Be generous with the JB weld, it can't hurt!
6. Place the motherboard with the standoffs back into the case. The stand offs should line up with the glue, and now you just need to weigh it down. For me i used JB Weld Kwik, and so I held down my CPU cooler and edge of one side of the board. In about 3-5 minutes, you can let go and it should stay there. IT IS IMPORTANT that all standoffs are held by the glue.
I have no picture of this, but hopefully you get the idea.
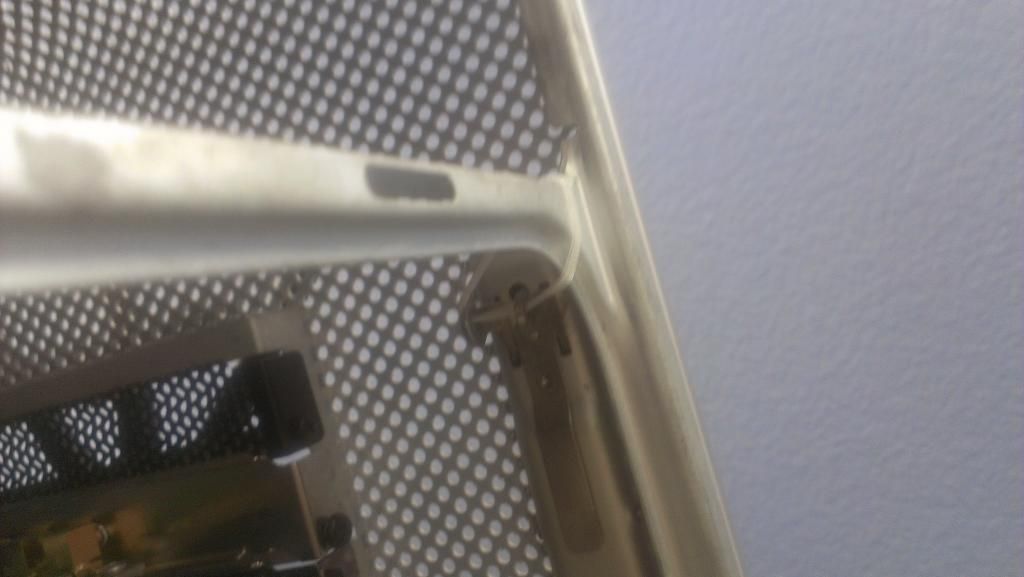
My case didn't come with the door locking mechanism, but that wasn't a problem. I held the latch shut with a zip-tie, and the door stays closed just fine.
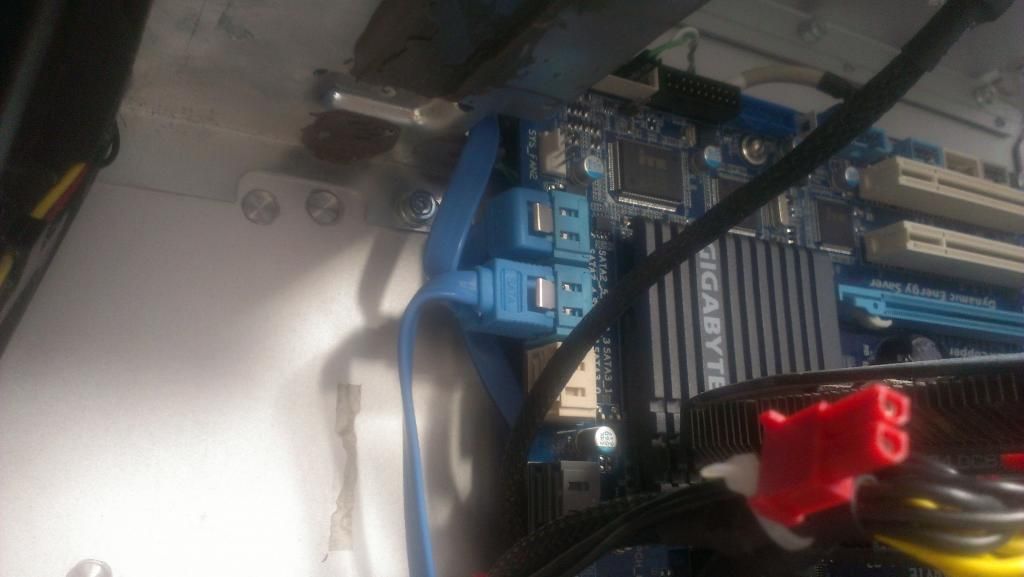
Cable Mangement:
Luckily I have a semi-modular PSU, so I was able to get rid of many unneeded cables. I routed the Sata cables and motherboard front panel cables under the mobo.
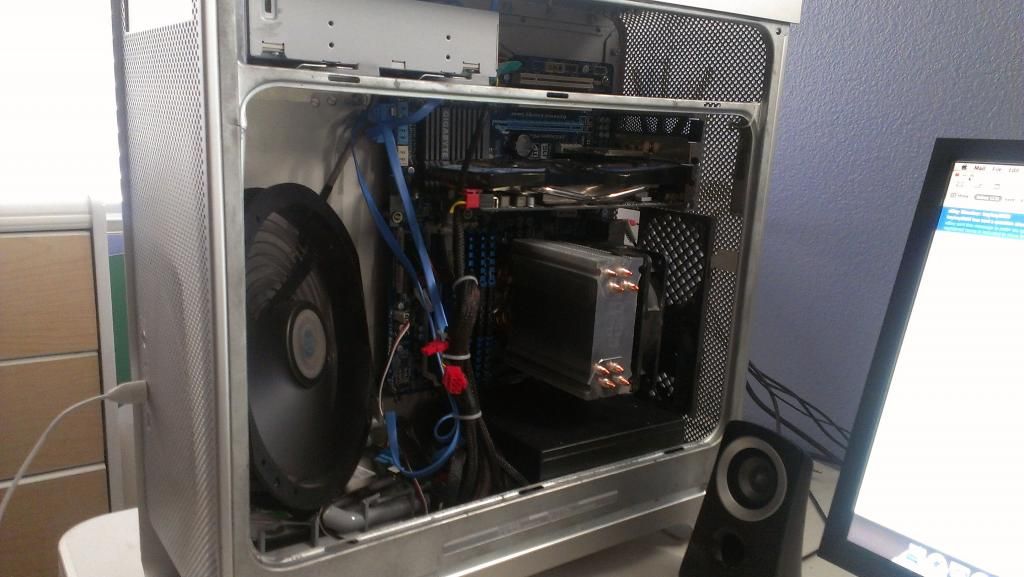
Cooling:
Coming from a HAF 932 Advanced, Cooling never really was a problem. My overclocked CPU never really went above 45 C. In my G5 Mod, I only have really 2 fans. In the from is a 160 MM Cooler Master fan that is actually quite quiet. I also have a second 160 fan on my CPU cooler. They route air from the from of the case and push it out the back. Even though I only have 2 fans, my temps never get high at all. Under full load, my CPU hits 52-56 C max. Graphics is around 58 C under load.
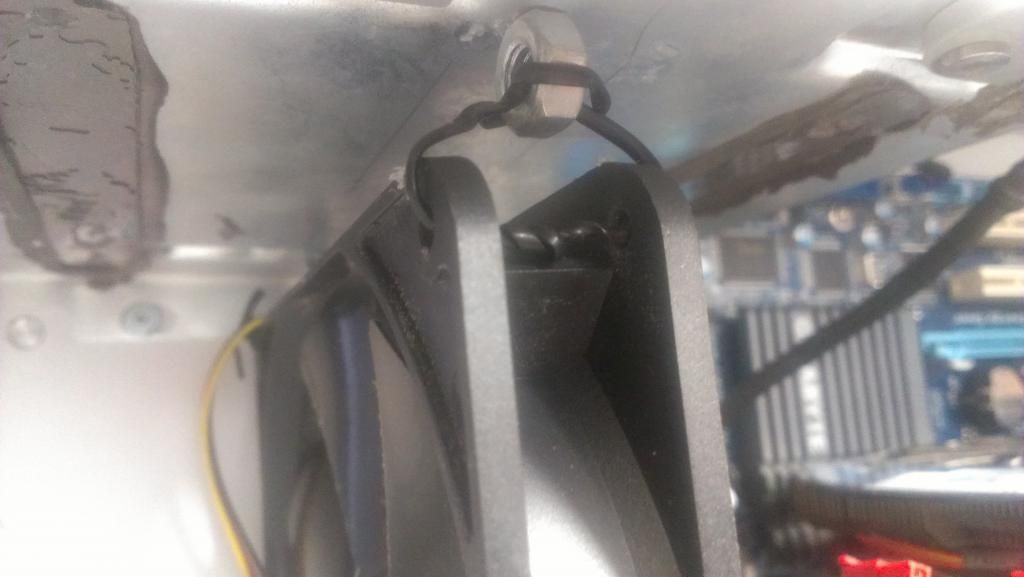
My fan-mount..haha
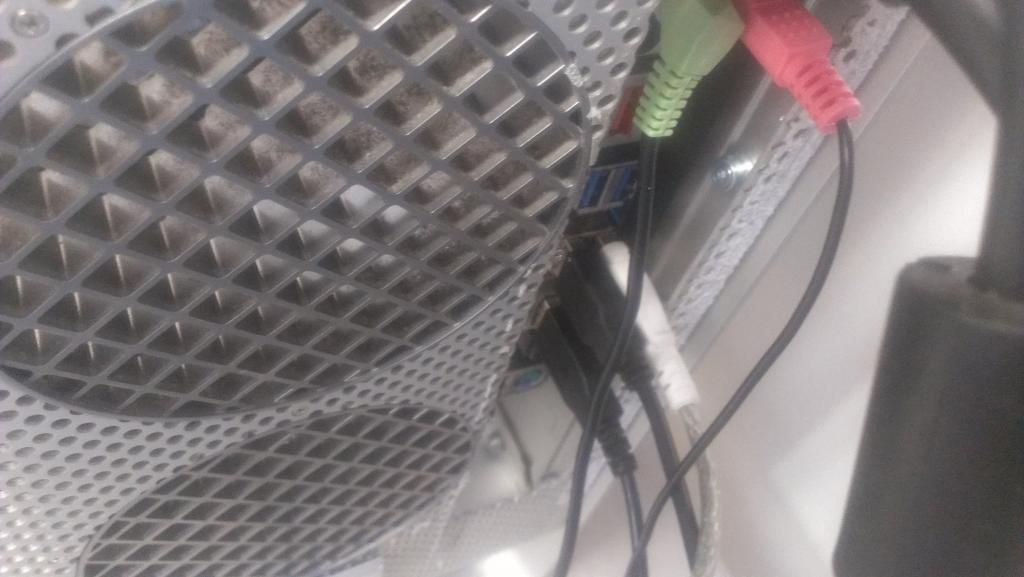
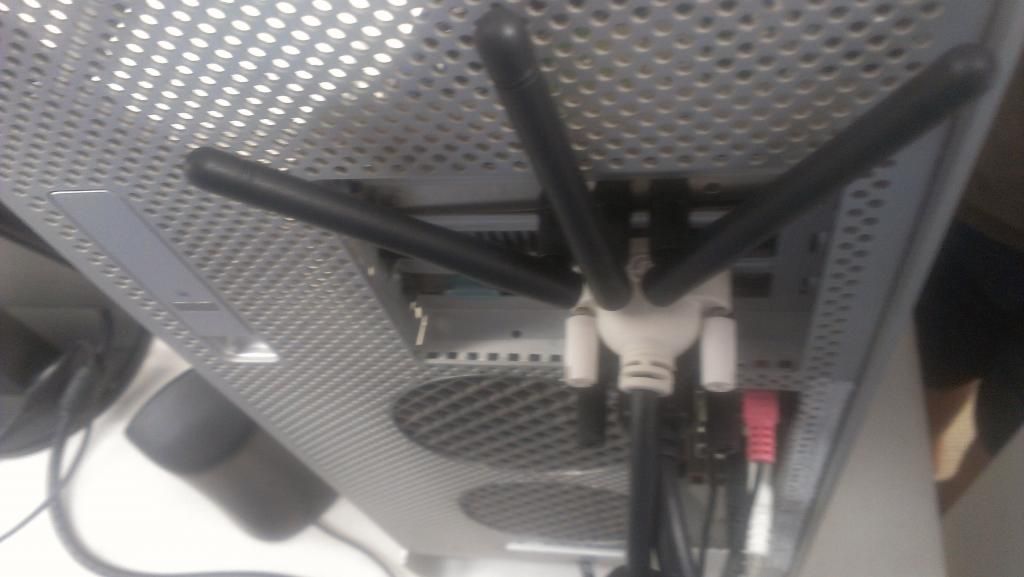
Back I/O:
Storage:
My 1TB Hard drive sits next to my power supply in the G5 hard drive tray.
My SSD is above my Disc Drive. I figured since it was an SSD, it didn't need a tray.
Sorry for the bad picture.. XD
So...thats my build, it took about a day to finish, and I'm really happy with how it turned out. Please comment and critique below! Thanks!

My build with a 230 cm fan, which i later removed. Also before Cable Management
As a side note, I do have a practically mint condition G5 1.6 GHZ i found on ebay for 90$. Its perfectly working and everything, running tiger right now. I might do another mod later this year. Just thought I'd add that.
-Nathan991
Hi everyone, just wanted to start off by thanking the amazing community we have here who helped me get my hackintosh running about 9 months ago.
Anyway here it is:
Specs:
Gigabyte GA-P67X-UD3-B3
Intel Core i5 2500k @ 4.21 Ghz
Gigabyte AMD 6850 Overclocked Model
16 GB Corsair 1600MHZ Vengeance Ram
Boot Drive: OCZ Vertex 4 SSD 256GB
Storage: WD Caviar Green 1TB
750W Raidmax PSU Bronze
Geekbench Score: 11096
The Mod:
After looking around both locally and on ebay, I was able to find a powermac g5 case originally priced at 60$ including shipping. I submitted a best offer and got it for 40$
Seeing the large amount of G5 Mods here on the forums, I figured many of you have seen enough of the process of modding and putting everything in the case, so I didn't take any pictures as I put everything together. However I did mod the front panel a little different than many of you who have posted here. I soldered the power switch wires directly to the button , as i didn't have the board with the ports included with the case. I also hot-glued ( yes i know....tacky) a homemade female USB to internal ATX connection cord.
heres what it looks like, very easy to do, and can save you some $
Next, I measured up a square on the bottom of the case where my power supply fan would take air in. The aluminum was fairly easy to cut, and nobody can really see the bottom of the case anyway. In my opinion, making a hole just big enough for the fan intake is better than making a hole where the power supply drops down and fits into. here what it looks like from the bottom when you turn it over:
After I did that, I cut the back I/O openings from the back of the case. I didn't want to use a motherboard tray, seeing as they cost more than what i paid for the entire G5 case. It was much easier and I am actually quite happy with cutting the back I/O area from the case.
As for the power cord from the power supply, I found and adhesive gray, rubber like material from a previous mod. This covered the larger hole for the original power cord connection.
Once this was done, the exterior of my case was pretty much how I wanted it. Next I used pliers and broke off each of the motherboard standoffs in the case. Once this was done, I reglued 9 of them back on the case, in the standard ATX layout.
Heres how to do it:
1. Screw in the screws directly to your motherboard and into the standoffs.
2. Place your motherboard with the standoffs on it inside the G5, lining it up with the PCI Slots.
3. Place your graphics card on the motherboard, and line it up with the bottom PCI Slot.
4. Using a pencil, mark the areas where the standoffs are. It doesn't have to be anything special, just so long as you have an idea where to glue on the case.
5. Lift your motherboard off the case and using JB weld, or some epoxy, place a drop of it on each pencil mark. Be generous with the JB weld, it can't hurt!
6. Place the motherboard with the standoffs back into the case. The stand offs should line up with the glue, and now you just need to weigh it down. For me i used JB Weld Kwik, and so I held down my CPU cooler and edge of one side of the board. In about 3-5 minutes, you can let go and it should stay there. IT IS IMPORTANT that all standoffs are held by the glue.
I have no picture of this, but hopefully you get the idea.
My case didn't come with the door locking mechanism, but that wasn't a problem. I held the latch shut with a zip-tie, and the door stays closed just fine.
Cable Mangement:
Luckily I have a semi-modular PSU, so I was able to get rid of many unneeded cables. I routed the Sata cables and motherboard front panel cables under the mobo.
Cooling:
Coming from a HAF 932 Advanced, Cooling never really was a problem. My overclocked CPU never really went above 45 C. In my G5 Mod, I only have really 2 fans. In the from is a 160 MM Cooler Master fan that is actually quite quiet. I also have a second 160 fan on my CPU cooler. They route air from the from of the case and push it out the back. Even though I only have 2 fans, my temps never get high at all. Under full load, my CPU hits 52-56 C max. Graphics is around 58 C under load.
My fan-mount..haha
Back I/O:
Storage:
My 1TB Hard drive sits next to my power supply in the G5 hard drive tray.
My SSD is above my Disc Drive. I figured since it was an SSD, it didn't need a tray.
Sorry for the bad picture.. XD
So...thats my build, it took about a day to finish, and I'm really happy with how it turned out. Please comment and critique below! Thanks!
My build with a 230 cm fan, which i later removed. Also before Cable Management
As a side note, I do have a practically mint condition G5 1.6 GHZ i found on ebay for 90$. Its perfectly working and everything, running tiger right now. I might do another mod later this year.
Just thought I'd add that.-Nathan991
