I think you will never get the Nvidia drivers working at their best with your current setup. That is my personal opinion, others may disagree and are welcome to offer an alternative solution.
If you choose to follow my suggestions then these are the things you need to do.
Kext relocation and replacement:
Your /System/Library/Extensions folder is fine, unchanged with no additional kexts installed.
Your /Library/Extensions folder contains a number of third-party kexts, as expected. These can be split in to two groups.
Group 1 contains the kexts that can be relocated to the /CLOVER/kexts/Other folder.
Group 2 contains the kexts that should be replaced with newer kexts, i.e. the kexts that have superseded the kexts you are currently using.
Group1.
These kexts should be removed from /Library/Extensions folder and relocated to /CLOVER/kexts/Other folder:
- BrcmPatchRAM2.kext
- IntelMausiEthernet.kext
- USBInjectAll.kext
Group 2.
These kexts should be removed from /Library/Extensions folder and replaced with newer alternatives, while being relocated to the /CLOVER/kexts/Other folder:
| Current kext |
Replacement kext |
| BrcmFirmwareRepo.kext |
BrcmFirmwareData.kext |
| FakePCIID.kext & FakePCIID_Broadcom_WiFi.kext |
AirPortBrcmFixup.kext |
| FakeSMC.kext |
VirtualSMC.kext |
| realtekALC.kext |
AppleALC.kext |
| N/A |
Lilu.kext |
| N/A |
WhateverGreen.kext |
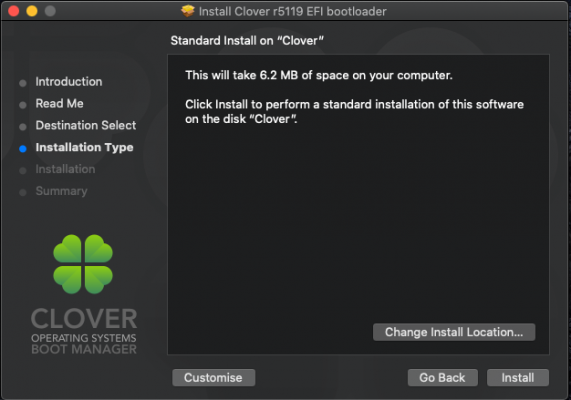
Install Clover to USB:
Here is a screenshot guide showing how to install Clover_r5119 to a USB pen drive.
- First get hold of a spare USB pen drive, size is immaterial as you will only be installing Clover on the drive, not a full macOS installer.
- You will be erasing the USB so make sure you remove any data on the drive before you start this process.
- Open Disk Utility and select the USB pen drive from the list of drives in the left Hand column:
- Select the Erase option and use the following settings:
- Now with the USB prepared you can start installing Clover on the USB in UEFI mode.
- Open the attached Clover_r5119 installer.
- These two partitions from the USB should be on your desktop.
- View attachment 513511
- Open the EFI Partition.
- Open the EFI Folder within the EFI partition
- Replace the CLOVER folder within the EFI Folder, with the CLOVER folder I provided below.
- USB is now ready to boot with the revised CLOVER folder.
The CLOVER folder below contains the necessary Kexts and replacement kexts for your system.
But you still need to remove the kexts from the /Library/Extensions folder.
Before you REBOOT the system, using the new USB, you need to rebuild the kernel cache and repair permissions on the /L/E folder.
Easiest way to do this is to use Hackintool App, navigate to the Utilities tab and select the rebuild kernel cache and repair permissions icon, icon on the far right in the bottom row of icons.
View attachment 513515 Hackintool > Utilities tab
Let me know how you get on, or if you decide to not pursue this option.