- Joined
- Mar 8, 2011
- Messages
- 102
- Motherboard
- EP35-DS3P
- CPU
- Intel Core2 DUO 775
- Graphics
- 9600GT
- Classic Mac
- Mobile Phone
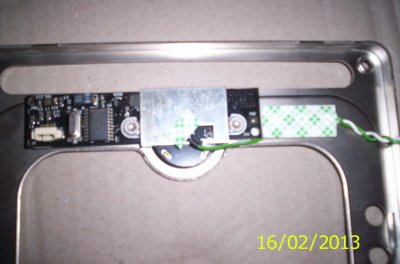
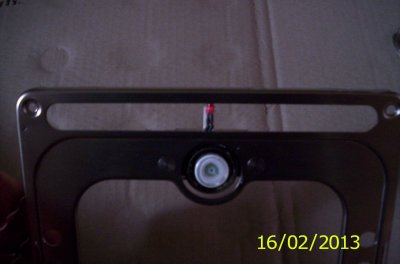
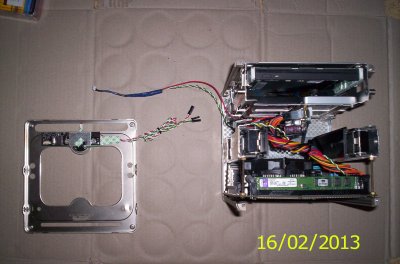
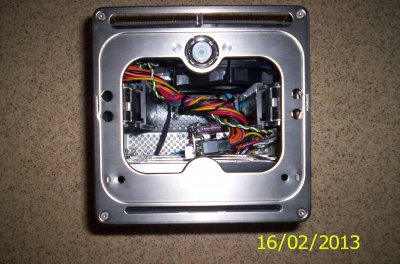
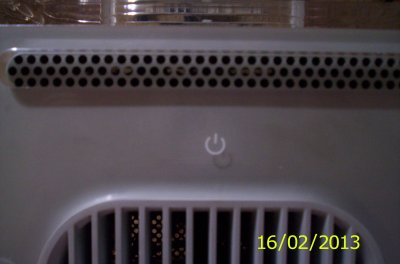
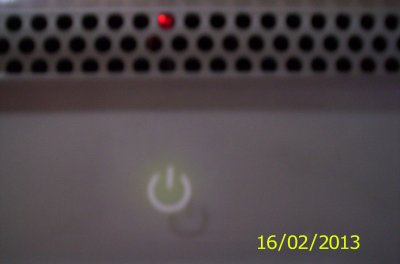
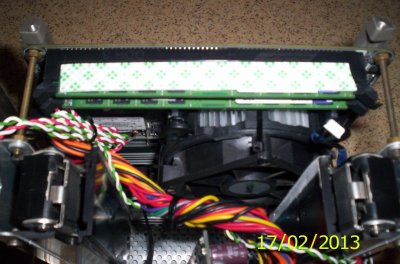
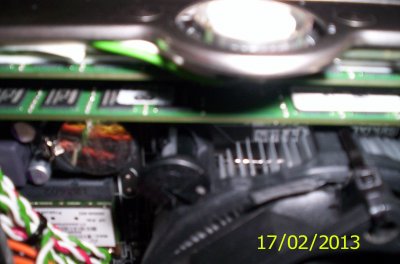
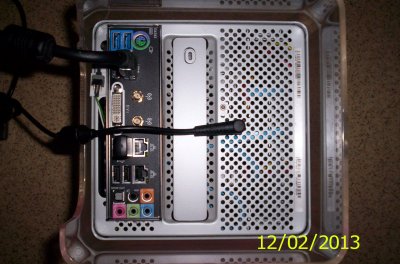
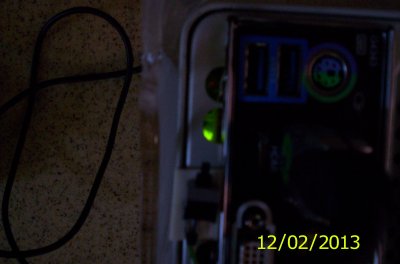
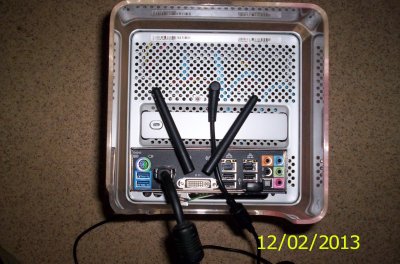
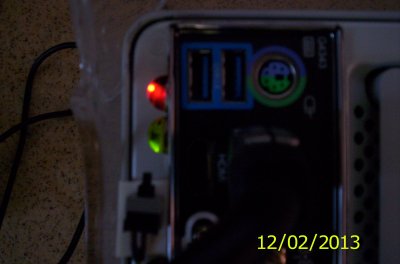
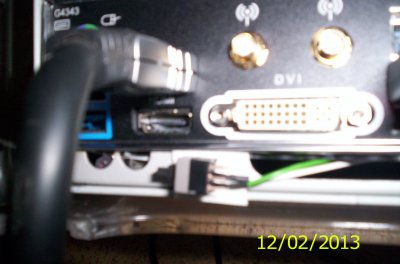
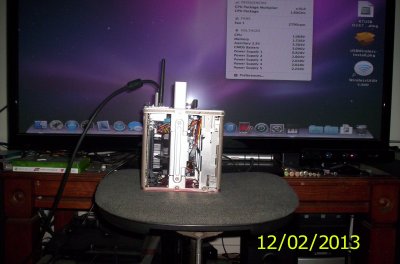
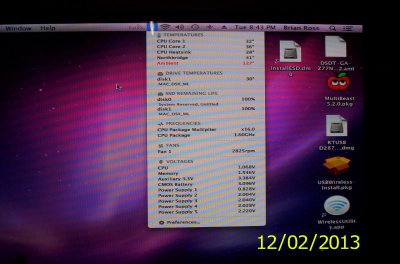
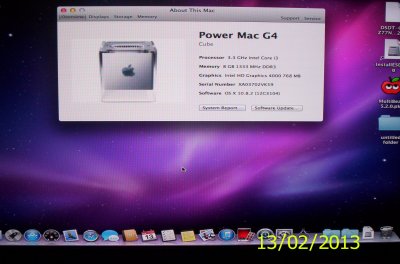
This is my G4 build, running ML & Win7 in a G4 Cube with the cube's original touch sensor switch all working perfectly. See more posts and photo's below.
Hardware List:
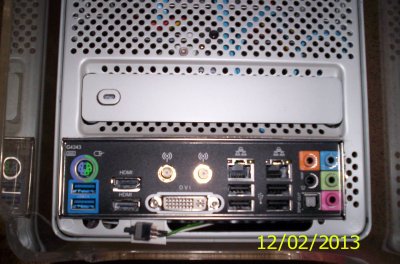
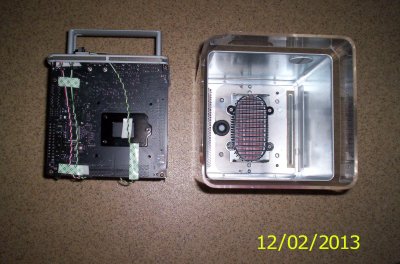
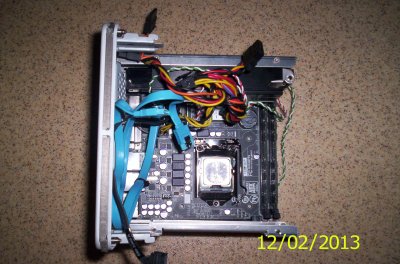
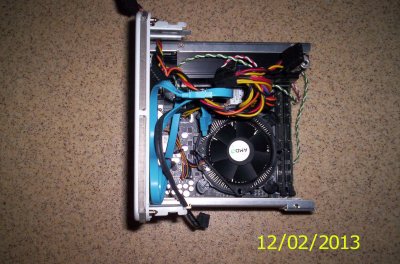
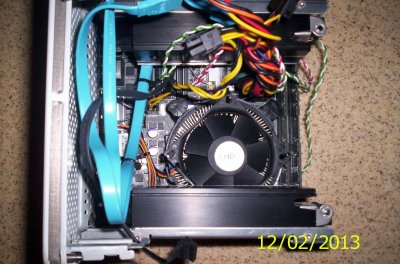
Case: G4 Cube.
Motherboard: GA-Z77n-WiFi.
CPU: Intel i3 3225
Graphics: Integrated Intel HD 4000
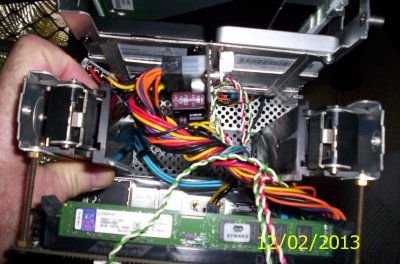
CPU Cooler: Modified Intel with AMD fan.
Memory: 2x 4g Kingston 1333 low profile.
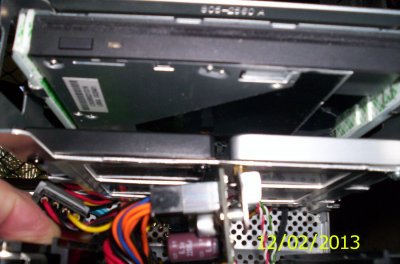
Hard Drive: 2x SSD 1x OCZ 60g 1x Liteon 124g
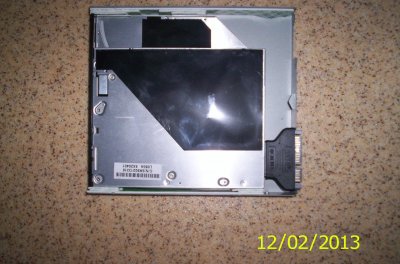
DVD Drive: Sony Optiarc 7643s Slot Loader
WiFi Module: Atheros 9280
PSU: DC-DC 90 watt Antec. Taken from the Antec ISK 110 case.
Software: In Dual Boot Arrangement using Chimera.
OCZ SSD: Mountain Lion OS.
LTE SSD: Windows7 OS with edited registry to "Universal time on". This needs to be done because of the dual boot arrangement causing Windows to not keep proper time. In Regedit, go to:
HKEY_LOCAL_MACHINE\SYSTEM\CurrentControlSet\Control\TimeZoneInformation
Create a DWORD named RealTimeIsUniversal and set its value to 1
Thanks to all on this site for the information on your cube builds that I used for this project. without it I would have gone crazy trying to squeeze all the components into that miniscule case.
Cheers.
Rossi
Hardware List:
Case: G4 Cube.
Motherboard: GA-Z77n-WiFi.
CPU: Intel i3 3225
Graphics: Integrated Intel HD 4000
CPU Cooler: Modified Intel with AMD fan.
Memory: 2x 4g Kingston 1333 low profile.
Hard Drive: 2x SSD 1x OCZ 60g 1x Liteon 124g
DVD Drive: Sony Optiarc 7643s Slot Loader
WiFi Module: Atheros 9280
PSU: DC-DC 90 watt Antec. Taken from the Antec ISK 110 case.
Software: In Dual Boot Arrangement using Chimera.
OCZ SSD: Mountain Lion OS.
LTE SSD: Windows7 OS with edited registry to "Universal time on". This needs to be done because of the dual boot arrangement causing Windows to not keep proper time. In Regedit, go to:
HKEY_LOCAL_MACHINE\SYSTEM\CurrentControlSet\Control\TimeZoneInformation
Create a DWORD named RealTimeIsUniversal and set its value to 1
Thanks to all on this site for the information on your cube builds that I used for this project. without it I would have gone crazy trying to squeeze all the components into that miniscule case.
Cheers.
Rossi
Attachments
-
 100_0458.JPG515.1 KB · Views: 458
 -
 100_0459.JPG493.7 KB · Views: 412
 -
 100_0461.JPG540.6 KB · Views: 400
 -
 100_0463.JPG576.3 KB · Views: 436
 -
 100_0462.JPG558.6 KB · Views: 386
 -
 100_0460.JPG573.8 KB · Views: 390
 -
 100_0465.JPG541.5 KB · Views: 476
 -
 100_0466.JPG649.8 KB · Views: 431
 -
 100_0467.JPG565.3 KB · Views: 426
 -
 100_0469.JPG580.3 KB · Views: 394
 -
 100_0474.JPG550.1 KB · Views: 457
 -
 100_0477.JPG640.3 KB · Views: 433
 -
 100_0479.JPG642 KB · Views: 455
 -
 100_0482.JPG569.1 KB · Views: 443
 -
 100_0486.JPG603.4 KB · Views: 520
 -
 100_0495.JPG656.3 KB · Views: 637
 -
 100_0499.JPG586.1 KB · Views: 549
 -
 100_0501.JPG673.9 KB · Views: 625
 -
 100_0457.JPG624.5 KB · Views: 963
 -
 100_0503.JPG641.2 KB · Views: 458