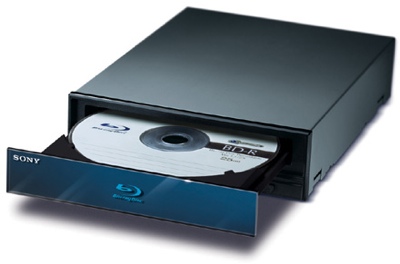
So I got a new piece of hardware for my Power Hack, and since I had some time to work on it, I get to bring you another update! I picked up a used Sony BWU-200S Blu-Ray Burner!
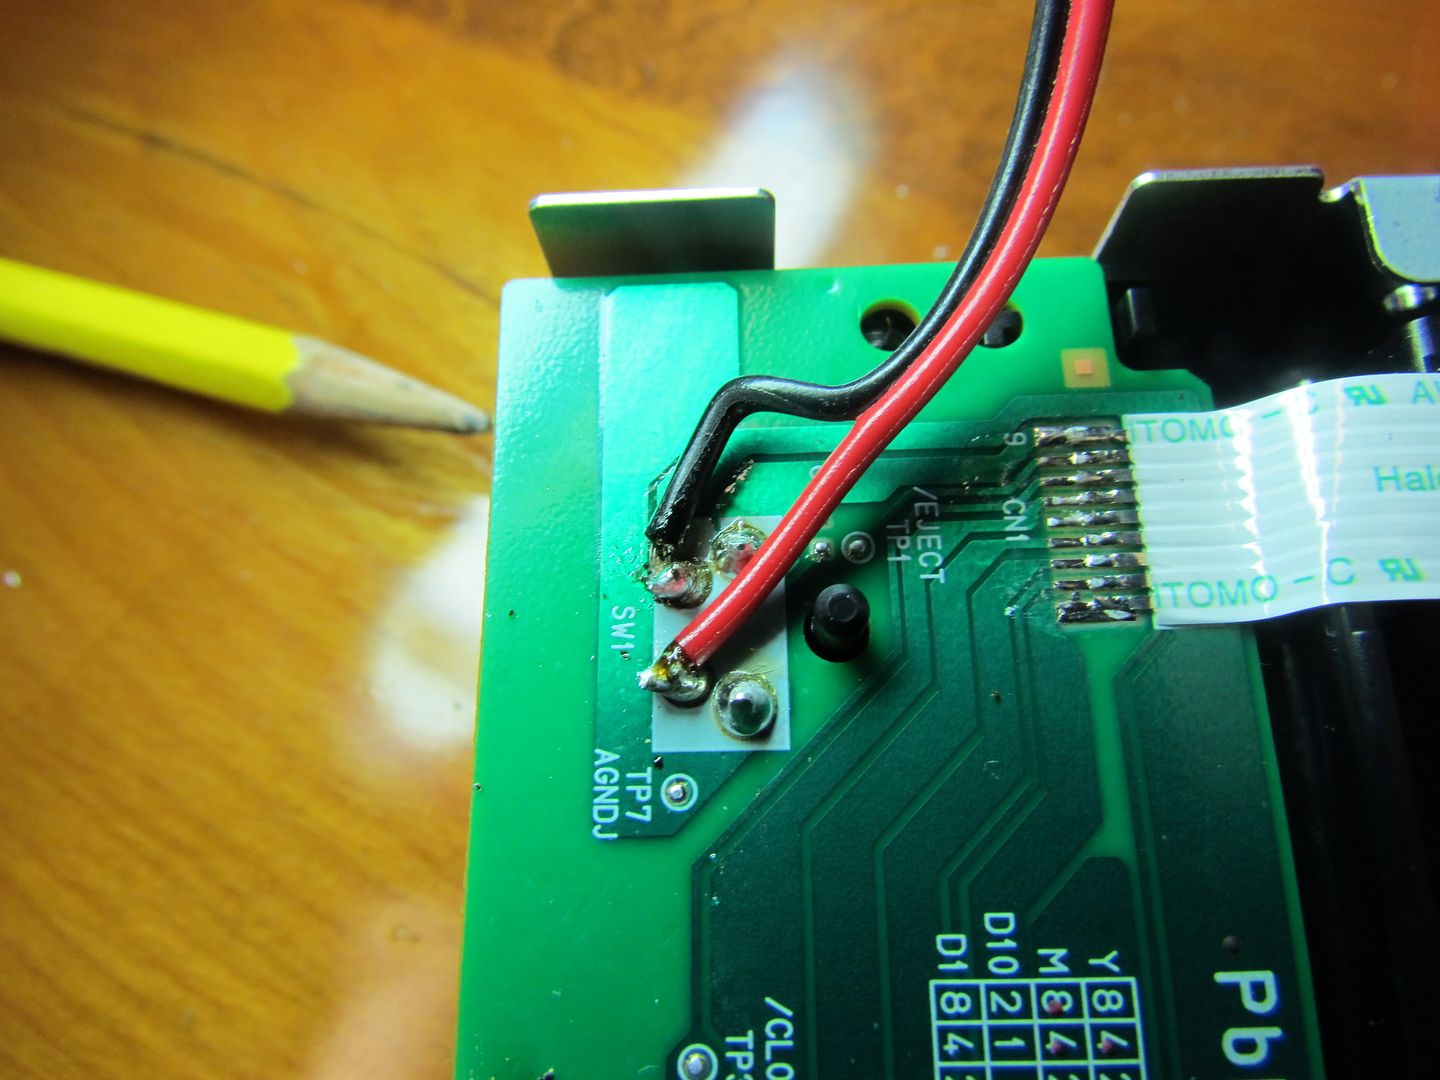
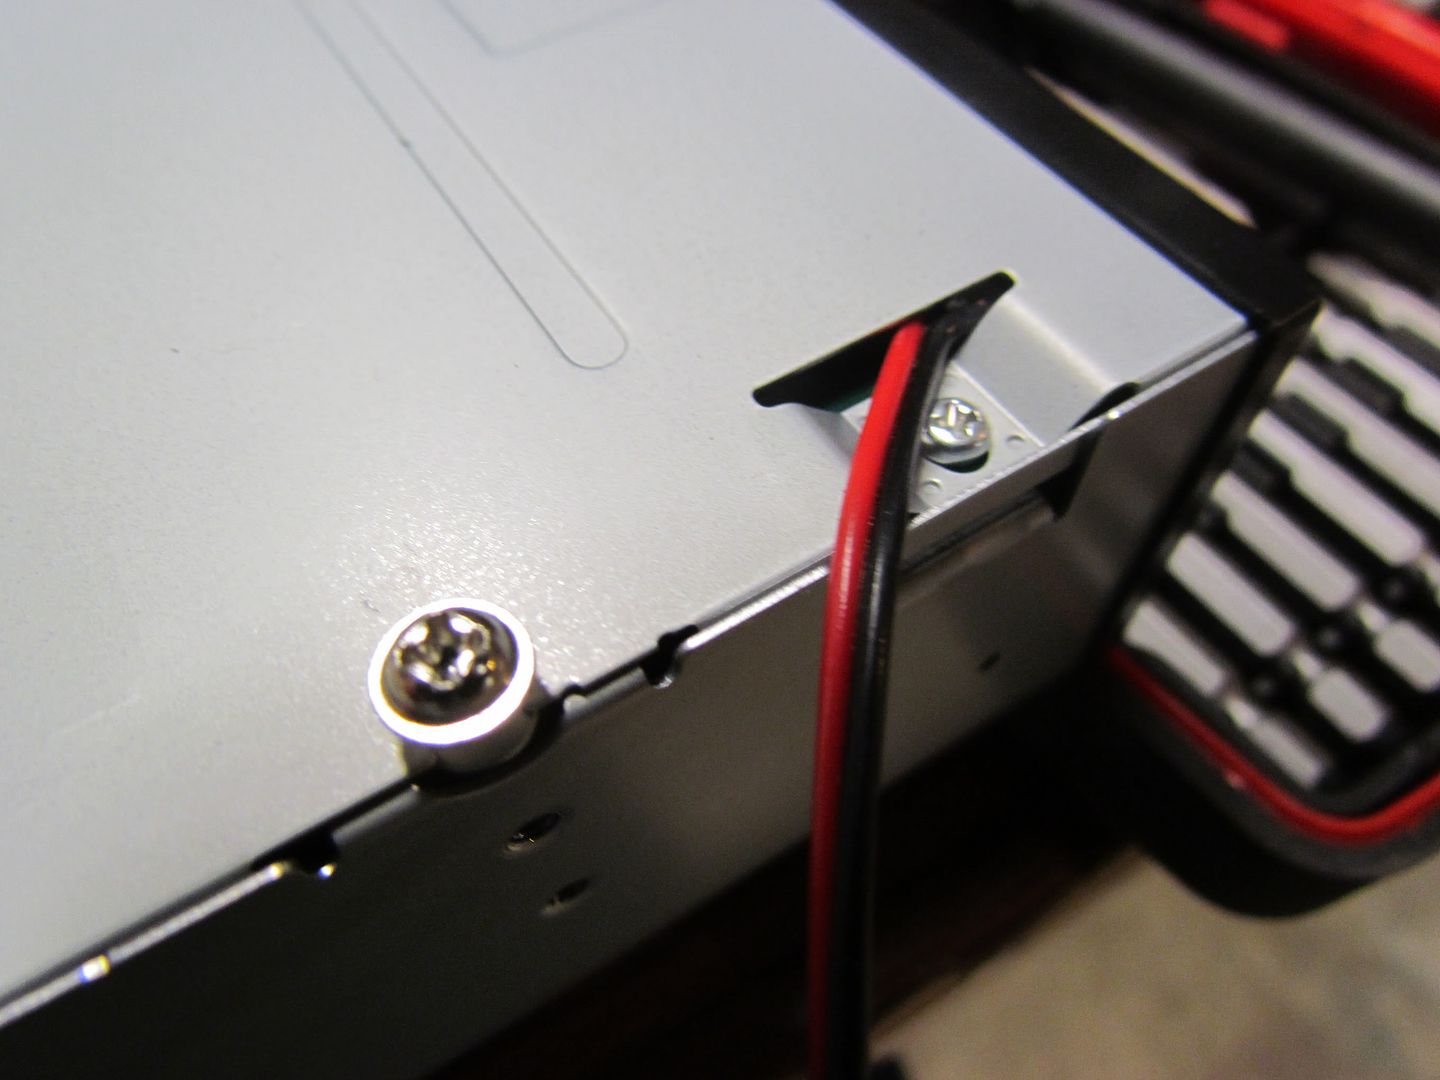
So what was the first thing I did with my new expensive drive? That's Right! I voided the warranty! I ripped it open and soldered a pair of leads that now are just dangling outside the drive. soon I'll cut and trim it and do some sort of hidden dvd drive button.
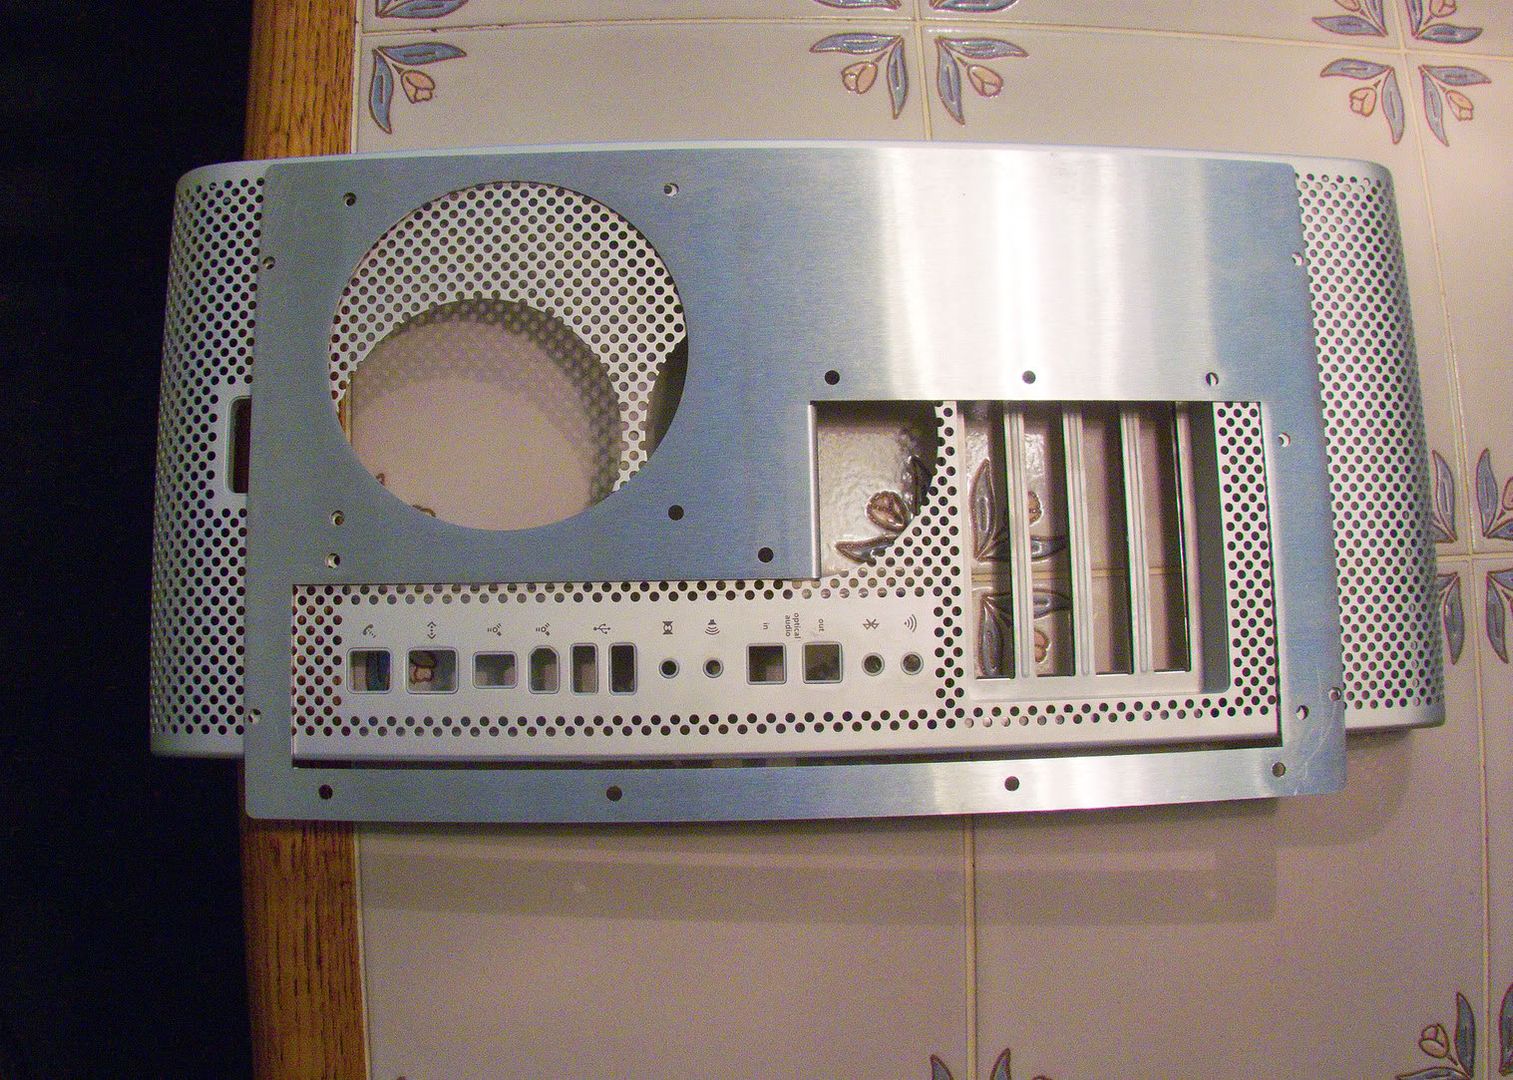
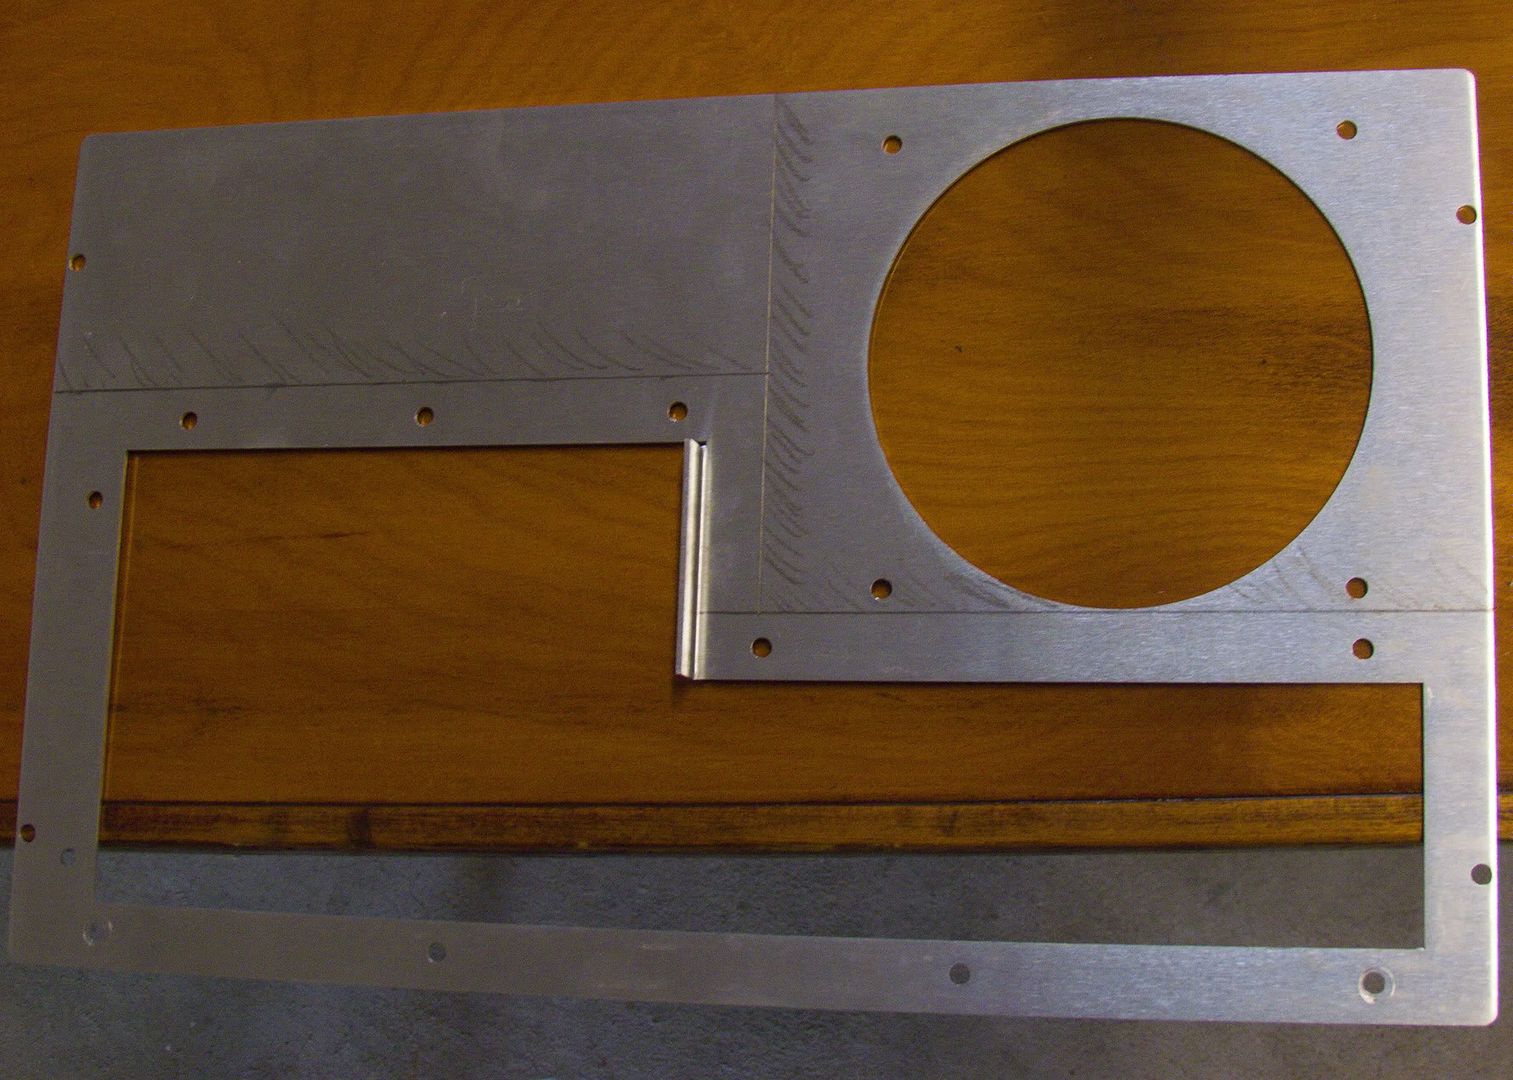
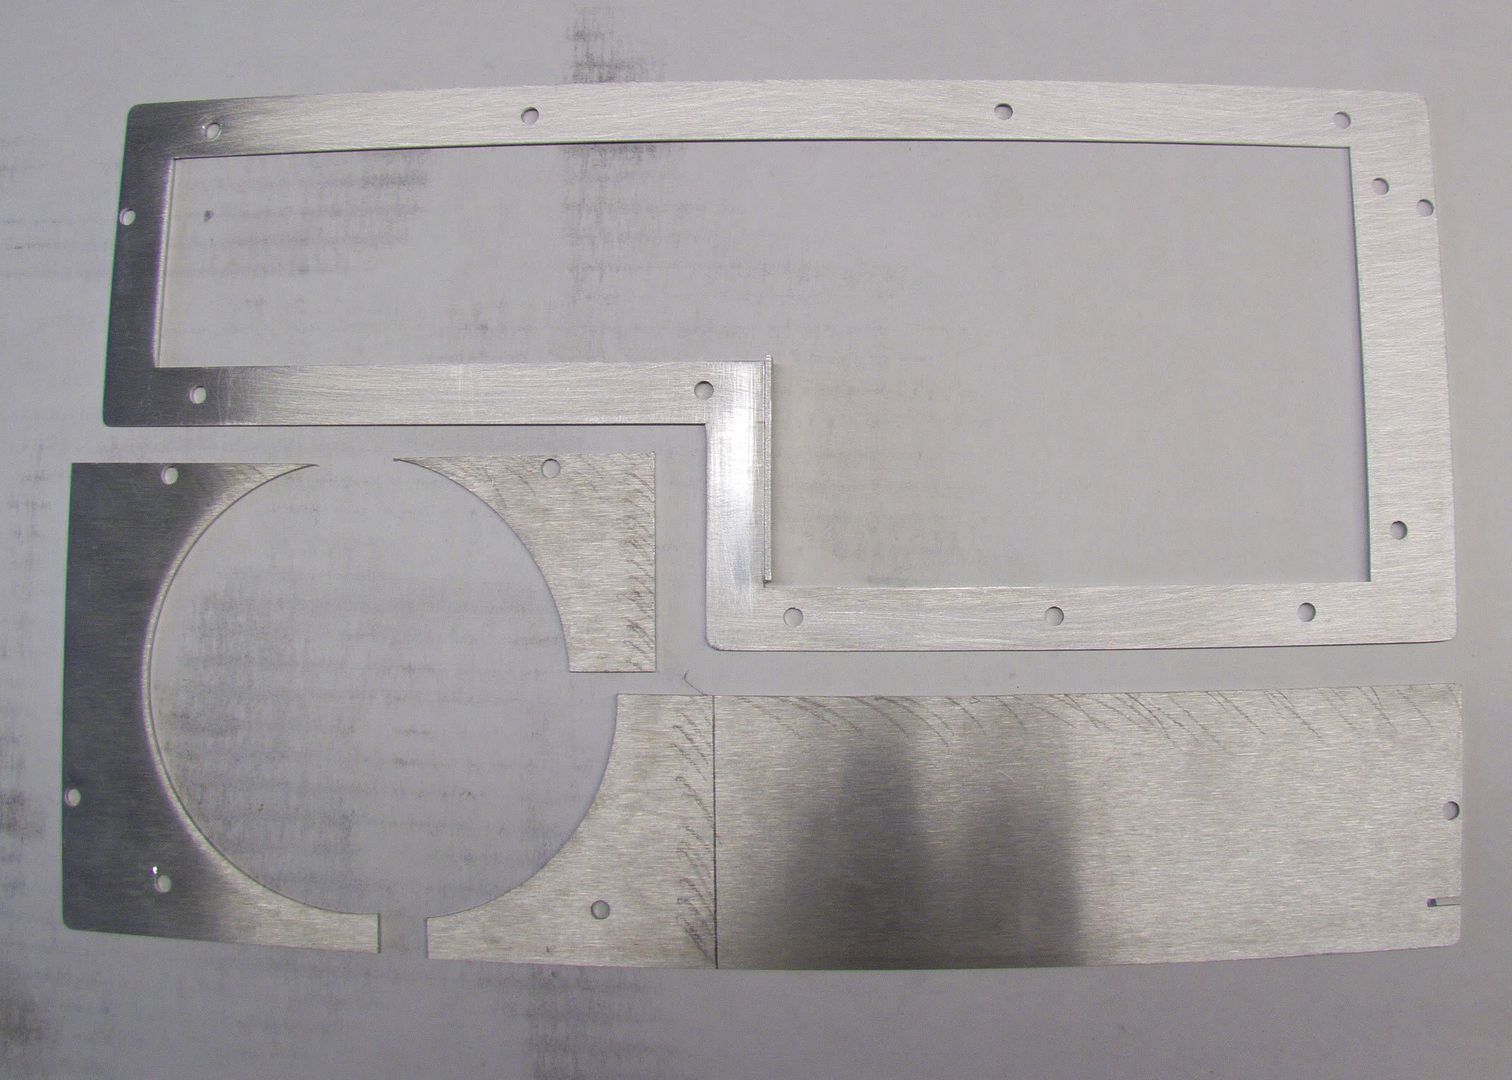
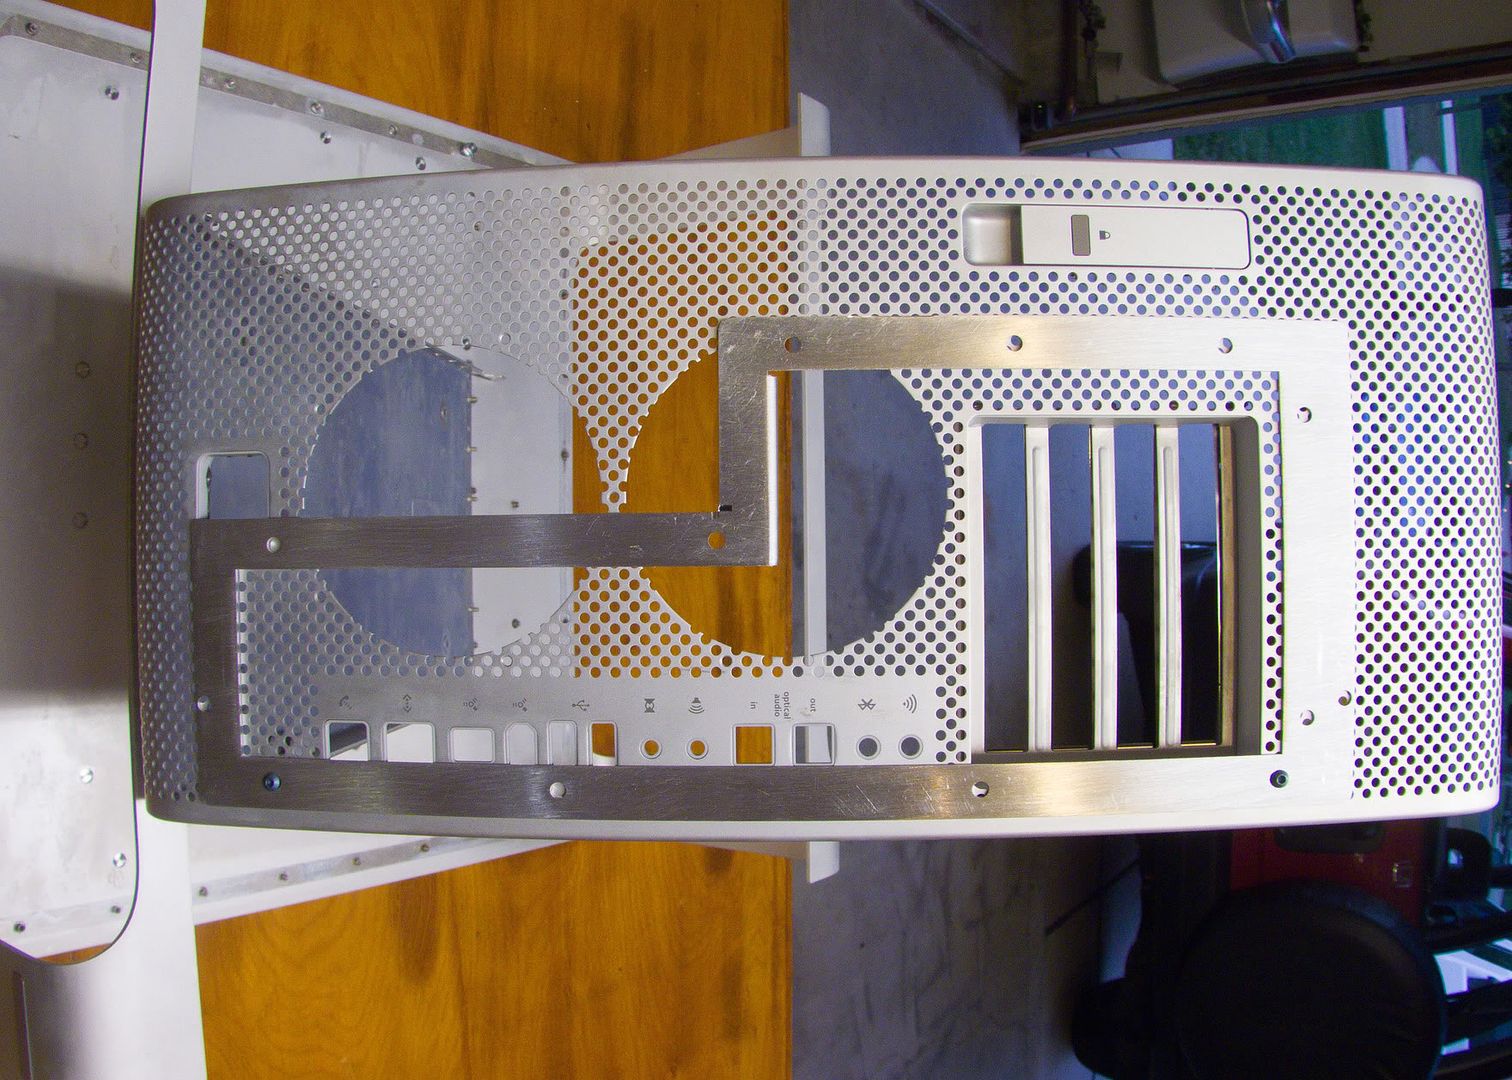
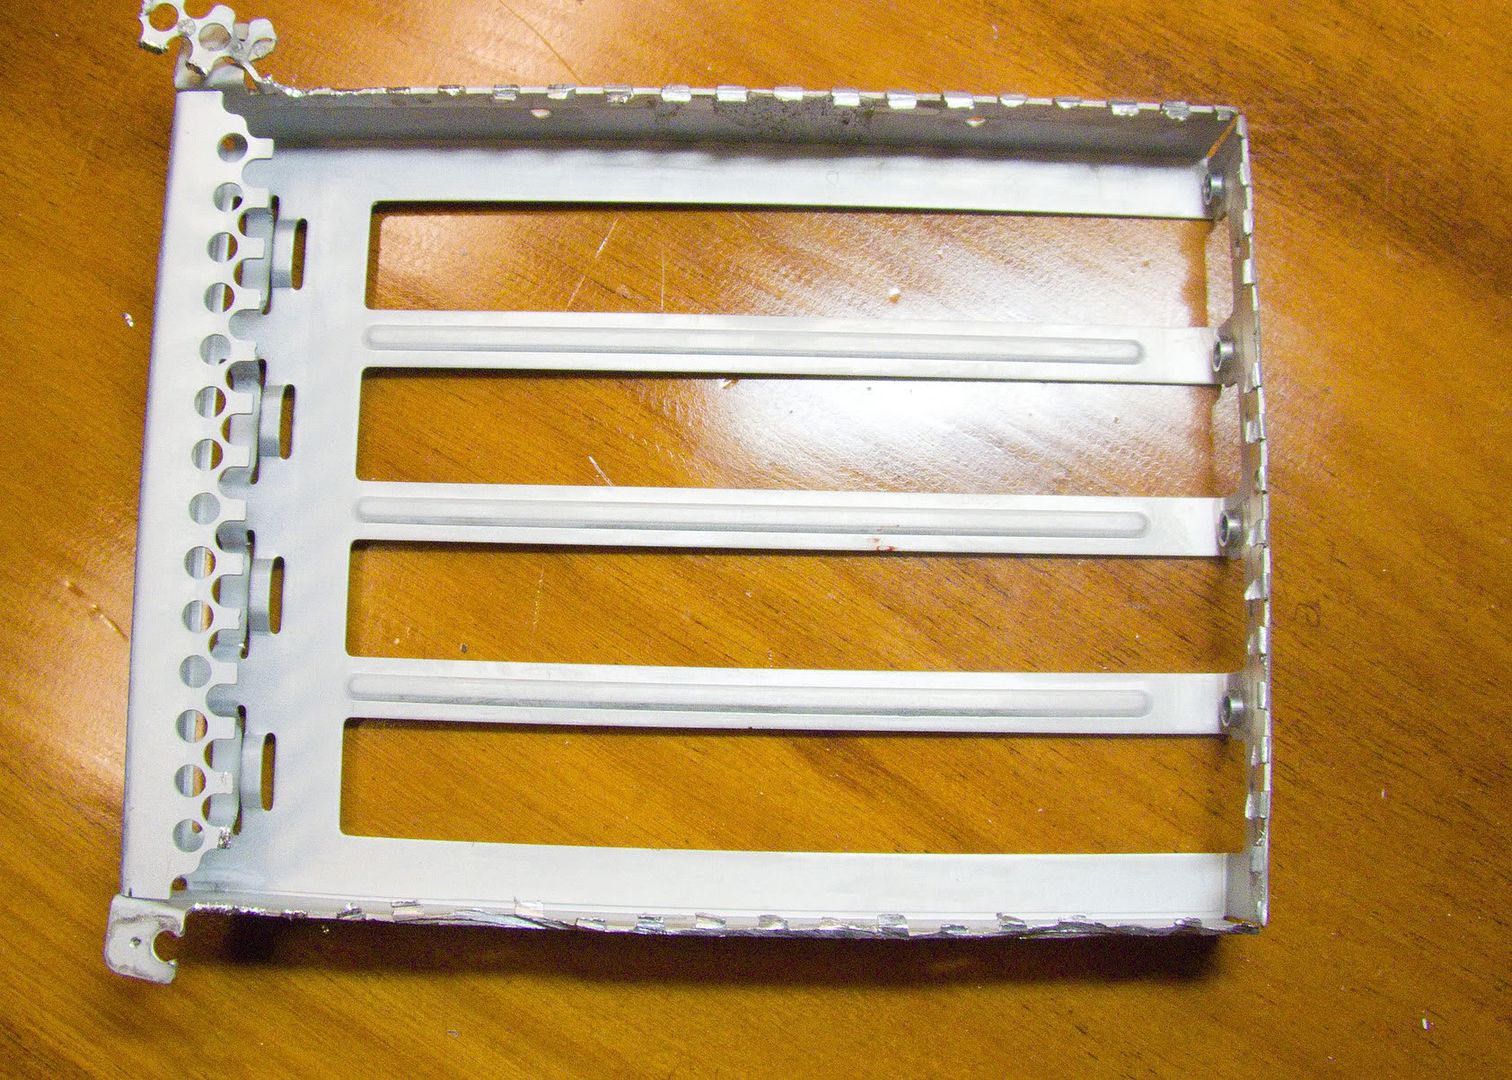
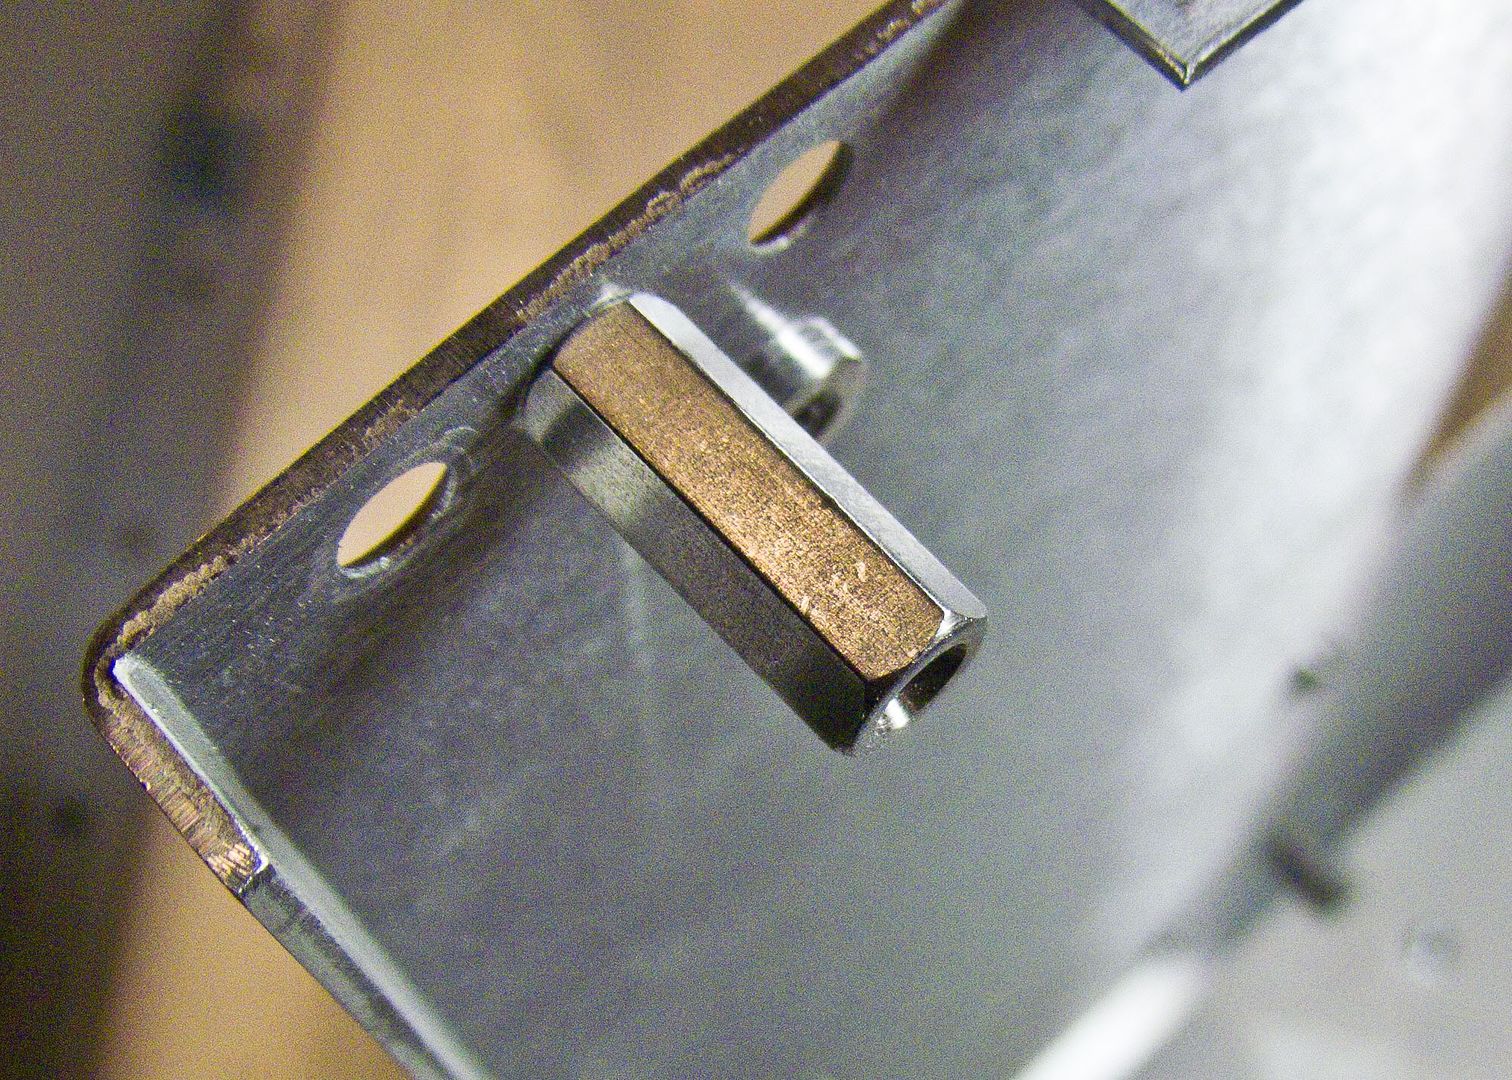
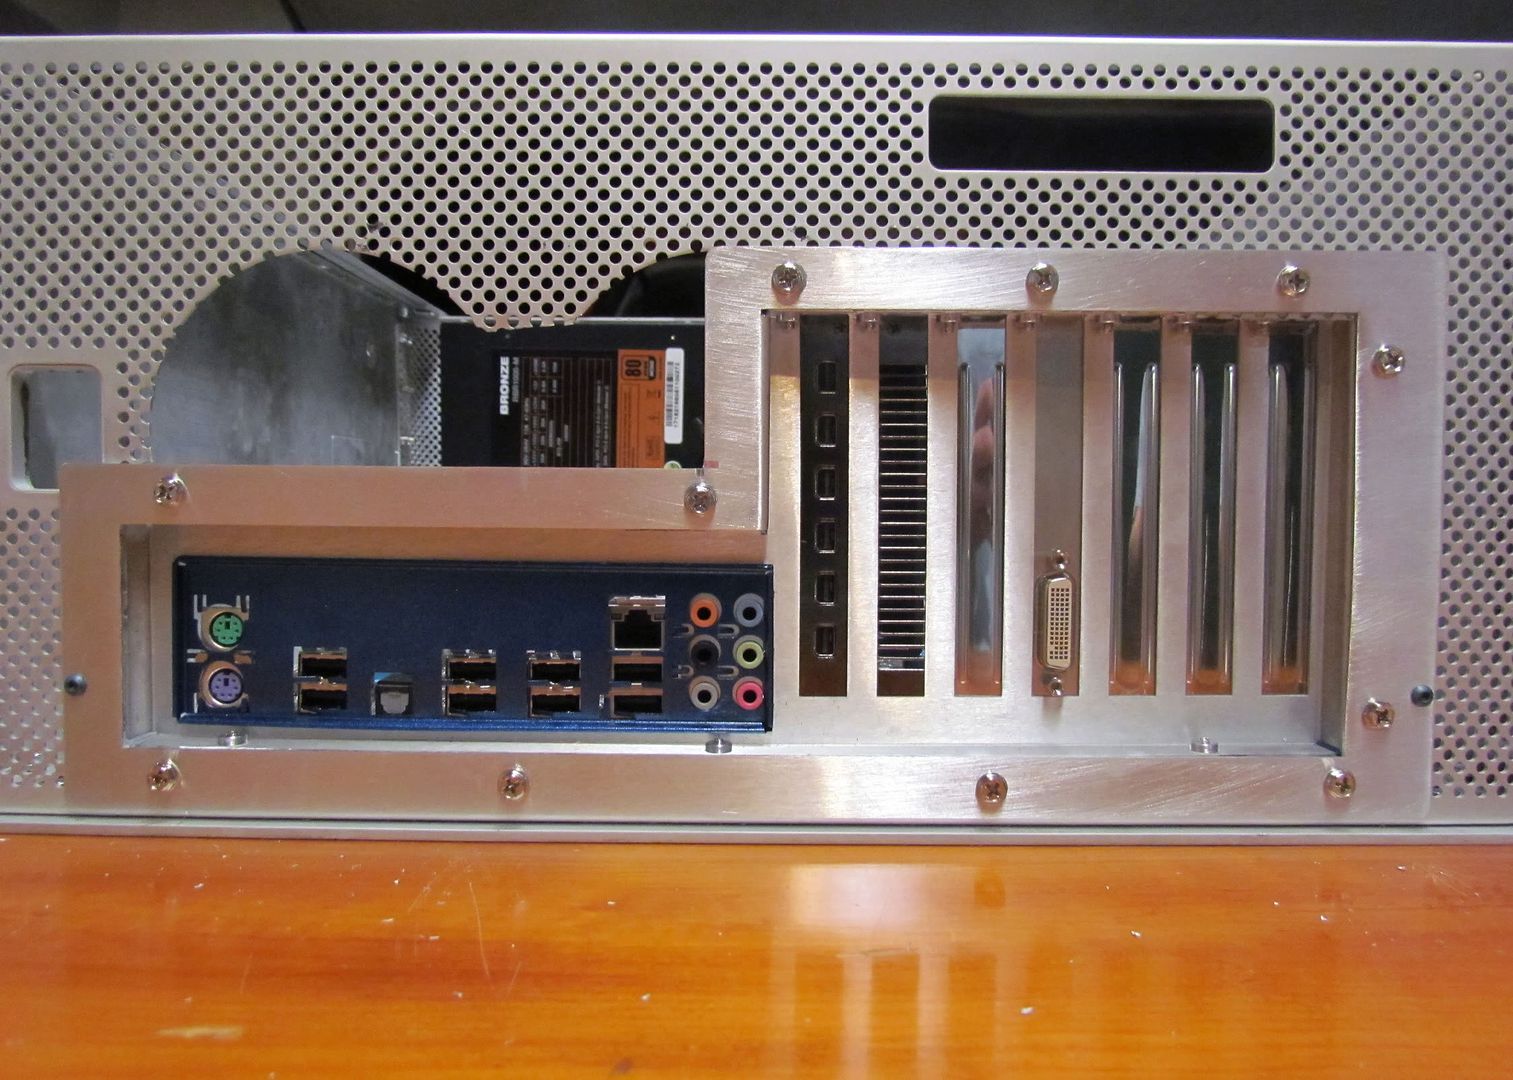
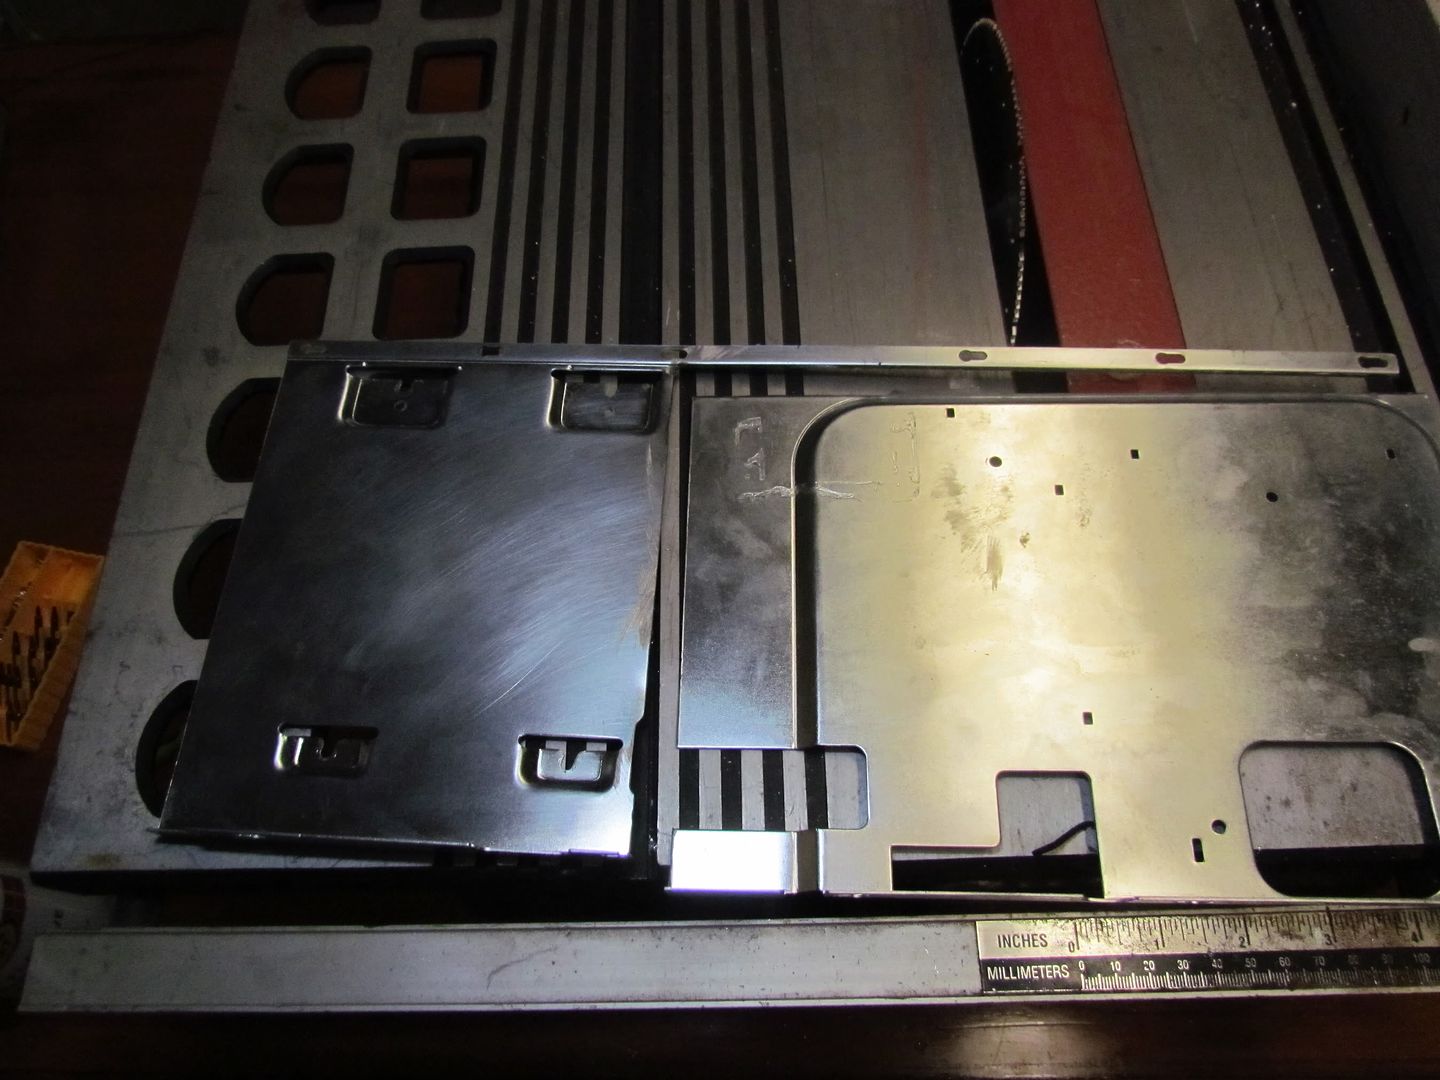
After wiring that up, I worked on the plate that holds the drive in place. I had to do some cutting so that I can still keep the latching system, but had room for the motherboard. I ended up with this:
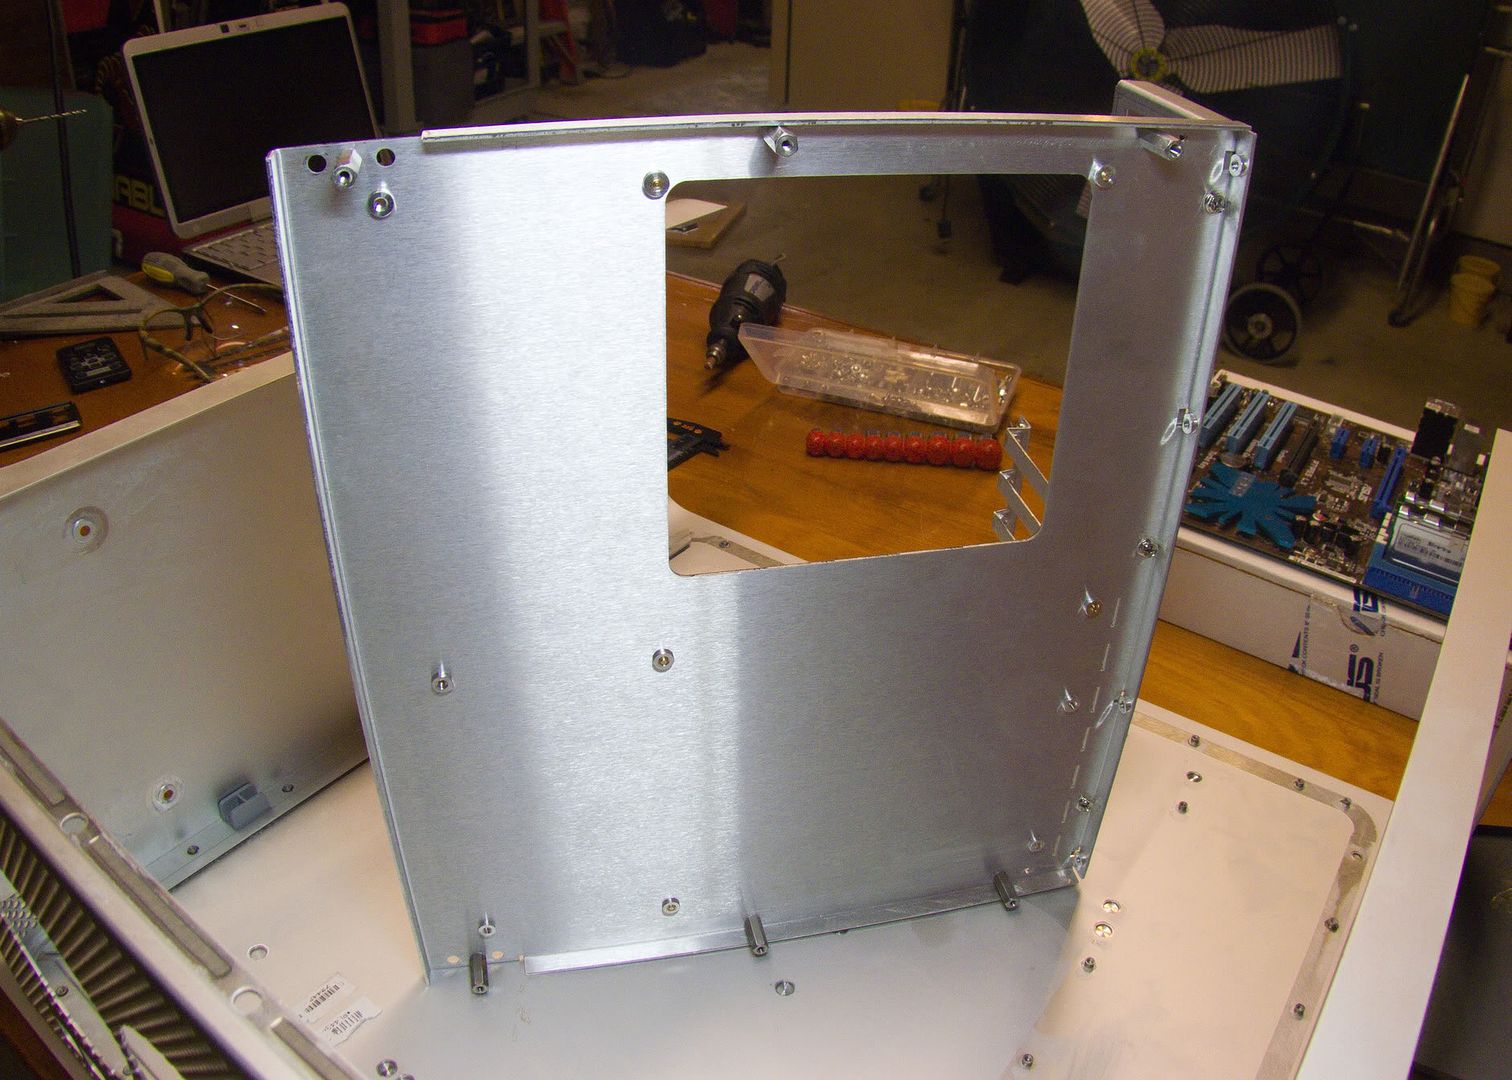
I then put a coat of flat white paint, followed by premium wheel paint, which looks pretty close to the mac's brushed metal look. I may end up doing the entire case in this stuff!
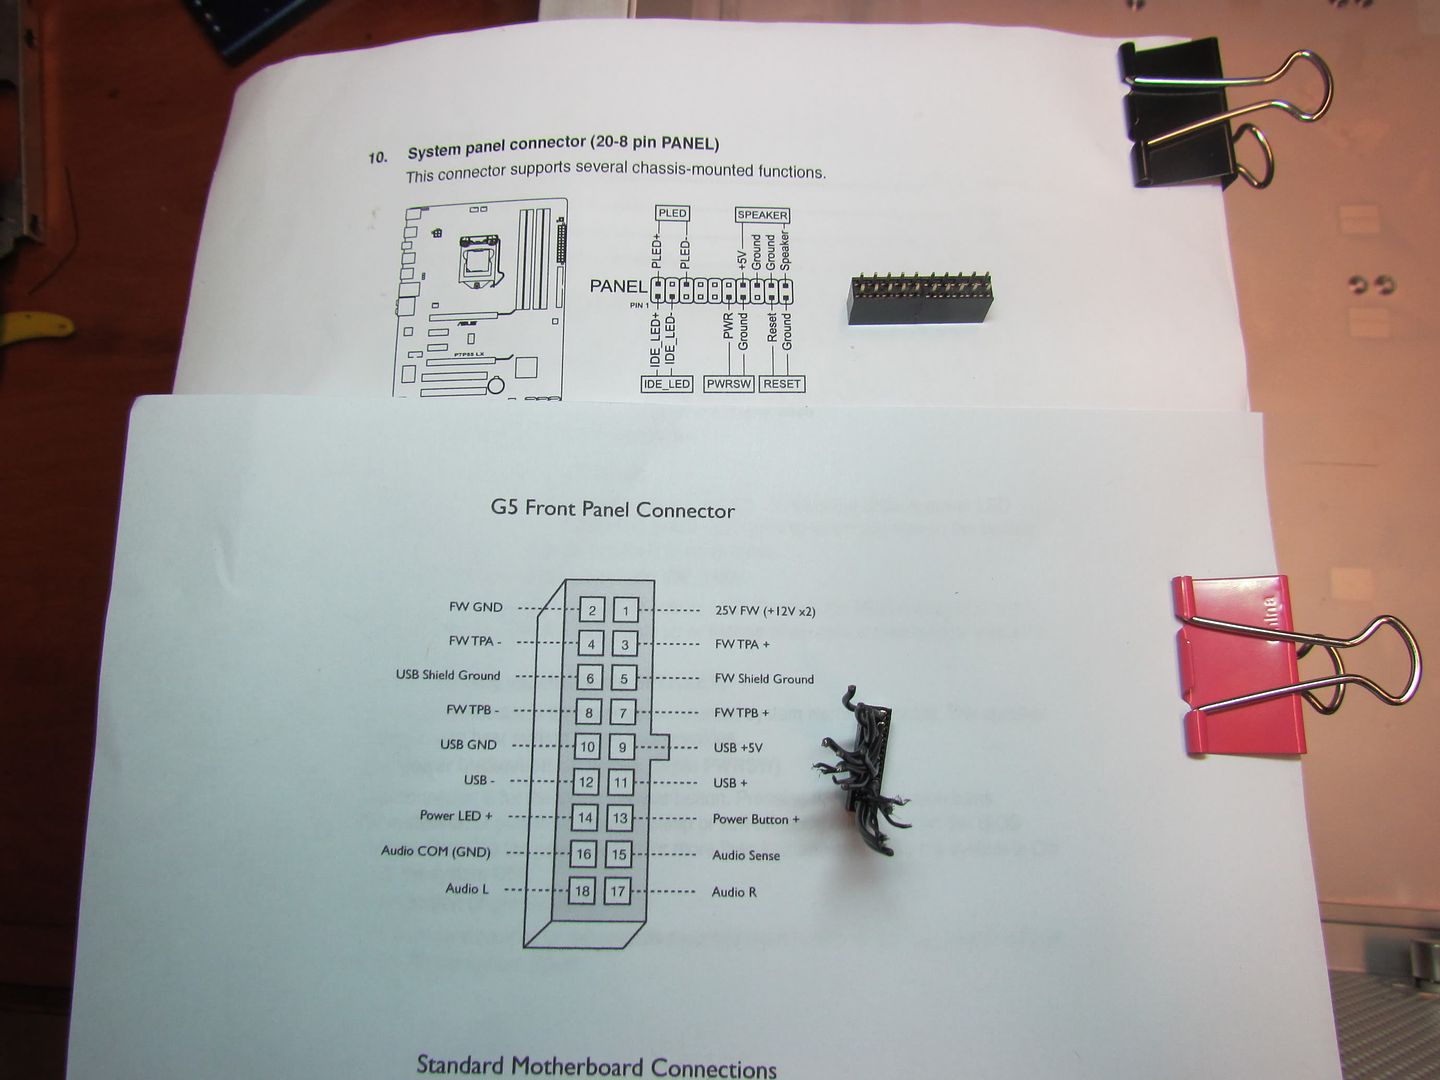
In between coats of paint, I worked on soldering up my front panel adaptor, using some 24 gauge speaker wire and some 5x2 female headers to plug into my motherboard.
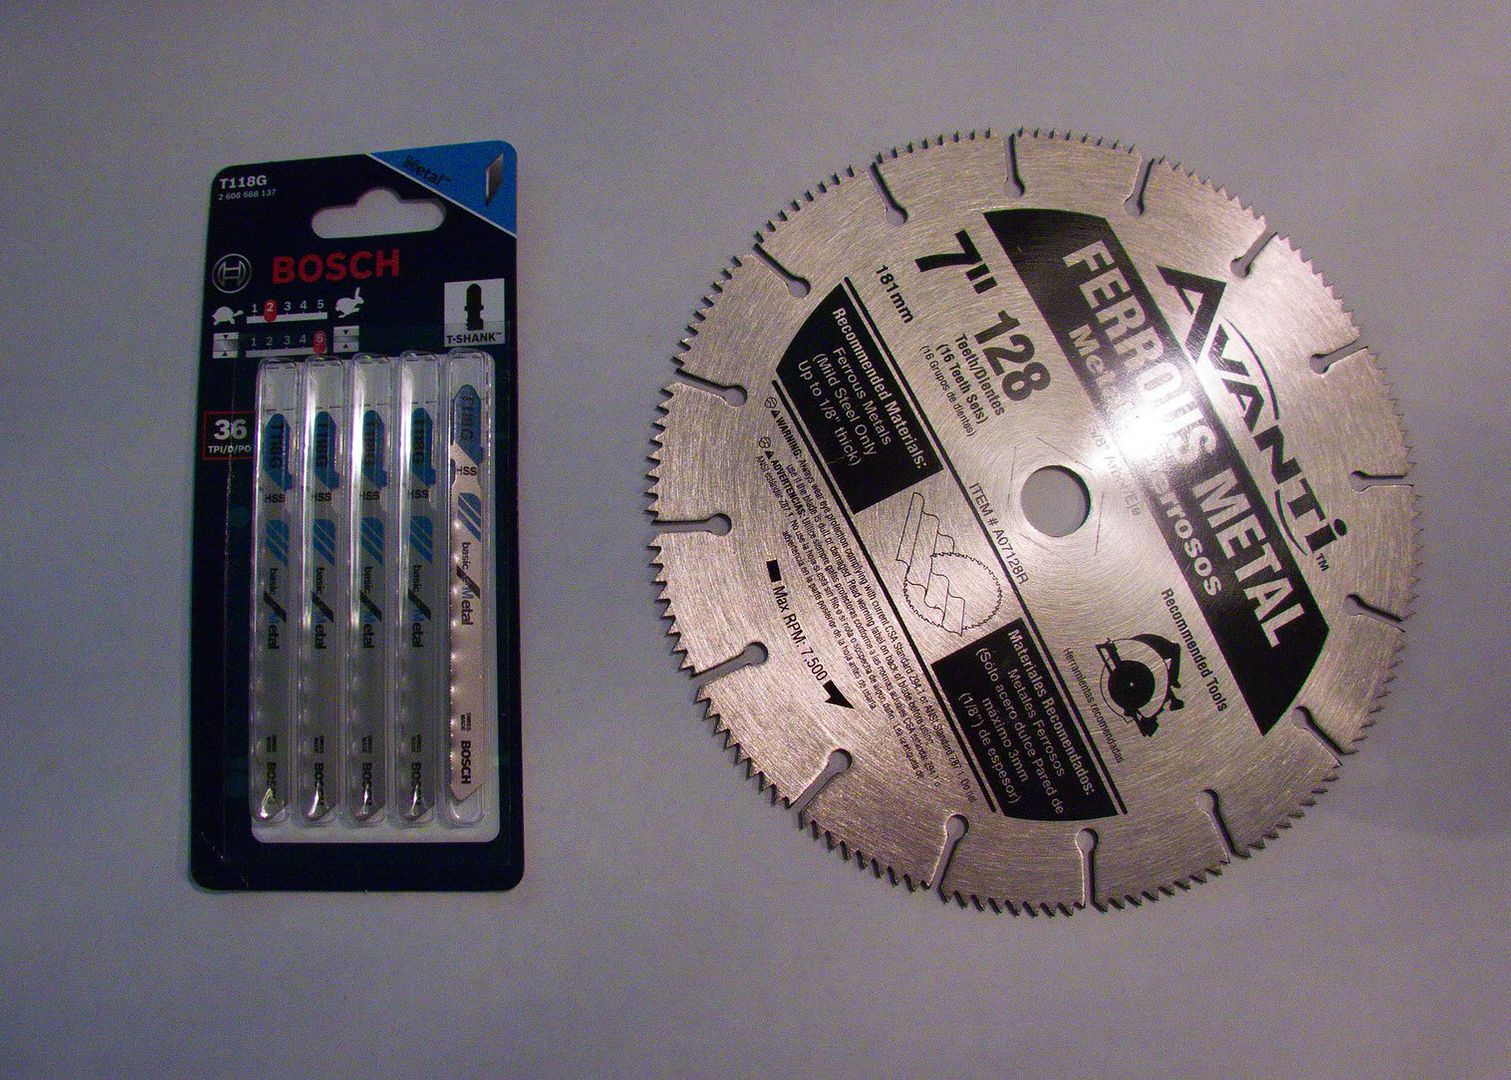
Here's my parts and reference sheet
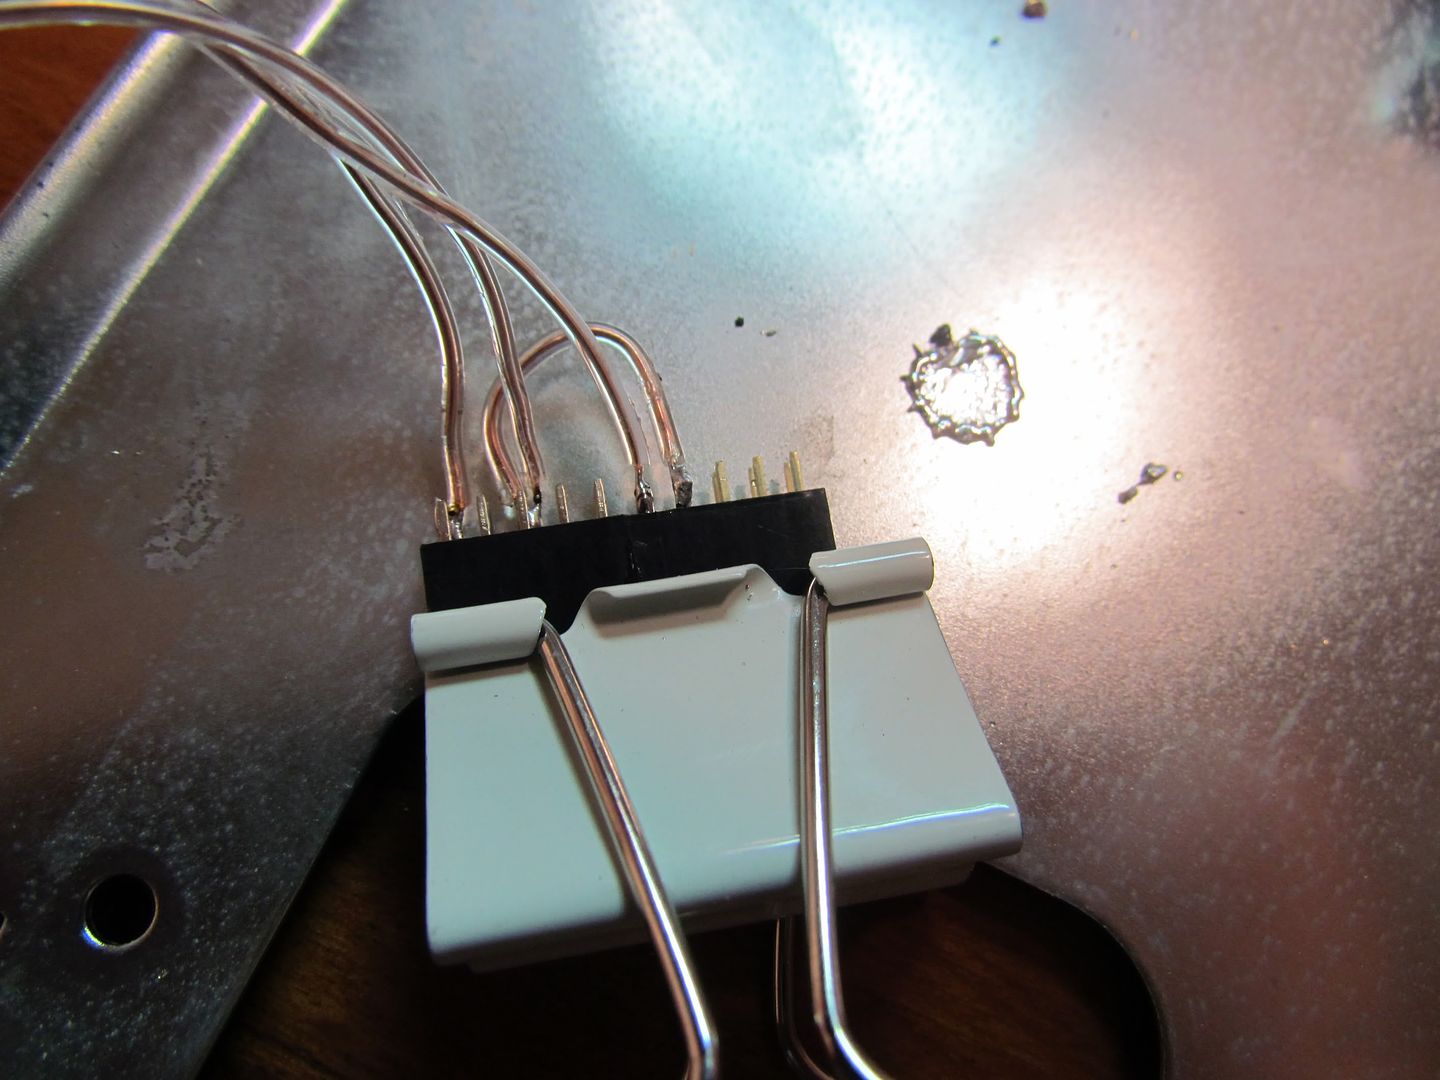
And the soldered main header(i glued 2 headers together.) This gives me a power button and power LED. in addition, my pc speaker is a 4 pin plug that can just plug into the header, so I didn't bother soldering it, and it isnt pictured.
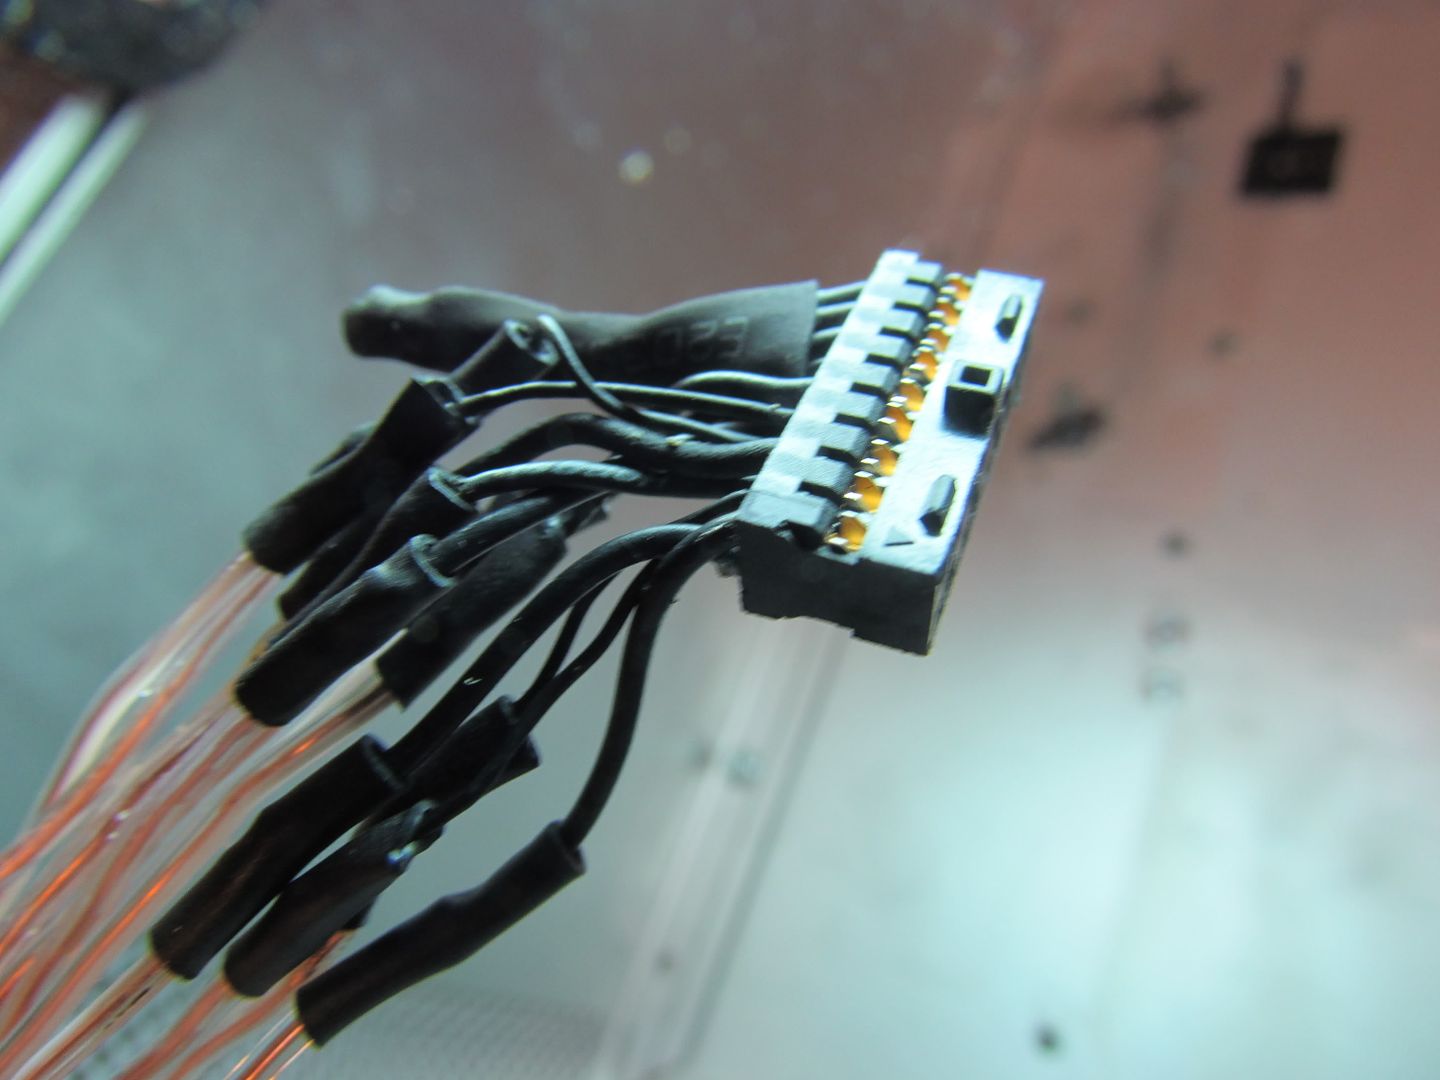
And the mac side of the cable, all done up. I just put some heatshrink around the unused FW wires, just in case I ever get a different mobo with firewire support.
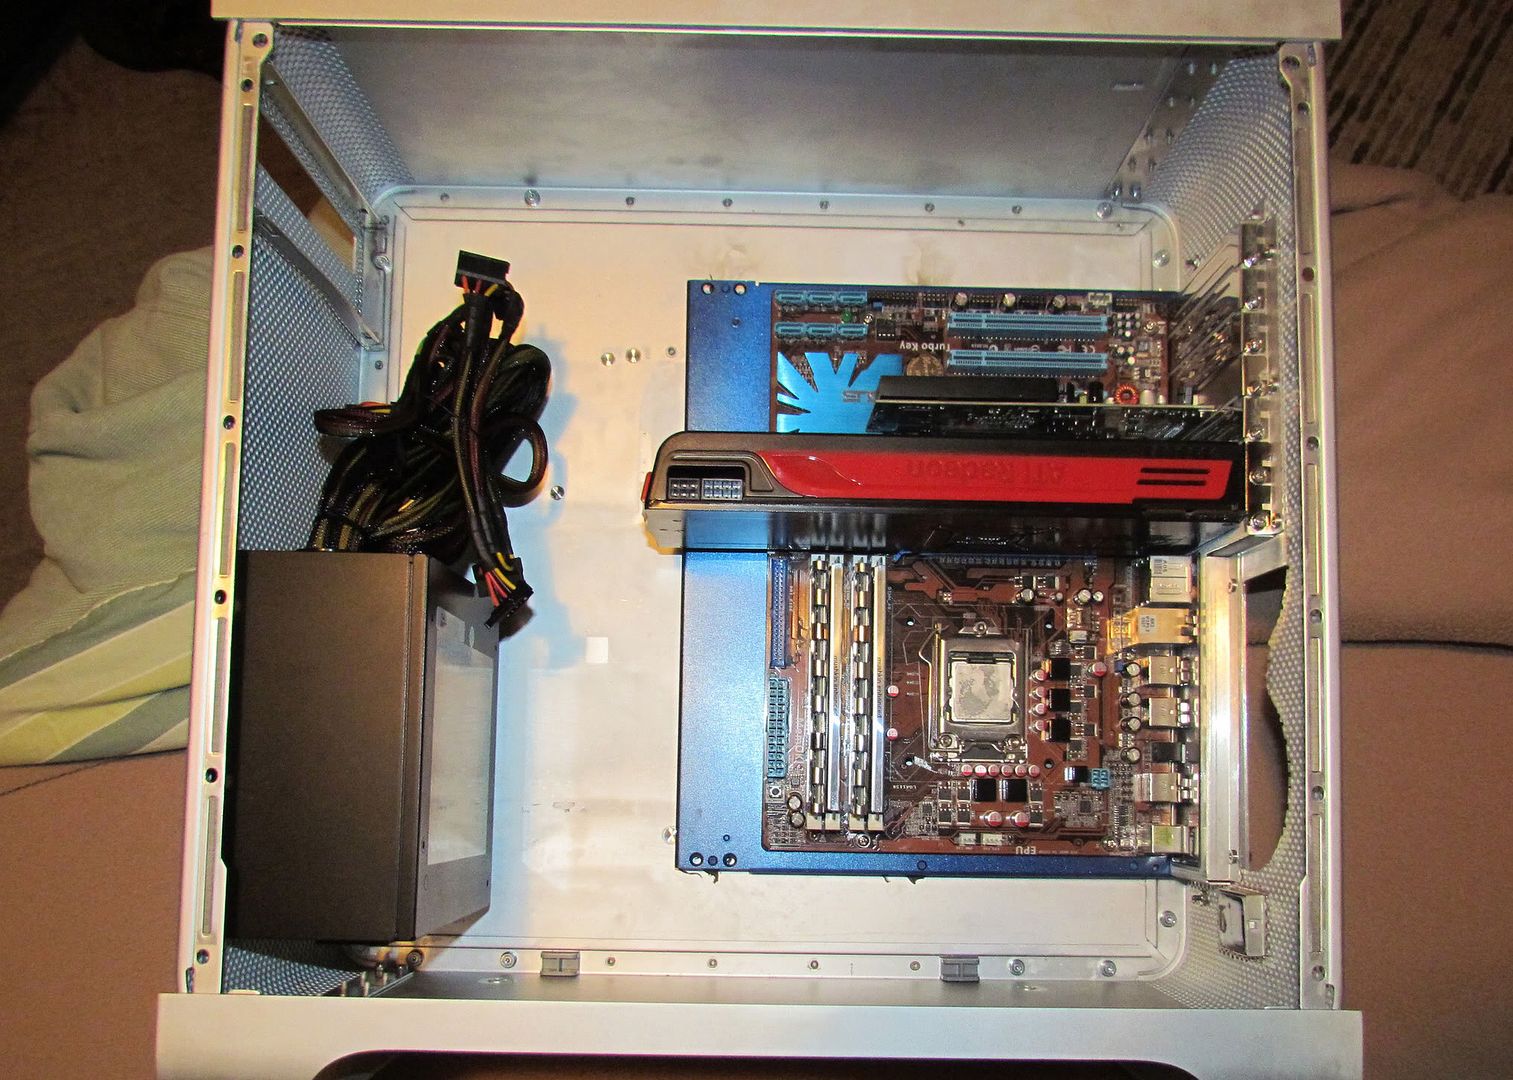
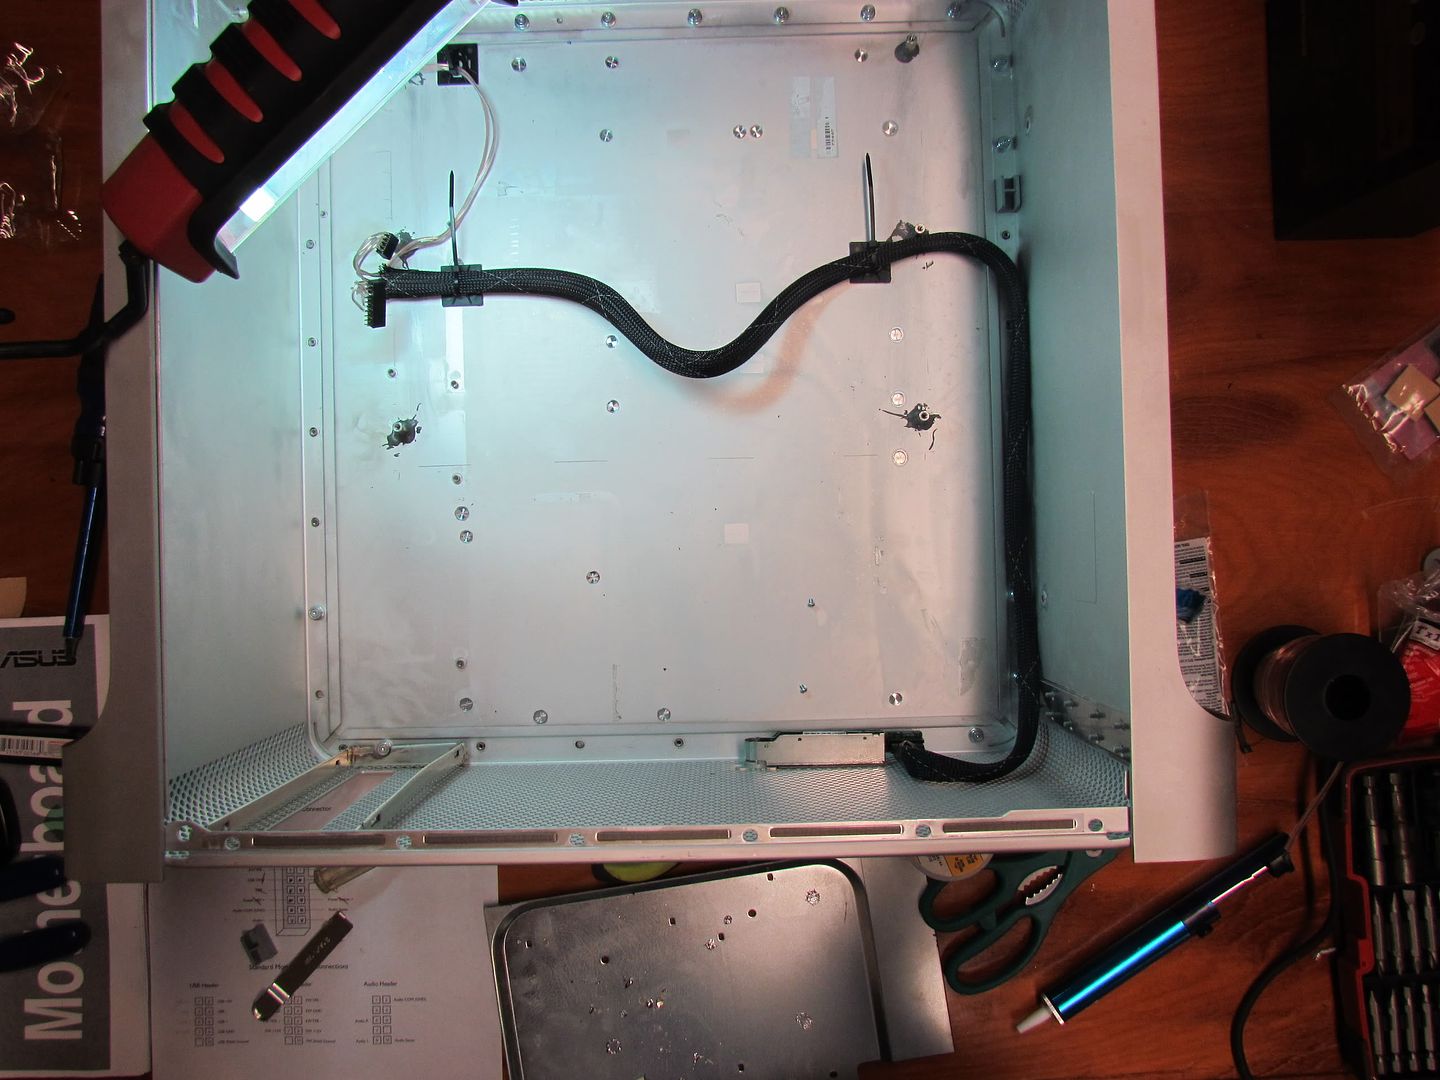
After that was done, I used some wire tie pads and some wire sheathing to make everything look nice and neat when done. That, and it lets me hide that extra 3 inches of slack under the motherboard.
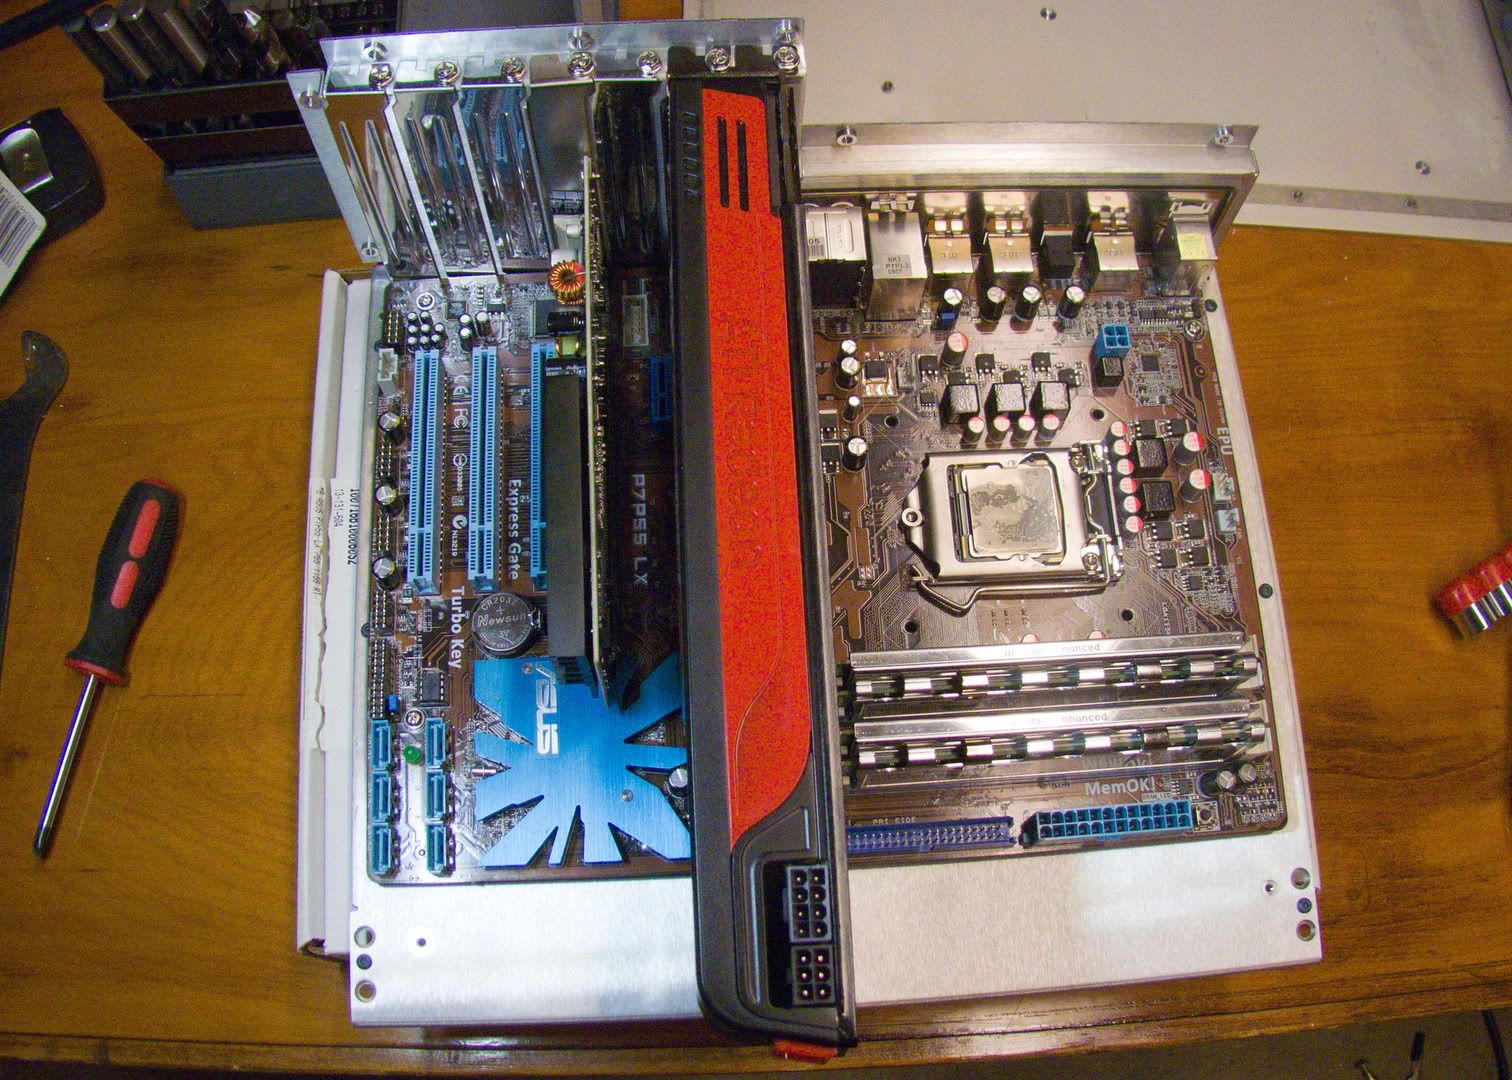
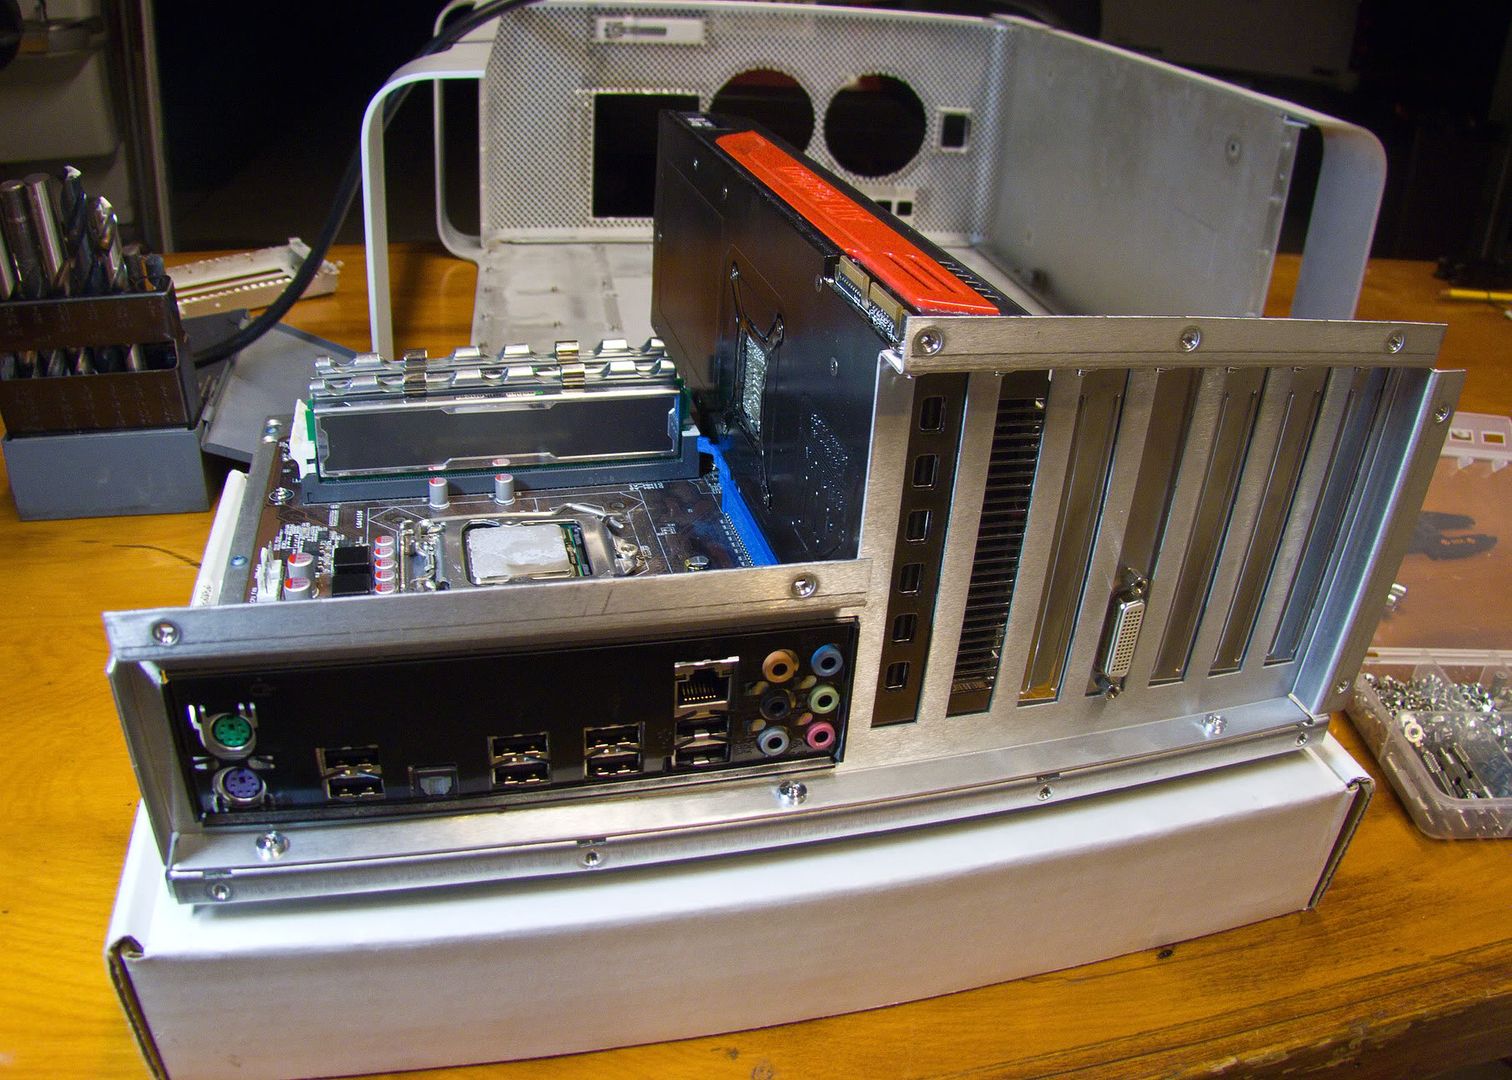
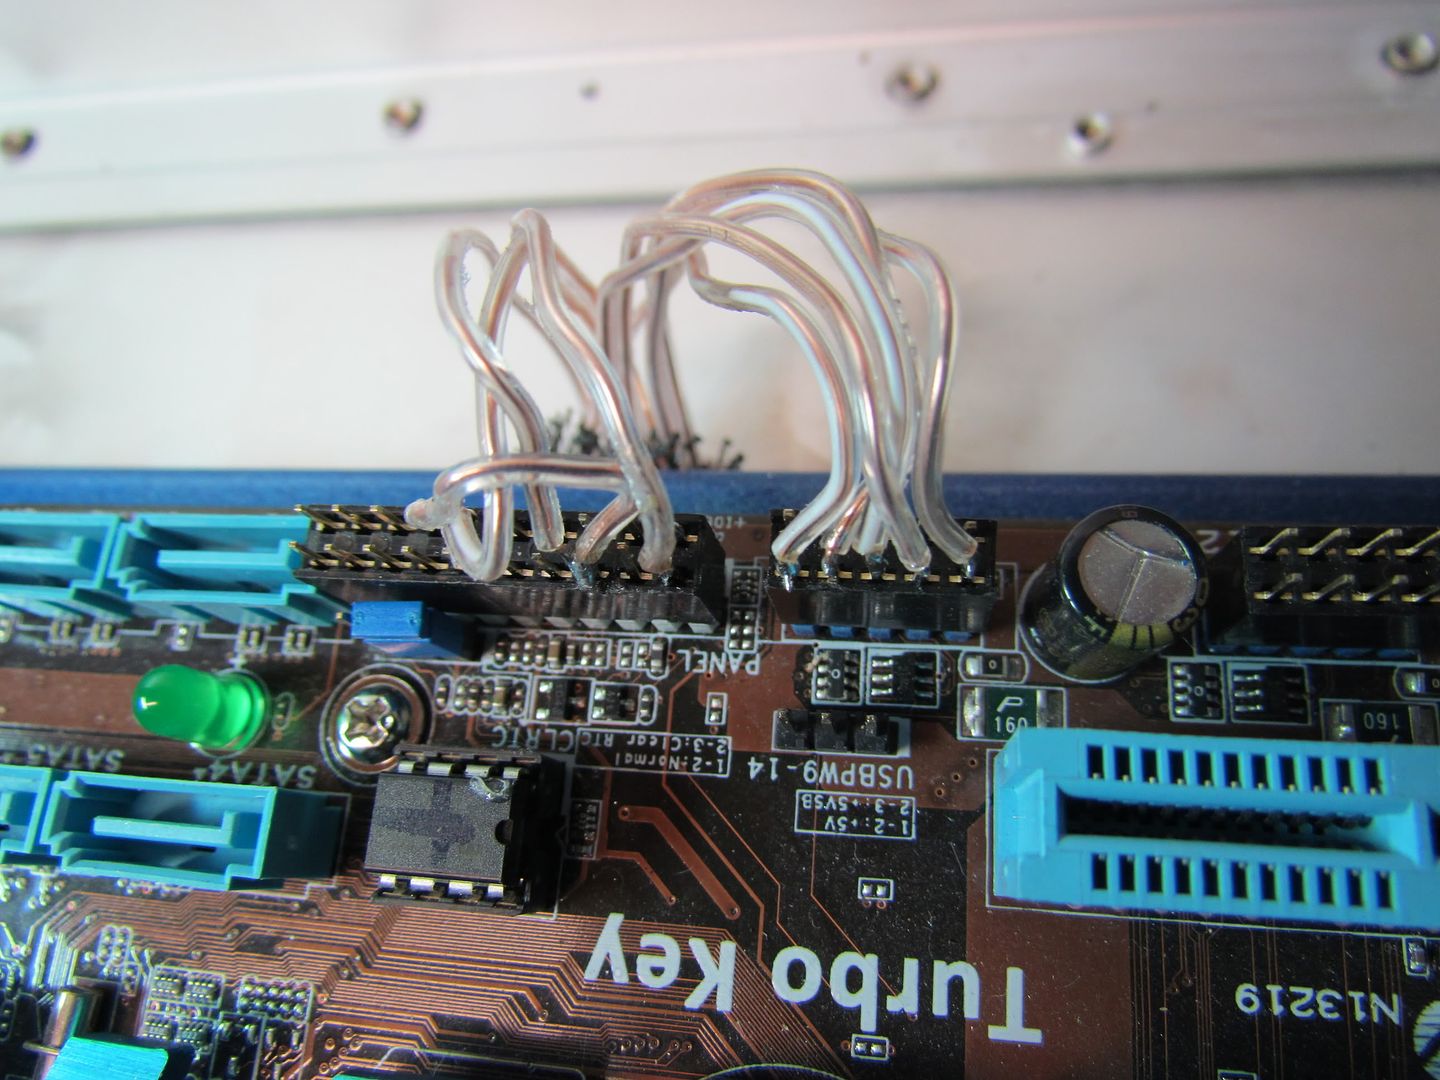
Here is what the motherboard looks like with the main, usb, and audio cables plugged in.
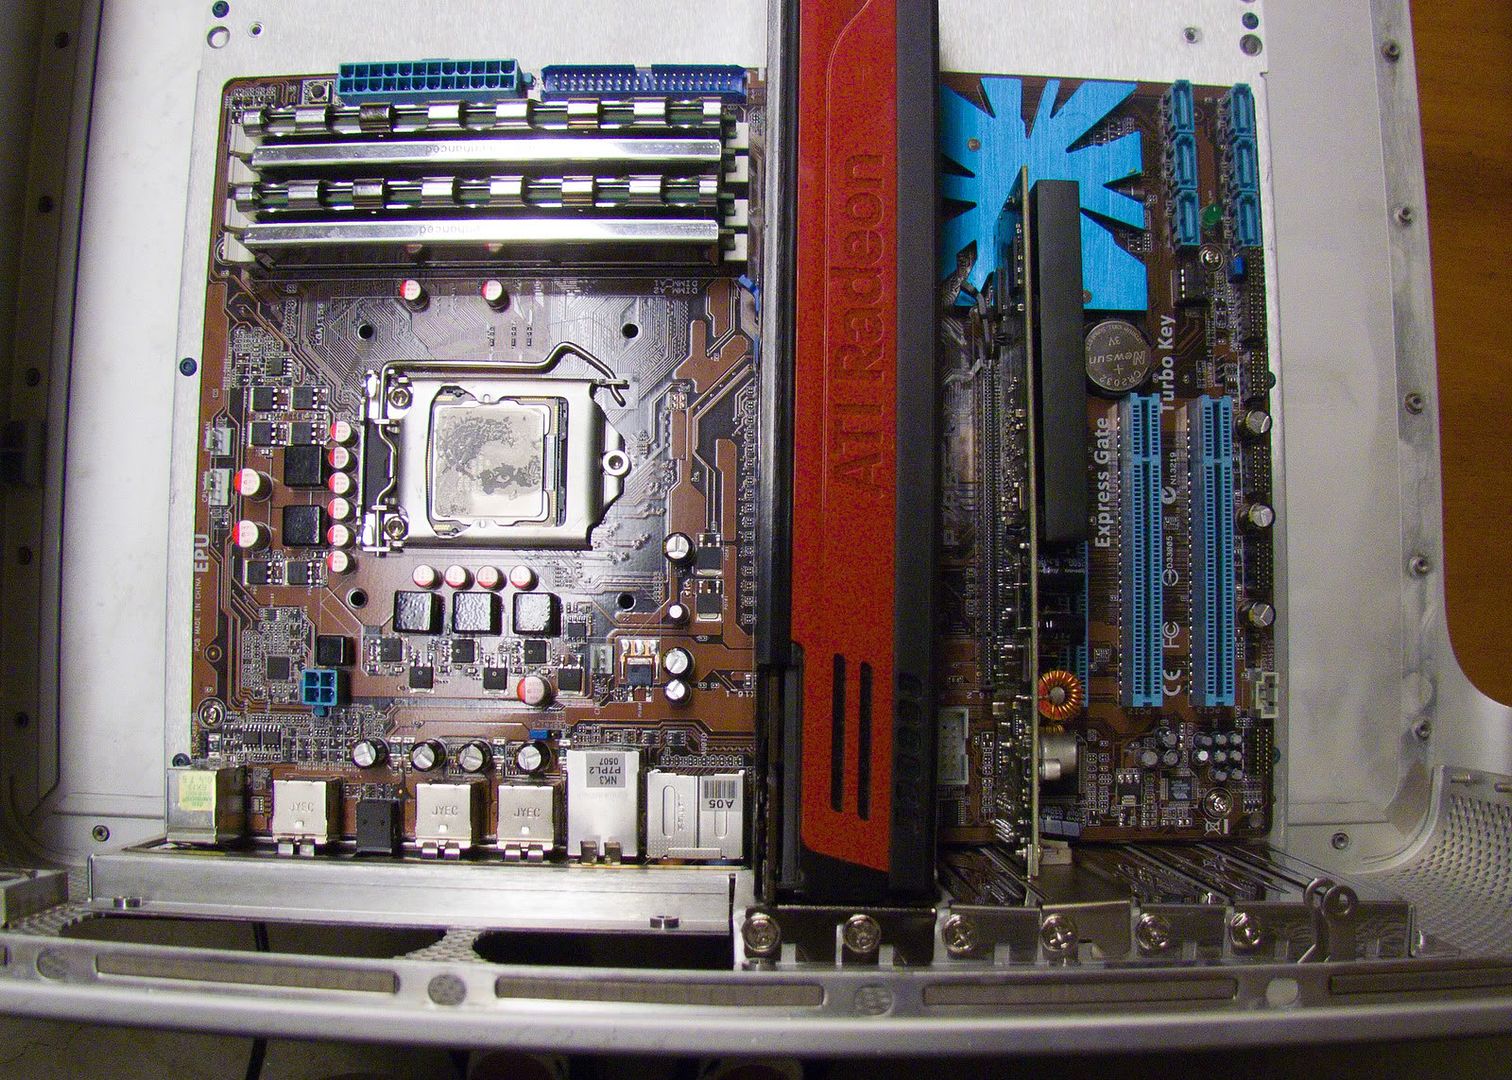
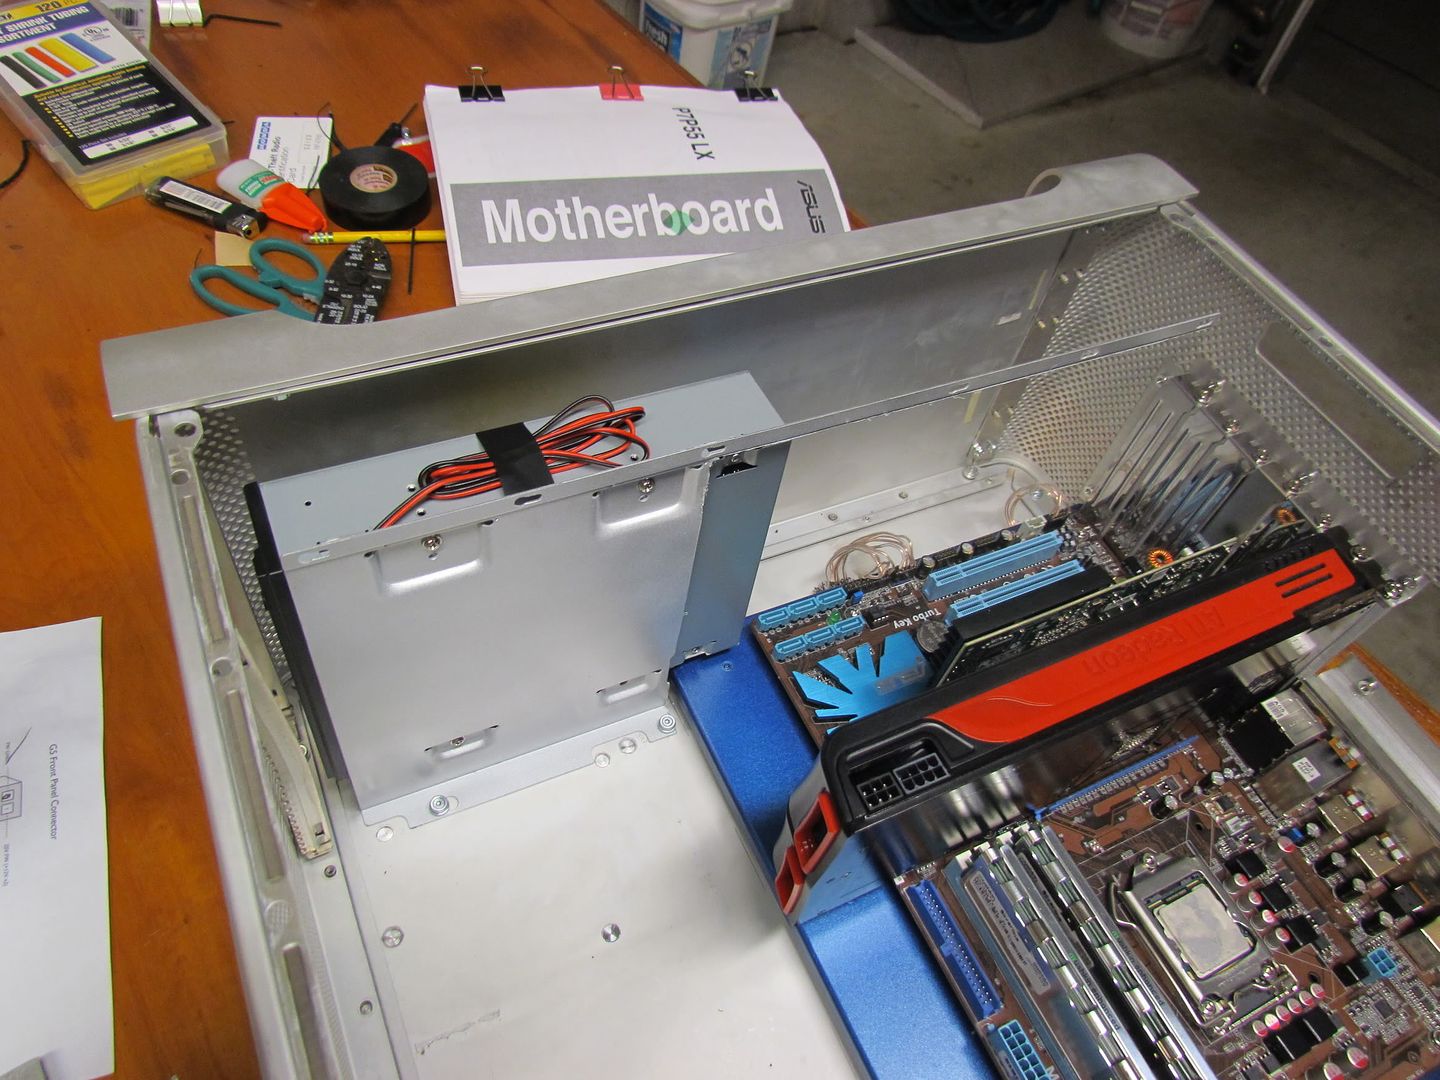
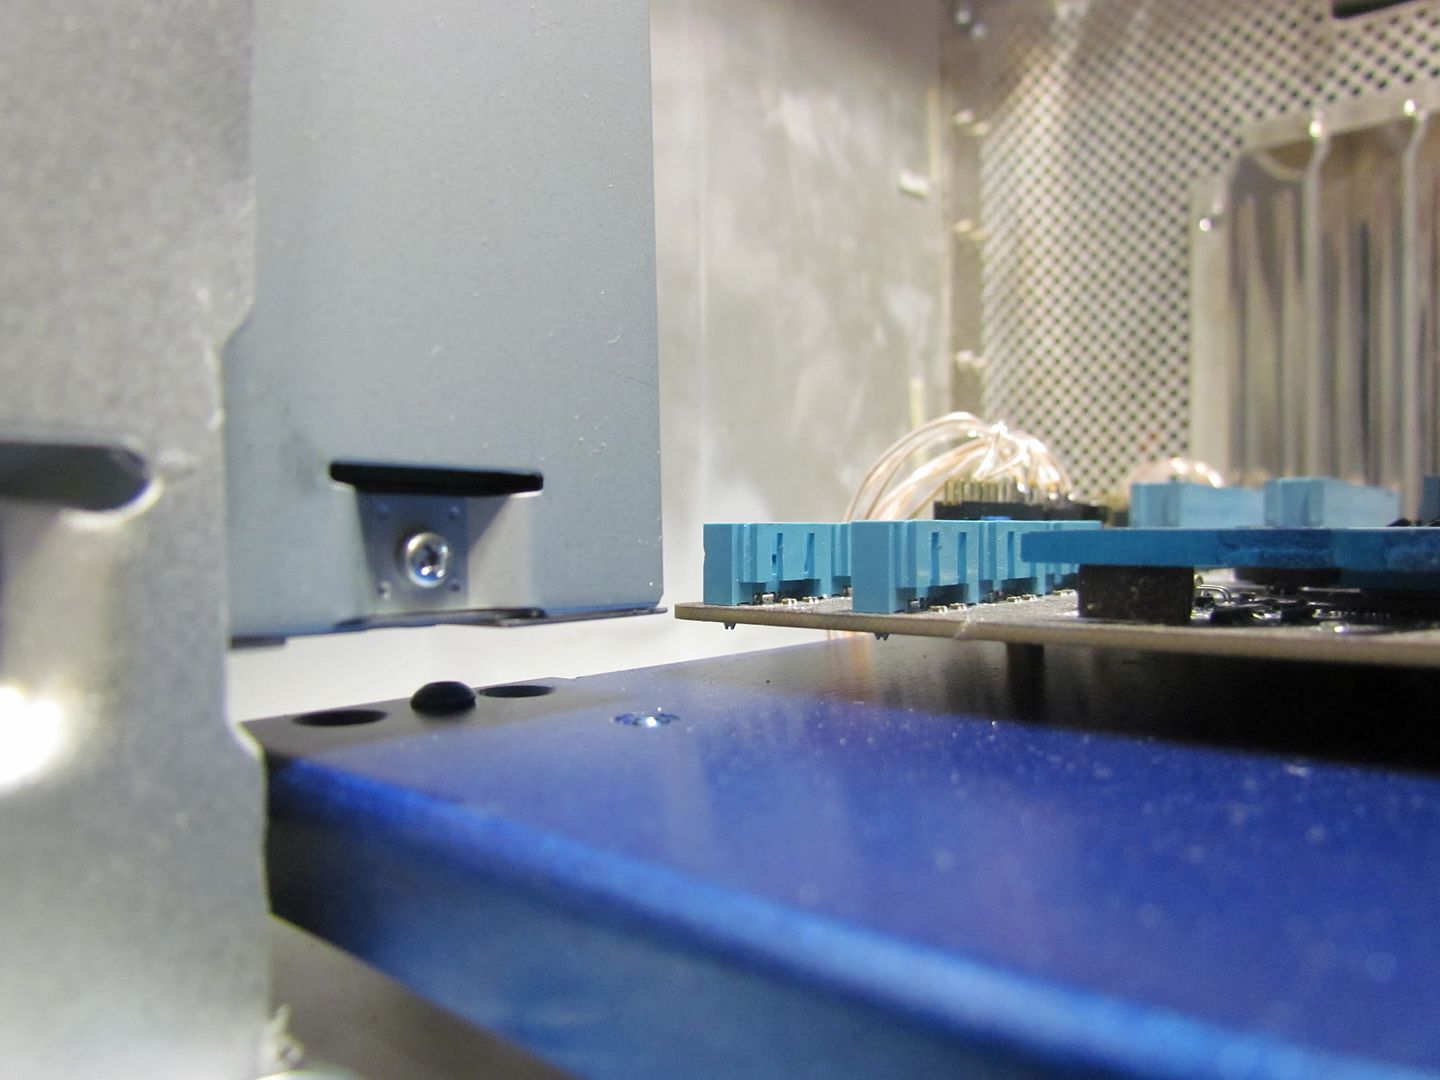
After the wiring was done, I decided to bolt in the blu ray drive too. Boy was I really lucky! The blu ray drive was a bit longer than the cd drive I tested with, and it literally just fits!
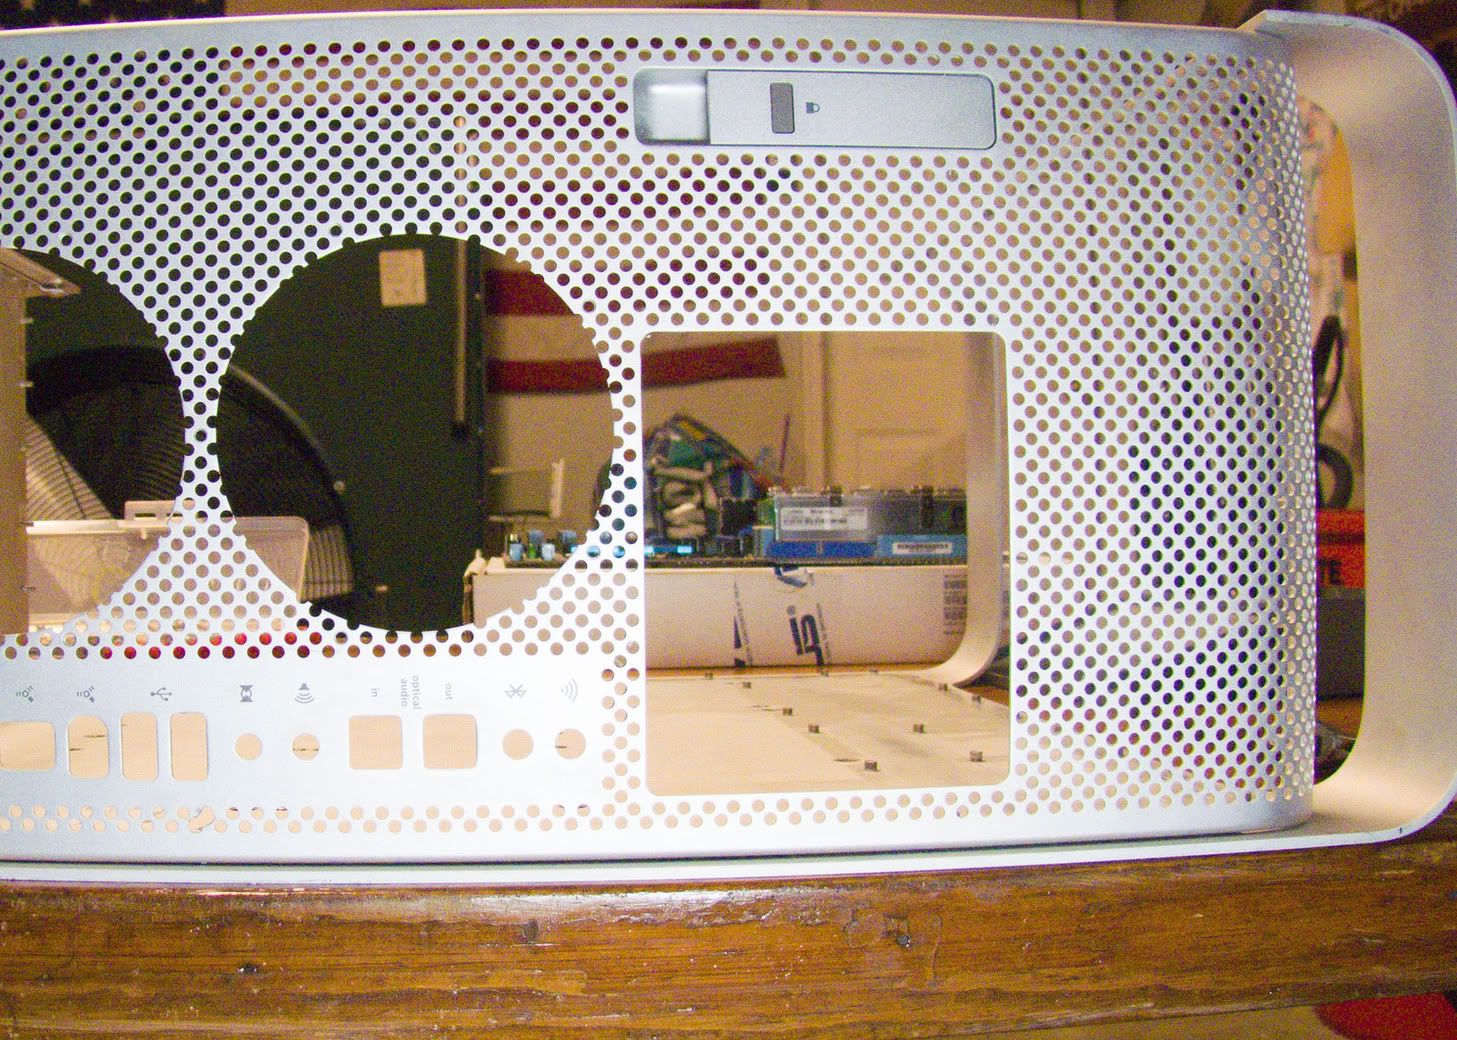
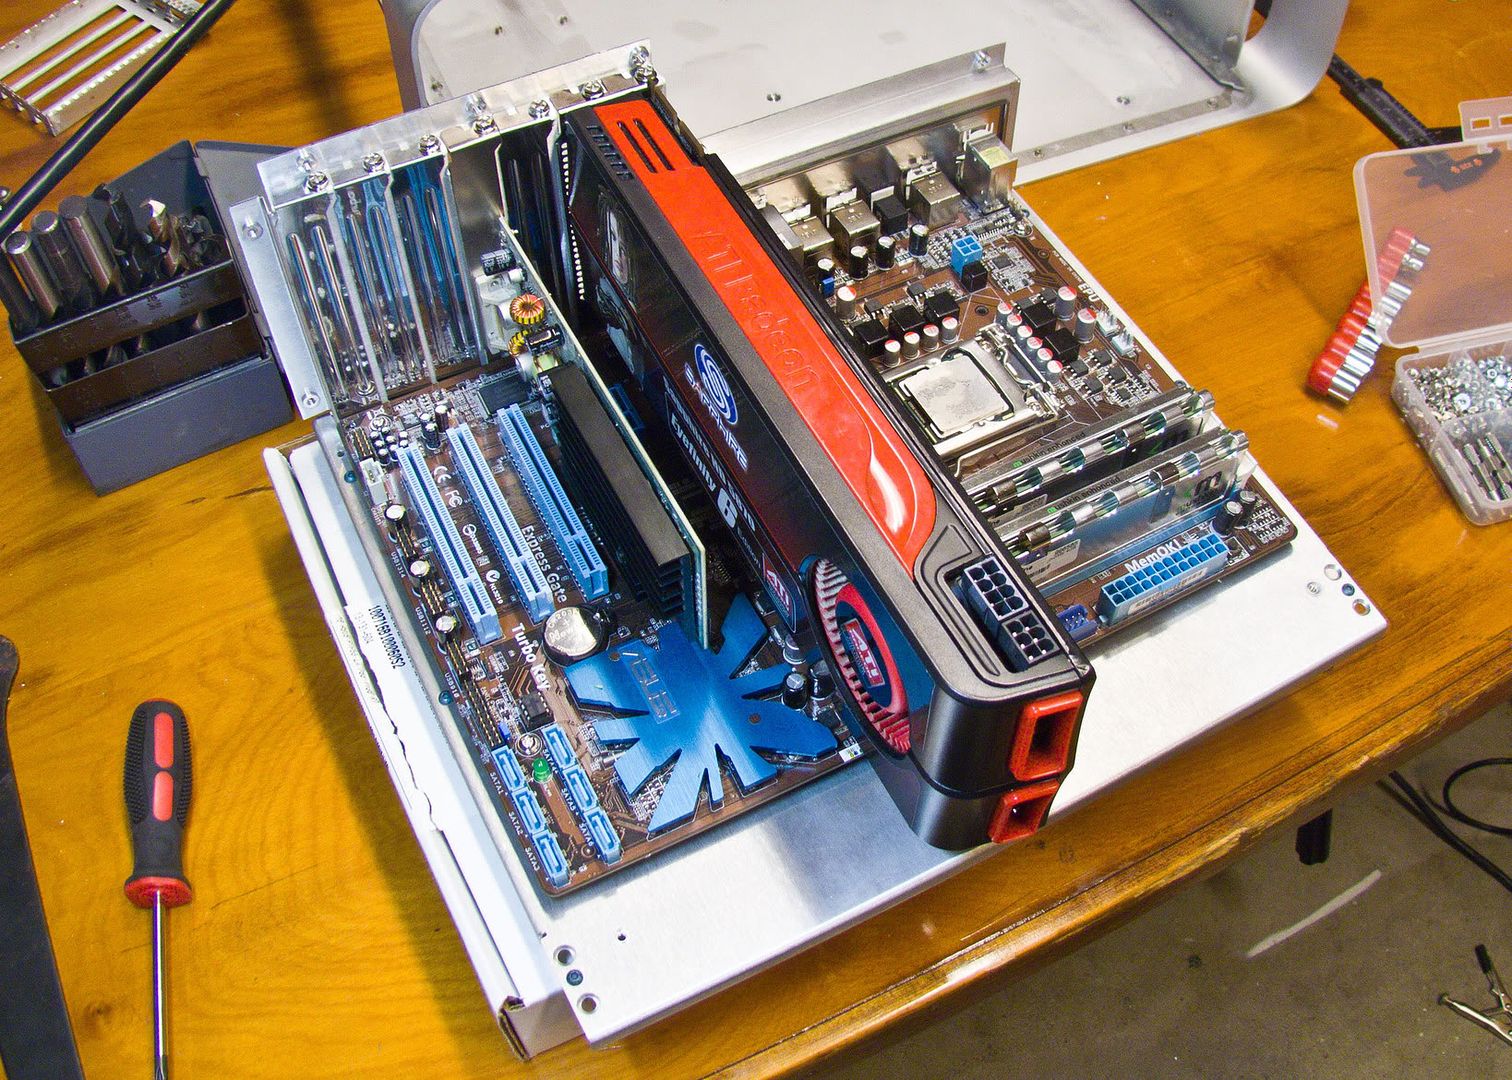
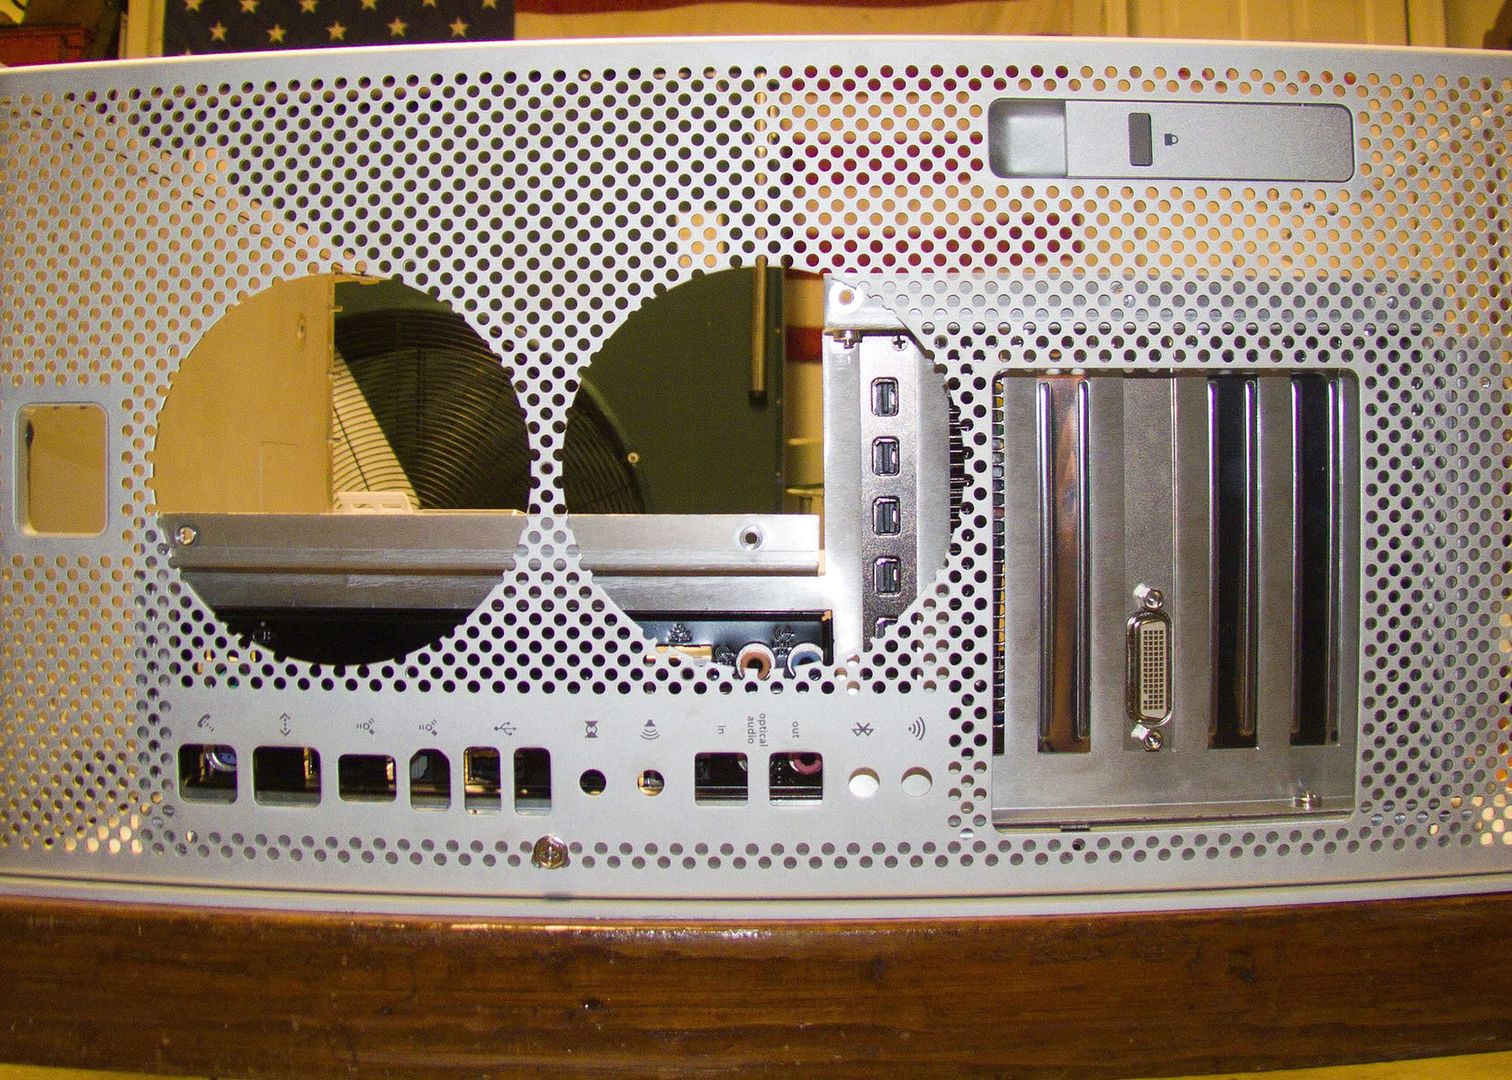
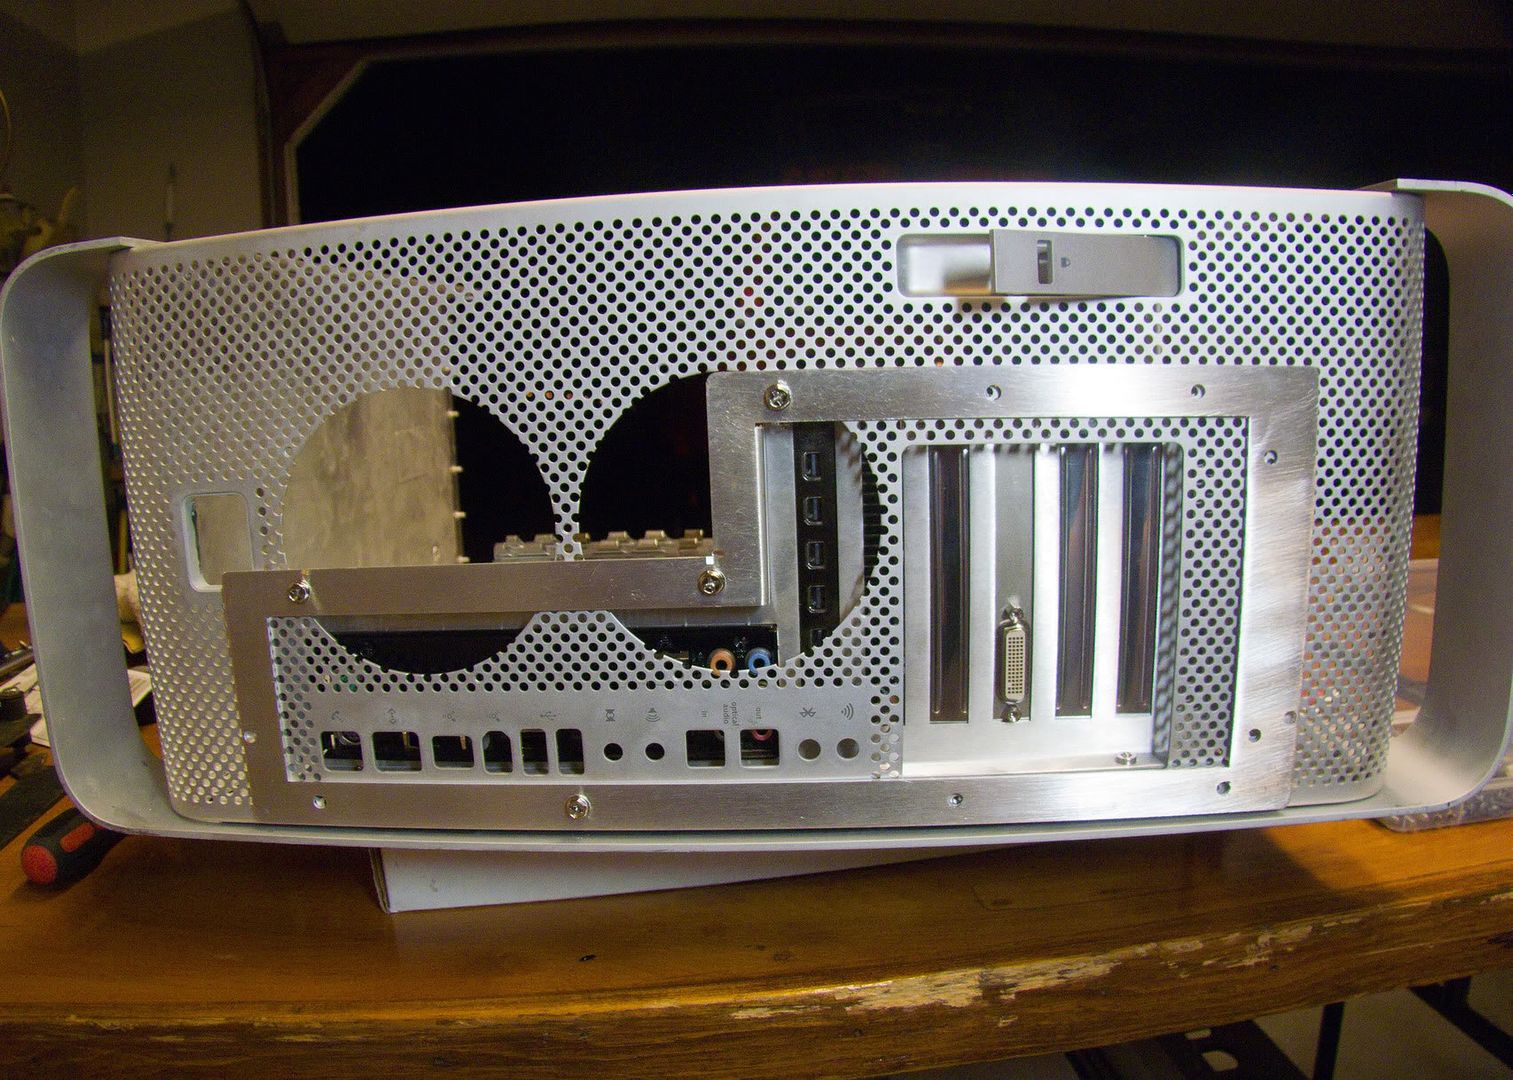
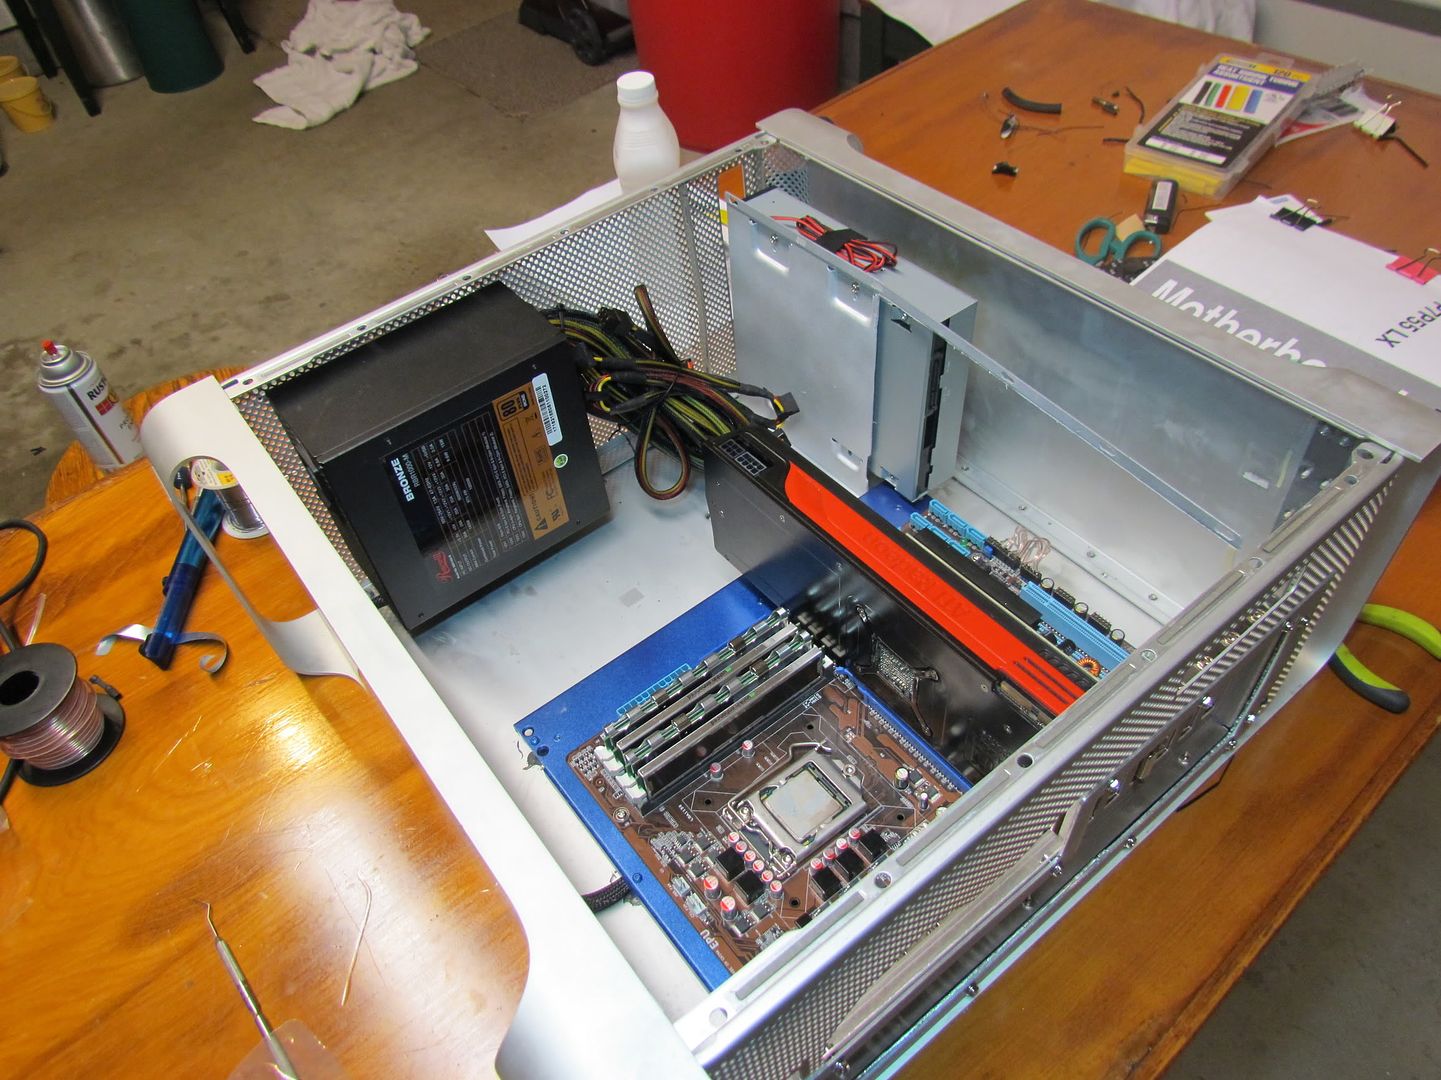
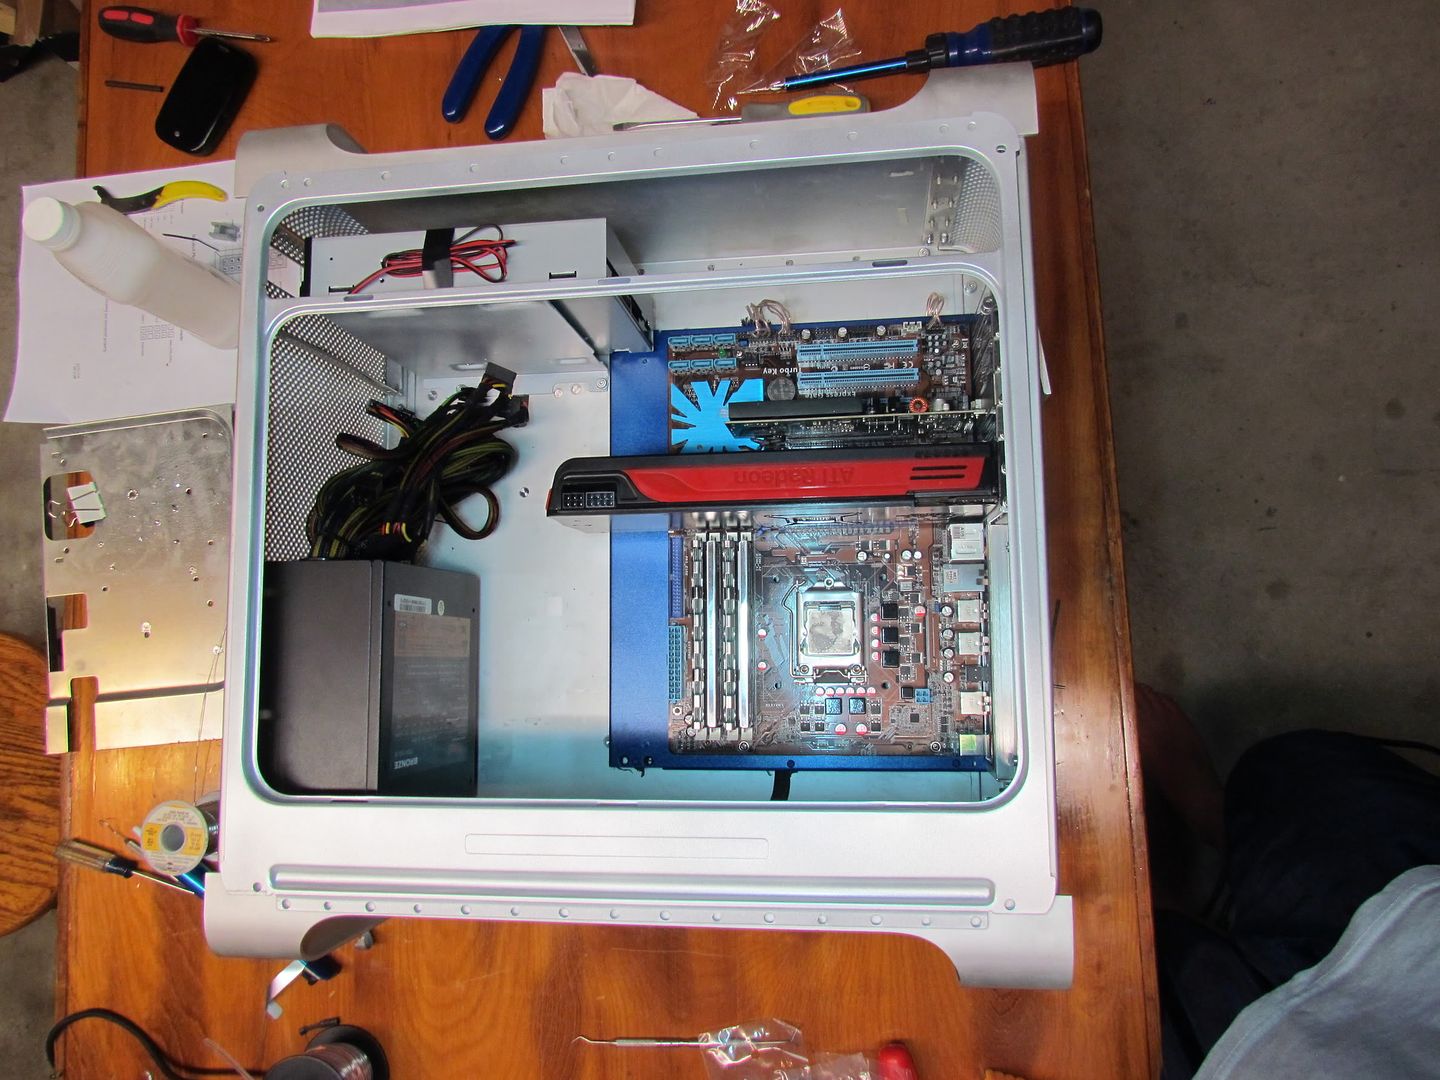
And so that was all the work I could do last night before I fell asleep, so here is the overview so far!
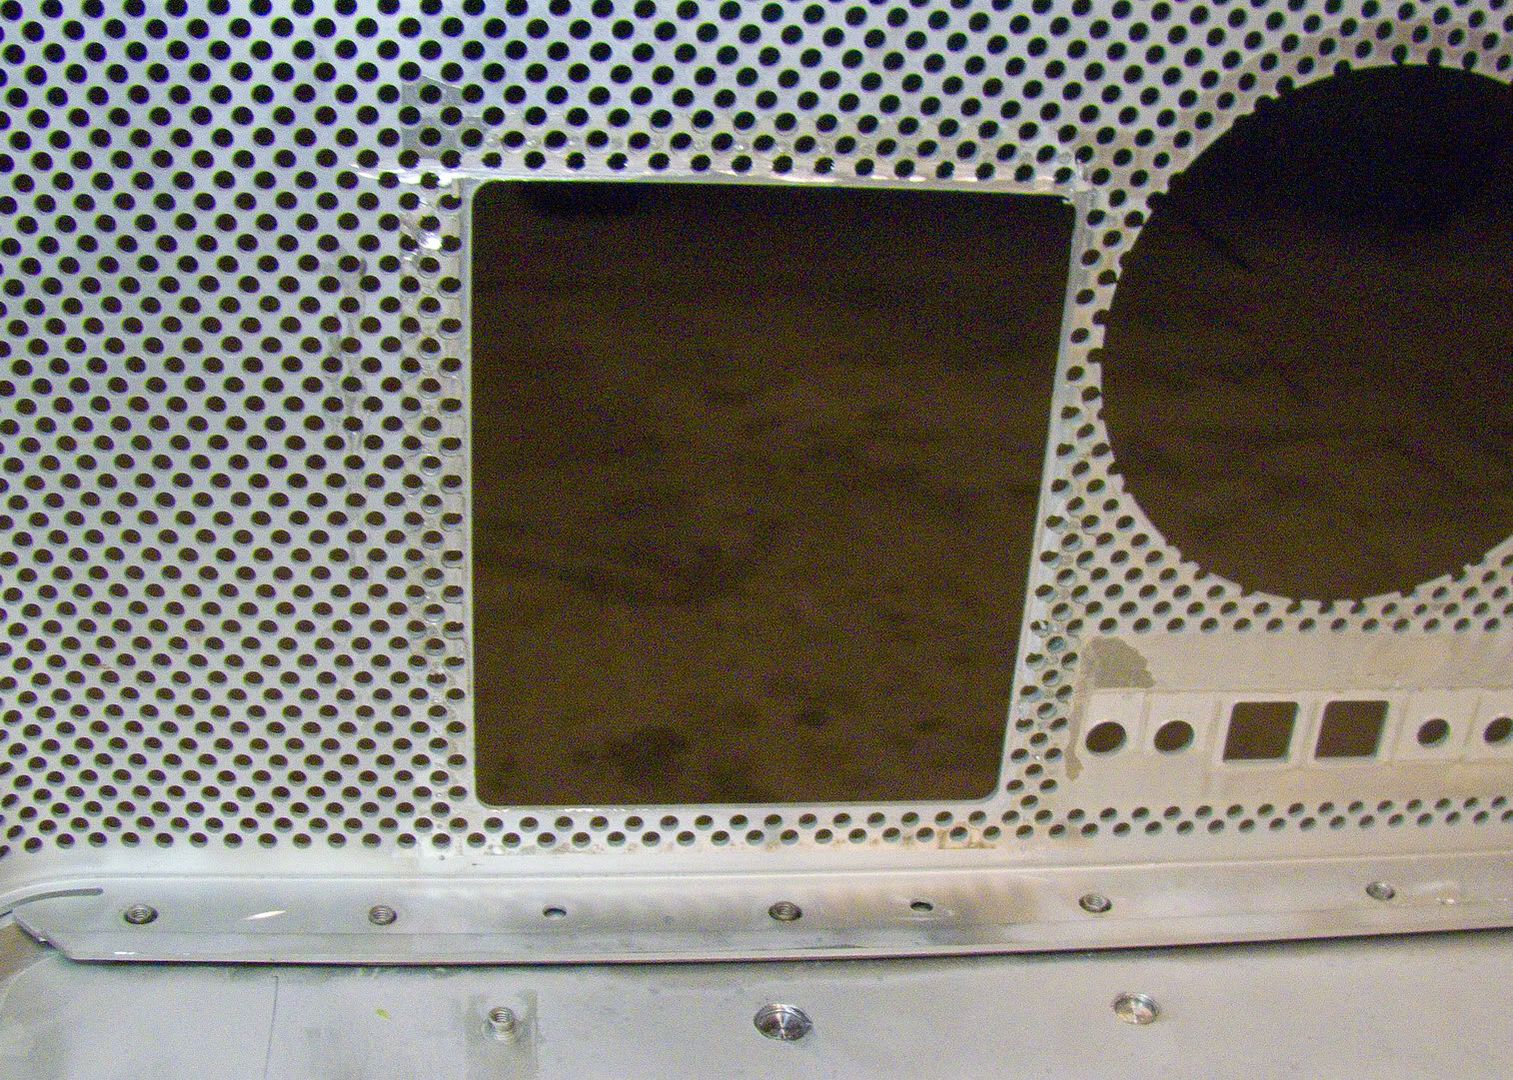
And here it is with the ugly metal front piece that the latching mechanism attaches to. I painted that too. I just need to disassemble the whole thing to actually put it in!