Contribute
Register

Upgrading my G3 to G5 mod WorkLog

Status
Not open for further replies.
Joined
Apr 13, 2011
Messages
39
Motherboard
hackintosh
CPU
i7-3770
Graphics
GTX 560 t1
Mac
  1. 0
Classic Mac
  1. 0
Mobile Phone
  1. 0
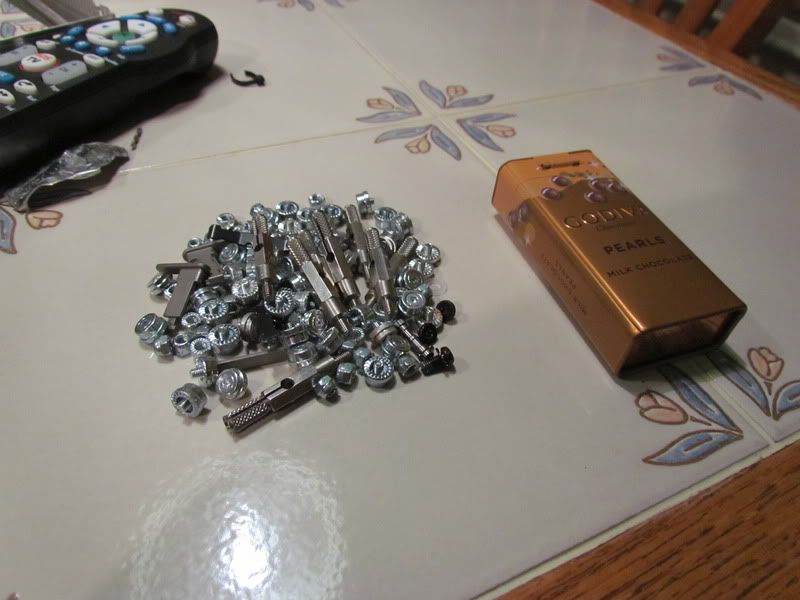
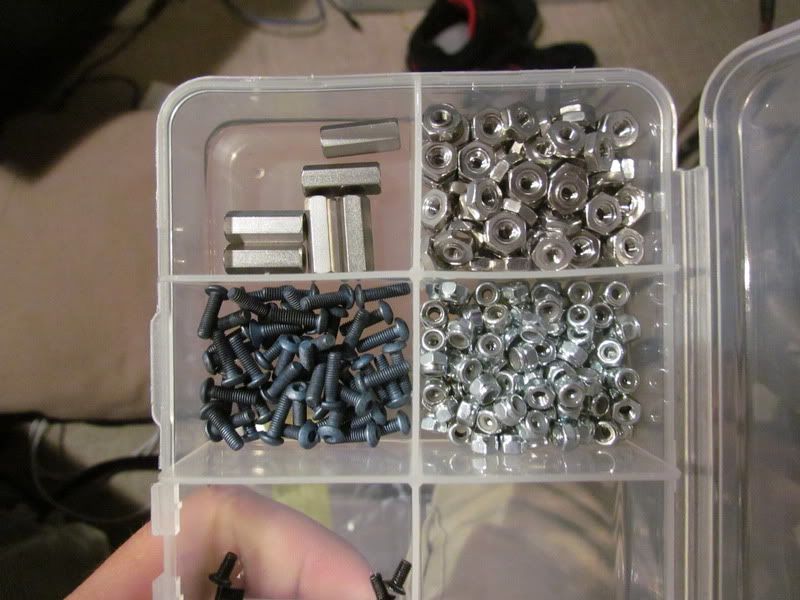
Some of you may have seen my G3 Case Mod That I have posted here, but it's getting to the point where it is a pain to work on(mainly because of the motherboard mounting on the hinged door), and so I am upgrading to a G5 case now so that I can hide alot of wiring, install a dvd/blu-ray drive along with more hard drives, and go to a 100% watercooled setup. Today I have ordered the mountain mods motherboard tray that seems to be very popular around here, as well as a bunch of M3 screws from McMaster Carr and some 2x5 pin headers to do the custom wiring for usb, audio, power switch, etc. I'll post pictures of my progress as soon as I upload them and crop them

Table of Contents:


1: The Parts List
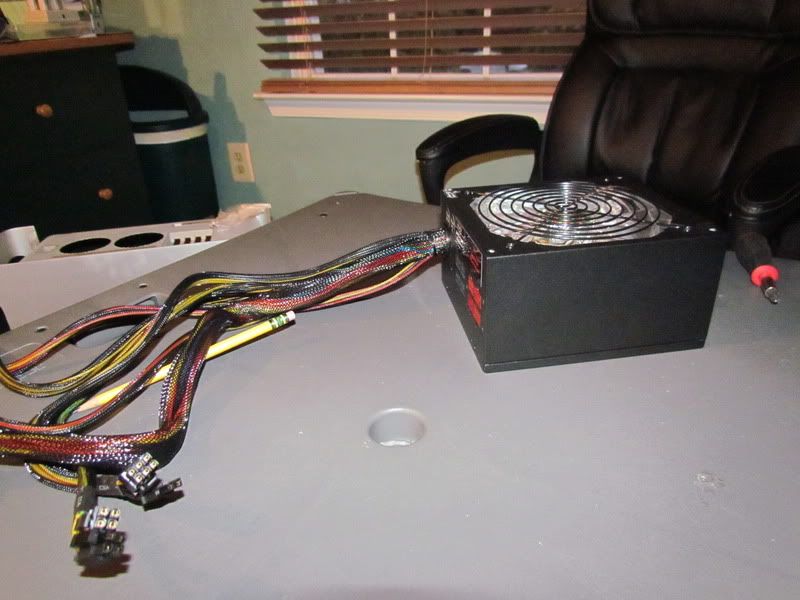
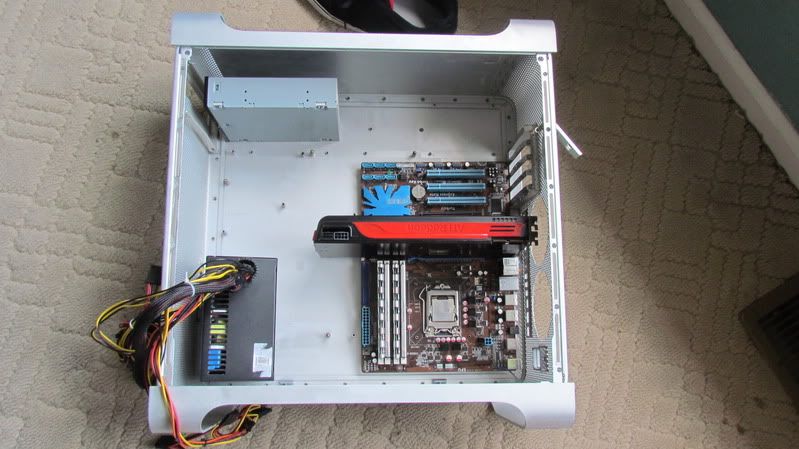
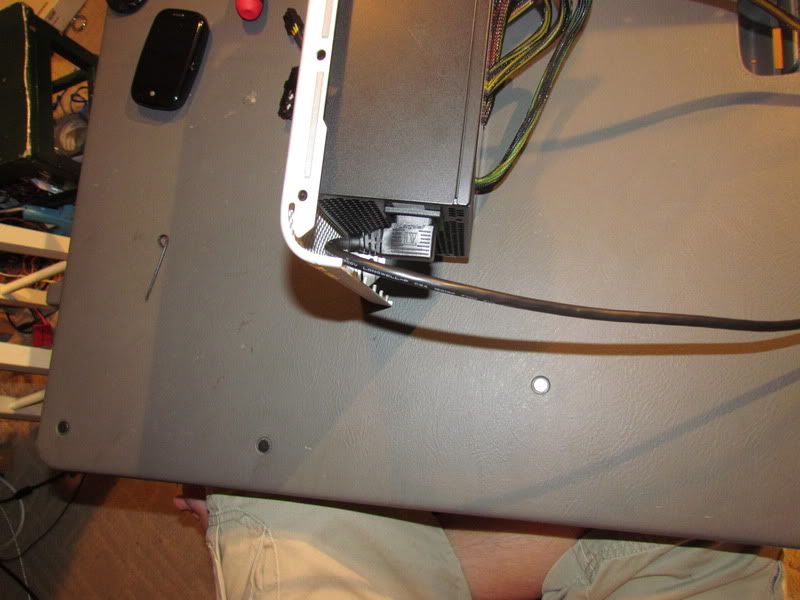
2: Layout and PSU Mounting
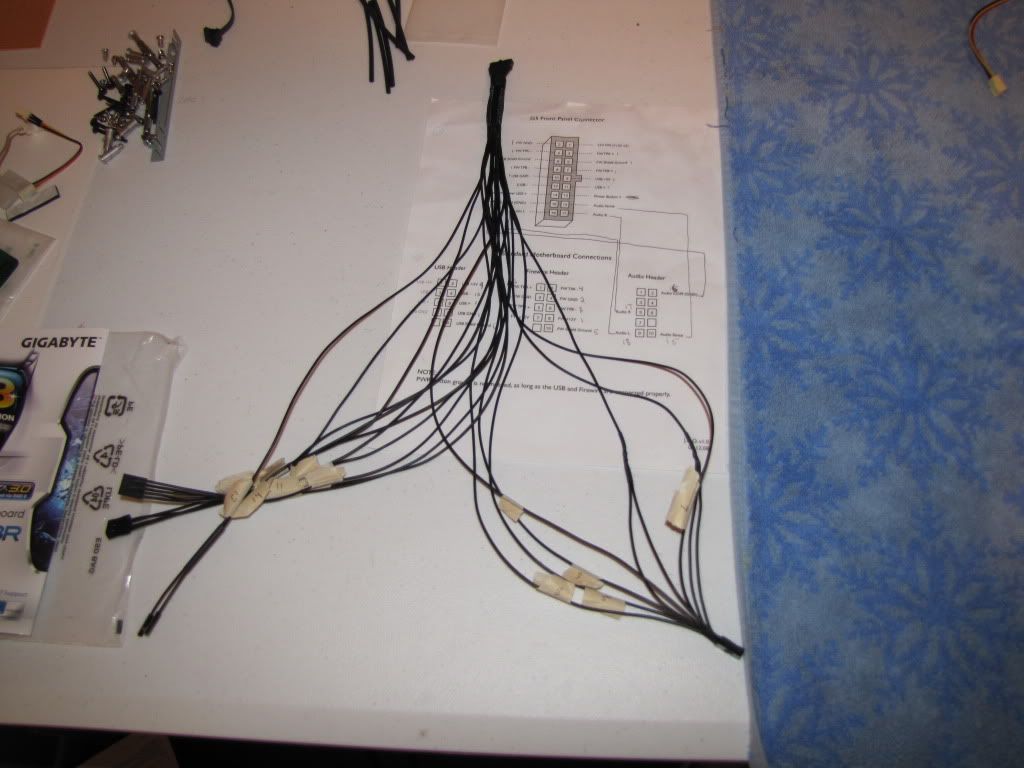
3: Front Panel Wiring Diagram
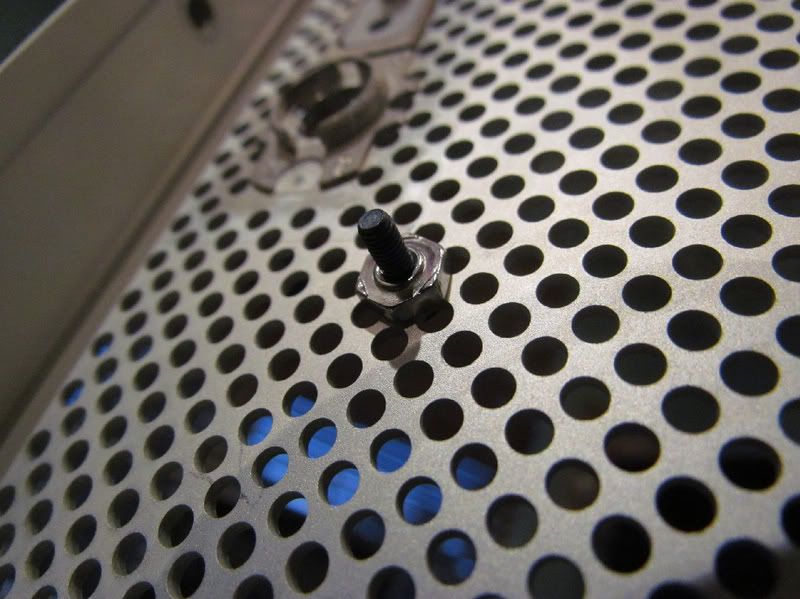
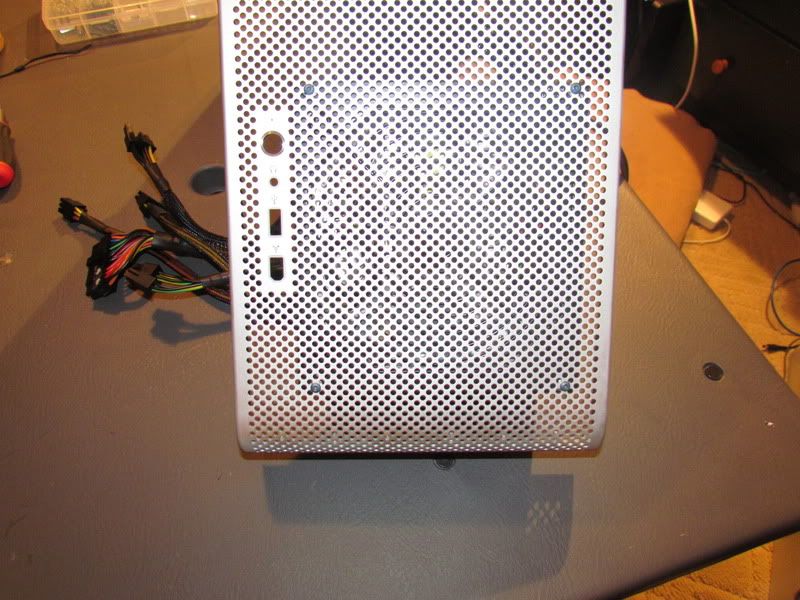
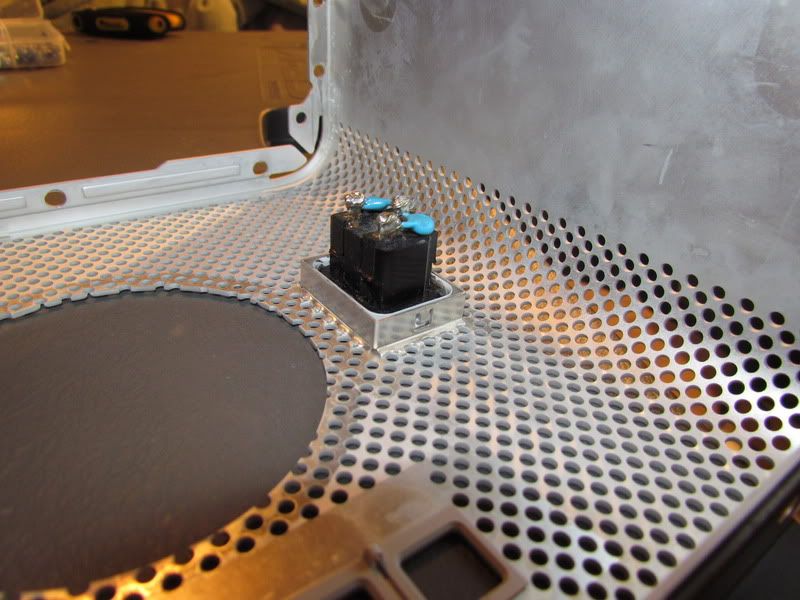
4: Fitting the Motherboard Tray
5: Feeling Blue, Carving a Power Mac
6: Blu-Ray Burner, Front Panel Cable, and A Little Bit of Paint
7: Water Cooling! Graphics! and Paint!
8: Finally! What You've All Been Waiting For!
 
For the original G5 stand offs i used m3.5 screws. Like the ones used in sockets and light switch fitting (in the UK anyway). Keep us posted!
 
I took the plunge and bought a Water-cooling system from http://www.swiftech.com/ ! I got the Apogee XT CPU waterblock, KOMODO full GPU waterblock for my ATI radeon 5870, MCR220 2x120mm radiator, MCRES Resiovoir, and a MCP655-B pump. Along with it I got some 1/2" ID tubing, and PC ICE in UV Electric Blue. So far, I am still waiting on everything except the screws and nuts, my new power supply, and the pc ice.

And now, PICS!

IMG_2796.jpg

Washing all the crud that was left inside from the previous owner. Dummy me then tried to take it out just after it finished its heated dry cycle, and melted some skin onto the case door. Aluminum sure does conduct heat...

IMG_2792.jpg

The giant pile of hardware needed just to get the case apart

IMG_2951.jpg

Half inch m3 standoffs, weldable m3 nuts, blue anodized M3x10 buttonhead screws, and m3 nylock nuts. I <3 McMaster Carr

IMG_2944.jpg

PC ICE Coolant. It's actually blue, not black.

IMG_2946.jpg

Rosewill 1000w (semi)modular PSU
 
So the first pic below is what I will be trying as my basic layout that I am going to build off of. In addition to what you see here, my 5x 2.5" hard drives will be where they were originally located. I still have to work out radiator space.

IMG_2886.jpg


What luck I have! I chose M3 hardware because I do have a decent amount of M3 stuff lying around from hobby grade remote controlled cars, and what do you know! not only do the M3 screws fit perfectly through the perforated mesh, but the screws that hold the PSU case together are m3, and those screws match up perfectly with the mesh pattern! So I was able to put 4 screws through the front, with a nut on the back to act as a spacer, and presto: my PSU is mounted!

IMG_2948-1.jpg

Screw and nut

IMG_2952.jpg

You can barely see the PSU through the mesh.

IMG_2952.jpg

There it is from a side view.

I have this awesome power cable that comes out on a 90 instead of straight out, so that can plug in to the PSU, and when I get everything close to finalization, I will cut the power cord off and solder it to a socket that is sitting in the stock socket location

IMG_2955.jpg

The sideways cable lets me keep the PSU as low as possible

IMG_2956.jpg

Here is the socket I will cut and solder that cable to


Now I am just waiting for my mobo tray and Water kit to come in before I start doing any more fabrication
 
Thanks! not to sound corny or anything, but your build is acting as a huge influence towards mine!
 
Perfect! Thanks! Now I have something to work on while I wait for my hardware to come in!
 
Status
Not open for further replies.
Back
Top