Hi
@CaseySJ .. i ordered your same motherboard and i am waiting it .. i will try to use it with an 8700k processor .. do you think that i have to change something in my efi configuration? It will be my first hackintosh so i dont understand much ...but i try to follow this comunity and study hard from months . I am a music producer so i hope to connect my uad 2 octo satellite and my lynx hilo using TB .
Thanks for your hard work
I posted 2 different EFI folders in
Post #116 that should apply to your case without any modification. But as we're seeing with
@NoiseCoalition above, we cannot assume that things will work exactly! So be prepared for some tweaking...
I will create the Build Guide for this system soon, but in the meantime:
1. Create the USB installer with UniBeast using a USB 2 or USB 3 flash disk no bigger than 32GB. I used a
Samsung Bar Plus USB 3.0 flash disk and inserted it into a USB 3 port on the rear I/O. This drive has 200 MB/s read speed, and Mojave was installed very quickly.
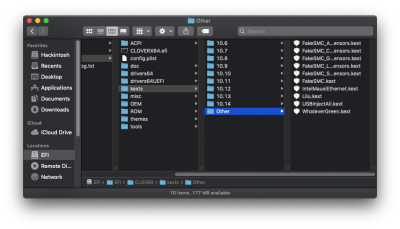
2. When UniBeast is done, mount the newly created EFI partition on the USB disk by running
EFI Mounter v3. Then backup the entire EFI folder and replace it with
CaseySJ-USB-Installer-EFI-Folder (rename the folder to EFI).
3. Make sure there are no PCIe cards in the system. Then download and flash the
F4 BIOS to the motherboard by copying the BIOS file to the root folder of a different flash disk. After F4 BIOS is installed, enter BIOS Setup and change BIOS Settings as described in Post #1. And then remove this USB disk.
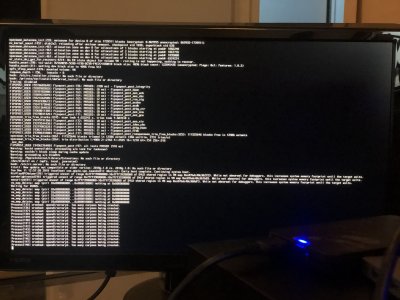
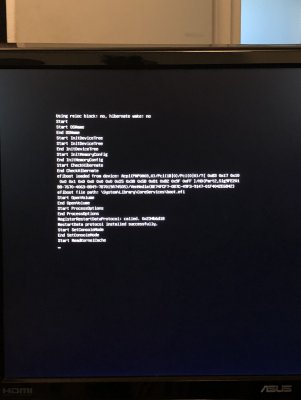
4. Insert the Mojave Installer USB disk in the system, then if you're still in BIOS Setup, choose "Save and Exit". When system reboots it should automatically boot from the Mojave Installer USB. If it does not, press F12 during boot and select the Mojave USB disk.
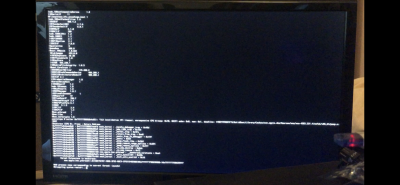
5. If you encounter "Couldn't allocate runtime area" or "Error allocating xxxx" messages on boot, try replacing
AptioMemoryFix-64 in the
EFI/CLOVER/drivers64UEFI folder (on USB disk) with
OsxAptioFix2Drv-free2000 as described in Post #1 or a couple of posts before this one. Then reboot the system and see if the installation begins correctly.
For Post-Installation, you can again use EFI Mounter v3 to mount the Mojave EFI partition (usually disk0s1), backup the existing EFI folder, and replace it with
FINAL-CONFIG-RENAME-TO-EFI (also in Post #116). If you have an AMD RX580, you can install that in PCIe slot 1 (x16) and then reboot the system (in this case connect display monitor to a video port on the RX580). If you're not using the RX580, simply delete this file from the
EFI/CLOVER/ACPI/patched folder on the Mojave EFI partition:
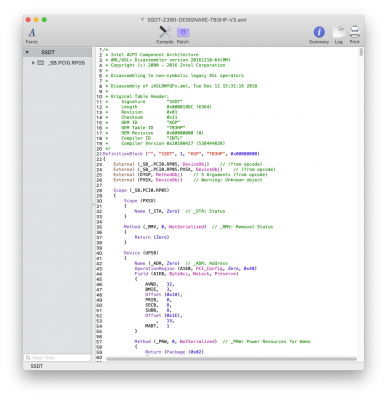
SSDT-Z390-DESIGNARE-RX580.aml.
Please note that some people are reporting issues with their Thunderbolt 3 audio interfaces (see earlier posts in this thread). Certain makes/models of audio devices are working better than others.
By the way, this is an awesome motherboard and if I had to do it all over again, I wouldn't change a thing!

")