
- Joined
- Jun 2, 2013
- Messages
- 88
- Motherboard
- Gigabyte GA-H77M-D3H (revision 1.1)
- CPU
- i3-3210
- Graphics
- EVGA GeForce GTX 660 2GB
- Mac
- Classic Mac
- Mobile Phone
mindhormone's BoxerBox
GA-H77M-D3H | i3-3210 | GTX 660

ComponentsGA-H77M-D3H | i3-3210 | GTX 660
1. Gigabyte GA-H77M-D3H (revision 1.1) LGA 1155 Motherboard:
http://www.amazon.com/dp/B007R21JYA/
2. EVGA GeForce GTX 660 2GB GDDR5 Graphics Card:
http://www.amazon.com/dp/B00966IREK/
3. Kingston HyperX Blue 8GB 1333MHz DDR3 RAM:
http://www.amazon.com/dp/B004DDI0IE/
4. Hitachi 1TB 7200rpm HDD:
http://www.amazon.com/dp/B003GSLDSG
5. Intel Core i3-3210 dual-core CPU (3rd generation "Ivy-Bridge") 3.2GHz LGA 1155 processor:
http://www.amazon.com/dp/B00B4BJTCY/
6. CoolerMaster Elite 315 chassis (Elite 310 outside country):
http://www.amazon.com/dp/B00E1IY0WG/
7. CoolerMaster Extreme Power Plus Thunder 600W PSU:
http://www.amazon.com/dp/B001NJ0CZA/
Already Owned
1. Apple Wired Keyboard with Numeric Keypad:
http://www.amazon.com/dp/B005DLDTAE/
2. Dell S2440L 24" Full-HD (1920x1080) display:
http://www.amazon.com/dp/B009H0XQRI/
3. Logitech M310 Wireless Mouse:
http://www.amazon.com/p/B003I4FHNA/
4. OS X Mountain Lion installer from the Mac App Store.
http://itunes.apple.com/us/app/os-x-mountain-lion/id537386512?ls=1&mt=12
Comments
This machine was built by me mainly for development purposes and my studies. I also do lots of gaming in my free time. Building a Hackintosh is like a once-in-a-lifetime experience, only you can build how many ever you like provided the money is available.
There were many ups and downs, many difficulties I had to face to get everything to work. Spending 3-4 hours on Chat, the moderators doing their best to help me out was becoming very common and took place very often. I would especially like to thank PJALM for his amazing support through these difficult times, whether it was with sleep & wake issues or getting proper functionality, he was there to help me. Thanks PJ!

I am not much of a gamer, but the GTX 660 was certainly an amazing addition to my build. I am planning on upgrading the processor to something more powerful in the near future. For now, I think i3 gets my job done like a breeze.
The build works perfectly with full QE/CI acceleration and sleep/wake working too (took me precisely 5 months to get this working
Let's start with BIOS settings.
First off, when you see the Gigabyte screen, press the Delete key on the keyboard to take you to the BIOS. Then follow along....
Set Intel Virtualization Technology to Disabled.

Then change SATA Mode to AHCI.

Set Internal Graphics to disabled as we will be using discrete graphics and also because HD 2500 causes problems.

Set the High Precision Event Timer [HPET] to Enabled.

Change Internal Graphics Standby Mode and Intel Graphics Deep Standby Mode to Disabled if it isn't already.
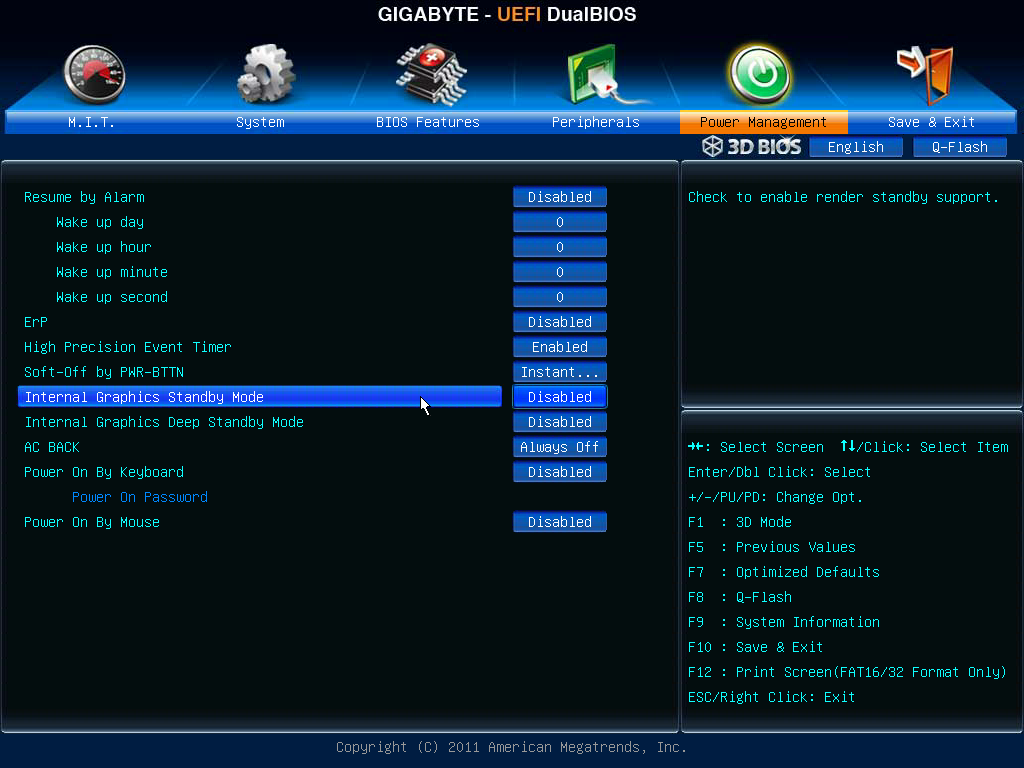

Then just save changes and restart.

Installation
I have a video on how to make your UniBeast flash drive. I'll attach a link here so watch that if you have problems with making a UniBeast flash drive or if you don't know how to make one. Just make sure to download a copy of Mountain Lion from the Mac App Store before continuing. Also, this UniBeast method will only run on Mac so you have to use a Mac/Hackintosh for downloading Mac OS X and performing the UniBeast install. (Sorry for no voice
)[video=youtube;2qhgGA5YJWA]http://www.youtube.com/watch?v=2qhgGA5YJWA[/video]
After making the UniBeast flash drive, go to your newly built Hack and boot from the USB. When you get to the Chimera screen, type in GraphicsEnabler=No -v and press enter. This should get you to the install screen. At the install screen, click Utilities in the menu bar on top and click Disk Utility. At the Disk Utility screen, select your internal hard-drive. Then click on the Partition Tab and select 1 partition. Click Options and select GUID Partition Table. Then type in the name you want for the hard-drive and make sure the format is set to Mac OS Extended (Journaled), and click Apply. Wait for it to finish and then quit Disk Utility and get back to the install screen. At this point select the newly formatted hard-drive and click Install. Wait for the installer to finish and reboot. Make sure to reboot and boot via USB as you need the Chimera bootloader again. At the Chimera screen, select the new hard-drive you installed Mac OS X to [not the USB!] and type in GraphicsEnabler=No -v and boot. When you get to the Welcome screen, fill in your information and finally when you reach the desktop you should have Internet working. So click on Safari and head over to Tonymacx86's Downloads section and download Chimera 2.2 and MultiBeast for Mountain Lion. Once the two have downloaded, first run MultiBeast for Mountain Lion and select the following options in it. (refer image below):


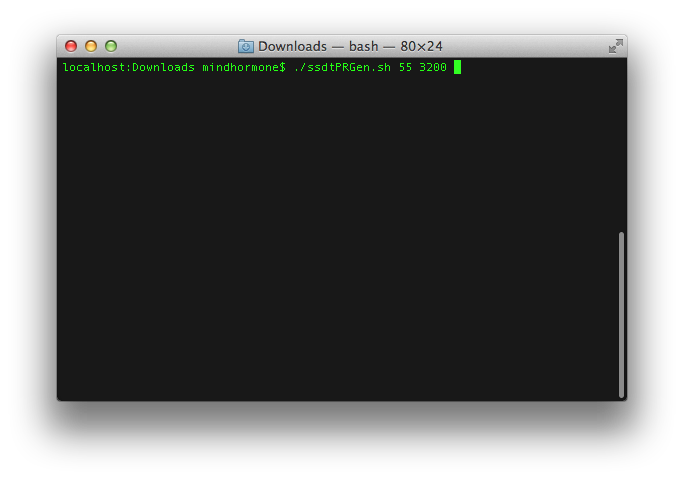
Now open the Chimera 2.2 installer and install it to your hard-drive. Then reboot. This time you won't need your USB as we have installed a bootloader for our Hackintosh! So now just let it boot normally. Then we go on to the actual part. Generating an SSDT for our Hackintosh and editing AppleGraphicsPowerManagement.kext. To generate an SSDT we can use RevoGirl's script.
Download the ssdtPRGen.sh file here: http://www.tonymacx86.com/hp-probook-4530s/56477-make-your-own-ssdt-aml-revogirls-script.html (follow instructions in post number 1).


Drag the ssdt-pr.dsl onto the Desktop. Then open DSDT Editor and click File->Open->Desktop->ssdt-pr.dsl

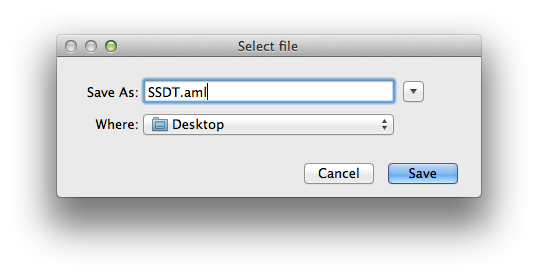
Then click File->Save DSL as..

And save it as SSDT.aml (case-sensitive) onto your Desktop.
Then head over to the Extra folder which can be searched for through Spotlight or can also be found at the root of your HDD.

Drag the SSDT.aml from the desktop into the Extra folder.

Then right click the org.chameleon.boot.plist in the Extra folder and open with TextEdit. When it opens, add the following lines to it (in red box).
Code:
 <key>DropSSDT</key>
           <string>Yes</string>
After that save the file and close it. Now we shall work on getting AppleGraphicsPowerManagement.kext tweaked for our 660.
Tweaking AppleGraphicsPowerManagement.kext
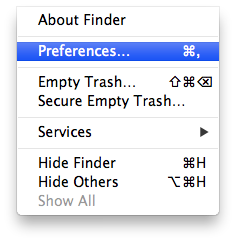
First, click on Finder in the top menu bar and click Preferences.
Then check the Hard Drives box.

You should now see your main OS X HDD on your desktop. Double-click that and navigate to System->Library->Extensions and copy AppleGraphicsPowerManagement.kext to your desktop.


Then right click the AppleGraphicsPowerManagement.kext present in your desktop and click Show Package Contents.

Then click Contents and open the Info.plist with Xcode's .plist editor. For this you WILL need Xcode which can be downloaded for free from the Mac App Store. Right click on Info.plist and open with Xcode.


You should see a window like this.

Click the arrow beside IOKitPersonalities and then click AGPM. Then click Machines. Now minimize this window. If you go into About This Mac->More Info->System Report..->Graphics/Displays. You will then see something like this. We need the device and vendor ID. (in red boxes):

Note them down somewhere as we'll need them later. Now go back to the plist editor. We are looking for Mac-FC02E91DDD3FA6A4. Why we need this is because Apple has not shipped any of their Macs with the GTX 660, so the closest we can get with the GTX 660 is the GTX 660M found in the newer iMacs. We need to copy the IGPU and GFX0 from Mac-FC02E91DDD3FA6A4 (iMac 13,2) into Mac-F65AE981FFA204ED (Mac Mini 6,2 [our definition]). Mac-F65AE981FFA204ED should be right above Mac-FC02E91DDD3FA6A4 (iMac 13,2). So right click IGPU and click copy. Delete the current IGPU present in Mac-F65AE981FFA204ED (Mac Mini 6,2), and paste the one you copied from Mac-FC02E91DDD3FA6A4 (iMac 13,2). Then also copy GFX0 from Mac-FC02E91DDD3FA6A4 (iMac 13,2) to Mac-F65AE981FFA204ED (Mac Mini 6,2). [IMPORTANT] Also, click the plus button beside Mac-F65AE981FFA204ED (Mac Mini 6,2), and type in Vendor10deDevice11c0 . Change the Type from String to Dictionary. The 10de and 11c0 are those values highlighted in the red box I told you to note down, and inside this Vendor10deDevice11c0 paste the copied values of Vendor10deDevice0fe0 found in Mac-FC02E91DDD3FA6A4 (iMac 13,2). Now save the plist and close it.


Head back over to System->Library->Extensions and delete AppleGraphicsPowerManagement.kext from there (make sure to Empty the Trash). Then download KextBeast from the Tonymacx86 Downloads section and run it. Leave the newly edited AppleGraphicsPowerManagement.kext on your desktop as it is. KextBeast will paste the new edited AppleGraphicsPowerManagement.kext into System->Library->Extensions. After KextBeast is done running, run Disk Utility and Repair Disk Permissions. Then download Kext Wizard from here: http://dl.dropbox.com/u/7085278/Kext_Wizard/download.html and run Rebuild Cache.

After that has completed, you can reboot. If all went well, then you have a successfully working Hackintosh with sleep/wake compatibility, full QE/CI acceleration and all features working flawlessly.
Final Notes:
I did not use a DSDT since the latest Gigabyte motherboards do not require one. However if you want HDMI Audio, then you can follow Toleda's guide on Enabling HDMI Audio here: http://www.tonymacx86.com/hdmi-audio/100492-easy-guide-ml-uefi-hdmi-audio.html.
VIA Audio Codec present on this motherboard is very unstable with Hackintoshes. So if you ever come across a random kernel panic then don't panic.
Just restart and all should hopefully be good. If you have any questions then leave them here and I'll try to help as much as possible.
Last edited by a moderator:

