Contribute
Register

Hypno's G5 Mod

Status
Not open for further replies.
I did some more work on the front panel board today.

The wires on the audio jack were very loose, and I was worried that they would pull out of their solder, so I put some heat shrink as far as it would go, then I slathered on some epoxy to make sure the wires don't pull out under normal handling.
Ynzy1cIl.jpg

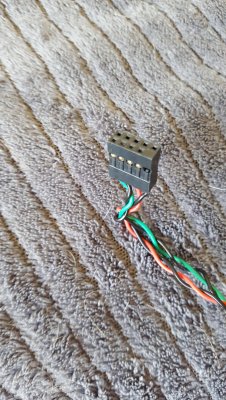
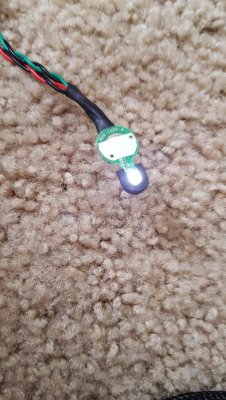
Then I desoldered the original wires a on the power switch/LED and put on my own, then I added plug to the that matches the pinout on my motherboard. Both the switch and LED work perfectly.
vJCRwcb.jpgrKdt8FI.jpgvcwcXsp.jpg

Then I wanted to test out everything, so I put this nasty mess together.
0j5EXr7.jpg
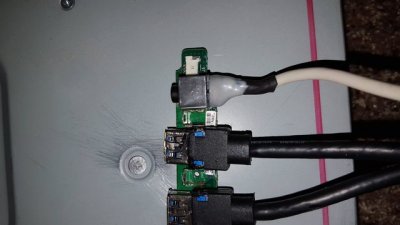
I plugged a speaker into the front panel audio jack and my mouse/keyboard into the two front panel USB ports. Everything worked perfectly. Also those two fans that I got are wonderfully quiet!

Next up, I'm going to get the rear fans mounted. I think then I will put it all together and use it for a month or two until it warms up enough to paint.
 
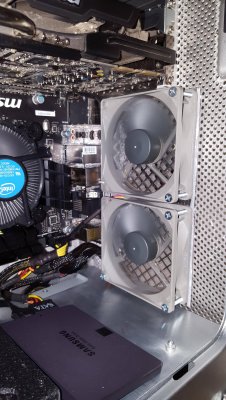
I also go the fans mounted tonight. I just drilled some holes in the original fan mount then put a bolt and a nut on to secure it. I'll probably end up paint the bolts black. These fans are very quiet!
009UNZj.jpg
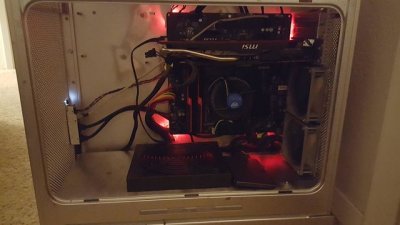
I kind of need a computer now, so I put the whole thing together and I'm using it as is for now.
l19RSc0l.jpgwQS4oeel.jpg
There are a few problems with the reach of cables, the front audio and PCI power cables in particular, but I can just buy extenders for them, so it's not a huge deal right now.

I didn't put all the shelves in or the HDD cage because I'm going to have to rip it all back out in like 2 months when the weather clears up enough to paint. That being said, I've gotten to the point where I can't do much else until the paint is on.

So for now, I'm done. I'll report back once I've started painting.
 
I realized today that there were two more things that I can do before paint.
I made a cut in the very bottom of the G5 CPU cover so it will slide in in front of the PSU. This isn't the cleanest cut, but that's fine because it is completely hidden.
kNFSmyS.jpg

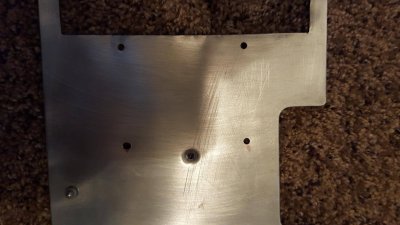
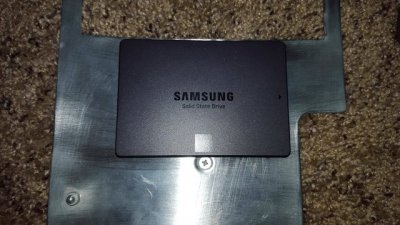
I drilled four holes in the bottom plate so I can mount a 2.5" drive there.
VBpqiI7.jpgrLjqJtVl.jpg

I also ordered these two cable extensions:
1. For the front panel audio: http://www.newegg.com/Product/Product.aspx?Item=N82E16812201025
2. For the PCI power cables: http://www.newegg.com/Product/Product.aspx?Item=N82E16812162052
 
at least you can see now what it will look like inside your G5. and while not yet painting you can still think of other revisions and cabling. :D
Yup! Plus, I kind of need the computer to be functional right now more than I need it to be pretty.

I decided to skip sleeving the PSU and just bought a full set of sleeved PSU extension. I needed the extensions anyway, so I figured I might as well get pretty ones. Those should be here in a few days, with two 80mm fans for the HDD cage and the next to the case speaker.

Right now, I'm actually kind of embarrassed about the state of the inside. But I should be able to fix it this weekend when my new parts get here!

Painting it probably about a month out still, temps are in the 50s and it's raining a lot. I want about 3-4 days of sunny 60 degree weather in the forecast before I start painting. I was thinking about powder coating, but because of my use of epoxy and the plastic fan grills in the rear that are permanent, that is sadly out of the question. :(
 
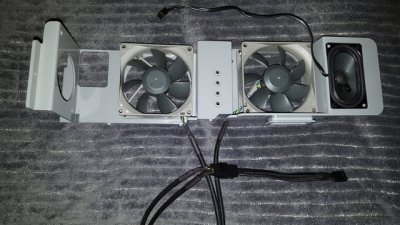
One of my boxes came early today, so I was able to get these two 80mm fan mounted.
3nkcpvWl.jpg
These are hooked up on a PWM splitter, the fan speed will be read from one of them, and they will be set to the same speed. I also had to do the same thing with the two rear exhaust fans since my mobo only has two system fan headers.
 
I got all of my cables today, so I was able to put the computer together fully:wyiTKmz.jpg
There are a few things for cable management that I'll have to do for the final assembly, but for now this is good enough.
I think it's going to look great after paint!
 
Hi guys,

After almost a year, I'm finally able to work on this project again. First things first, I got a 3d printer so now I plan to mod a few more things before painting.

So to get started, I designed and printed out a simple test bench so I can model and measure the case mods at the same time without the computer being in the way:
BuI2dU0.jpg

I printed it in 2 parts + 4 feet, glued them together then added some mobo standoffs. It works very well as a stand in for now!

So here is my new todo list:
1. New front panel. I'll probably print up something new then epoxy it in place.
2. Filter for the front of the case. I've had to clean out this case almost every 2 months since I built it, so I'm trying to avoid that in the future.
3. Fan mounts. I want to print a new fan mount for the rear of the case.
4. PSU mount. I'll either mod the actual PSU into the G5 case, or I'll mount it at the top of the case. I even ordered a new metal cover to replace the one I cut a big hole in!
5. Possibly redo the rear I/O panel.
6. Possibly print a mount for the HDD cage for the lower part of the case.
7. Print some cable combs.
8. Paint the whole thing. The reason I didn't paint a year ago is because I lived in an apt complex with nowhere I could do it. Now I have the means to paint this, so I will probably be going with gun metal/silver and black, with possibly a red highlight or two.
9. Mod my GPU so it lights up red. I believe that I will be able to print a replacement logo in red and swap it out. More investigation is needed, however from what I have seen, it is a white LED under green plastic so this may end up being straight forward.
 
Last edited:
Since I'm going to be moving the PSU to the top of the case, I thought it was kinda pointless to put the whole old PSU box back in just to mount the bottom shelf, so I printed some supports to hold it in place.
huyFfwSl.jpg

PdmRvOrl.jpg

The original PSU box weighs about 3lbs, so I'm happy that I can replace it with this nice light plastic.
 
Last edited:
Status
Not open for further replies.
Back
Top