- Joined
- Jan 13, 2013
- Messages
- 63
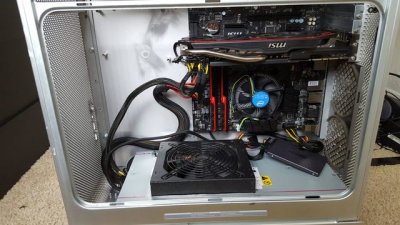
I picked up an old G5 from a co-worker. He paid me $10 to take it from him! The RAM was missing, and I have no need for a classic mac, so after I broke my mini-itx board, I figured this case would be perfect for my next PC build.
I thought it would be fun to do as much of this case working with just my hands, since it's so much more satisfying. The only thing that I plan to cheat on is the holes that I'm going to have to drill to make the mesh look correct on the rear.
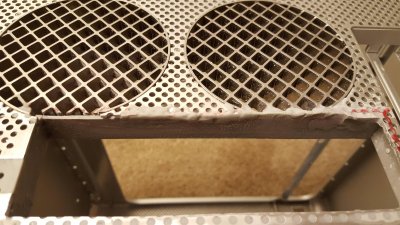
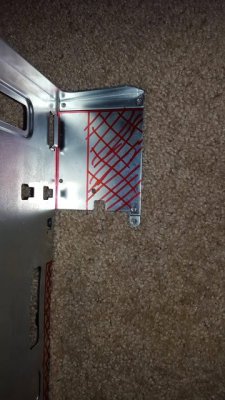
I've read through a bunch of other threads, and I see that most people replace the entire back of the case. I didn't want to do that because I'm only using hand tools and I wanted to keep the original shape as close as possible. So I opted to use the original PCI slots and make this a mATX case. Because the PCI mounts are set into the case. I cut some plastic strips of ABS and epoxied them in place for the atx backplate to fit into. Don't mind the ugly different colors of the aluminum and plastic, the case is going to get a nice semi gloss black on the center piece and gun metal for the sides.
I'll keep this album updated with new images as I make progress.
Any comments or critiques are welcome.
My remaining TODOs are:
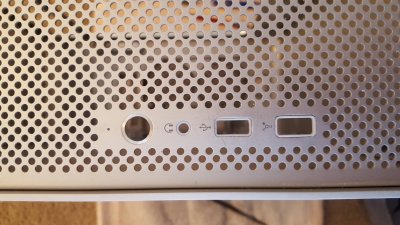
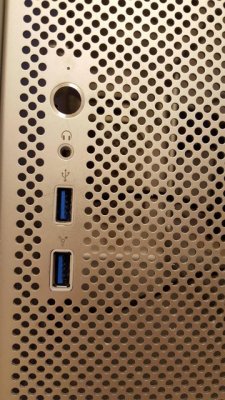
1. New front panel. I'll probably print up something new then epoxy it in place.
2. Filter for the front of the case. I've had to clean out this case almost every 2 months since I built it, so I'm trying to avoid that in the future.
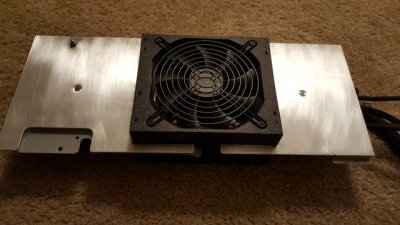
3. Fan mounts. I want to print a new fan mount for the rear of the case.
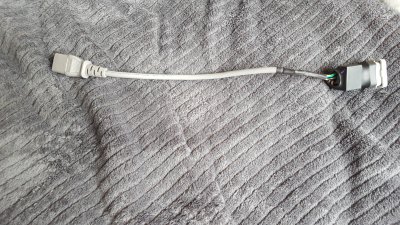
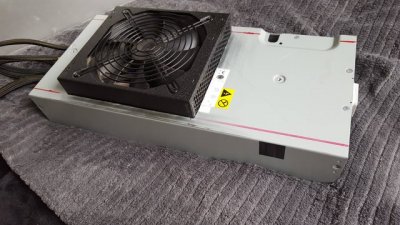
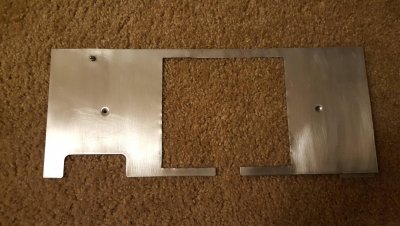
4. PSU mount. I'll either mod the actual PSU into the G5 case, or I'll mount it at the top of the case. I even ordered a new metal cover to replace the one I cut a big hole in!
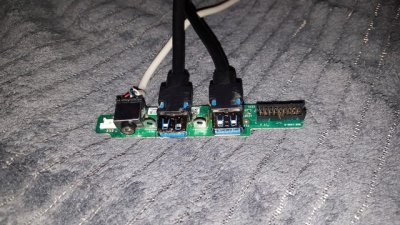
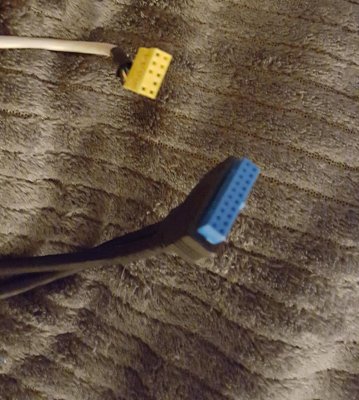
5. Possibly redo the rear I/O panel.
6. Possibly print a mount for the HDD cage for the lower part of the case.
7. Print some cable combs.
8. Paint the whole thing. The reason I didn't paint a year ago is because I lived in an apt complex with nowhere I could do it. Now I have the means to paint this, so I will probably be going with gun metal/silver and black, with possibly a red highlight or two.
9. Mod my GPU so it lights up red. I believe that I will be able to print a replacement logo in red and swap it out. More investigation is needed, however from what I have seen, it is a white LED under green plastic so this may end up being straight forward.
I thought it would be fun to do as much of this case working with just my hands, since it's so much more satisfying. The only thing that I plan to cheat on is the holes that I'm going to have to drill to make the mesh look correct on the rear.
I've read through a bunch of other threads, and I see that most people replace the entire back of the case. I didn't want to do that because I'm only using hand tools and I wanted to keep the original shape as close as possible. So I opted to use the original PCI slots and make this a mATX case. Because the PCI mounts are set into the case. I cut some plastic strips of ABS and epoxied them in place for the atx backplate to fit into. Don't mind the ugly different colors of the aluminum and plastic, the case is going to get a nice semi gloss black on the center piece and gun metal for the sides.
I'll keep this album updated with new images as I make progress.
Any comments or critiques are welcome.
My remaining TODOs are:
2. Filter for the front of the case. I've had to clean out this case almost every 2 months since I built it, so I'm trying to avoid that in the future.
4. PSU mount. I'll either mod the actual PSU into the G5 case, or I'll mount it at the top of the case. I even ordered a new metal cover to replace the one I cut a big hole in!
6. Possibly print a mount for the HDD cage for the lower part of the case.
7. Print some cable combs.
8. Paint the whole thing. The reason I didn't paint a year ago is because I lived in an apt complex with nowhere I could do it. Now I have the means to paint this, so I will probably be going with gun metal/silver and black, with possibly a red highlight or two.
Last edited:


