- Joined
- Jun 2, 2011
- Messages
- 134
- Motherboard
- Gigabyte GA-P67A-UD4-B3
- CPU
- i7-2600K
- Graphics
- RX 560
I think this is 'basic' stuff, but for some reason(s) I am not able to successfully install a working Clover to a USB drive. I have a long history of problems that I am trying to work through - but I will try to spare the unnecessary details here.
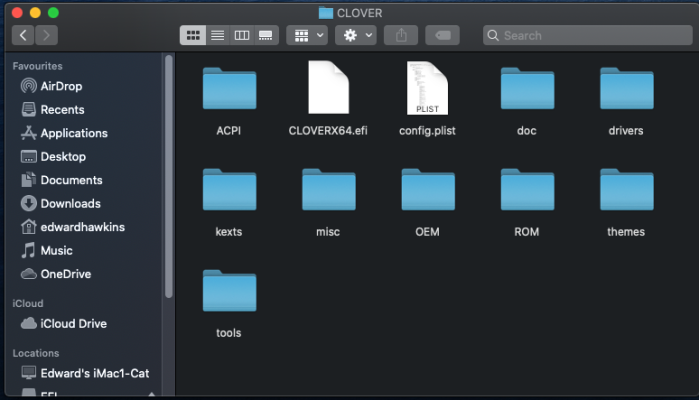
I have two versions of a USB Clover v5127 (Call them USB 1 & 2) that successfully boot my Catalina system. I can boot a non-SSD version that runs ok, but poor performance (beachballs, hangs). I can boot a SSD version that runs great, but reboots about 30 mins in (typically). I am working on cleaning up what apparently is a terrible/sloppy configuration per this thread (https://www.tonymacx86.com/threads/...ot-non-ssd-drives-work-catalina.320215/page-3). Clover USB 1 & 2 have the terribly sloppy configuration described in that thread (AFPS in drivers folders, BIOS and UEFI folders, tons of junk in config file, and unknown DSDT file) - but they mostly work. They show all of my HDDs, and they boot them all (even though the SSD reboots). They both have empty EFI partitions, and have an EFI folder within the root with clover file tree. I believe I created USB 2 by copying these root/EFI/ and boot files from USB 1. I am not sure how I formatted it prior to doing that, as I was doing a lot of trial-and-error/erasing/etc.
I have been trying to recreate a fresh Clover USB on a new drive I purchased so I can keep things cleaner. I feel like I have tried everything - without success. Is it possible this particular USB drive is simply incompatible?
I have tried:
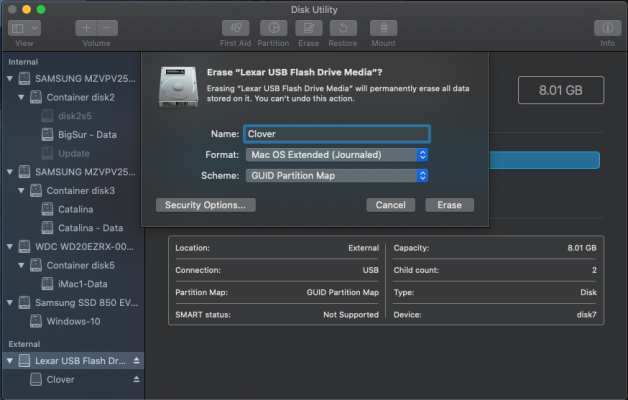
- Format as Apple Journaled, with GPT.
- Tried v5127 and v5146
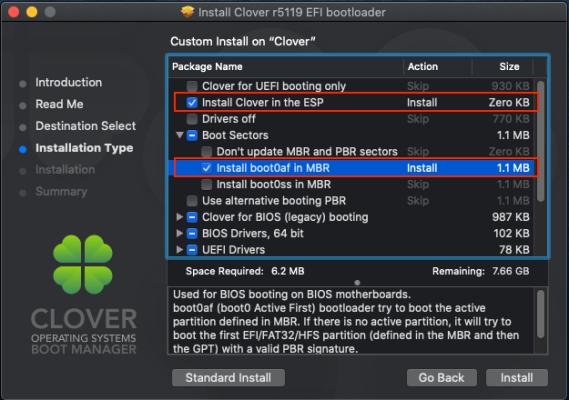
- Install clover not in ESP. This puts folders in the root, but the drive is not recognized as Clover by BIOS and it stops at "Loading Operating System..."
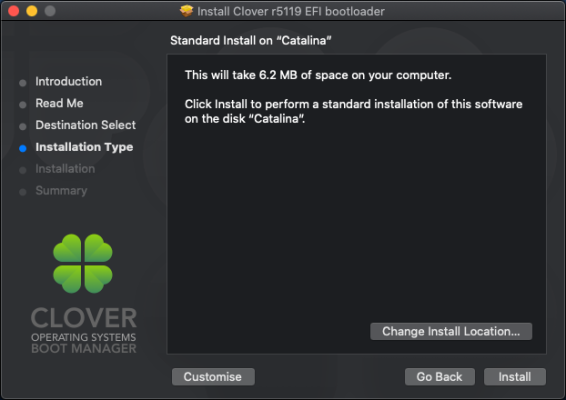
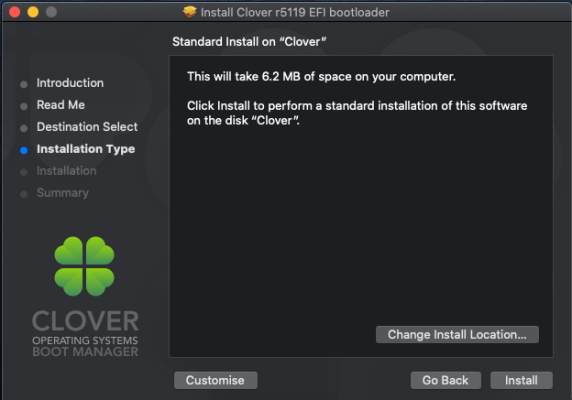
- Install clover in ESP (with boot0af, or without). This generally boots clover, but I am not able to boot the OS. I have added HFSplus, added SMBIOS to my config.
- Keep BIOS and UEFI drivers folders. Remove one, or the other. Generally, I need the BIOS folder in order to see all of my HDDs. With only the UEFI folder I only see one (and not the one I want to boot).
- Add DSDT file (I read this is needed for Legacy)?
Currently, when installing in ESP I can start to boot my Catalina and even with -v, it eventually almost boots, goes to a black screen, and seems to just pause/stop, without any messages on the screen.
In the past (with USB 1 & 2) I have been able to drag content to recycle bin and replace with a backup of boot file and EFI folder, and this works. With this new drive, that process does not work. The resulting drive is not recognized during boot.
I know I don't understand Clover, despite reading everything I can find for how to install it for systems similar to mine. I am confident that I am the problem, but I feel that I have tried everything and have spent a TON of time without making much progress. I have an AwardBIOS so I think I need Legacy installation. I don't understand how to install Clover Legacy on a USB.
As a side note, I have been able to install Clover in ESP on my SSD drive. I have a clean config, and only the required drivers/kexts. This configuration has only a UEFI folder (which is confusing to me). This boots Clover, which only sees the SSD (not my other bootable drives). This boots the SSD, which still experiences 30-min reboots. I'm not sure if this is a "UEFI" installation, or Legacy, or something inbetween?
Please help me understand what settings I should be using with my system. Also note that I used to have a typo in my motherboard/signature. It used to say UD3-B3, but I actually have a UD4-B3. I never thought there was much of a difference, but maybe there is.
I suspect that my USB is not being formatted correctly, which is why an /EFI/ folder in root is not recognized. I also don't understand if installing Clover causes other changes to the drive that are not included in the actual files on the drive? Do the clover install settings get saved (invisibly) onto the drive?
I haven't been able to find any Clover Legacy installation guides that are applicable to the newest versions of Clover. There is not longer a "legacy" version, but the readme says it should work for Legacy booting. I'm pretty sure that is what I need? (even though the UFEI-only folder setup on my SSD also works?) This is so confusing, I am bashing my head against the wall. Please help. Thanks!


