
- Joined
- Nov 27, 2015
- Messages
- 10
- Motherboard
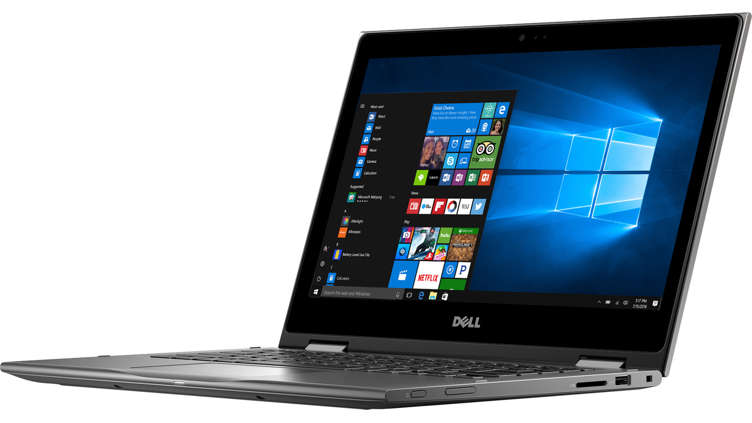
- Dell Inspiron 5379 2in1
- CPU
- i5
- Graphics
- Intel 620HD
- Mac
In this guide, I provide data and explain how to build MacOS 10.12.6 on a new Dell Inspiron 13 5378
Specifications:
Display: 13.3" Full HD IPS TrueLife LED-backlit touchscreen (1920 x 1080), 10-finger multi-touch support
Processor: Intel Core i7-7500U 2.70 GHz with Turbo Boost Technology up to 3.50 GHz (Reports in MacOS as 2.9GHz)
Memory: 8GB DDR4 2400 MHz
Hard drive: 256GB SSD
Operating system: Windows 10 Home, 64-bit (and MacOS 10.12.6)
PC type: 2 in 1
Media drive: SD card reader (Does not report as a 'Card Reader' in SysInfo)
Audio: Waves MaxxAudio Pro (Realtek ALC225)
Video: Intel HD Graphics 620 with shared graphics memory
Ports: 2 USB 3.0 • 1 USB 2.0 • 1 HDMI • Headphone output/Microphone input combo
Battery: 3-cell ~42WHr
Camera: Integrated webcam (Model ID: UVC Camera VendorID_3034 ProductID_22722)
Wireless: 802.11ac (Dell DW1560)
Bluetooth: Bluetooth 4.0
Dimensions: 12.76 x 8.85 x 0.77-0.80 in (324.80 x 224.40 x 19.55-20.20 mm)
Weight: 3.40 lbs (1.54 kg)
Color: Gray
Other Features: Precision touchpad • TPM 2.0 • Touchpad dimensions: 101 x 69 mm • Security lock slot
What's required before starting
You will need to pick up a Dell DW1560 (BCM94352Z NGFF) WiFi card for this laptop. It comes with an Intel WiFi NGFF card that will not work with MacOS.
What’s working
Existing issues
- Correct SATA reporting
- TRIM support for SSD drives
- Graphics (Full QE/CI)
- Battery
- Audio
- USB
- Sleep
- HDMI
- Audio and Video
- WiFi / Bluetooth
- Keyboard/Trackpad/Mouse
- Card Reader
- Camera
- Touchscreen
- Intel SpeedShift
- Dual-Boot with Windows 8.1/10
Headphone jack:
There is slight popping while using the headphone jack. Not sure how to fix this one, as it seems that all the tricks on similar platforms have not yielded any changes. Also, you will need to unplug and replug in headphones after wake from sleep. Fixes welcome!
Hibernate:
This is an issue with all Hackintosh builds, and I have not researched what is needed to get this working 100%. If anyone has a method to get this to work, I will update this guide so others can enjoy working hibernate.
Installation stepsHardware Configuration
Install new WiFi card:
Once you have received the DW1560, you will need to carefully open up the laptop and swap out the existing NGFF card with it.
Update Firmware to Version 1.20:
Download the latest firmware (HERE) and execute it in Windows. It does not have a Linux or MacOS executable.
BIOS Settings:
You will need to go into the BIOS and disable Secure Boot. Also, you may want to set up your UEFI booth path to Clover once it is installed onto your HDD.
EFI Patches using EFI_Shell:
You will need to prepare a USB as FAT32, with one folder named /EFI. Copy the BOOT directory to /EFI. After that you can boot from that USB device.
You will be greeted with a black screen with some white text (it should say something like GRUB UEFI at the top) and you will need to pass the assertions below at the grub prompt.
Code:grub> setup_var 0x496 0x2 grub> setup_var 0x76D 0x2
After you do that, DVMT will be set properly for MacOS graphics and Intel SpeedShift will be enabled.
I have also kept the FrameBuffer hack in config.plist if you are not comfortable with hacking your BIOS. I do recommend using EFI_Shell to edit the assertions, since it persists through BIOS updates and keeps the config.plist cleaner.
Create Installation Media
Partition drive from Windows (Optional)
You may want to shrink the Windows partition to the desired size for MacOS. Dual booting works flawlessly. Otherwise, you can skip this step and use the entire drive for MacOS.
Install MacOS
You will need to press F12 to invoke the boot device option menu in the BIOS. Select the USB drive you created in the previous steps and it will take you to the Clover boot screen. Run 'Install MacOS' and install to either the entire drive, or the partition you made in the previous step.Audio Information
After you install to either the entire drive or the new partition, you will need to move a few things over to the new MacOS /EFI partition.
- Copy /EFI/CLOVER from USB to EFI partition of newly installed MacOS
- Copy Kexts from attached /S/L/E to /S/L/E of newly installed MacOS
- Run your favorite kext editor to fix permissions
I have created a custom AppleHDA using AppleHDAPatcher. It is attached below under /S/L/E. Make sure you create a backup before moving it over.
I have also created a custom CodecCommander to support ALC225. I had to add 10ec_0225 to the supported codec list, and you can see the one edit I made by searching 10ec_0225 in CodecCommander's Info.plist. It is also attached below under /S/L/E.
Disable Hibernate
Here is the method I use to disable hibernate. This also has the added benefit of reclaiming space on the HDD, and reduces writes to the SSD.Pike’s freqVectorsEdit.sh
Code:sudo pmset -a hibernatemode 0 sudo rm /var/vm/sleepimage sudo mkdir /var/vm/sleepimage
Create Custom DSDT
Pike's freqVectorsEdit will fix CPU scaling for your SMBIOS type. Download and run it, it will present to you a list of Board-ID's with the one we want highlighted.
You will need to generate an origin DSDT in Clover by pressing F4 at the Clover boot screen. The files we will be working with are located under /EFI/CLOVER/ACPI/origin.SMBIOS and RtVariables for iMessage
Using Terminal, navigate to /EFI/CLOVER/ACPI/origin and create .dsl versions of DSDTs and SSDTs (using RehabMan's IASL) by running iasl using the following command:
After you have the .dsl versions of your DSDTs and SSDTs, you can apply DSDT patches to your newly created DSDT.dsl using MacIASL.Code:iasl -da -dl DSDT.aml SSDT*.aml
Guide: https://www.tonymacx86.com/threads/guide-patching-laptop-dsdt-ssdts.152573/
- "Fix _WAK Arg0 v2”
- "Fix Mutex with non-zero SyncLevel”
- "RTC Fix”
- "Shutdown Fix v2"
- "USB3 _PRW 0x6D Skylake (Instant Wake)"
- “BRT6 Backlight Key" (Add the code below into the Patch Field)
Code:into method label BRT6 replace_content begin If (LEqual (Arg0, One))\n {\n // Brightness Up\n Notify (^^LPCB.PS2K, 0x0406)\n }\n If (And (Arg0, 0x02))\n {\n // Brightness Down\n Notify (^^LPCB.PS2K, 0x0405)\n }\n end;
- Fix errors on compilation of DSDT
- https://tonymacx86.com/threads/solved-help-me-fix-dsdt-error.229025/
- Build the lastest version of iasl if compilation still fails
Here is a thread that will help you get iMessage working. My config.plist also has some information to point you in the right direction
Install Applications
- OSX Fuse
- Use Homebrew to download NTFS-3G for Read/Write access to Windows Partition
- Homebrew
- Fix-USB-Sleep
I hope this guide works for everyone, and please feel free to let me know of any features I may have missed. This laptop has been working very well (for all of its little issues) and I am really happy using it as a daily driver.
I have the 5379. Everything seems to be the same except mine is i5. Everything works from following your guide except audio. No matter what i do. Same as yours. any idea?