Contribute
Register

An Amazing Find for My Next Project -- iMac G4 20"

Status
Not open for further replies.
Ersterhernd,

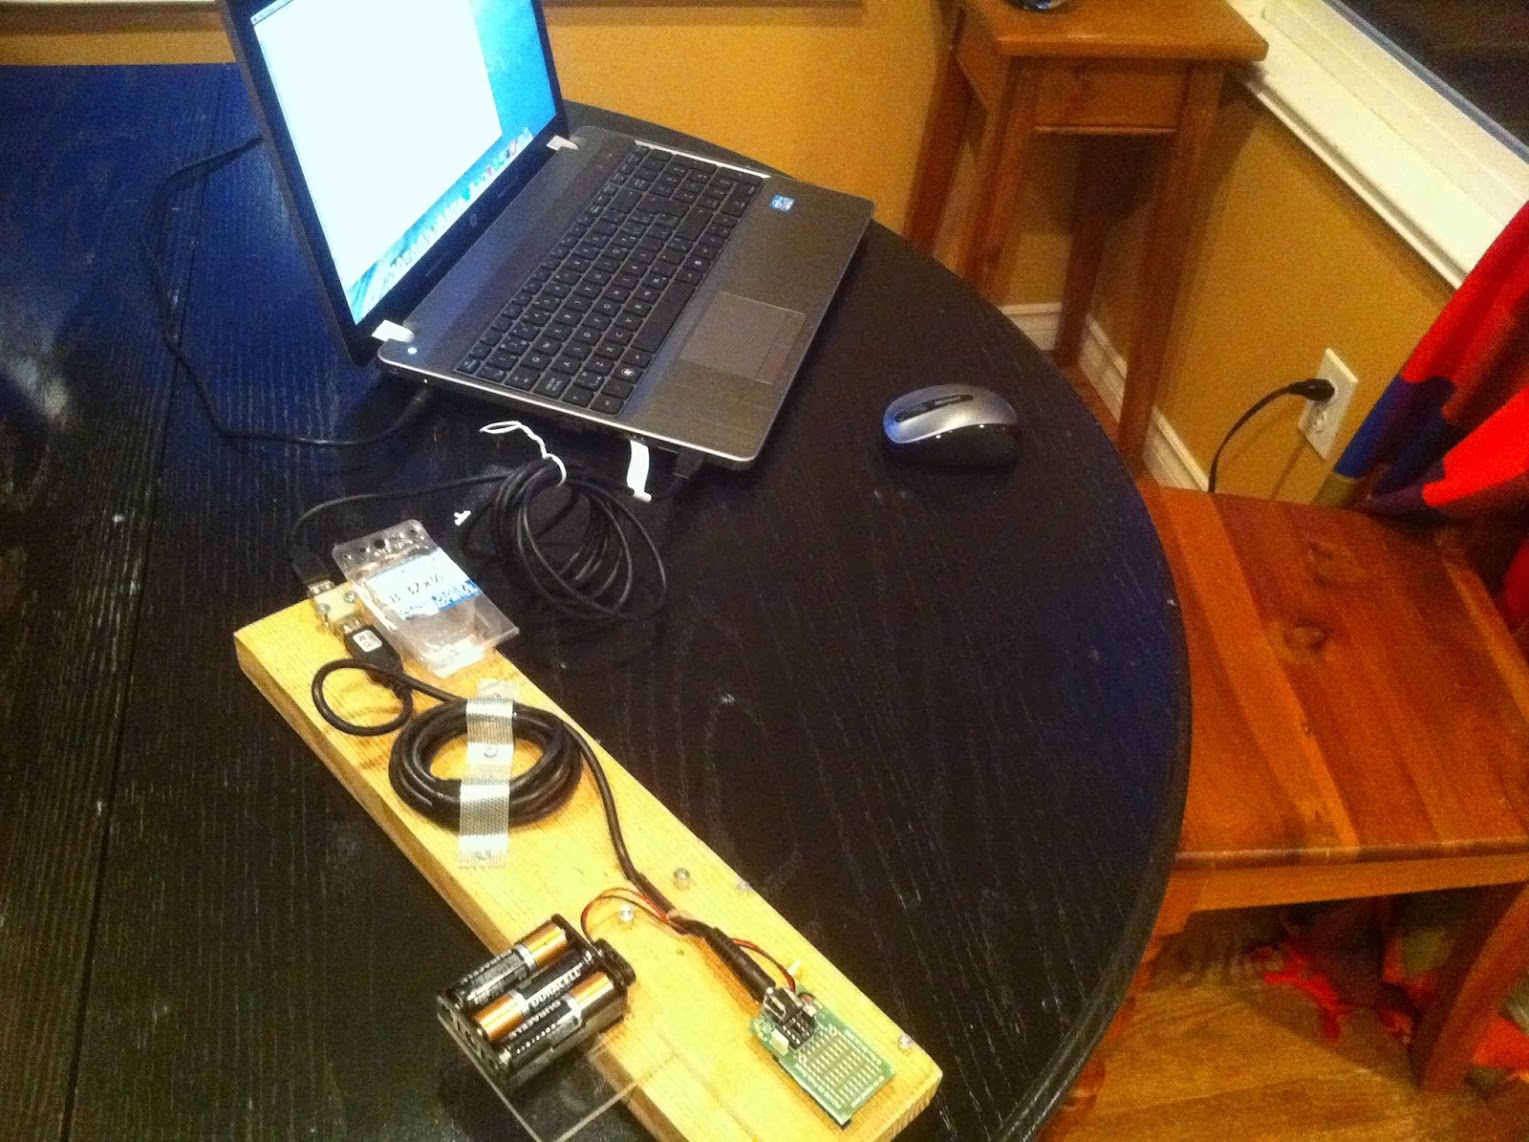
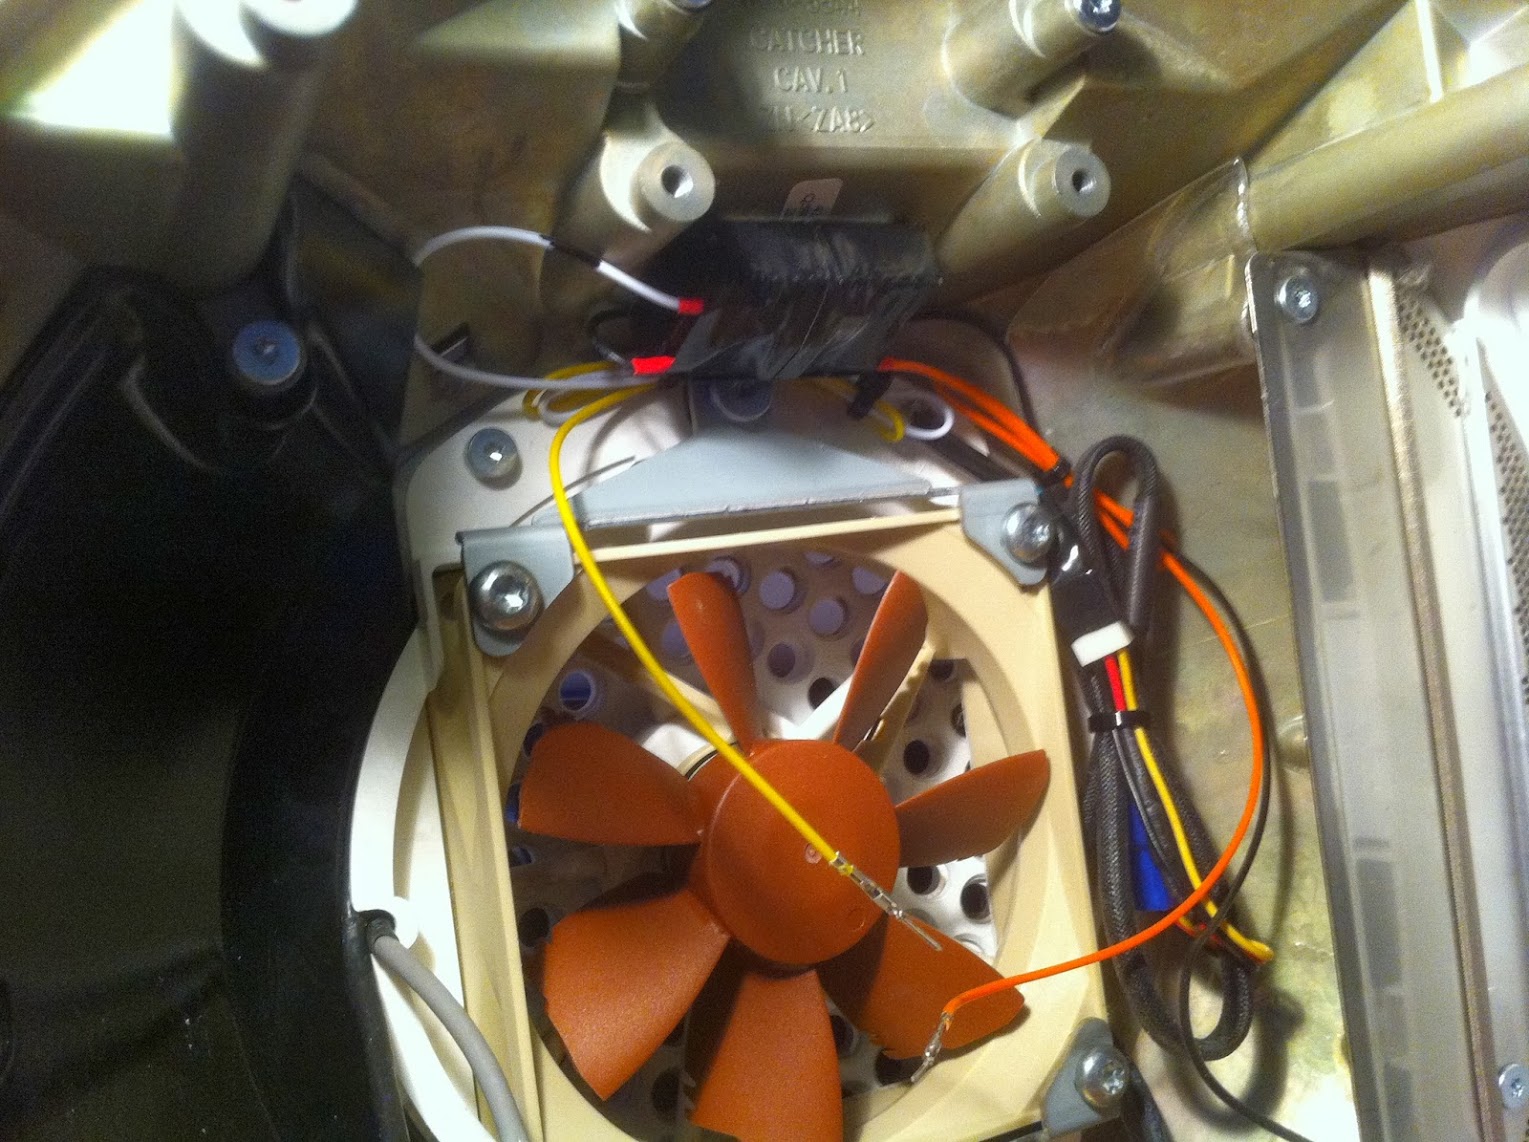
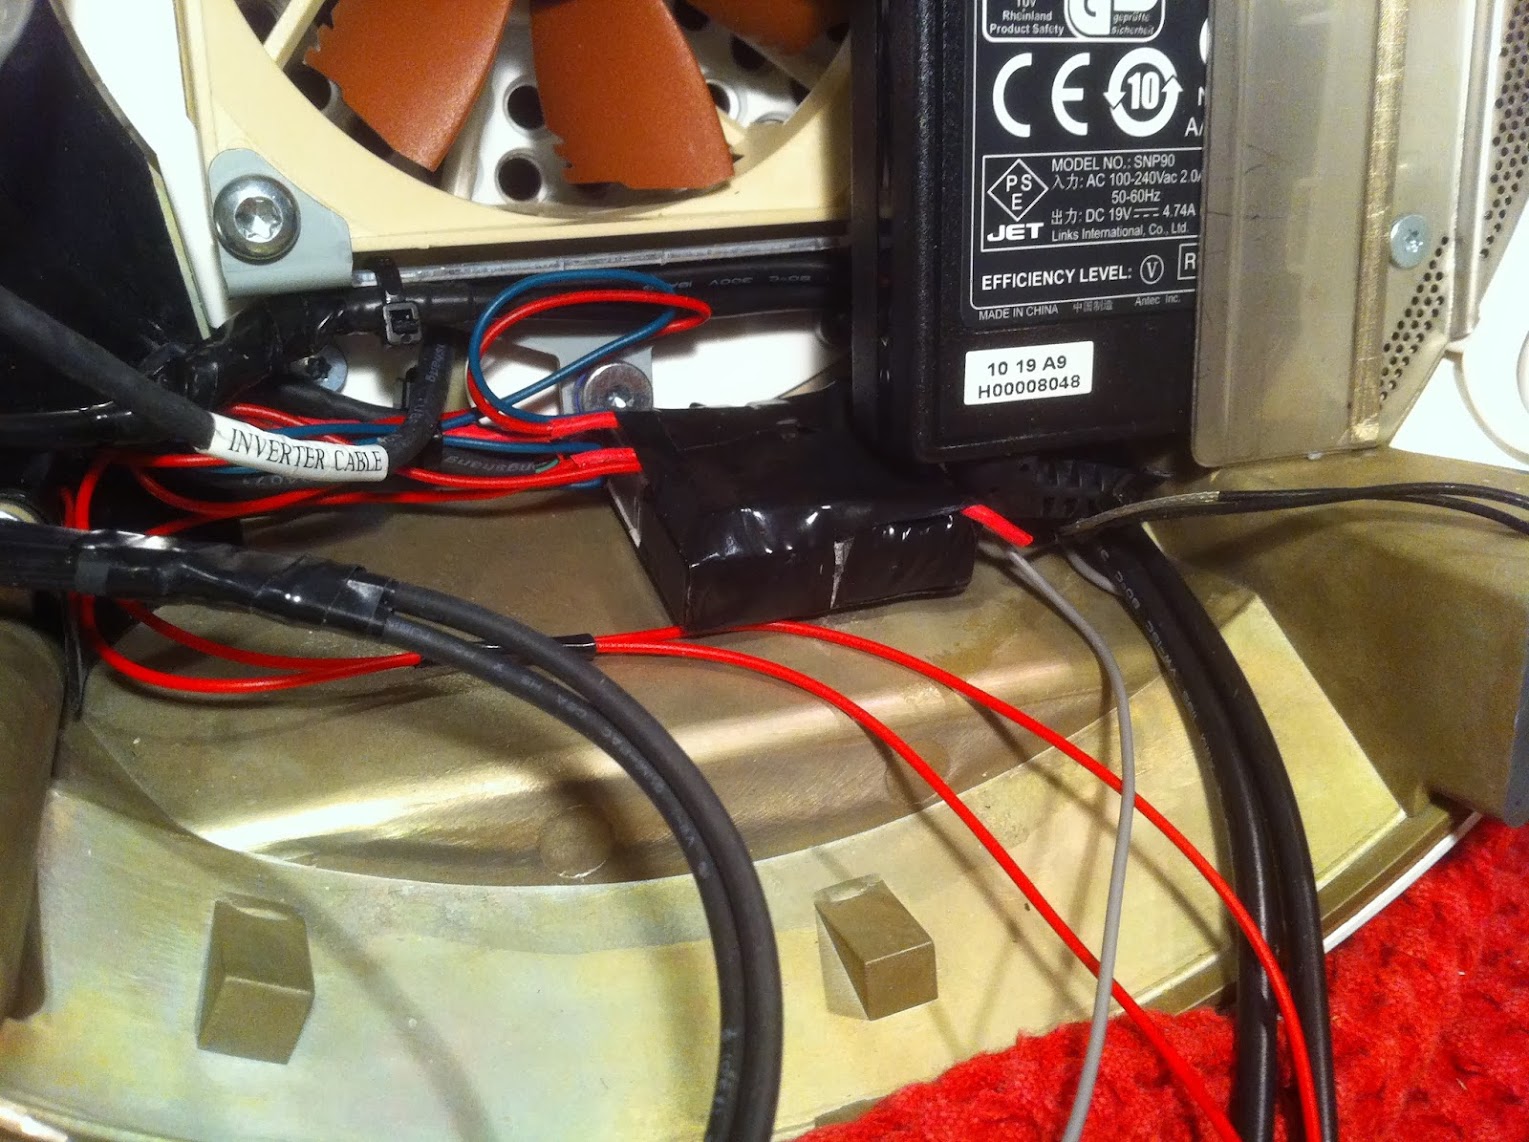
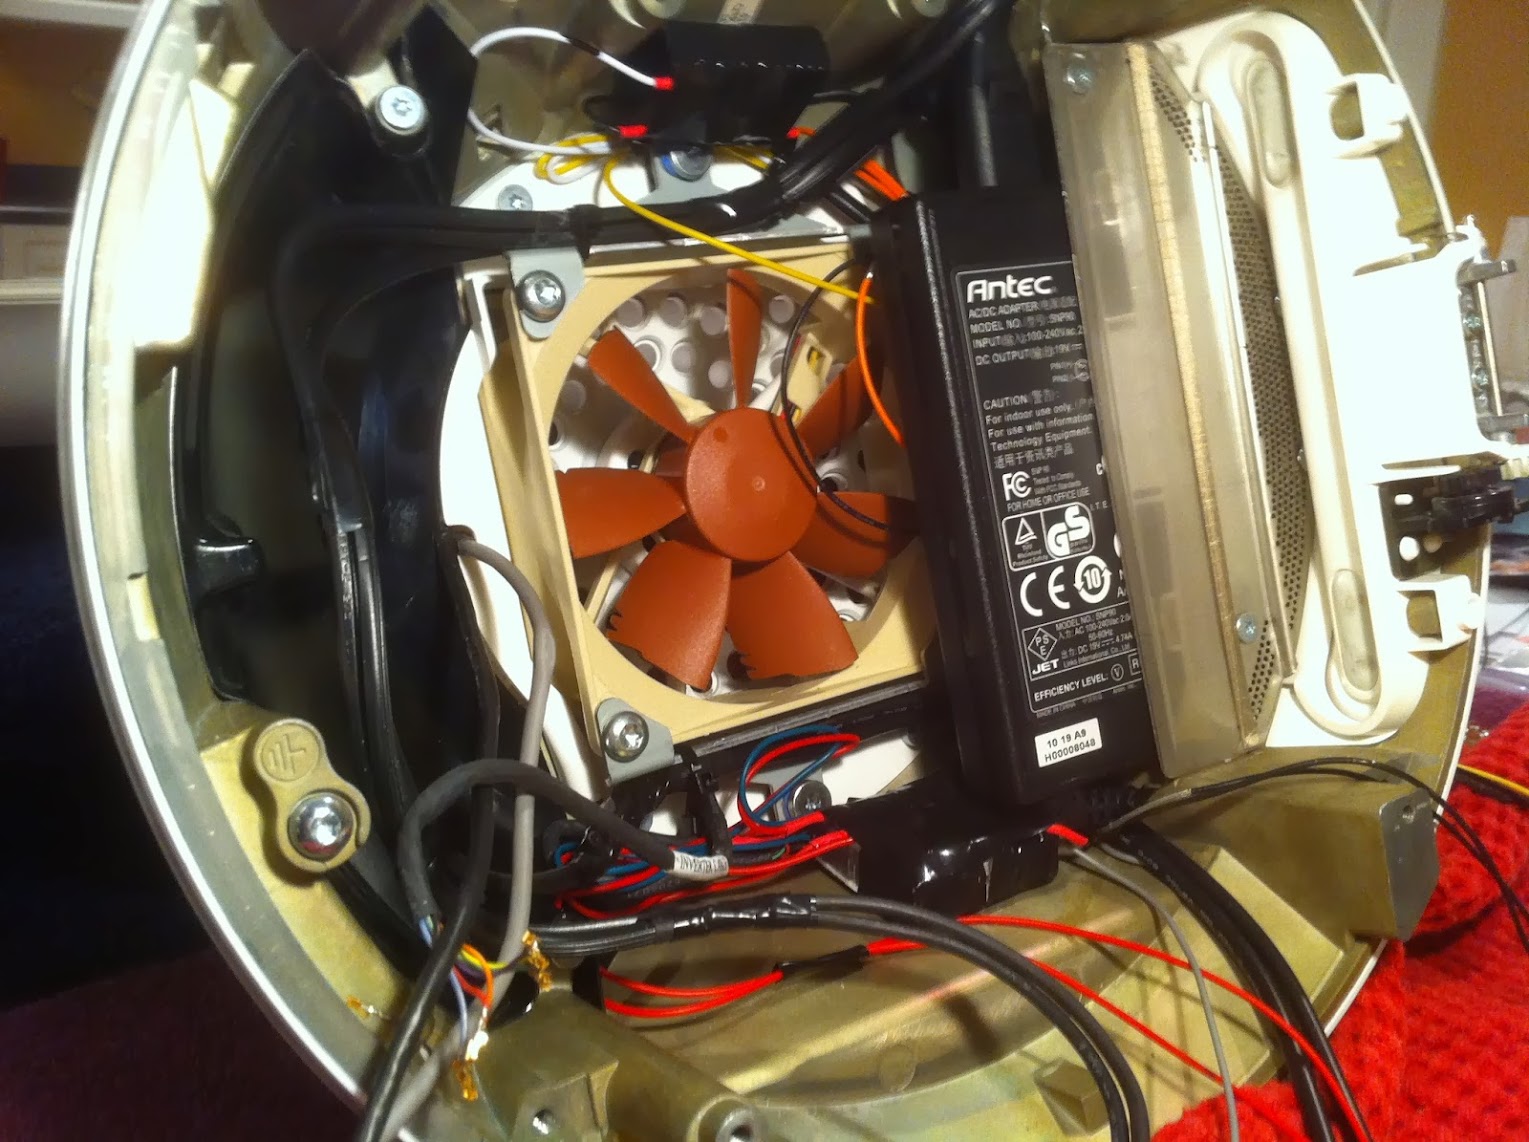
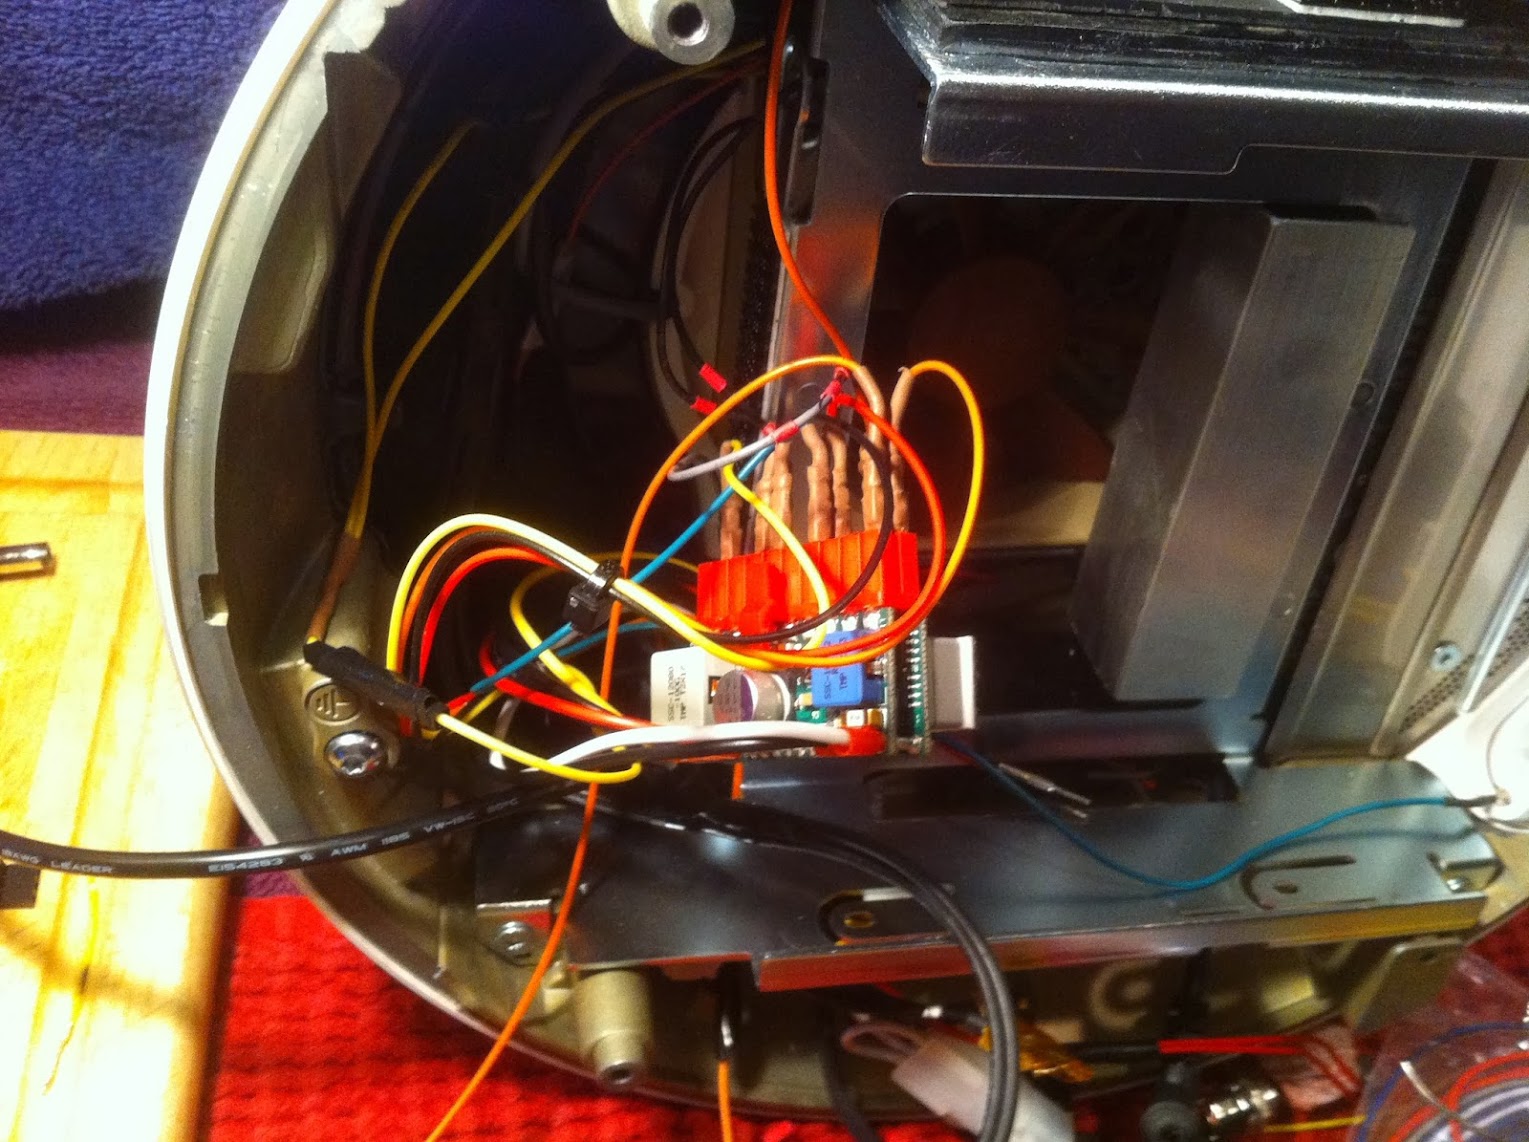
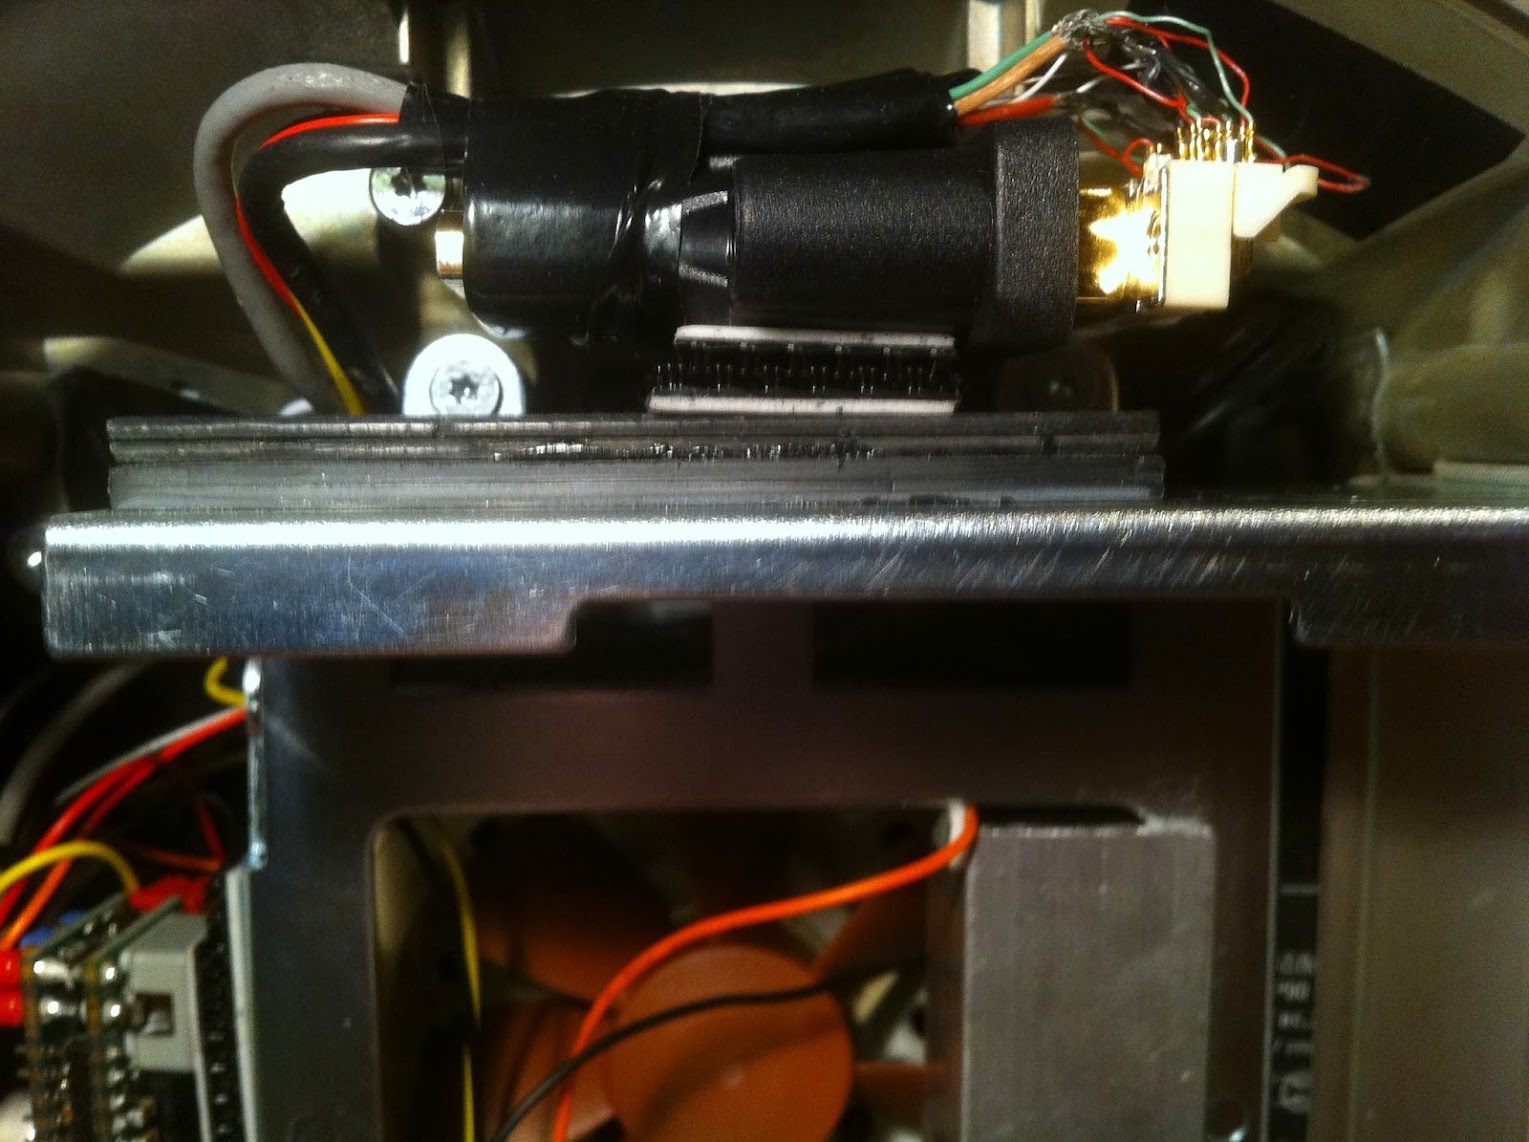
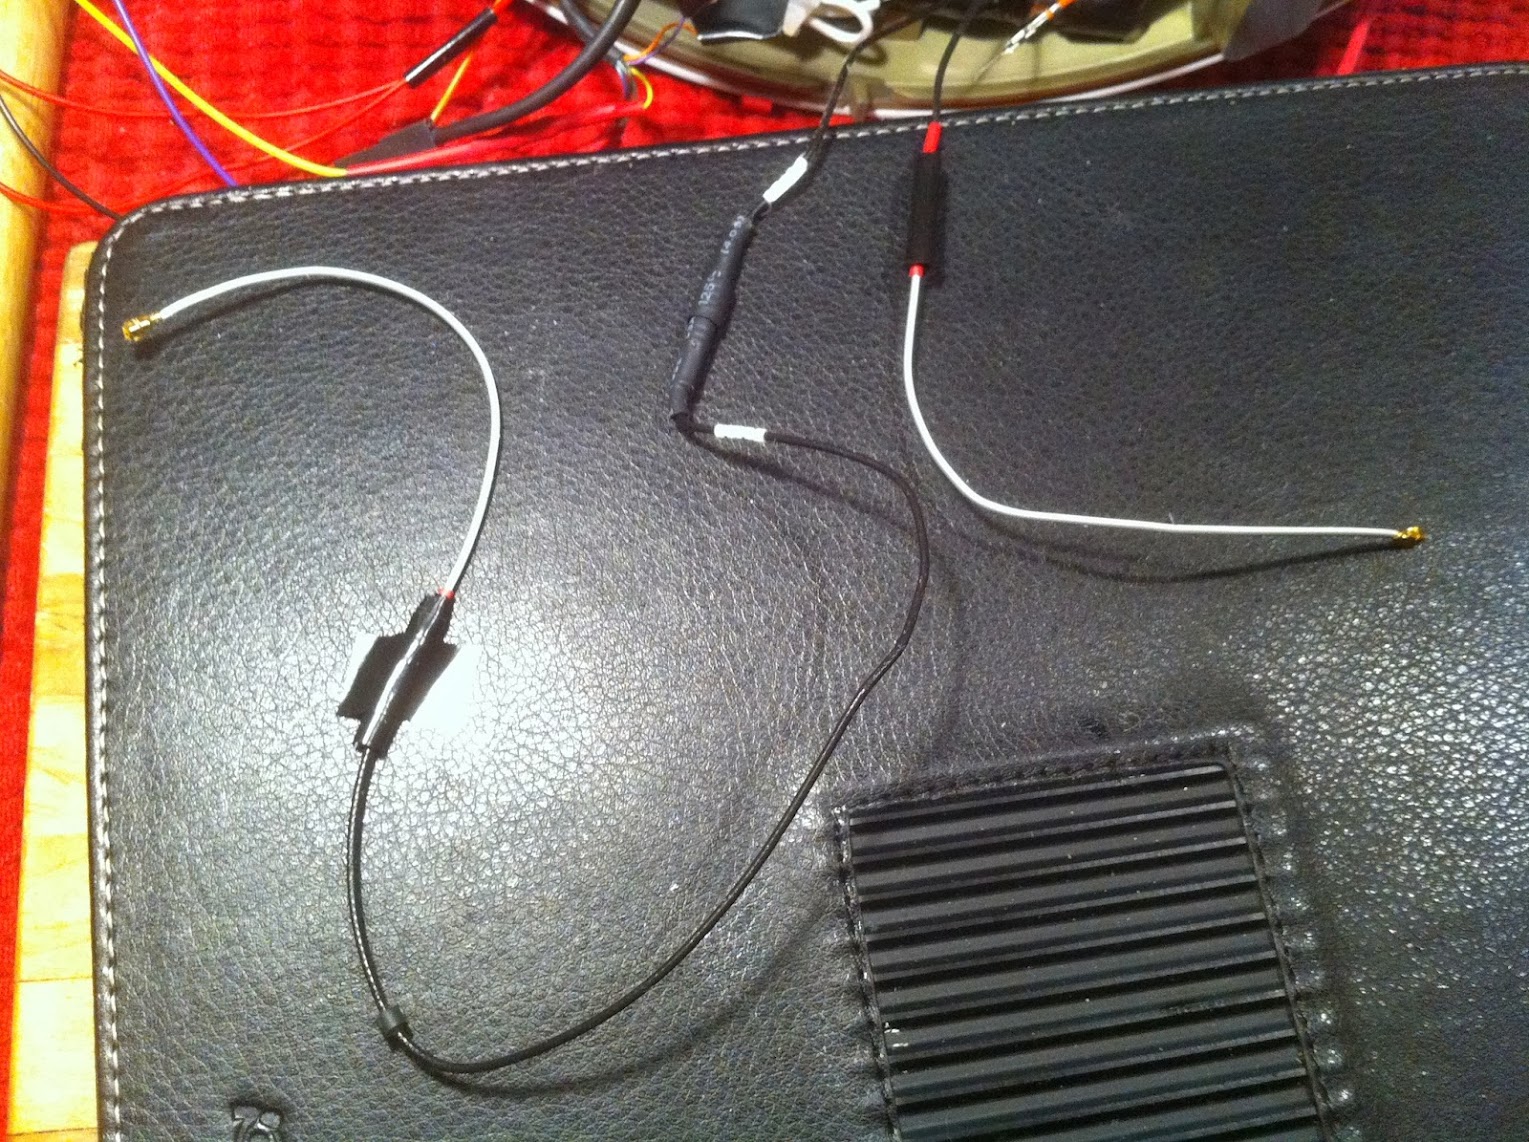
I love all the creative mods you are building! I read your thread for this iMac and the 17" one, and have looked at your others as well. All of your mods are amazing. I currently have a 17" 800MHz iMac G4 sitting on my floor, but have no knowledge of electronics and hardware, only software. It really kills me, as I would love to have an iMac mod like you have, the design of the G4 is amazing. I will keep following the progress of this 20" build, and hope it is as great a success as your 17" one. Please post videos of the completed project, and maybe one before you close up the case, like you did with the 17". I liked that I could see how you laid out the inside.
 
Thanks so much for those encouraging words. I'm hopeful that this project turns out as I plan, only time will tell. I knew little about modding, electronic circuitry or using shop tools before I began my projects. I would encourage you to take a step into this, much like I did. You've got a great machine to work with already. The 17" iMacs are terrific once they're modded, a real showpiece.


Cheers!

Ersterhernd
 
I discovered yesterday that the location I chose to mount the HDMI-DVI converter with the TMDS conversion wiring wasn't possible as is because the Black and Grey LCD cables were too short to reach. It was due to the way Apple had the 2 cables routed around the case fan. I had to file a little notch in the fan housing, and that allowed me to re-route both the LCD cables so they'll reach the spot I had chosen.


qy5z.png


Much better this way, and an easy fix at that! :thumbup:


Ersterhernd
 
Build Log 8 -- PWM Case Fan and Pulsing LED Sleep Controllers

There are 3 Picaxe controllers to be used in this build. Two are now complete, and work great. I won't go into great detail about each, as they are covered in my previous iMac G4 build at the following links. Only slight variations of design were used this time.

PWM Case Fan
http://www.tonymacx86.com/imac-mods/102250-ersterhernds-nucimac-g4-17.html#post670932

Pulsing LED
http://www.tonymacx86.com/imac-mods/102250-ersterhernds-nucimac-g4-16.html#post663073


Instead, I'll give a few quick photos of how they are installed into this iMac. A picture says a 1000 words. I used a spare project breadboard I had sitting here, cut in to three it will give me enough space for all three of my controllers in this iMac.


My Picaxe programming station (thats an HP hackintosh I use for this)

IMG_4637.JPG


Test breadboard circuit for the PWM fan controller

IMG_4626.JPG


The PWM fan controller ready to tape up and install

IMG_4629.JPG


PWM fan controller installed

IMG_4633.JPG


Testing the Pulsing LED Sleep function with a little LED test light. It tested 100% with the iMac LED, too

IMG_4634.JPG


Pulsing Sleep LED controller board installed

IMG_4638.JPG


Both Controllers installed. Only one remaining to work on (LCD Brightness Control)

IMG_4641.JPG


Ersterhernd
 
Build Log 9 -- Pico PSU Install

A pretty straight forward installation, the PicoPSU sits vertically at the back of the iMac in the top of the dome. There's plenty of 5v, 3.3v and COM connections available on it, and I have an extra 12V available via the attached molex plug.


The PicoPSU with many attached peripherals via the main connector.

IMG_4665.JPG


PicoPSU installed using heavy duty velcro. Its very solid there, and won't move.

IMG_4667.JPG


EDIT: The original voltage block idea I had for wiring connections has been scrapped.


Ersterhernd
 
Build Log 10 -- DVI to TMDS Wiring

I completed the tricky part of the project today. I still haven't tested it because I don't yet have the 24V upconverter to power the backlights so I can see the screen image. That said, I painstakingly reviewed every step of the process and double-checked everything as I completed each pin. I also tested for zero resistance on the 12V and GND wires in the Grey LCD cable to ensure I had them grouped properly.

I mounted the Startech HDMI to DVI converter on heavy velcro. The entire assembly sits on 1/4" of hard rubber to raise the unit high enough for clear access to the two upper bolts of the HDD/DVD cage. As is, I don't have to unseat the delicate assembly and risk disturbing the wires when I take the DVD cage out.

Fingers are crossed that the screen lights up when I test it. :?::?::?:


Startech HDMI to DVI with MOLEX PN 74320-4004 holding 17 TMDS wires.

IMG_4651.JPG


Mounted on 1/4" of hard rubber to allow access to DVD Cage bolts

IMG_4661.JPG


Ersterhernd
 
Very good progress, hope your 24v upconverter shows up soon. BTW you should be able to see an image in the LCD without backlight by shining a flashlight into it.

In regard using your breadboard for power distribution, I don't think they were designed for massive power loads, maybe run a dedicated wire from PICO directly to fan, or amplifier if you have one, anything that is going to draw more than 1w or so.

Kiwi
 
In regard using your breadboard for power distribution, I don't think they were designed for massive power loads, maybe run a dedicated wire from PICO directly to fan, or amplifier if you have one, anything that is going to draw more than 1w or so.

Kiwi


Excellent point Kiwi. I have the 24v upconverter (32w), 12v LCD (5w) and 92mm case fan all hard wired direct to 12v molex yellow. The voltage block is for the smaller stuff.

EDIT: The voltage block idea has been scrapped.

Cheers!
 
Build Log 11 -- WiFi Antennas

The 20" iMac G4 came pre-wired with a wireless "G" (2 antenna) setup, and the WiFi card was an option that could be purchased separately. This is terrific for a mod such as this, because it eliminates the need to tear off the white plastic dome from the faraday cage, as Apple already placed the antennas between the plastic outer cover and steel inner cage. There is little if any WiFi reception inside the steel faraday cage itself, so this is an absolute must for decent signal strength. With my iMac, there was even an extension piece for one of the wires included.

Only one problem... the 2 Apple G4 antenna wires have the wrong end on them, they won't fit a current WiFi card. Fortunately I had an old PCI wireless card sitting in the closet that had two of the proper style antennas on it. Here's where it gets dicey, the WiFi wires have an outer casing, followed by a braided casing and then finally a clear inner rubbery shield casing that holds the actual wire.

After a couple of failed attempts, I found the best way (also the slowest) was to strip the wire down to the clear rubbery casing, then ever so gently sand off the rubber shield. This worked both times on the Apple wires, which I didn't want to lose any of, as I'll need all the length I can get to reach my WiFi card in the NUC. With some careful soldering, the job was completed in about 45 minutes. I had no way to test resistance on the one wire, but on the extension piece my multimeter read zero resistance between the two ends. I'll assume that both have a good soldered connection between old and new wire.

Here's the final result, two WiFi antennas that Apple has graciously run up into the exterior space outside of the faraday cage for me, and both are of sufficient length to connect to my Broadcom card in the Intel NUC.


IMG_4669.JPG


Ersterhernd
 
Here's the final result, two WiFi antennas that Apple has graciously run up into the exterior space outside of the faraday cage for me, and both are of sufficient length to connect to my Broadcom card in the Intel NUC.

Ersterhernd
have you tested these work? The reason I ask, is these are radio antennas so very susceptible to interference of any kind, proper shielding is exceptionally important.

Kiwi
 
Status
Not open for further replies.
Back
Top