Contribute
Register

An Amazing Find for My Next Project -- iMac G4 20"

Status
Not open for further replies.
Happy New Year, Kiwi!

I'm looking for a low-profile sata cabling solution as well. Let me know if you find one.

Cheers!

I have two possibilities

Apple have good right angle SATA cables, I have some from my powermac G5, and iMac G5 machines.
922-7132.jpg


I have also purchased a couple of these which I have used before.
http://www.ebay.com.au/itm/321054279098
 
Yes those Apple 90' cables are terrific, but I've used all mine up. I'm thinking of mounting the NUC upside-down this time, so the internal header pins and sata connections are face-up in the G4 dome. The fan will be on the bottom this way, but I don't think that'll be a problem. It'll give me a lot more headroom for cabling.


Cheers!
 
Build Log 5 -- TMDS to DVI Preparation

Spent the evening preparing the Inverter cable and both the Grey & Black LCD cables tonight. This involved carefully removing the tiny pins from the original G4 motherboard connectors, and then preparing the special 'Hot Plug Detect' loop that is described in detail on the the Dremel Junkie's website. Unfortunately I don't have my 24V step-up converter yet, so cannot test the wiring and LCD functionality yet. I'm going to clip it all together with Alligator clips first for testing purposes, then solder it up once confirmed correct.

Took a couple of pics for the sake of clarity.


The Gray and Black LCD cables ready for connecting and soldering.

LCDWiring.jpg


The 'Hot Plug Detect' loop with a spare VEDID 5V supply wire in case I need it somewhere else in the build.

VedidWiring.jpg


Thanks again to John Berg (aka Dremel Junkie) for his comprehensive efforts in charting this out.


Ersterhernd
 
Build Log 5 -- TMDS to DVI Preparation

This kind of captioned photo guide is absolute gold for a dummy like me. This is the clearest visual explanation yet, and saves me a trip to the dremelJunkie labarynth.

Now, I wonder if I could talk one of you guys into selling me the custom led controller pre assembled, I have no idea where to start with that stuff.

Thanks.
-D
 
Now, I wonder if I could talk one of you guys into selling me the custom led controller pre assembled, I have no idea where to start with that stuff.

It's not that complicated as you think ;)

Here you can see the PCB layout (a 0.1" stripboard in this case). The horizontal lines are the copper strips. Vertical lines are bridge wires or other components. Short vertical lines mean, that the copper strip must be cut there. I can post the required program code - I guess I already did.
http://www.tonymacx86.com/imac-mods/104625-mactester57s-hemimac-g4-9.html#post655319

The actual layouts for both controllers from the top side:
iMac%20G4%20finished%20electronics.jpg


Details for the fan controller:
iMac%20G4%20Fan%20Controller%204.jpg


MacTester
 
Cool, ersterhernd! :thumbup:

I wish you good luck with this one.

MacTester

BTW:
I'm writing this on my freshly hacked Acer Aspire One D255E Netbook... It's running Mavericks 10.9.0. :ugeek:

Hey I don't want to hijack this thread, but I have a brand new Acer Aspire One AOD250-1165 and I'm thinking of hacking it. Can you give me any tips on how to get going? I'd PM you for this, but I don't have enough posts yet....
 
Hey I don't want to hijack this thread, but I have a brand new Acer Aspire One AOD250-1165 and I'm thinking of hacking it. Can you give me any tips on how to get going? I'd PM you for this, but I don't have enough posts yet....

I'm sorry, but a Mod told me, that's not allowed to talk about Atom systems here... You need a modified kernel. For more details ask Google.

Good luck

MacTester
 
Understood - thanks!
 
Build Log 6 -- Internal PSU Mounting

As previously discussed, this build will implement a 90W Antec SNP90 power brick to supply the Intel NUC and the PicoPSU. The unit was temporarily positioned up until now, but today I fabricated a mounting bracket to hold it firmly in place in the top part of the G4 dome. I used a 3.5" piece of 1" aluminum angle bar for a simple but effective solution. It is JB Welded into position for a permanent mount.


The 1" angle bar bracket

IMG_4610.JPG


The Antec PSU firmly held in position by the mounting bracket

IMG_4611.JPG


Rubber pads for a firmly seated fitment of the Antec PSU brick

IMG_4630.JPG


Ersterhernd
 
Build Log 7 -- Intel NUC internal mounting in iMac

A very important part of the build is the effective planning and mounting of the Intel NUC inside the G4 dome. There must be enough room for the NUC, all cabling, Rear I/O and in this case, a 2.5" SSD drive. The plan for the build was for the previous DVD bay to hold the Intel NUC, that remains in effect. After much deliberation, I made the decision to proceed with the following goals...

  1. Keep as much of the G4 Logic board as possible for firm mounting of all components and rear I/O.
  2. Maintain sufficient clearance for a 7mm or 9mm SSD in the bottom of the iMac.
  3. Keep maximum height available above the NUC for Sata Connector clearance
  4. Allow clearance for all repurposing of the G4 rear I/O.


Here's the way it turned out. The NUC will be mounted upside-down for effective access to the headers, memory and Sata port without any removal of hardware. The only caveat is that the NUC fan will be on the bottom, but I don't think it will pose a problem in that configuration.


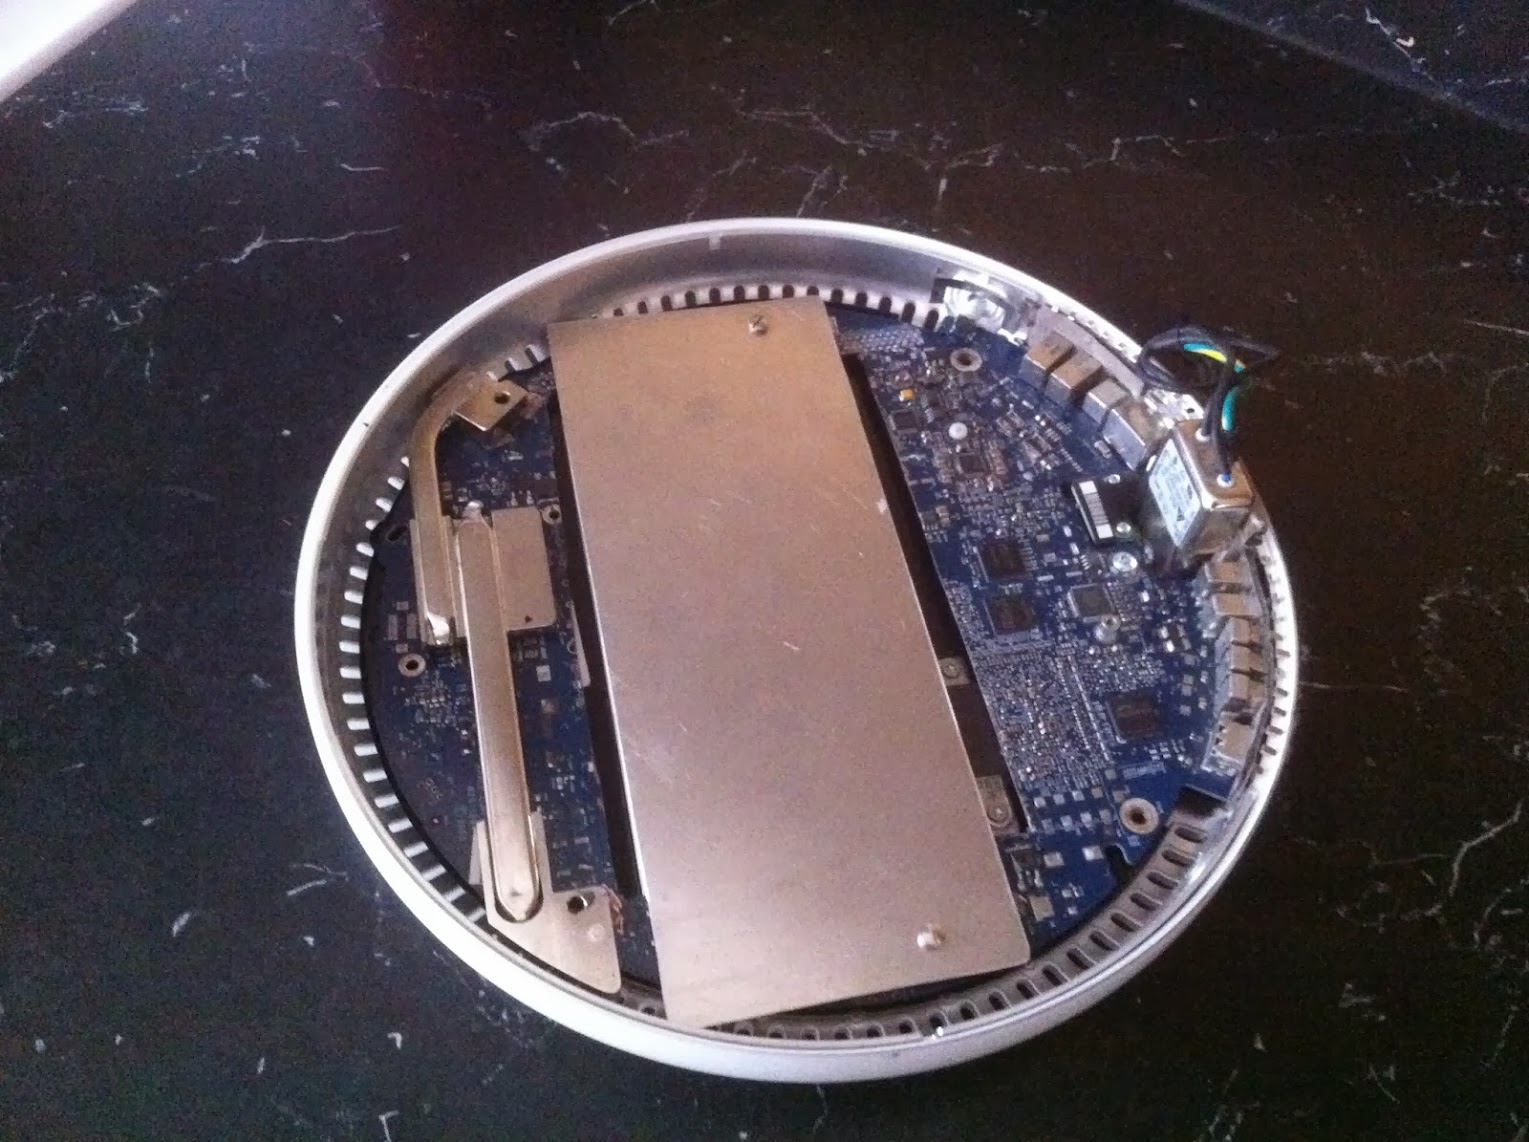
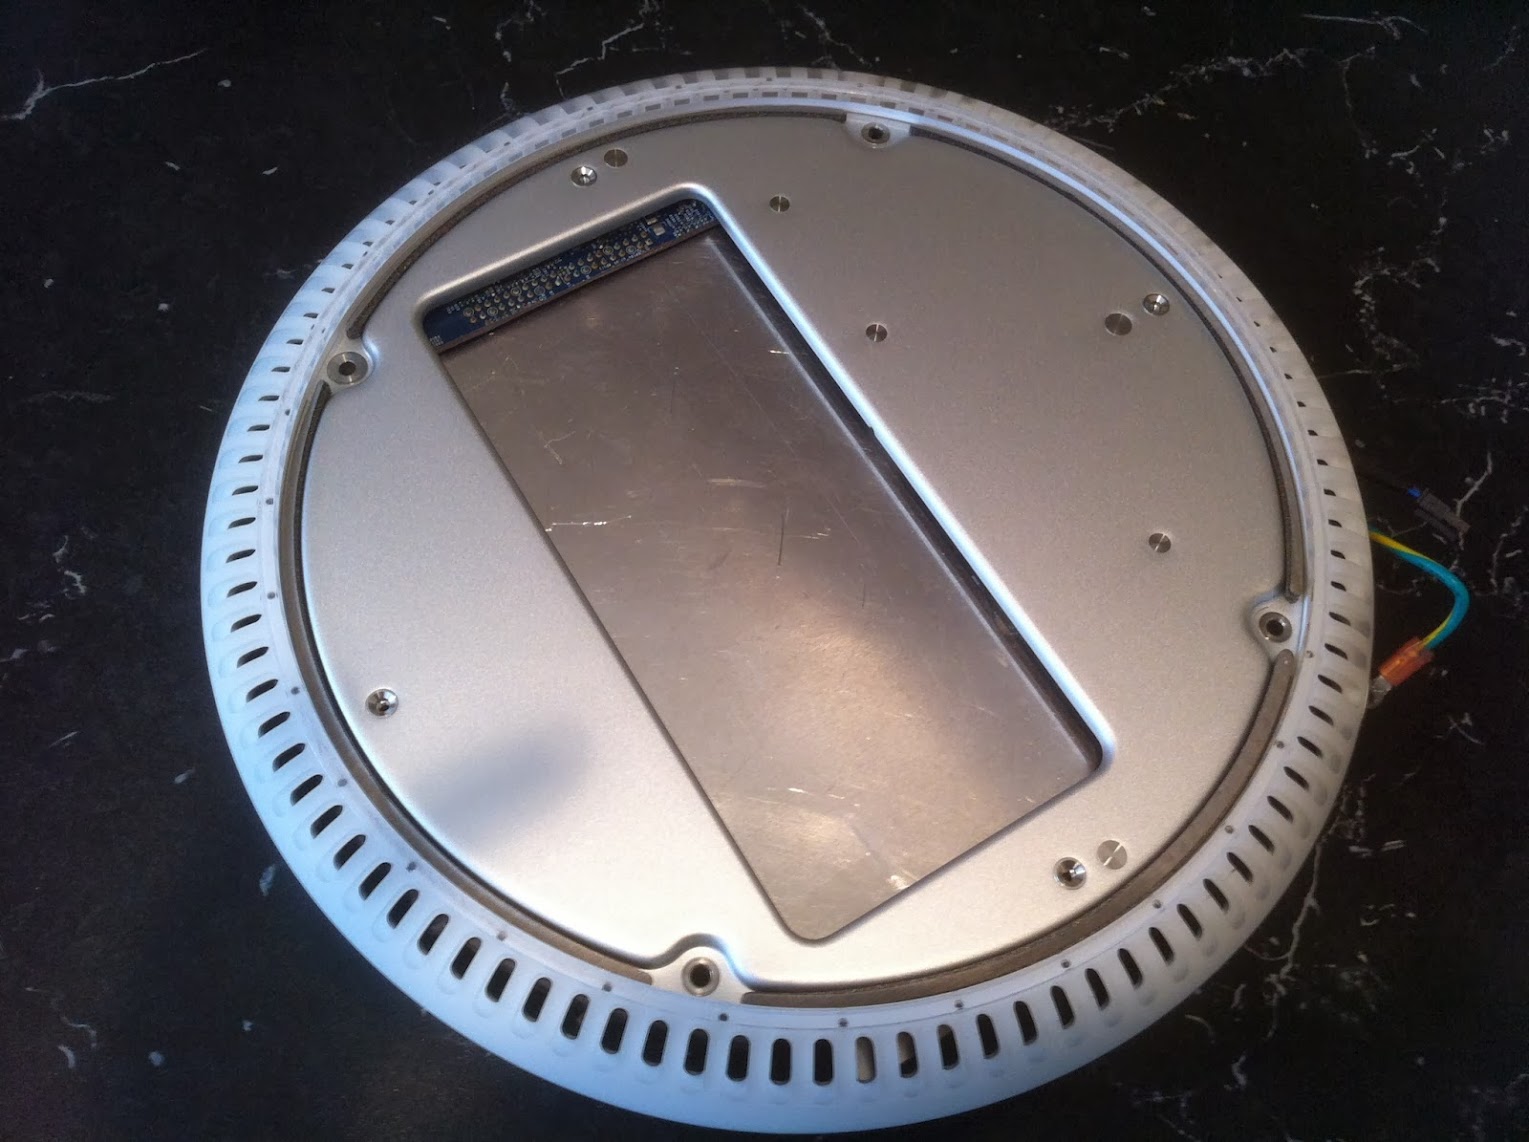
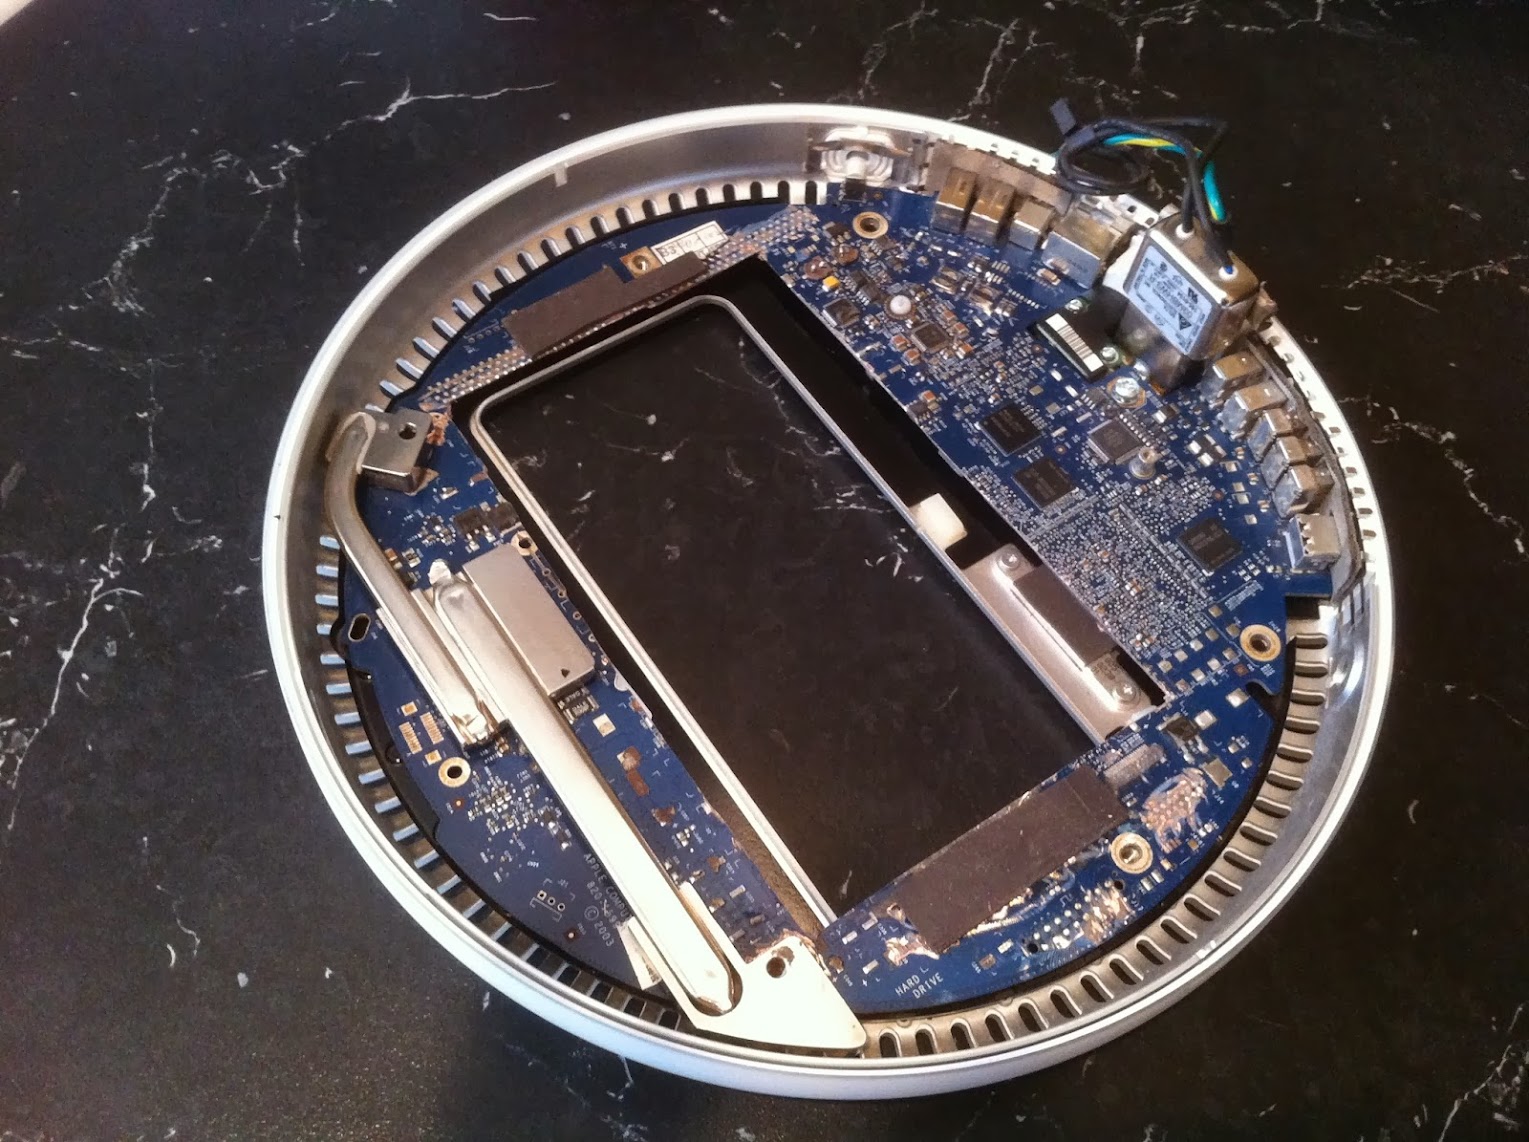
Square hole cut out of the G4 Logic Board. Most capacitors and all headers are removed. The Rear I/O remains intact, as do all bolt holes for fastening the board down. A small thin rubber pad is glued to each end of the hole for insulating an vibration from the NUC fan. Also being kept is the G4 heatsink sitting on top of the NVidia graphics chip. It is required because it is fastened to the two steel blocks (with bolt holes for the iMac base) that provided an original firm fitment of the base to the Faraday Cage. I have JB Welded the blocks to the G4 Logic board, and also JB Welded the old NVidia heatsink to the original graphics processor underneath it. This provides a solid and original fitment of the base to the bottom of the iMac dome.

IMG_4618.JPG


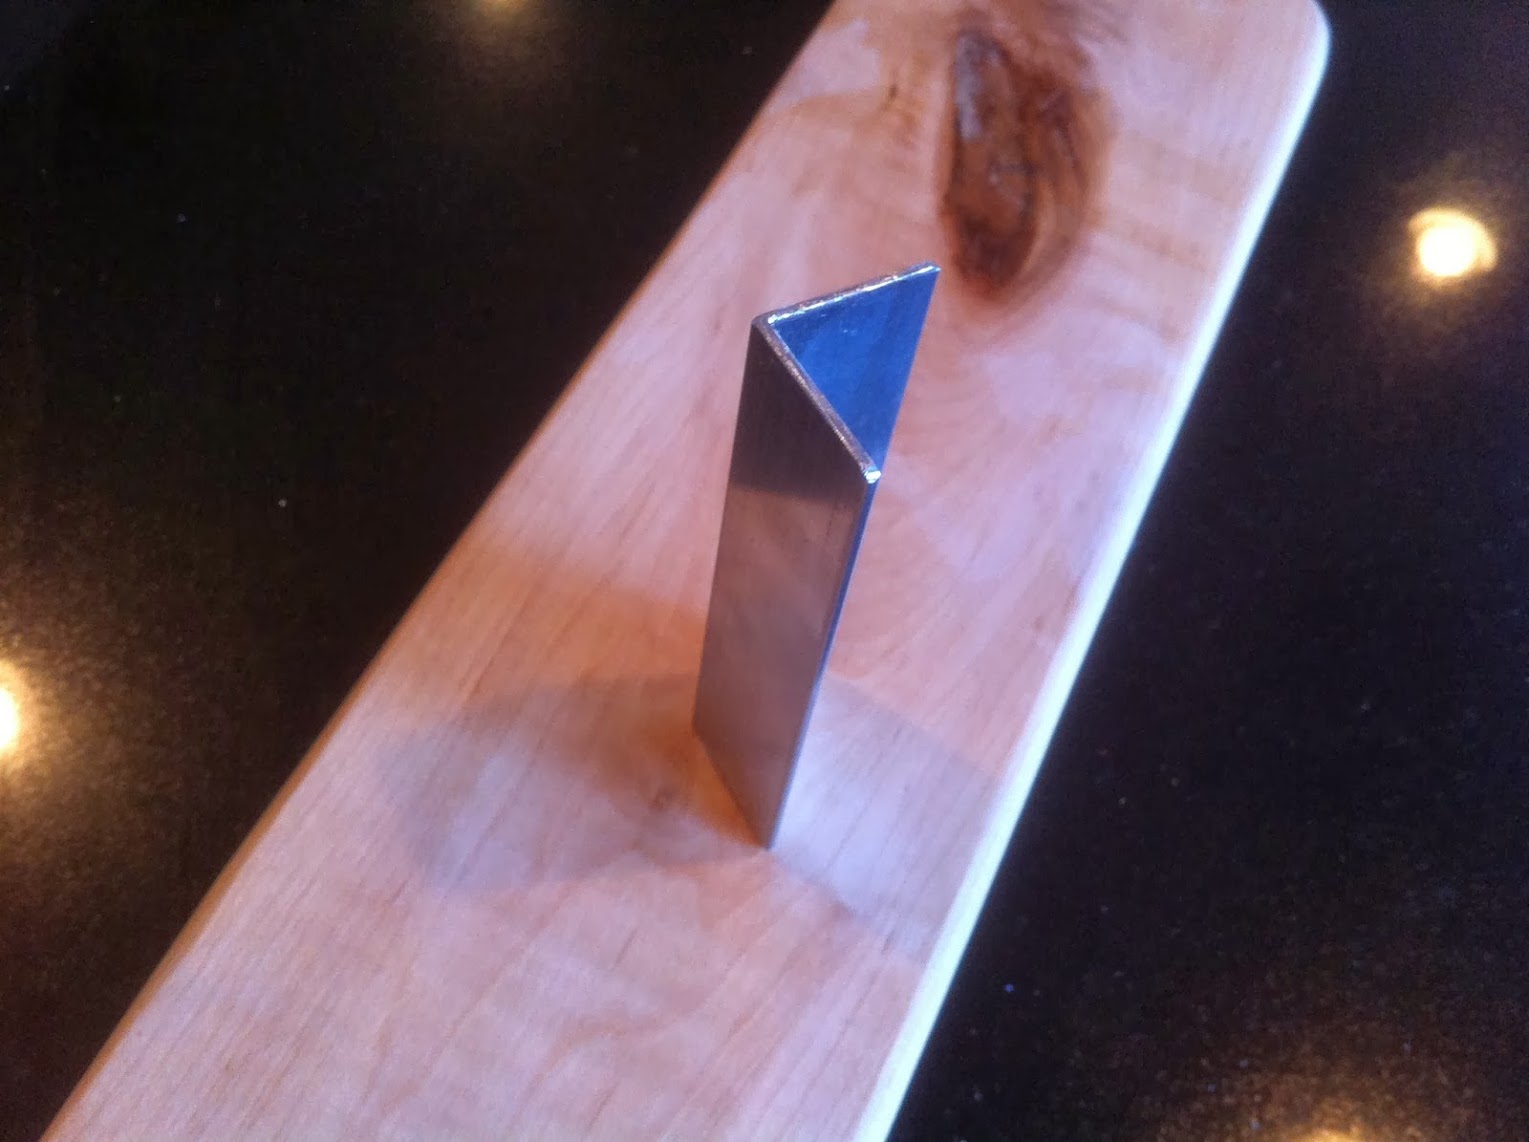
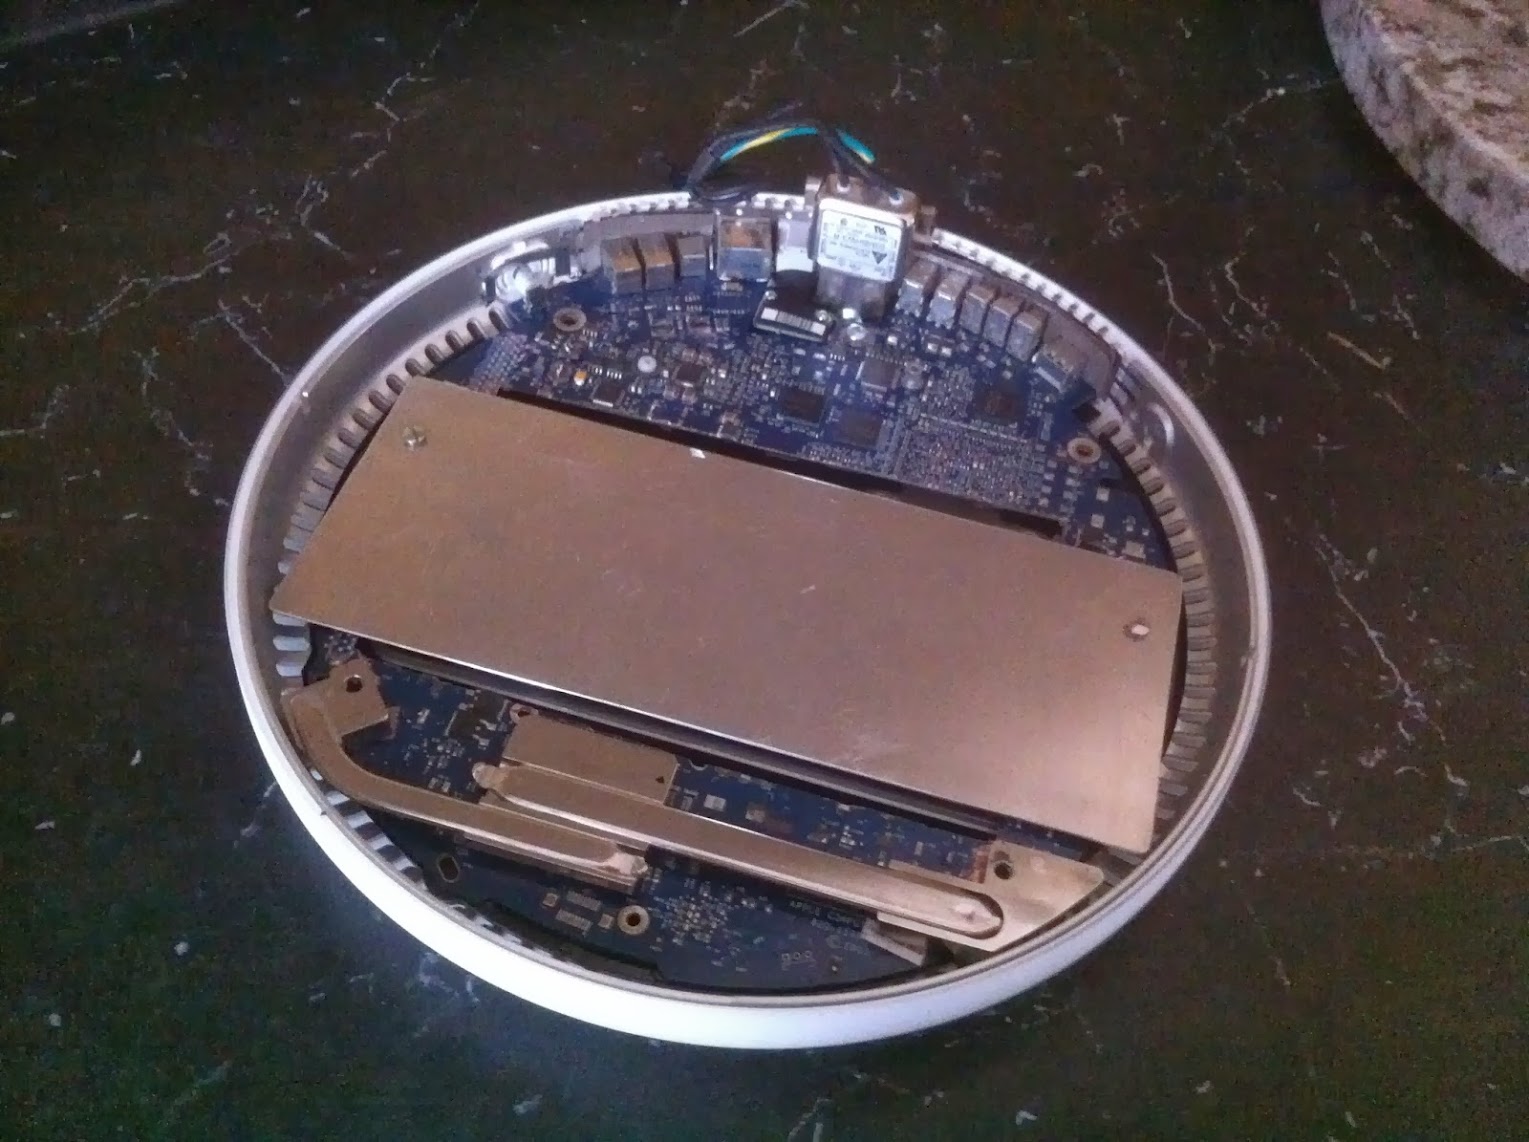
Next, I cut a 3.5" x 9" mounting plate which has a dual purpose. The Intel NUC will be fastened to the top inside the dome, and a 2.5" SSD drive will be fastened to the underside of the mounting plate. In this configuration, there is sufficient clearance above the NUC for cabling, and enough room to mount a 7 or 9mm SSD easily while still being able to fasten the bottom cover plate (with the Apple Logo on it) to the base.

IMG_4621.JPG


IMG_4622.JPG


IMG_4619.JPG


IMG_4620.JPG


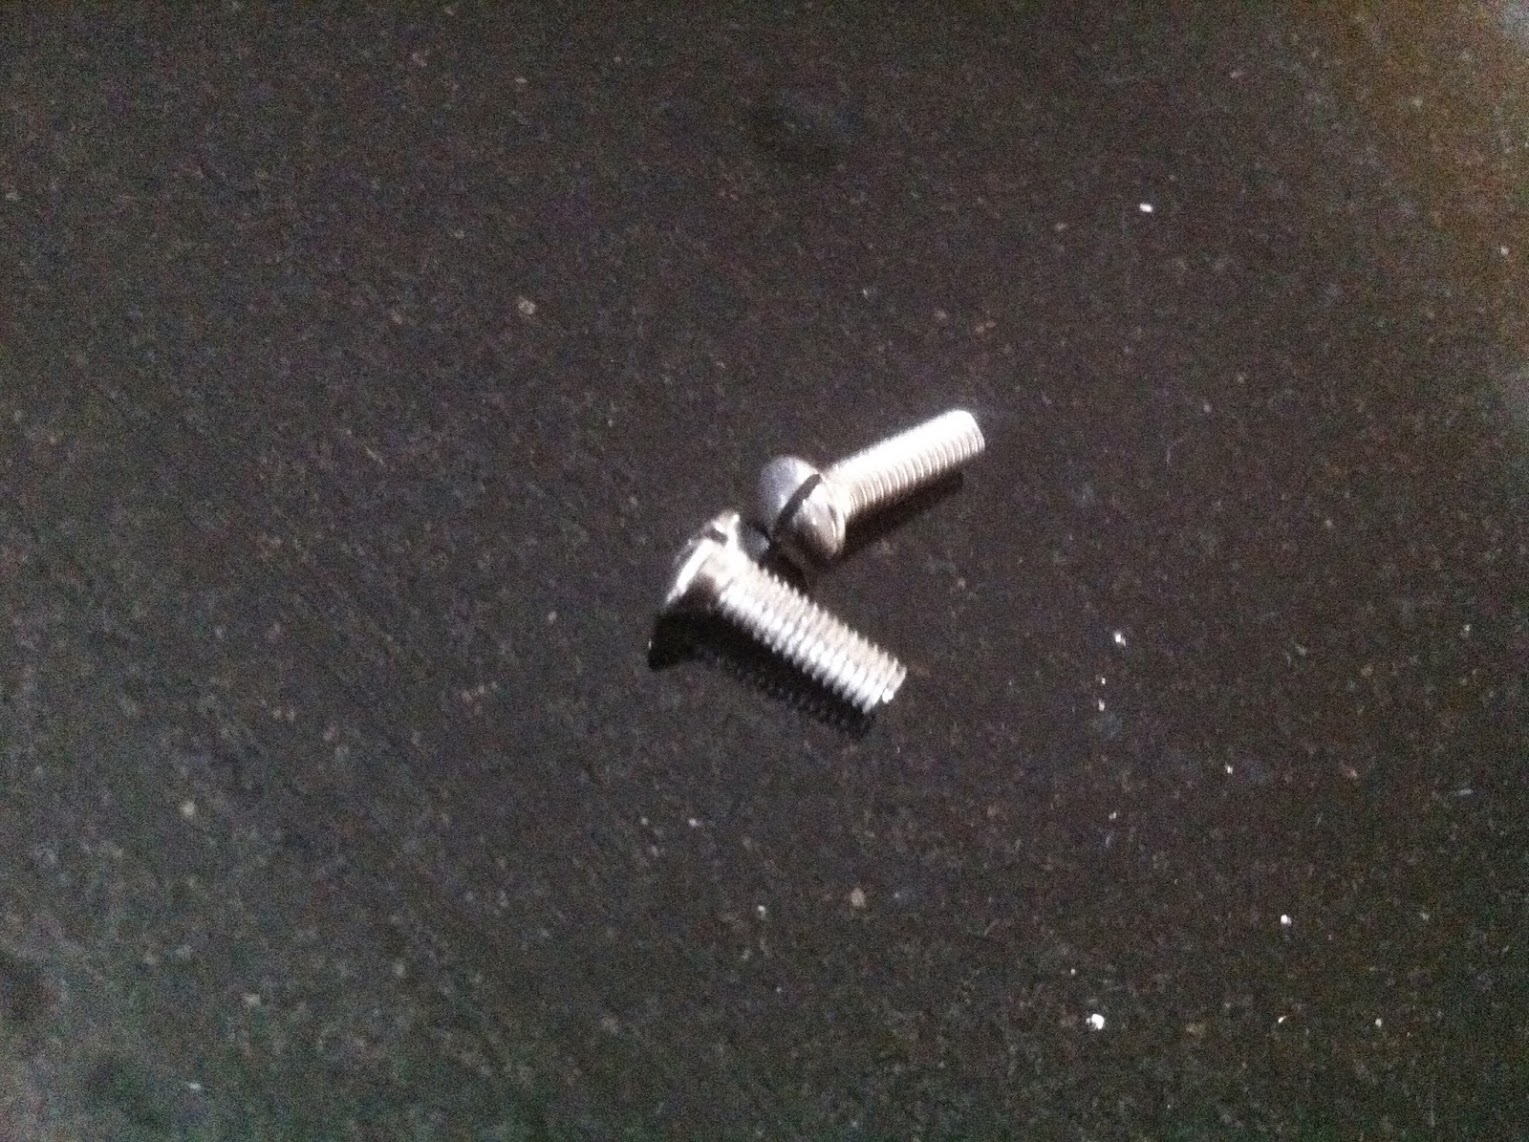
With the additon of the NUC mouting plate and rubber insulating mats, the original G4 mounting screws weren't long enough to fasten everything down to the base. I always keep a bag of long UK M3.5 Socket Screws on hand because they match the threads exactly in Apple hardware. Cut to the proper length, they worked perfectly.

IMG_4615.JPG


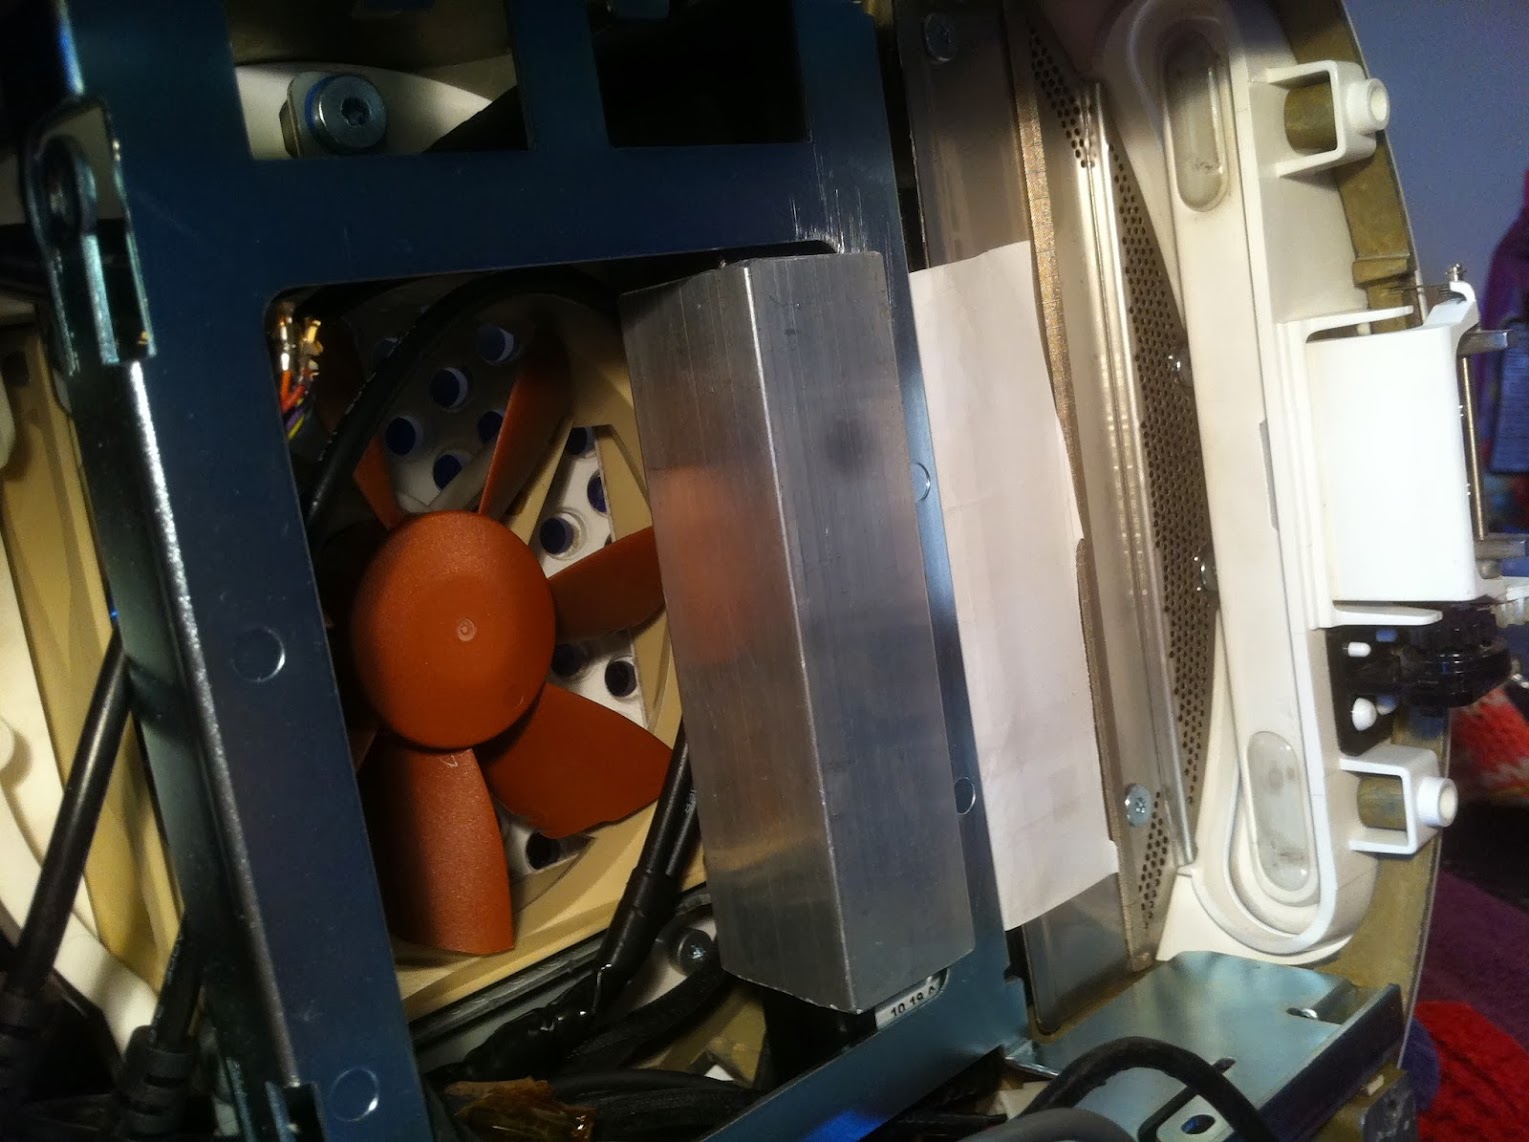
Here's what the NUC will look like when mounted upside-down on the mounting plate. This isn't the same D54250WYK that I'll be using in this build, its from an older NUC case. However, there will be little if any difference with the newer model, as the size is very similar. The actual black 'top' of the NUC exterior case will be JB Welded to the mounting plate in a similar fashion as shown below, leaving the underside of the system sitting upward.

IMG_4614.JPG


IMG_4613.JPG


Ersterhernd
 
Status
Not open for further replies.
Back
Top