
- Joined
- Oct 4, 2012
- Messages
- 261
- Motherboard
- AsRock Deskmini 110
- CPU
- I5 6500T
- Graphics
- Intel 530
- Mac
- Classic Mac
- Mobile Phone
Charlee's first G5 hack
Hi everyone, first off I would like to say I've been lurking around on this forum since 2012 dreaming that one day I would be customizing a G5 case. I've spent countless hours studying your builds, debating the do's and don't of each build I saw and creating a mental image of what I wanted mine to look like. I've been with the Apple "family" since around the same time and back in 2013 I bought this 2.0Ghz dual cpu G5 that was still in working condition before I started taking it apart in mid January. So, here goes with my build and please, feel free to comment!
Components:
Motherboard:
GYGABYTES GA-Z170M-D3H
https://www.newegg.ca/Product/Produ...760&cm_re=ga-z170m-d3h-_-13-128-845-_-Product
Cpu:
INTEL I5 6600K (I still need to buy this part)
https://www.newegg.ca/Product/Produ...9117561&cm_re=I5_6600K-_-19-117-561-_-Product
Cooler:
NOCTUA NH-U9B SE2
https://www.amazon.ca/gp/product/B0065SFEE8/?tag=tonymacx86c0c-20
Power Supply:
CORSAIR CX750M
https://www.newegg.ca/Product/Produ...e=corsair_power_supply-_-17-139-051-_-Product
Memory:
CORSAIR VENGEANCE LPX 4 X 8GB
https://www.newegg.ca/Product/Produ...0233831&_ga=1.141018354.1960672617.1481624150
Ssd:
CORSAIR NEUTRON XT 480GB (One for mac os and one for windows)
https://www.newegg.ca/Product/Produ...0233831&_ga=1.141018354.1960672617.1481624150
The build:
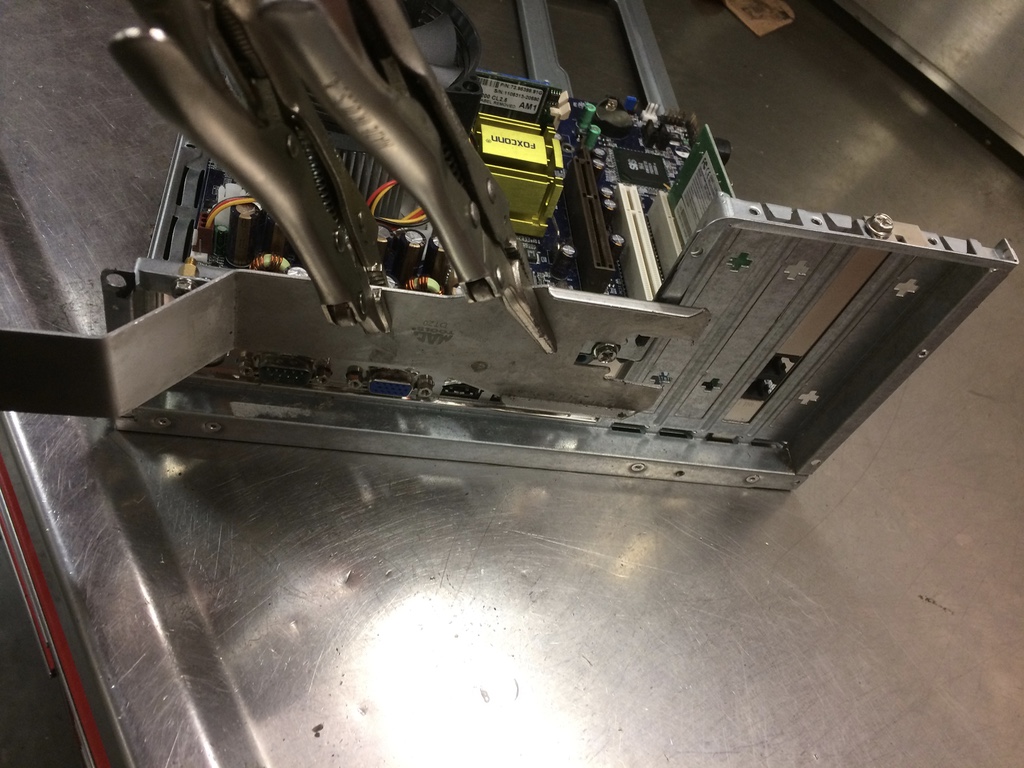
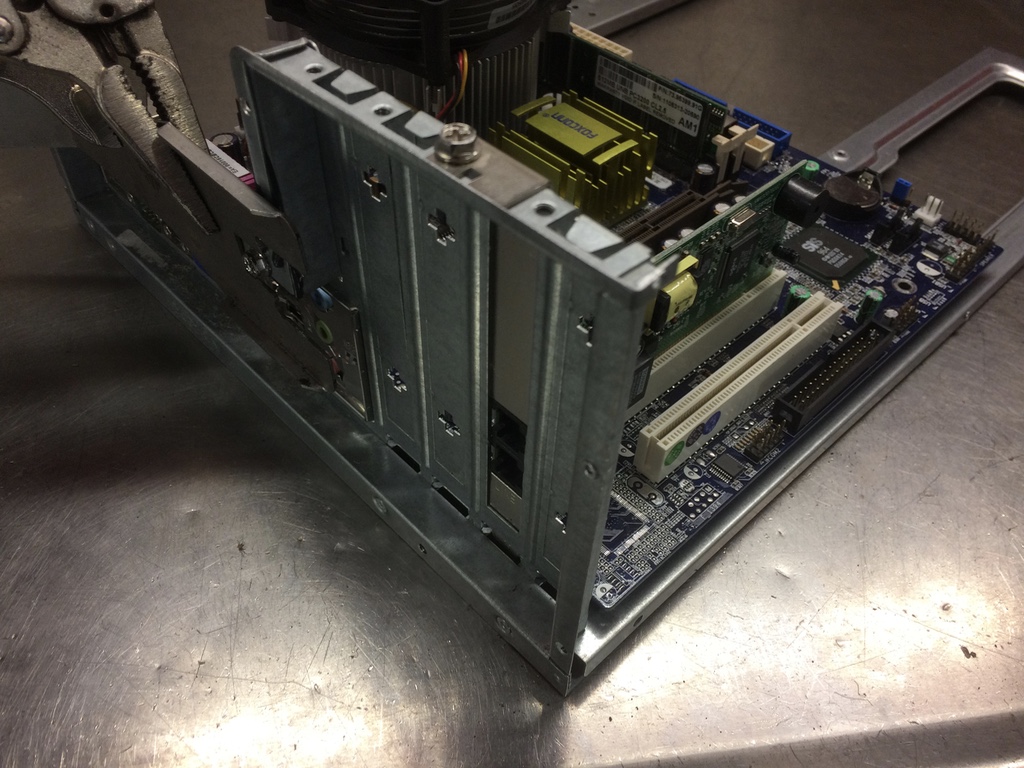
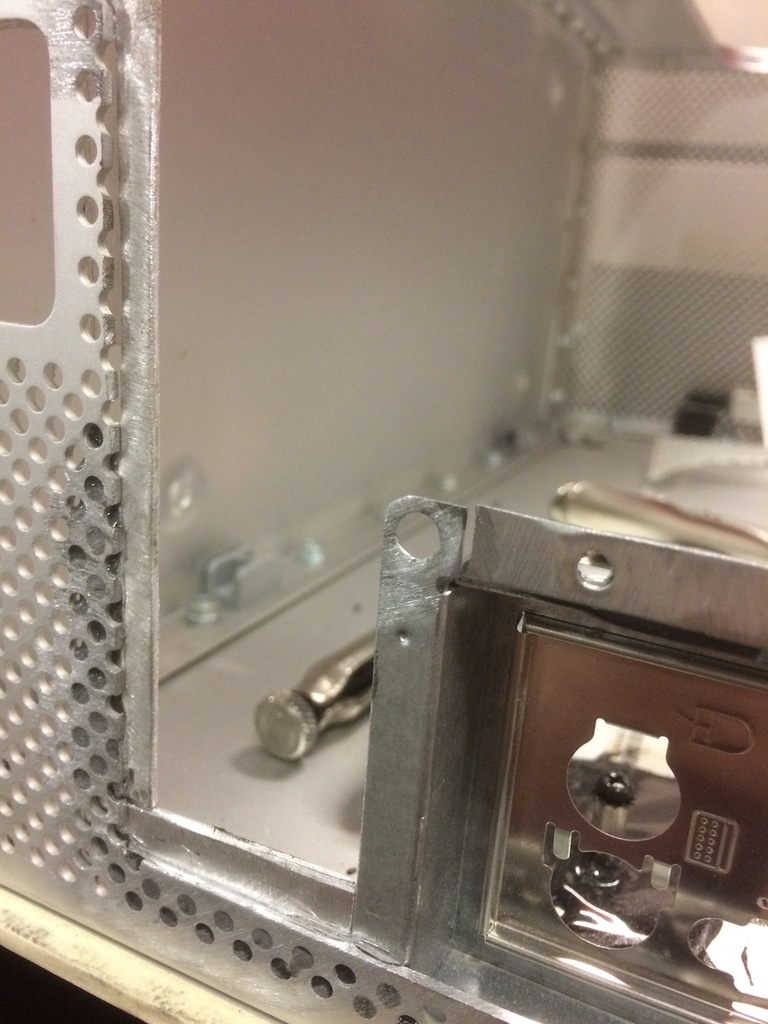
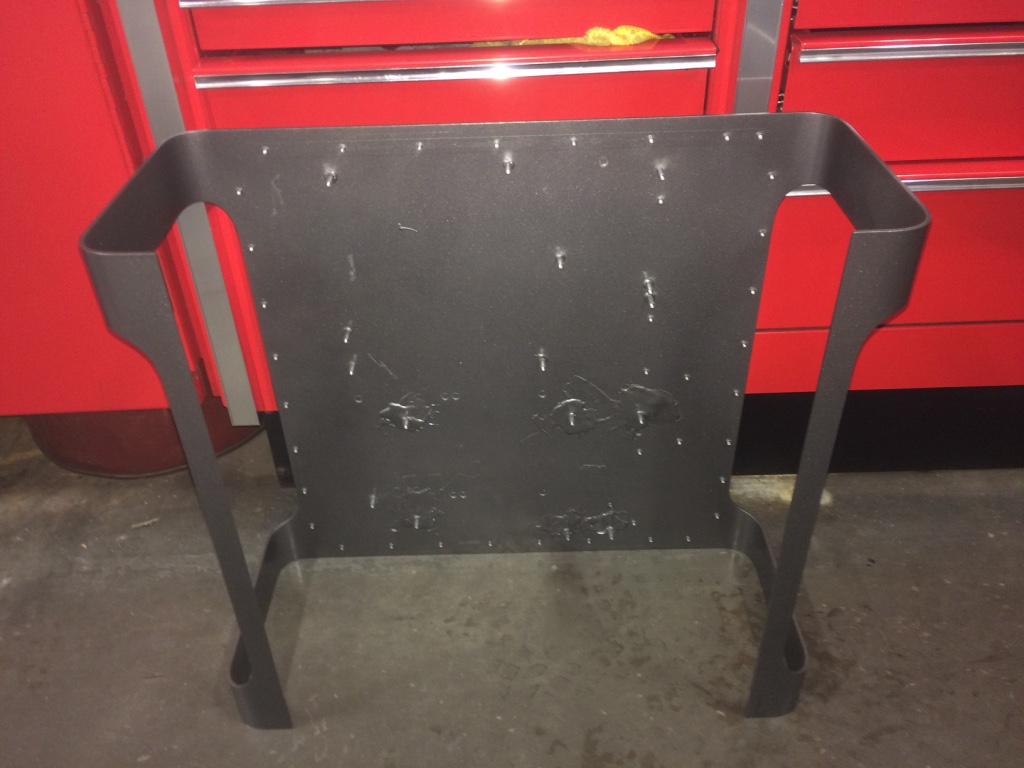
I started this project with an old case I had. I just kept the I/O shield and cards part and the old motherboard.
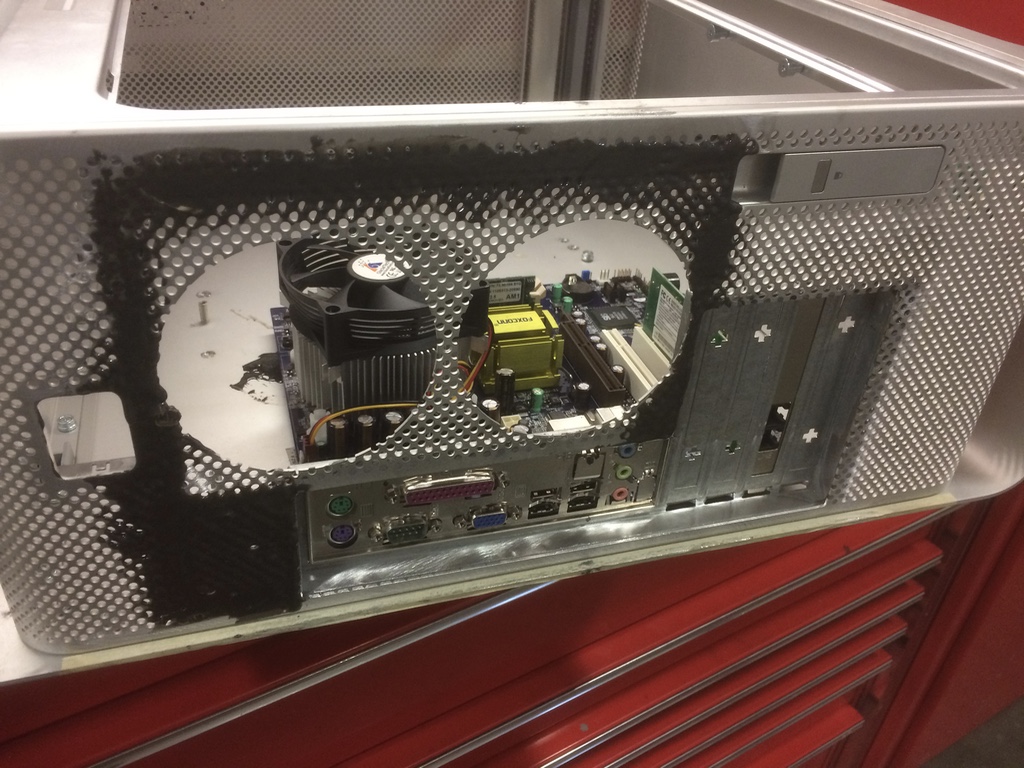
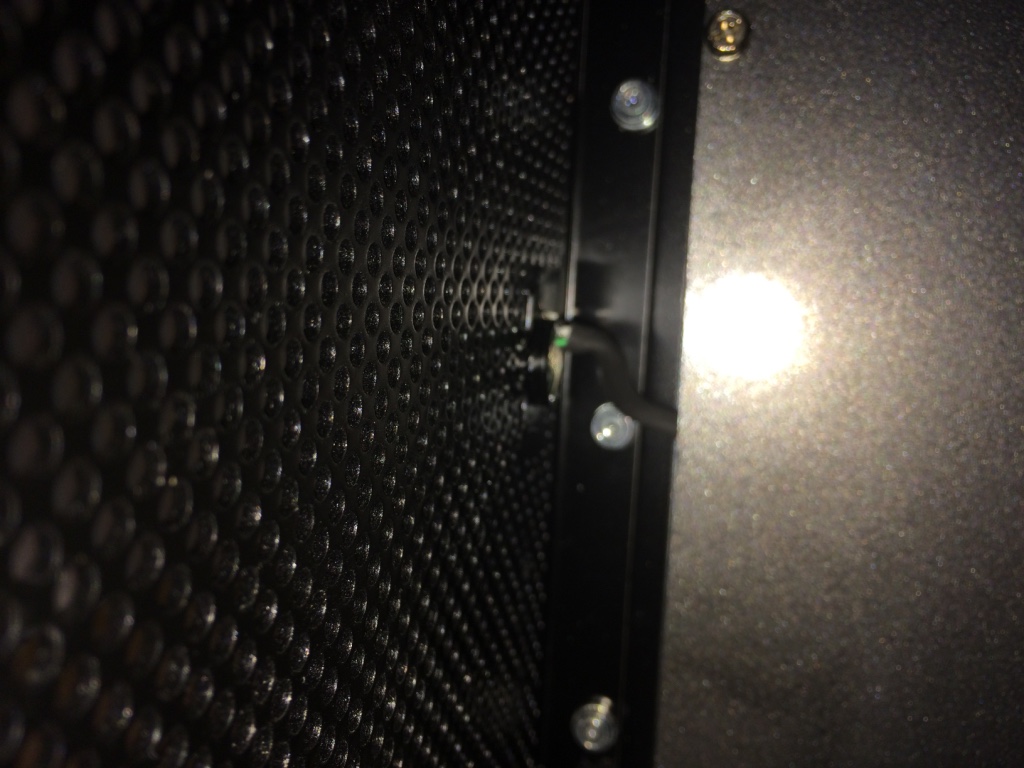
I then removed the part where is the rear fans and mac I/O. The idea was to keep the original fan mounting setup.
ALOT of J.B. Weld was used to put thoses parts together! There was also a couple of hours just to drill all the holes to imitate the original look.
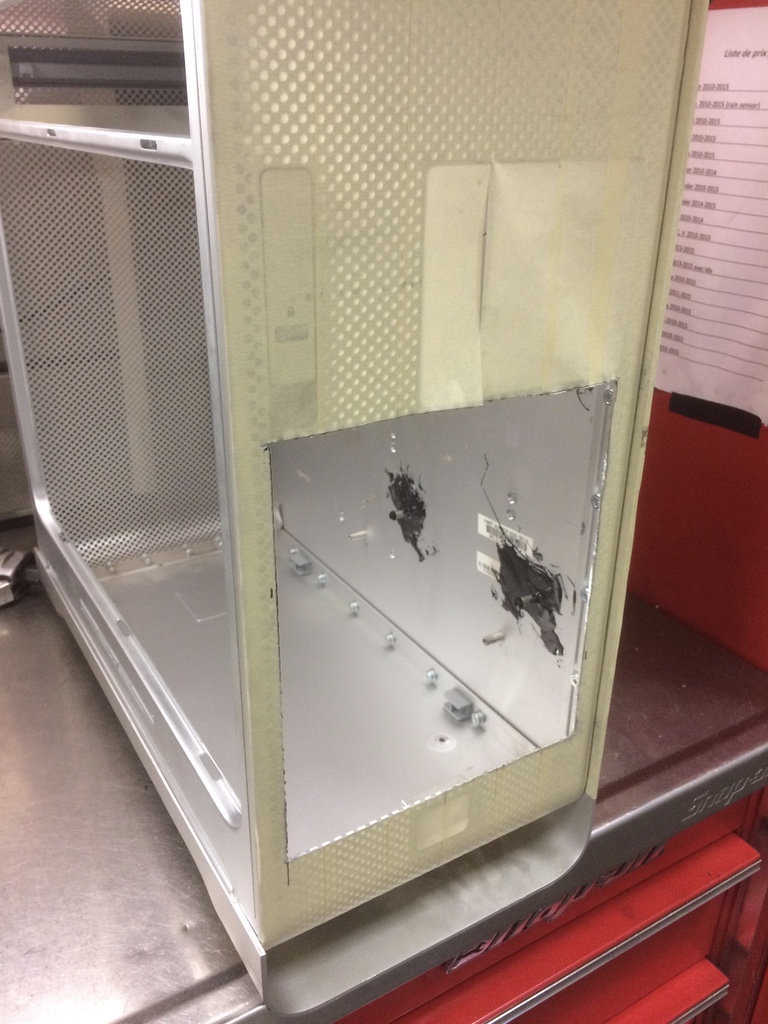
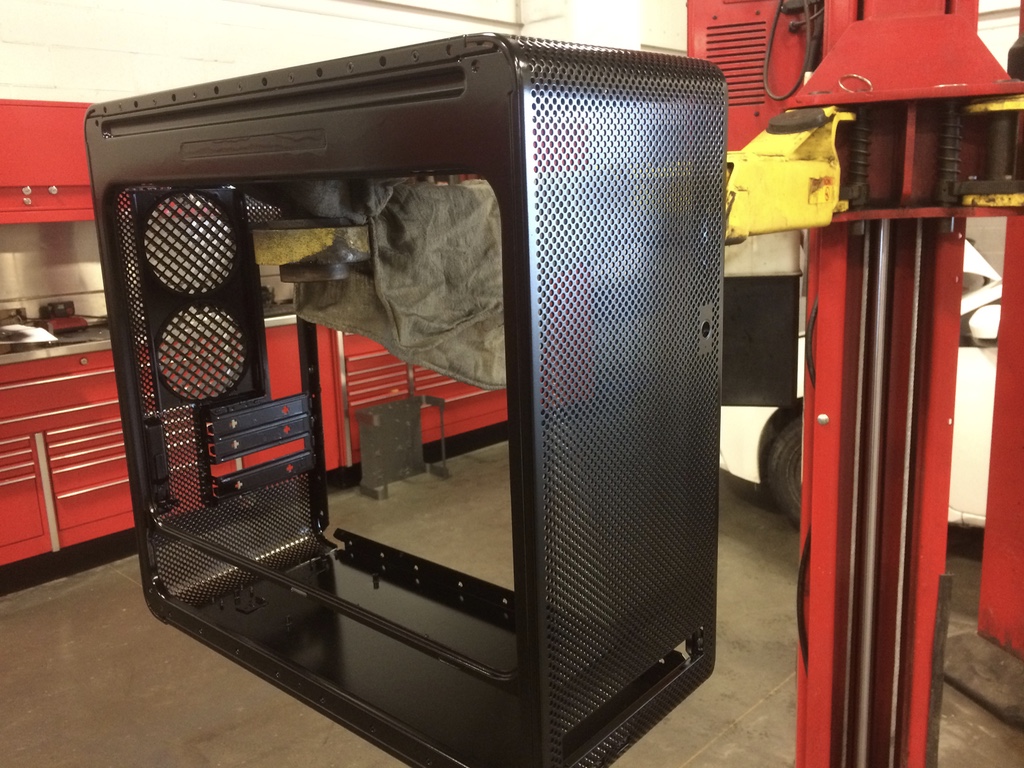
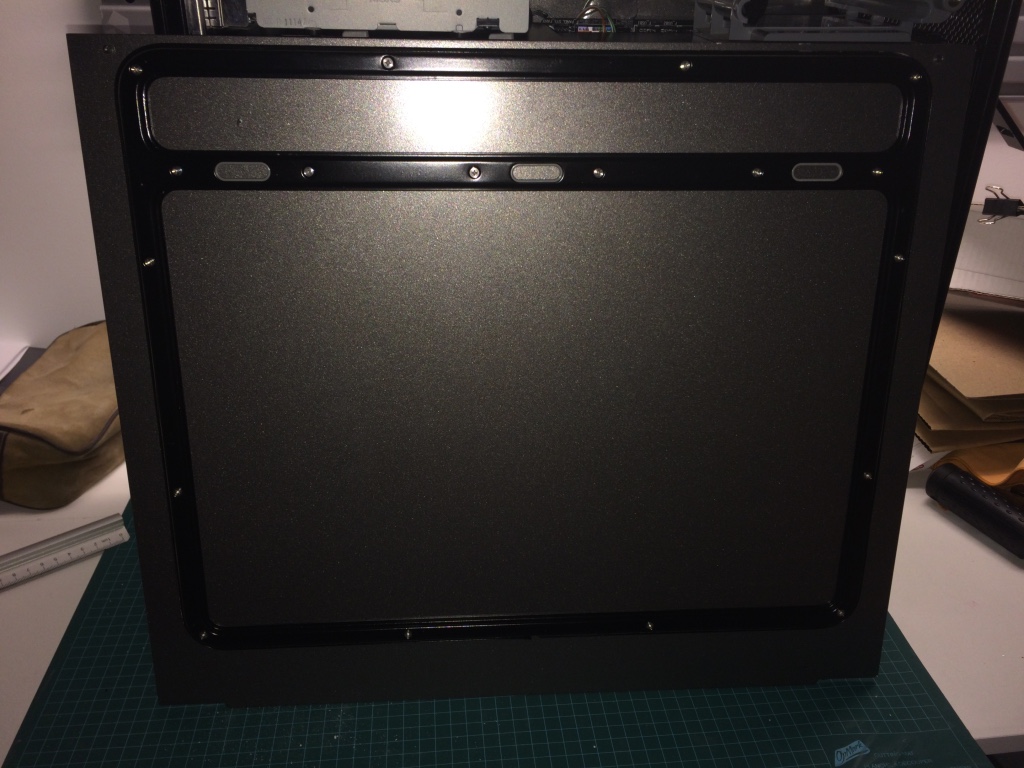
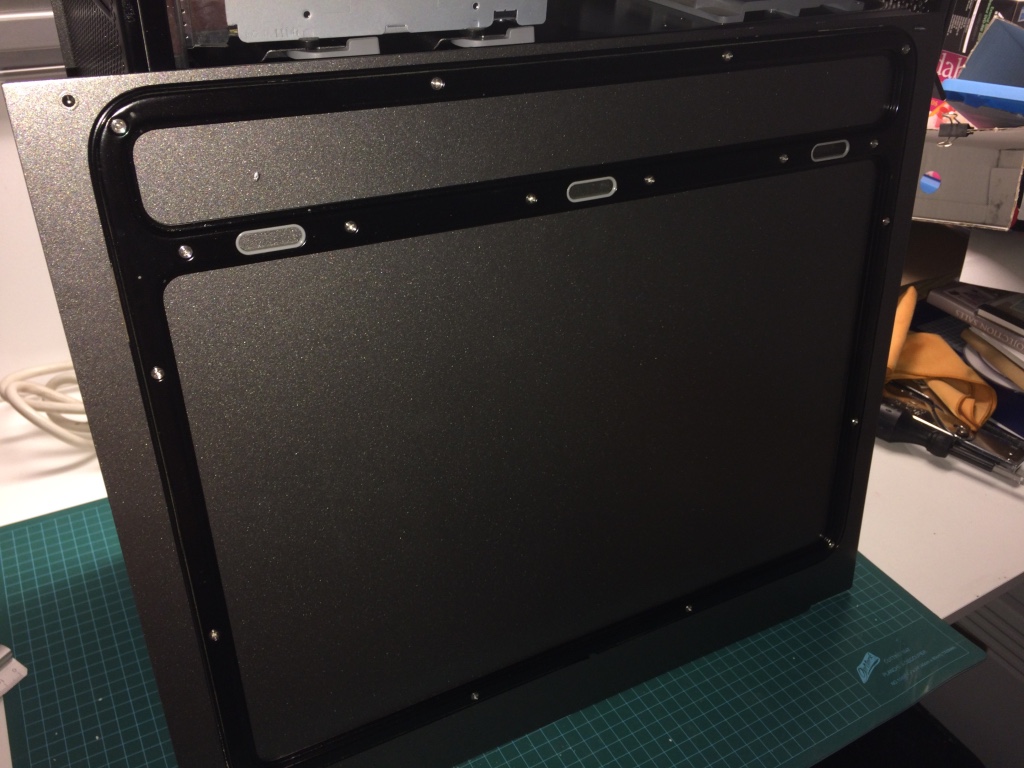
After that it was time to paint!
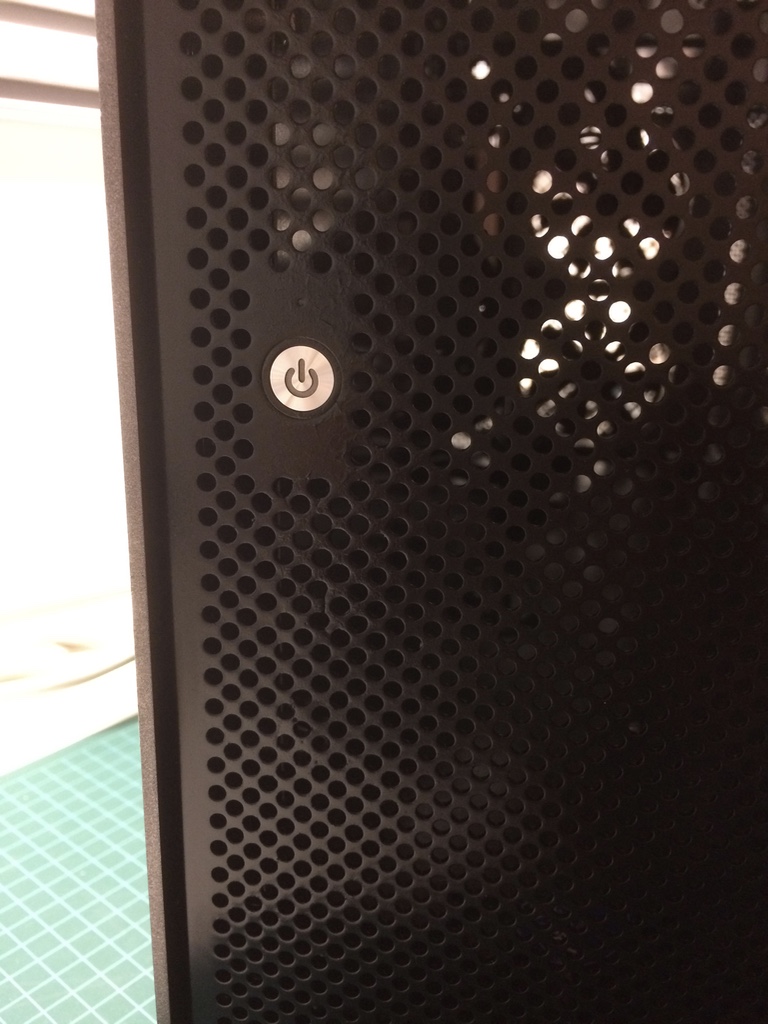
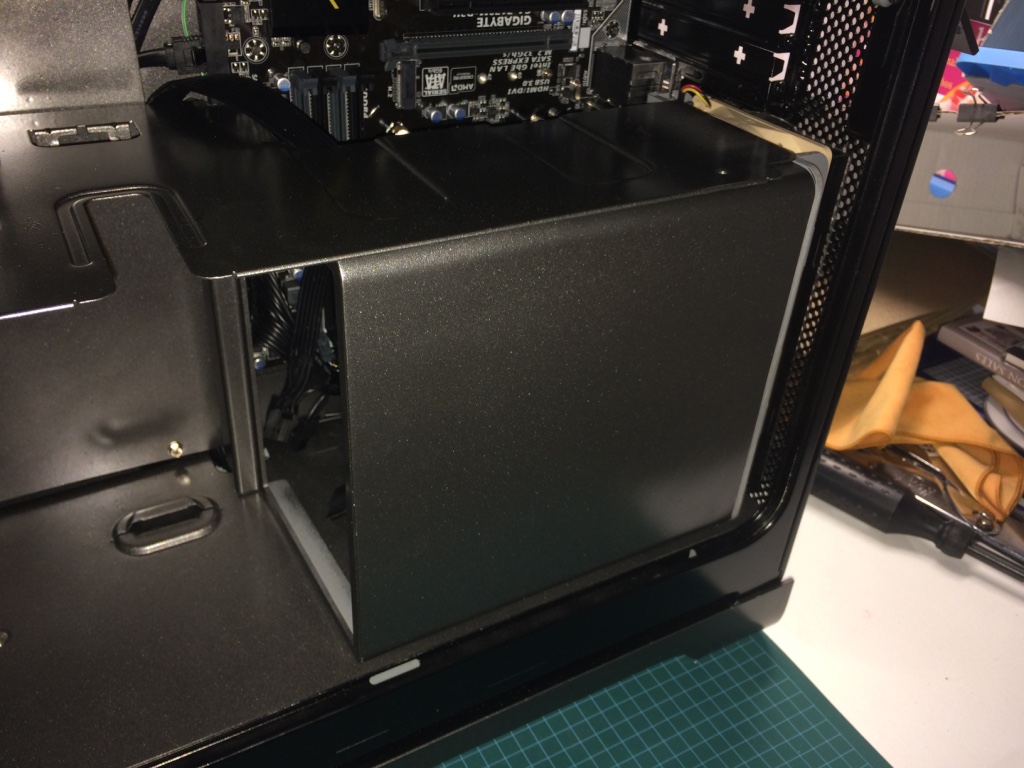
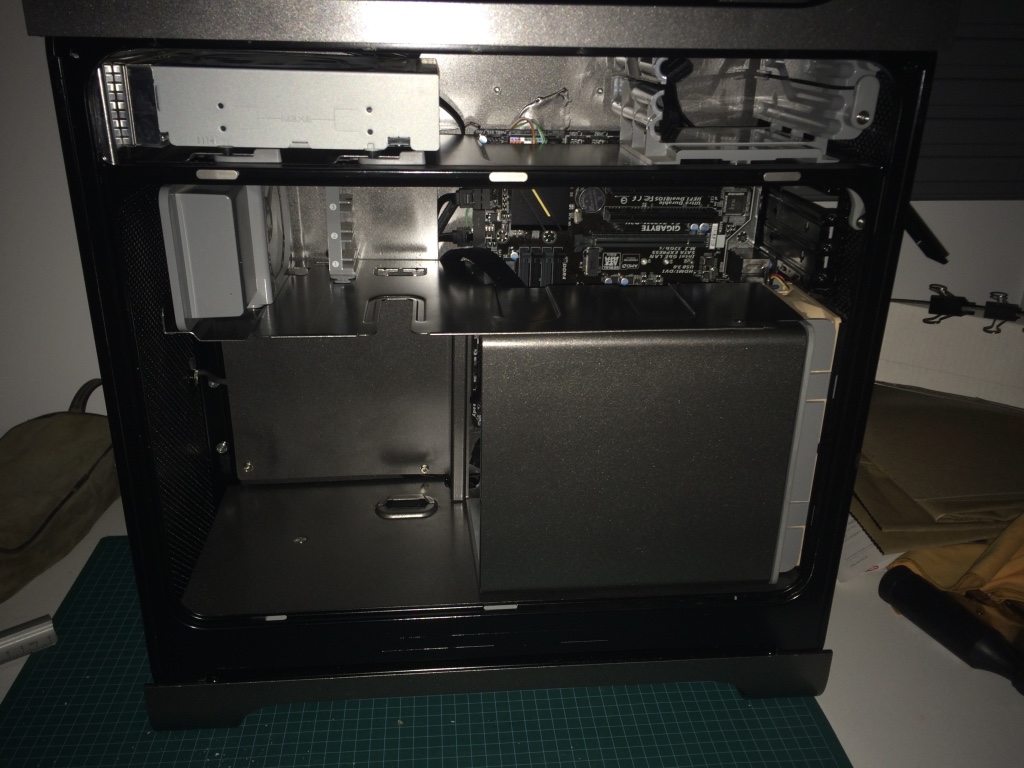
When the assembly time came, I kind of got excited and completely forgot to take pictures of the process. Here are the pics of where it stands right now until I get funds to buy the rest of the parts I need.
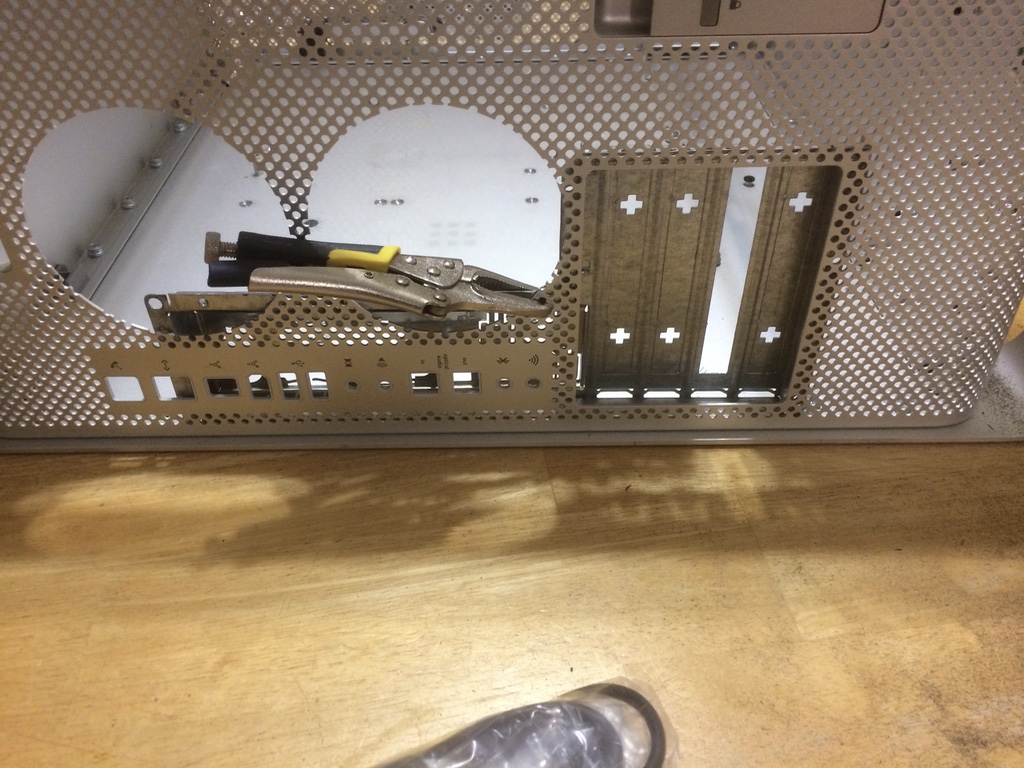
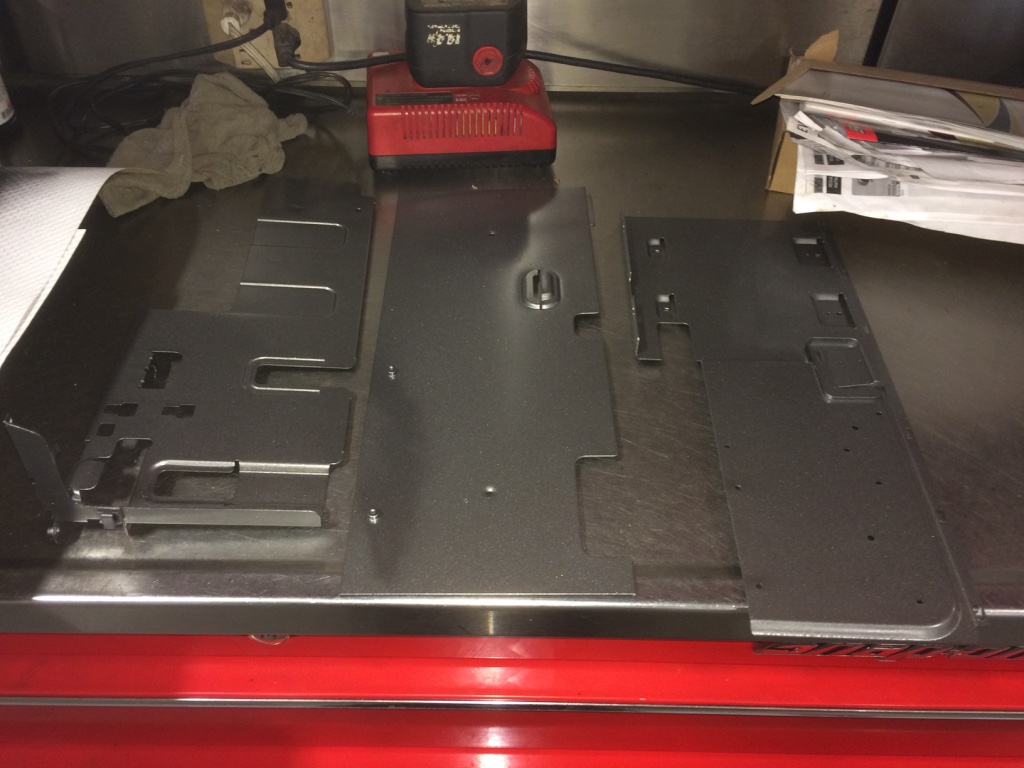
I took the original motherboard as a template and I cut a metal plate and drilled holes to accommodate the original standoffs and after that it was time to pass the wires under that plate to get a cleaner look. I will also add a sticker on the cpu cover but that has to be decided yet.
Thanks for watching my build and I'll update as soon as there is more to show.
I started this project with an old case I had. I just kept the I/O shield and cards part and the old motherboard.
I then removed the part where is the rear fans and mac I/O. The idea was to keep the original fan mounting setup.
ALOT of J.B. Weld was used to put thoses parts together! There was also a couple of hours just to drill all the holes to imitate the original look.

After that it was time to paint!

When the assembly time came, I kind of got excited and completely forgot to take pictures of the process. Here are the pics of where it stands right now until I get funds to buy the rest of the parts I need.


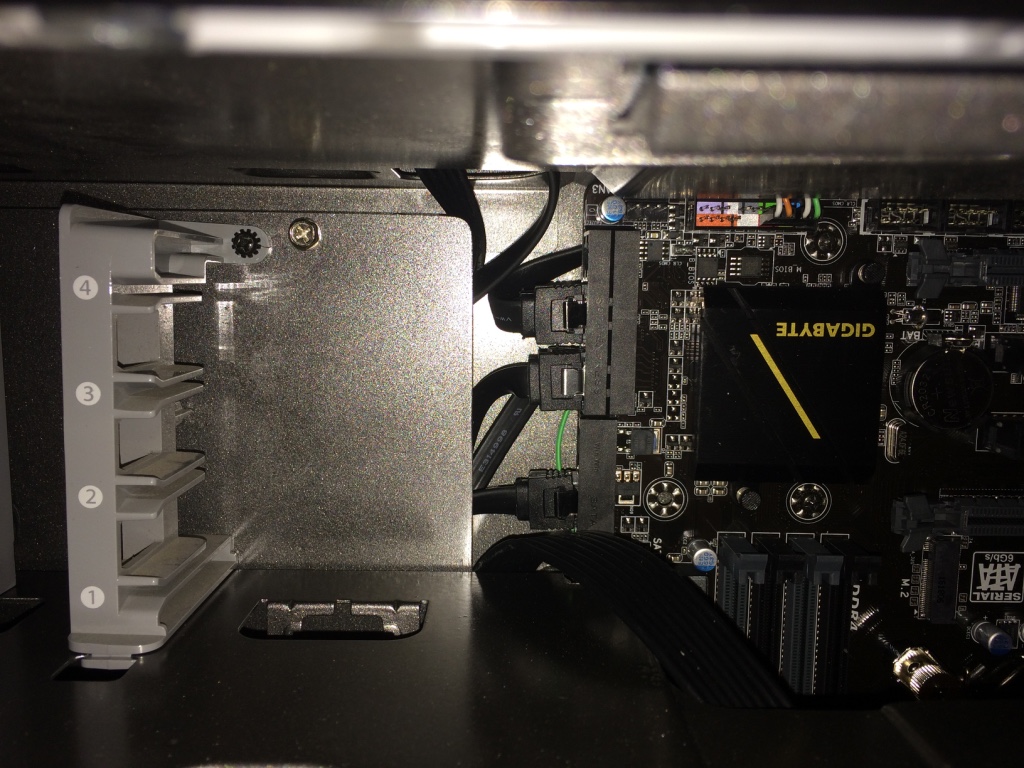
I took the original motherboard as a template and I cut a metal plate and drilled holes to accommodate the original standoffs and after that it was time to pass the wires under that plate to get a cleaner look. I will also add a sticker on the cpu cover but that has to be decided yet.
Thanks for watching my build and I'll update as soon as there is more to show.
