- Joined
- Feb 2, 2015
- Messages
- 79
- Motherboard
- Gigabyte Z97x Gaming 3
- CPU
- Intel I7 4790
- Graphics
- Nvidia 980Ti
Components
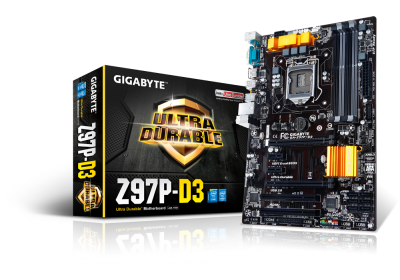
Motherboard: Gigabyte GA-Z97P-D3
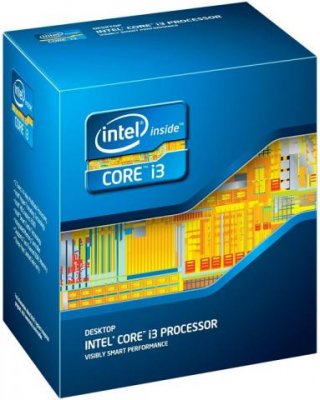
CPU: Intel Core I3 4150
Graphics Card: VTX3D AMD Radeon HD 5450
PSU: Antec VP550p 550W
RAM: HyperX Fury 8GB 1600MHz
Storage: Seagate Barracuda 750GB
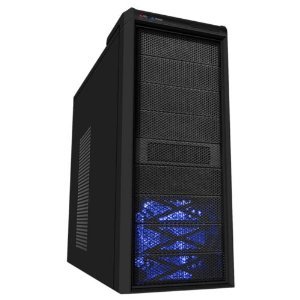
Case: Evo Labs E-X8819 ATX
Comments
This build was an off the spur thing, let me explain.
I have been working in a computer repair shop for about a year now and since starting i have always wanted to build a hackintosh, I needed one for AutoCAD and other intensive 3D programs, but when i saw the price of the one i wanted it quite literally blew my socks off! So i looked at some other parts for a less costly build and the guy i work with said he just ordered some parts for a cheapo PC build and they may be compatible for a hack, and we had the CPU, GPU and MOBO in the shop (hence the name) and as luck would have had it, the parts that we bought were compatible! There was a bit of a problem with the original graphics card but I'll get to that later.
The PSU and GPU were both chosen for the quiet operation of them, the only noise i can here now working on it is the stock CPU cooler and some slight electrical noise from the MOBO.
The CPU was chosen as it performs very nicely for the price (and we had it in stock!). Even with the stock cooler the temps are very low, idling in the mid to high 30's and never going above 45C in most cases.
The motherboard was chosen basically because we had it in stock and it was compatible, nothing much else really. Oh, and it looks quite good with the gold/yellow on it
Again, the case was chosen as we had it in and it A. looks quite nice and B. has quite a bit of room for cable management and has a removable plate near the Hard Drive caddy for long GPU's, good thinking Evo Labs!
The Hard Drive was chosen as it have a stupidly fast instant read (up to 600Mb apparently) and it has more than enough storage for OS X and lots of other apps and documents. I didn't go with an SSD for 2 reasons: Firstly, it would have shot up the price by quite a bit considering how much storage you got out of it, Secondly, the read/write of the HDD is great for a budget build so putting an SSD into it wont have much benefit.
The Install:
I followed Tonymac's guide on how to install Snow Leopard with iBoot and MultiBeast found here: iBoot + MultiBeast: Install Mac OS X on any Intel-based PC.
If your going to follow Tony's guide just be warned, you won't be able to boot from the Hard Drive as he says, I have tried for 2 weeks to try and boot from it with no success. Its not a major problem as we will update to Yosemite straight after so dont bin that iBoot disk straight after the install!
So, follow the guide on how to install and just make sure in the UEFI BIOS that everything is set to "optimized defaults" and under "Windows 8" make sure it is set to "other OS".
Once you are booted into snow leopard on the disk follow the steps on the guide to update to 10.6.8 if your disk is any later than that, and use "EasyBeast" to install all of your kexts. REMINDER: DO NOT boot from the hard drive, you will either get a kernel panic or a black screen. ALWAYS boot from the disk for Snow Leopard.
Side note: If you don't want to use the GPU stated and want to use a different one, DO NOT use any form of the Nvidia GT210, (i'm not hating on Nvidia, these are just the facts) you will have a world of trouble trying to boot it from the disk, maybe not even booting at all, and the Radeon HD 5450 was just a lucky guess really.
Once you have the update and you have installed EasyBeast download Yosemite from the app store and whilst you're waiting format your pen drive like this:
And download Multibeast 7.2.0 and put it on your formatted pen drive.
Follow the steps here to put Yosemite onto your pen drive and once you're happy shutdown and boot from the pendrive with these boot flags: -x GraphicsEnabler=Yes PCIRootUID=1
Once you are in the installer choose your language and wipe your hard drive so you can clean install Yosemite, if you're not sure how to follow the link on the last paragraph or click here, and scroll down to step 6.
Now for the odd bit, you can now boot from the hard drive WITHOUT any boot flags
Seems odd doesn't it? i was confused as well but no matter, makes things a lot simpler!
Now, at this point you may notice that your mouse and everything else is very laggy, don't panic, just soldier though it.
Select DSDT-Free from the quick start menu at the top and then go to drivers and select audio, Realtek ALCxxx, ALC 887/888b and optional 3 port (5.1) audio.
Side note: As of yet i can't seem to get the audio to work, whether it is my monitor speakers or something i don't know but those are the correct audio kexts so install them anyways.

Select Network, Realtek, RealtekRTL8111 V1.2.3.
Select Customize from the top and select Boot Options, if you have a 1080p display then tick 1080p display mode, if not don't bother.
Select SSDT Options and make sure Mac Pro 3.1 is ticked (i haven't tried any of the other one's so just go with that to be on the safe side).
Select Themes and choose what theme you want at startup.
Now click build and wait 10 mins or so for everything to install.
Well done! you mac is nearly ready, but remember that mouse lag i talked about before? Well you may have noticed that has gone now but your screen is still at an odd resolution, and when you reboot the mouse lag will come back!
 .
.I must have searched for hours trying to find a fix for it, i knew what it was, 2 kexts wouldn't pick up my GPU and if you go to "about my mac" it regards the display as "Display 3MB".
I could have fixed it, if it weren't for the fact that there was no info.plist file in the kext!!!
Finally, i found a thread on here, that other people were having the same problem with my card and an amazing user by the name of FoxyDL was kind enough to put a download for the 2 patched kexts! The thread is here. Scroll down a bit until you find the download and grab them, they are worth their weight in gold!
Once you have them you need a utility called KextBeast, also provided by the fantastic TonyMacx86 (what would we do without him?)
Download and run that, put the downloaded kexts onto your desktop and run Kext Beast to install them.
After they have been installed restart an Volia! your display should scaled properly and there should be no mouse lag!
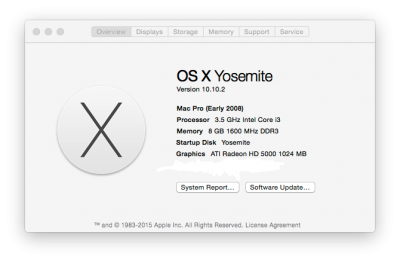
You can now go to "About my mac" and see that your card is now displayed properly!

Well done! you can pat yourself on the back! you now have a fully functioning Mac (without audio for the moment
Thanks for reading my guide, i hope it helps you!
Regards
Jake
EDIT 1: Audio now does work from the front port headphone jack, i still can't get the 3 port audio at the back of the motherboard to work
Last edited:


