edited original post:
Here is a temporary working guide to install OS X Yosemite 10.10.x on your custom built Haswell E X99 Computer! I made this guide from using instructions from about 5 of the current builds on TonyMac forums. This is a *temp* guide since Haswell E and X99 are not fully supported, so as soon as full support comes out you will want to use a newer guide. This will work for now though if your like me and bought the newest technology.
Disclaimer: This guide is based on the guide from Colton328 which can be found @
http://www.tonymacx86.com/yosemite-...x-gtx-970-ga-x99-ud4-yosemite-hackintosh.html I used his guide as the basis to make this complete guide.
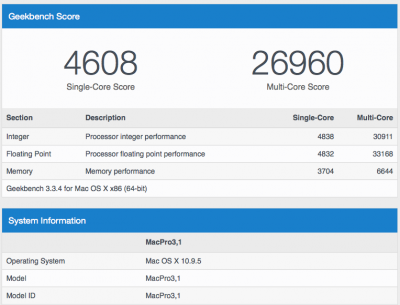
What's working: CPU performance, Ethernet, GTX 970 recognized, USB, Drives, Audio, everything pretty much
The build:
Intel Core i7 5820k Haswell E Processor
Cooler Master Hyper 212 Evo (Cpu Cooler)
Sandisk Extreme ii 120GB SSD (Yosemite drive)
Samsung 840 Evo 120GB SSD (Windows Drive for dual boot)
Antec DF-85 Case (Older Case still great though)
EVGA GTX 970 SSC 4GB card
GIGABYTE GA-X99-UD4 Motherboard
16GB Corsair Vengence DDR4 2400 RAM
3x 1 Terabyte WD Black Hard Drives for storage
1 Old 500 GB Maxtor drive (still works)
Requirements for this install:
Unibeast, 2 Empty Hard Drives (1 for install, 1 for MBR clone *not sure if requried, but highly reccommended, check notes section for more info on that*)
Highly Recommended for this install:
USB Audio Device (I have bought a Sarbent USB Audio Device for 7.99 to enable audio on this build)
Pre installation requirements:
Go into bios, use "load optimized defaults" , Set XHCI to Manual, disable XHCI hand off (carefully checked these settings) *Update, setting XHCI to Auto seems to work OK too, just not "Smart Auto"*
Save.
Thats it.
Bios settings not required, but reccommended for this install:
go into bios under frequency settings set "cpu boost 5820k to 4.3 ghz"
set memory settings xmp memory profile to "profile 1" or "profile 2".
this will overclock your cpu and memory, you may or may not want to do that. since this is haswell e and it's all about performance, i reccommend it. computer definetly runs better smoother and much faster with overclocking. Plus you don't need to know any geeky stuff the motherboard takes care of all the voltage settings. CPU performs best at "cpu boost 5820k to 4.3ghz" and "Profile 1" was best setting for my memory, computer ran smoothest with those settings and memory doesn't get hot like if you use "profile 2". it's best to clock the memory to the frequency it was designed to operate at. For example if you buy 2400mhz memory (like me) use "profile 1" since it tunes the board to that frequency. Easy overclocking!
Installation (Unibeast):
You will need an already working Mac setup to make the USB drive so if you are already on an older hackintosh use that or borrow someones Macbook!
Follow this video tutorial:
[video=youtube;cx_RD7CduDM]https://www.youtube.com/watch?v=cx_RD7CduDM[/video]
Once Unibeast is installed to USB, halfway through the video, This guy says to use TWO lines of code to patch the kernel on the USB installer, that is outdated info. Check Here for the updated version of that, other than that follow his guide:
http://www.tonymacx86.com/yosemite-...motherboard-temporary-guide-os-x-10-10-a.html
Once Unibeast installer is made, boot the installation drive using
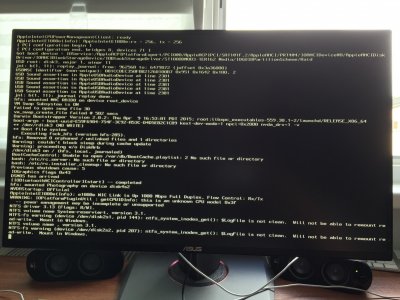
npci=0x2000 nv_disable=1 -f -x -v


