- Joined
- Aug 30, 2010
- Messages
- 102
- Motherboard
- Asus G73JH HackBook Pro
- CPU
- i7 720QM
- Graphics
- HD5870 (1GB)
- Mac
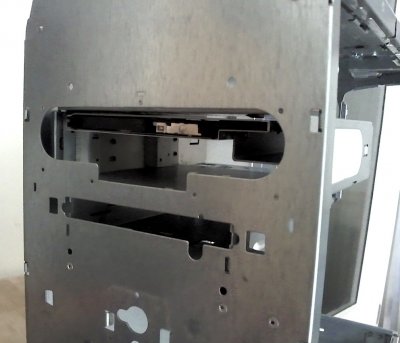
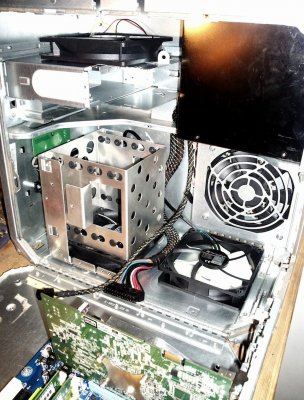
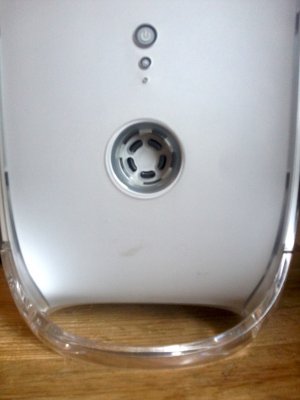
..Quicksilver time again ") ..got this nice machine with 2 HDDs for just 2 Euros, wow! Installed 10.4.11 and 10.5.8 just for fun and testing, runs nicely.
..got this nice machine with 2 HDDs for just 2 Euros, wow! Installed 10.4.11 and 10.5.8 just for fun and testing, runs nicely.
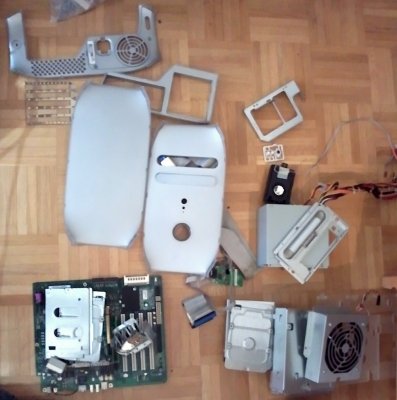
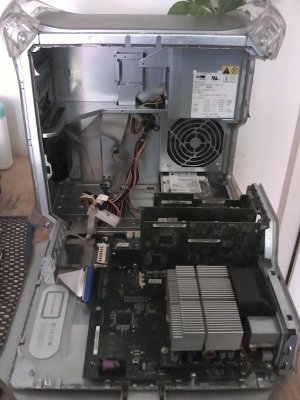
The Quicksilver actually is the ultimate Apple G4 case for me, I always liked this look. I have a really old Gigaboard board lying around and other hardware which need a new home
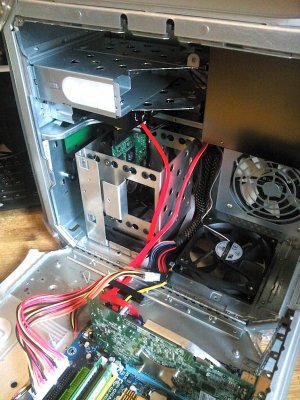
components so far:
Gigabyte GA-EG31M-S2 with ALC888 and Realtek 8111C
Intel C2D E8200 ( 2.66 GHz, 6MB L2)
2 GB DDR2
Samsung 160 GB SATA, 7200
DELL DL DVD slim
7600GT
10.6.8 runs nicley with my old 7600GT fully supported. ML 10.8.2. basically runs too, but due to unsupported 7600GT 64Bit kexts it runs at 1200 X 900 (or similar), will have to look into that later again ( or get a cheap 8800GT ).
my install guide
http://www.tonymacx86.com/mountain-lion-desktop-support/107117-ml-ga-eg31-ms2-board.html#post653310
..got this nice machine with 2 HDDs for just 2 Euros, wow! Installed 10.4.11 and 10.5.8 just for fun and testing, runs nicely. The Quicksilver actually is the ultimate Apple G4 case for me, I always liked this look. I have a really old Gigaboard board lying around and other hardware which need a new home
components so far:
Gigabyte GA-EG31M-S2 with ALC888 and Realtek 8111C
Intel C2D E8200 ( 2.66 GHz, 6MB L2)
2 GB DDR2
Samsung 160 GB SATA, 7200
DELL DL DVD slim
7600GT
10.6.8 runs nicley with my old 7600GT fully supported. ML 10.8.2. basically runs too, but due to unsupported 7600GT 64Bit kexts it runs at 1200 X 900 (or similar), will have to look into that later again ( or get a cheap 8800GT ).
my install guide
http://www.tonymacx86.com/mountain-lion-desktop-support/107117-ml-ga-eg31-ms2-board.html#post653310