@P1LGRIM
Thats an awesome image, very nice illustration style!. There’s also a new SD model, sdxl-turbo, currently downloading now from hugging face, been reading that it's incredibly fast!. Todays fun with SD 'Time Sinks', thanks P1LGRIM.
These make some nice Monterey themed wallpapers. Photos are from near Lake Superior, December 6th.
This is nature's version of AI art, Northern lights. The Auroras occur when charged particles (electrons and protons) collide with gases in Earth's upper atmosphere.
Those collisions produce tiny flashes that fill the sky with colourful light. As billions of flashes occur in sequence, the auroras appear to move or "dance" in the sky.
Earth's magnetic field steers the charged particles towards the poles. The shape of Earth's magnetic field creates two auroral ovals above the North and South Magnetic Poles.
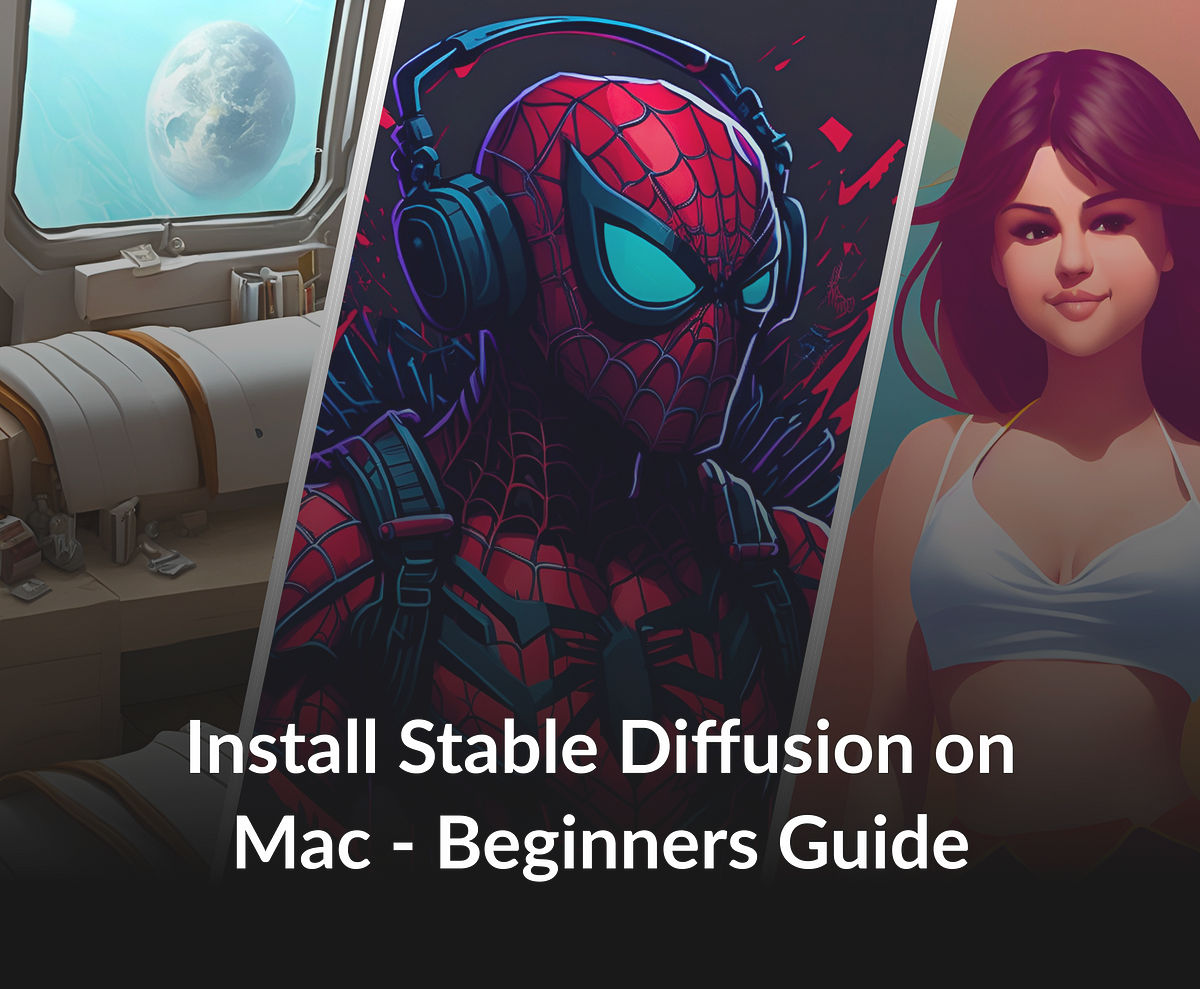
I'm goofing around with SD, just getting started yesterday, thought I'd share my experience so far...
I found the original post about installation a little cryptic, so I asked the Googs for help and it gave me this link, which includes one level of further detail on setup.
I skipped the Homebrew step because I already use Macports, and went ahead with the recommended package installations. I am using the latest python— 3.11. I had to find the py3.11-specific version of protobuf, which was no trouble to locate with port search.
Be aware than when you run the git clone command, the installation will be created as ./stable-diffusion-webui in whatever folder is the current working directory in Terminal. The remaining instructions will be relative to that folder.
You can move ./stable-diffusion-webui anywhere else later without breaking the install.
Previous posts noted that you may have to set POSIX execute permissions on webui.sh using chmod 755 ./stable-diffusion-webui/webui.sh to get it to run.
I found that you don't need to sign up with hugging face (HF) nor obtain any token. You can download model checkpoints (the brains of SD) directly from HF or other sources. There are so many that the choice is daunting, so I went with the how-to author's choice:
Visit the Hugging Face website to download any .ckpt file from a good model. I’m using the Protogen-Infinity (8gb), but you can choose any model of your choice. Download the .ckpt file and place it in the stable-diffusion-webui/models/Stable-diffusion folder.
When you've downloaded a model checkpoint file (2–8GB), and placed it, run stable-diffusion-webui/webui.sh.
When webui.sh starts, it does a ton of further downloads and setup. As the install script runs, it issues warnings for various components, but these didn't stand in the way of my install.
If you haven't yet provisioned a model checkpoint with this instance, webui.sh will download a default from HF in a format called "safetensors". This is an alternate format to .chkpt. I don't know anything about this default model.
It then launches a browser window to http://127.0.0.1:7860/ which is the local port where the service is running (127.0.0.1 is this computer, and 7860 is the SD service port number. Your default browser will display the SD control panel.
NOTES ON RUNNING THE SERVICE—
You can stop the SD service by typing ctrl-C in the Terminal window which is running webui.sh, then restart the service via webui.sh.
If you interrupt the SD service while it is downloading a default model, it will leave a possiblly multi-gig useless temp file in stable-diffusion-webui/models/Stable-diffusion.
If you run more than one SD instance at a time, these get assigned incrementing port numbers, e.g., :7861, :7862, etc. All running instances compete for HW (slow) and may exhaust your GPU RAM, so don't loose track of what you're doing with the installs.
Once you have the SD service open in the browser, you'll find there's a conttol panel with a lot going on, but you don't need to know it all to get started:
Make sure the model checkpoint you downloaded is available in the control panels's Stable Diffusion checkpoint drop-drown at the top of the panel. If not, double check that you placed the model in the proper directory. Hit the refresh button to rescan for models. If you want to use multiple models, place them in the same directory as mentioned above.
Leave everything else as defaults for now.
Use the txt2img tab to enter a simple prompt and generate an image with default parameters (512px).
Unfortunately, my results were nothing but a brown blob. It turns out there's a problem with this HF release (AUTOMATIC1111) on Mac. This post explains how to solve:
Is there an existing issue for this? I have searched the existing issues and checked the recent builds/commits What happened? Updated today using git pull Everything is working well except Using DP...
github.com
To recap the solution:
1. Delete the k-diffusion folder from stable-diffusion-webui/repositories.
2. Open stable-diffusion-webui/webui-user.sh in any plain-text editor and replace its contents with the following code:
#!/bin/bash
######################################################### Uncomment and change the variables below to your need:#
#########################################################

# Install directory without trailing slash
#install_dir="/home/$(whoami)"

# Name of the subdirectory
#clone_dir="stable-diffusion-webui"

# Commandline arguments for webui.py, for example: export COMMANDLINE_ARGS="--medvram --opt-split-attention"
export COMMANDLINE_ARGS="--skip-torch-cuda-test --no-half --use-cpu interrogate"

# python3 executable
#python_cmd="python3"

# git executable
#export GIT="git"

# python3 venv without trailing slash (defaults to ${install_dir}/${clone_dir}/venv)
#venv_dir="venv"

# script to launch to start the app
#export LAUNCH_SCRIPT="launch.py"

# install command for torch
export TORCH_COMMAND="pip install torch==1.12.1 torchvision==0.13.1 psutil"

# Requirements file to use for stable-diffusion-webui
#export REQS_FILE="requirements_versions.txt"

# Fixed git repos
#export K_DIFFUSION_PACKAGE=""
#export GFPGAN_PACKAGE=""
export K_DIFFUSION_REPO="https://github.com/brkirch/k-diffusion.git"

# Fixed git commits
#export STABLE_DIFFUSION_COMMIT_HASH=""
#export TAMING_TRANSFORMERS_COMMIT_HASH=""
#export CODEFORMER_COMMIT_HASH=""
#export BLIP_COMMIT_HASH=""
export K_DIFFUSION_COMMIT_HASH="51c9778f269cedb55a4d88c79c0246d35bdadb71"

# Uncomment to enable accelerated launch
#export ACCELERATE="True"

# Enable CPU fallback for missing MPS ops
export PYTORCH_ENABLE_MPS_FALLBACK=1

###########################################
3. Run webui.sh again and those samplers should work correctly. The output may however still be non-deterministic even with a fixed seed. I have created a PR (#5194) to fix that.
If you get totally lost, you can throw away the whole install and start over.
Once you've got it working, the service saves all the images you generate in a dated directory in the SD installation, e.g., stable-diffusion-webui/outputs/txt2img-images/. Make sure you save anything you care about before trashing an SD installation.
Spend a day goofing around, then you can begin to consider the many options and capabilities.
A few more notes:
There buttons to export meta-data to help you save and retrace steps.
Batch count runs a sequence of generations based on different seeds. Compute time increases proportiately with number of images generated.
Batch size runs multiple generators at once, using more GPU RAM. but is more compute efficient (less time per image).
You can recover the seed from a previous run and feed it into a new run to let you refine a prompt without changing the whole gestalt.
Output image file names include the seed that was used to create the image, but not the prompt.
Images generated by txt2img can be fed back into the service via img2img.
Differemt models have different styles, efficiencies, and many other factors. For example, "Midjourney" is a designation for a model trained for a particular look.
There's a facility for you to continue training from a given model checkpoint.
I've only just begun to learn about this, and wanted to share my experience getting started.
Here are my first takes on Ziggy Stardust (these take 15s each on RX6600XT):
Great write up @c-o-pr, the link you mentioned on uxplanet.org is the same guide I followed to set up my SD installation, I’m going to follow your other tips for completing the setup. Can you do a ‘Northern Lights’ image for us?.
This site uses cookies to help personalise content, tailor your experience and to keep you logged in if you register.
By continuing to use this site, you are consenting to our use of cookies.