- Joined
- Aug 27, 2011
- Messages
- 31
- Motherboard
- GA-P67X-UD3-B3
- CPU
- 2700k
- Graphics
- 760
- Mac
- Classic Mac
- Mobile Phone
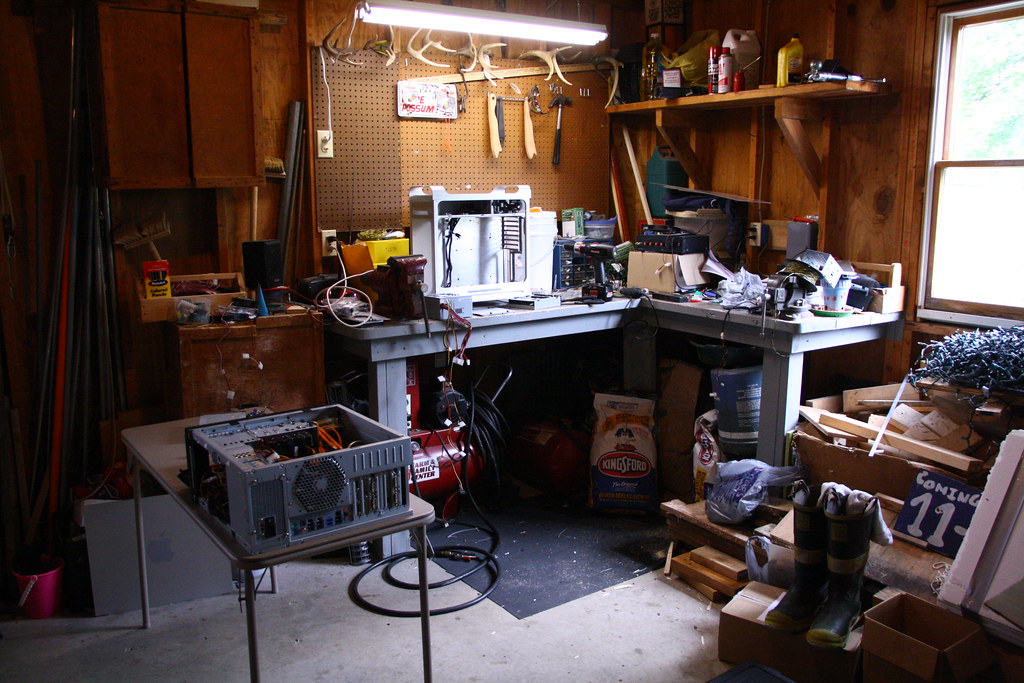
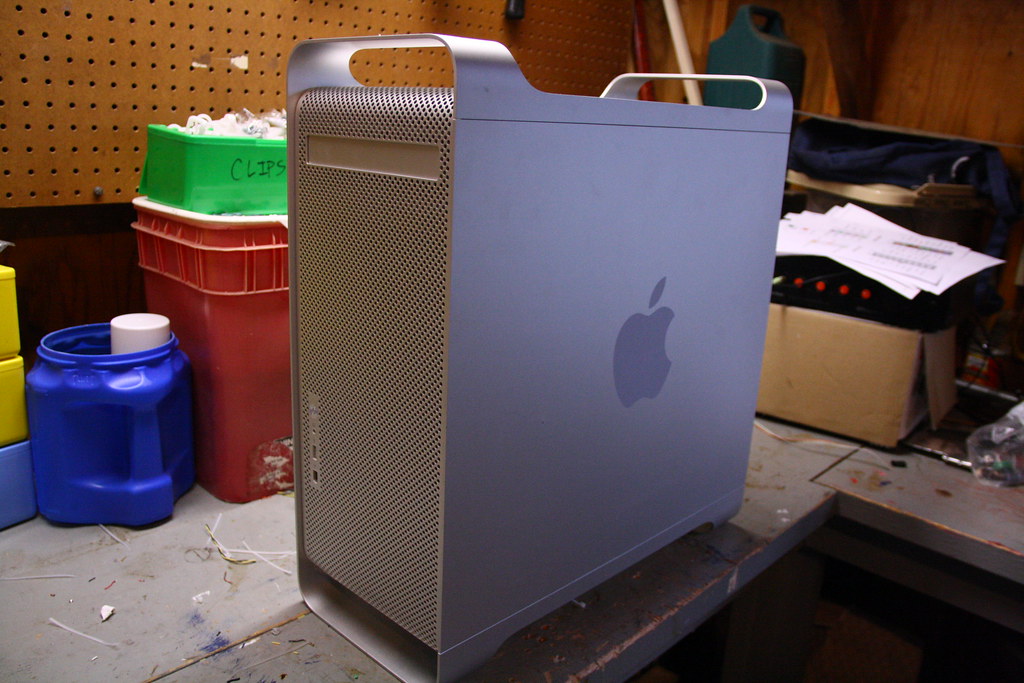
A few weeks ago, a coworker and I were discussing cases for the Hackintosh he's building later this month, and he mentioned the G5 case. We decided to go that route for his system, and the more I thought about it, the more I wanted to do the same to my existing Hackintosh. I mean, it makes sense. My Hackintosh is the one computer I own that's not Apple hardware, so making it at least look like a real Mac seemed like a good idea.
So, here we go with my G5 build. I started today and will hopefully finish tomorrow. I spent over 6 hours on it tonight and plan to do the same tomorrow.
Well, time for the parts lists!
Case mod parts with approximate cost:
Dead G5: $60
Lian-Li Tray: $30
3x120MM fans: $25
5x Black 2' SATA cables - $12
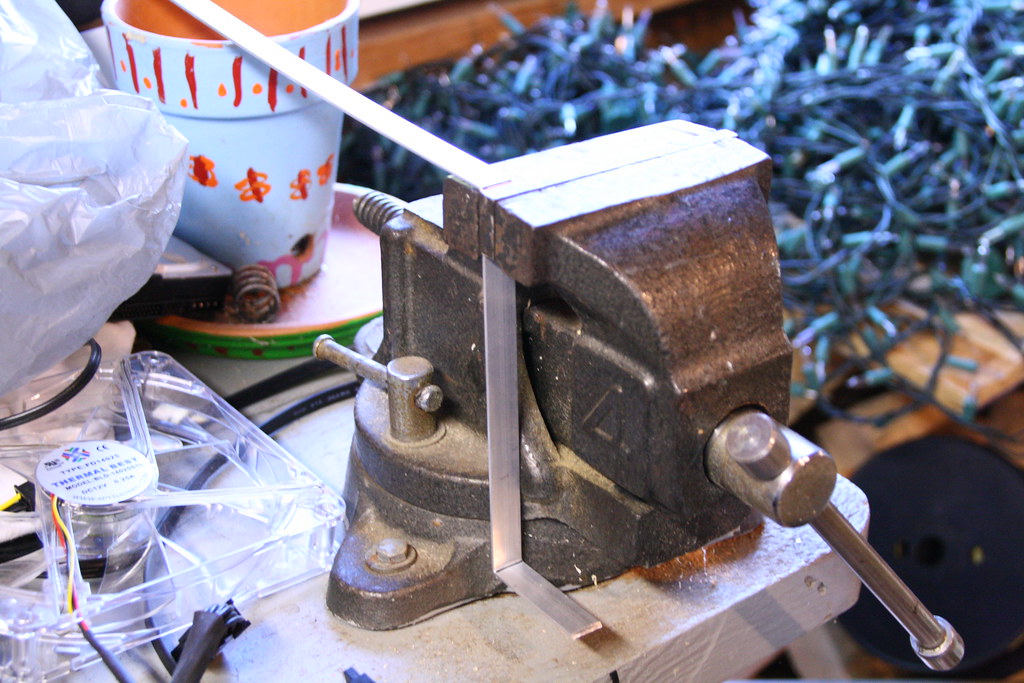
18x24 sheet of acrylic - $10
2 36" Aluminum strips - $5
Front panel from Dell XPS - $11
Various bolts and such - $10
2 packs of 20 Dremel cutoff wheels - $12
Total: $175. Rather hefty, but hey, it's worth it. Also, I have the optical drive, mobo, and a CPU from the dead G5 to sell off, so I should be able to recoup some of what I spent.
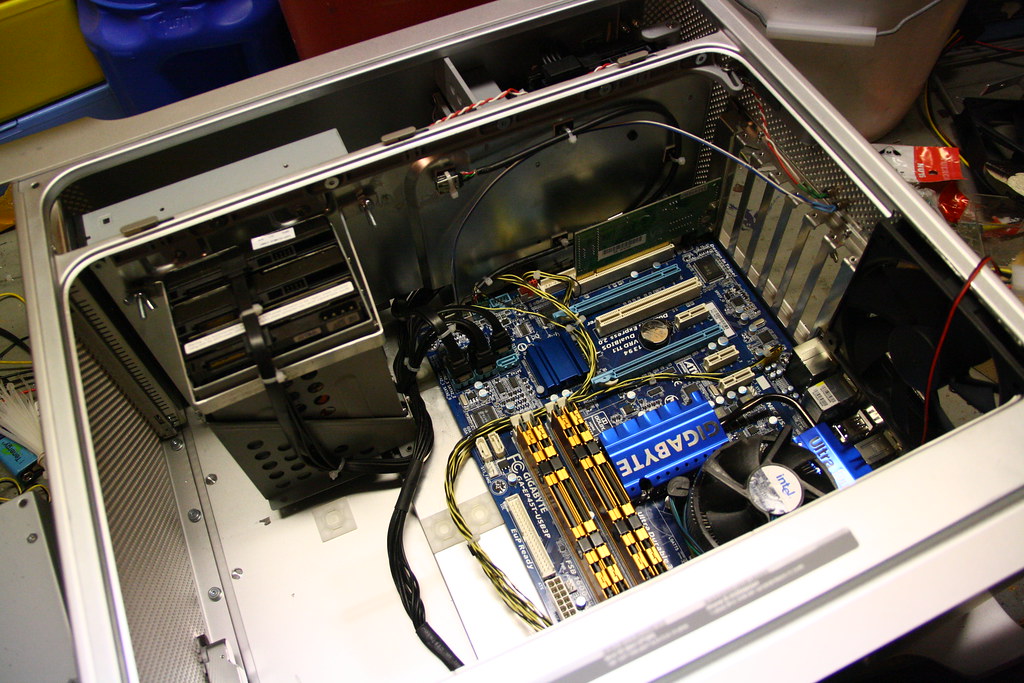
Now the Hackintosh componets:
Intel Q6600 - $90
Gigabyte GA-EP45T-USB3P - $145
4x 2GB PNY DDR3 1333 - $60
2x nVidia GeForce 9600GT 512MB - $100
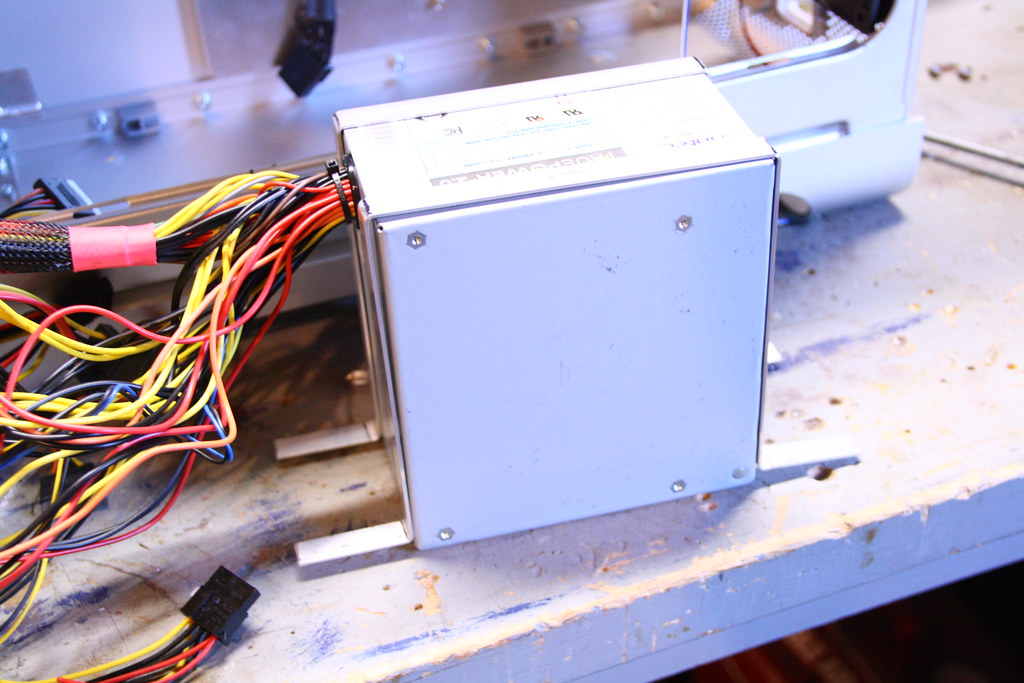
Antec TruePower (?) 480W dual 12V rail PSU - $40
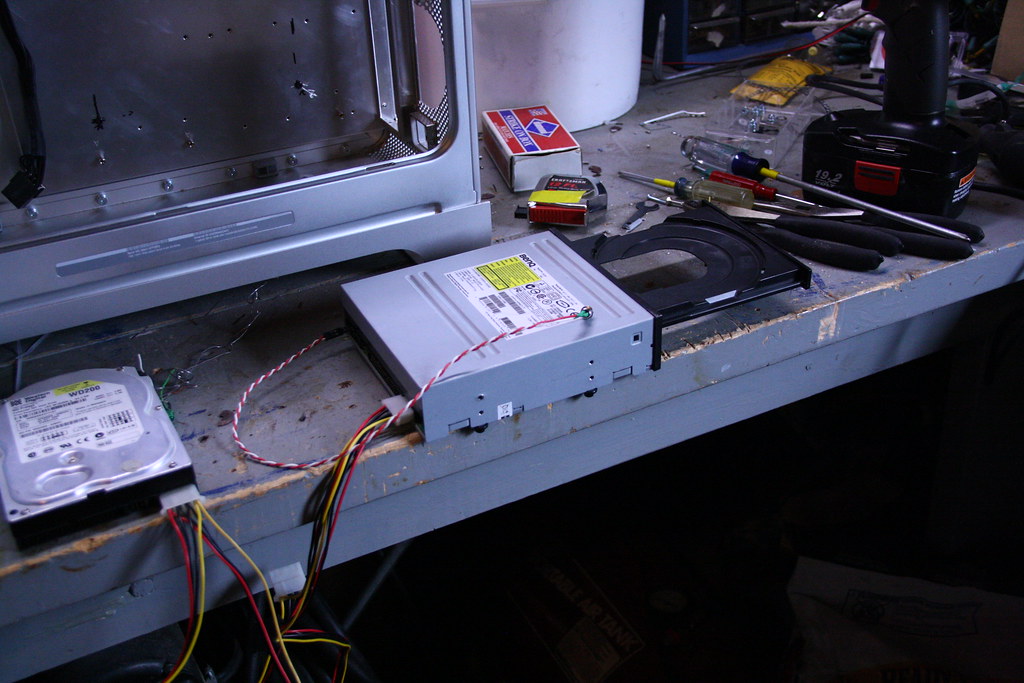
BenQ DVD+-RW DL PATA - $0 (Free from a friend)
2x 80GB Samsung 7200RPM SATA - $32
1x 250GB WD 7200RPM SATA - $0 (Another freebie)
2x 400GB (1 WD, 1 Hitachi) 7200RM SATA - $50
Total: $517. Not bad considering it gives the early Mac Pros a run for their money. Everything is used except the mobo.
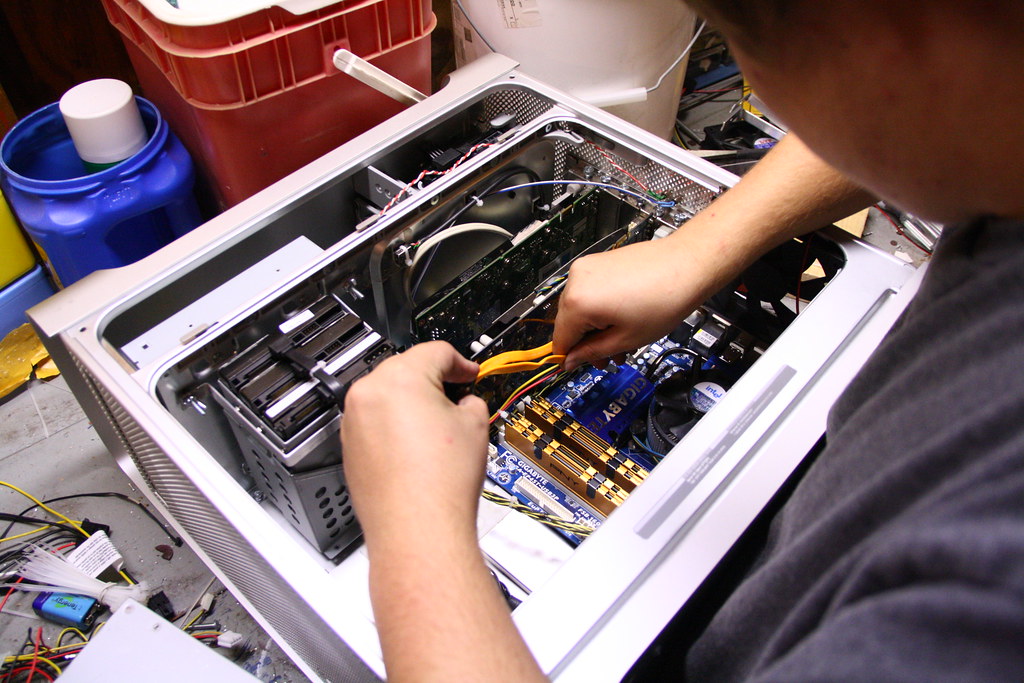
So, on to Day 1 of the build!
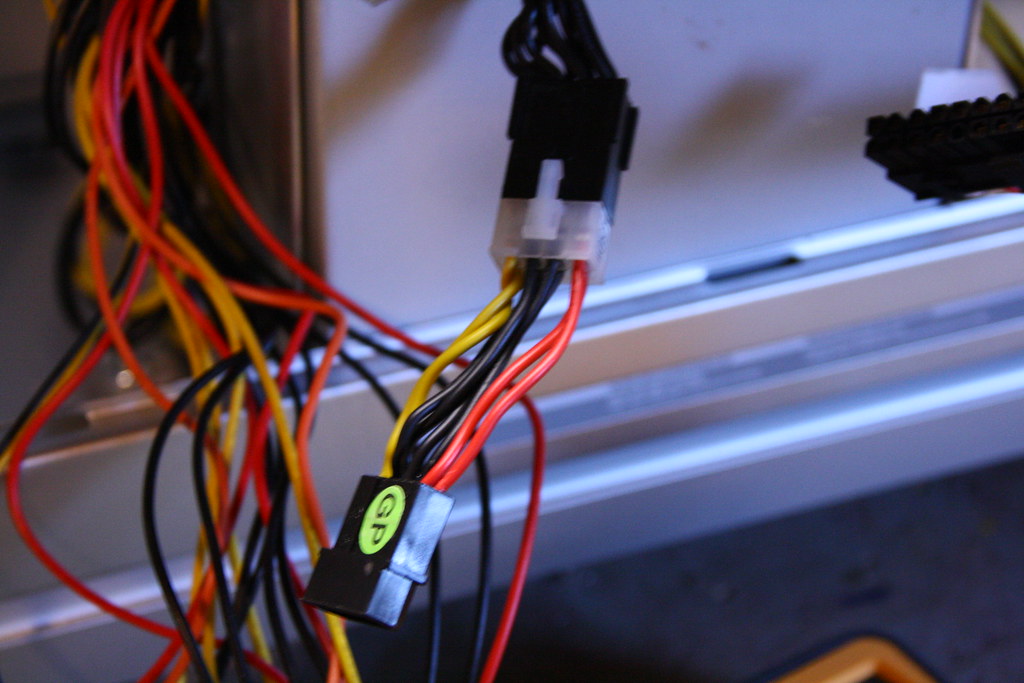
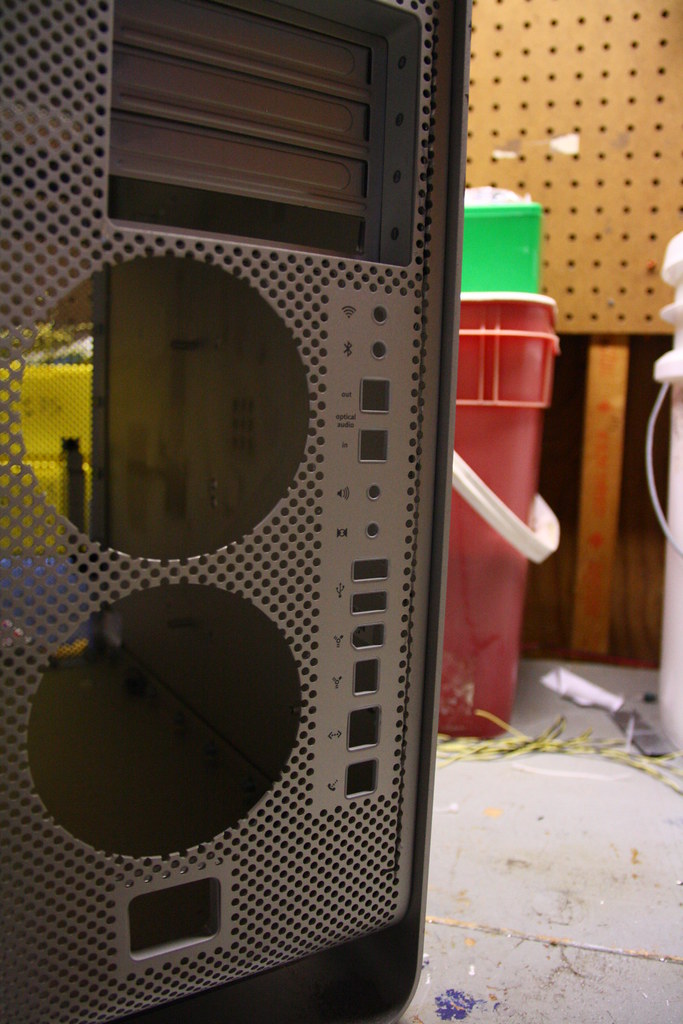
Front IO cable:
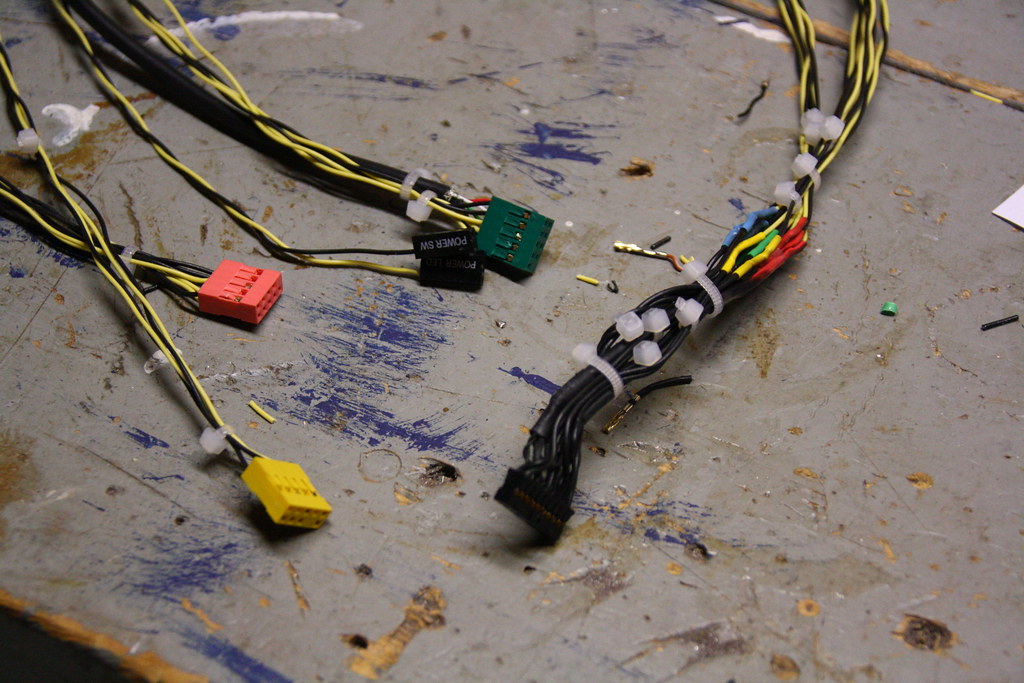
I decided to make my own front IO cable. Cut the wires on the G5's stubby cable and added ~3' of twisted pair I had laying around. Color coded using heatshrink. I got mobo headers from an old ATX case that goes in the can soon and from a Dell XPS front panel I bought on eBay for $11. Instead of cutting the headers and soldering wire to wire, I pulled the pins out and soldered my wire right to them. The connection seems secure enough, and is much cleaner than a second mess of heatshrink.
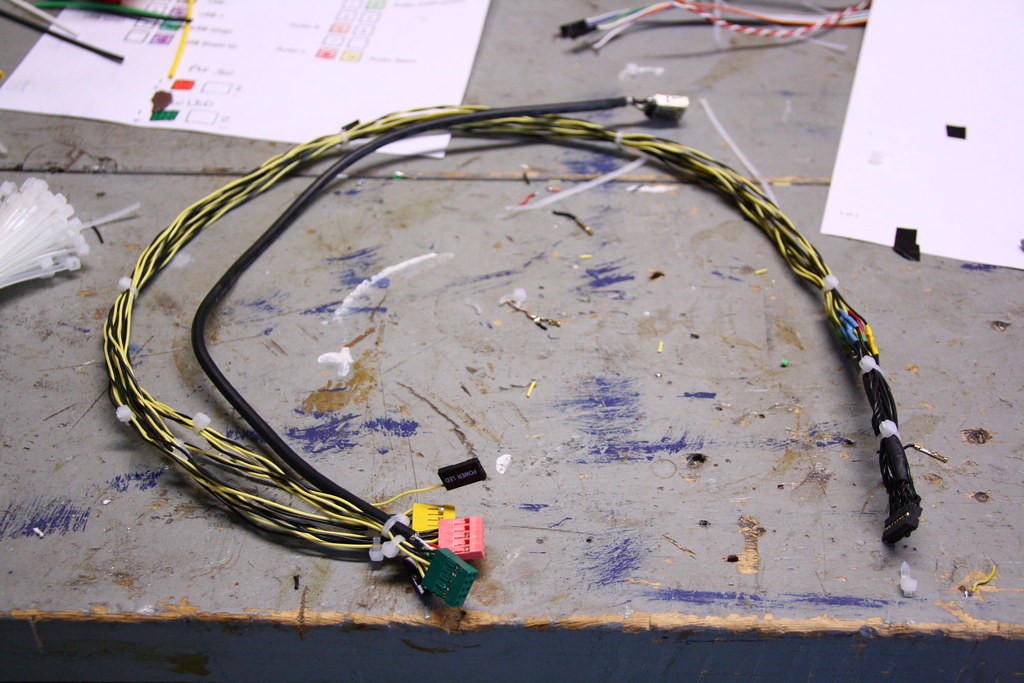
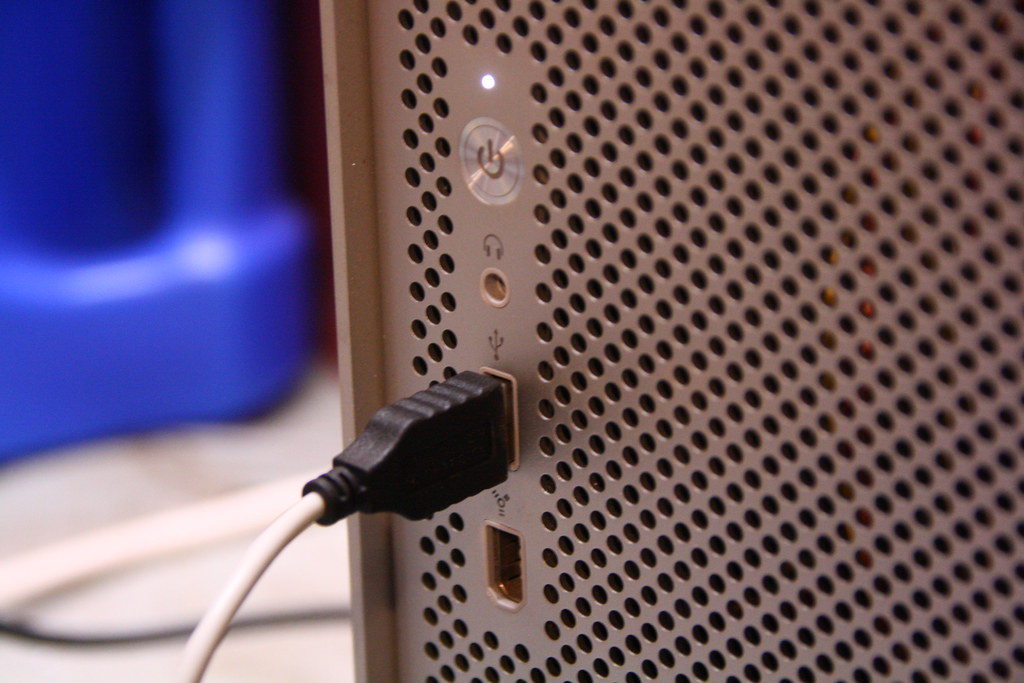
Full cable. Notice the black USB cable and socket. That will be mounted somewhere in the case for a USB bluetooth dongle. I couldn't waste half a USB header when I had a socket I could use with it.
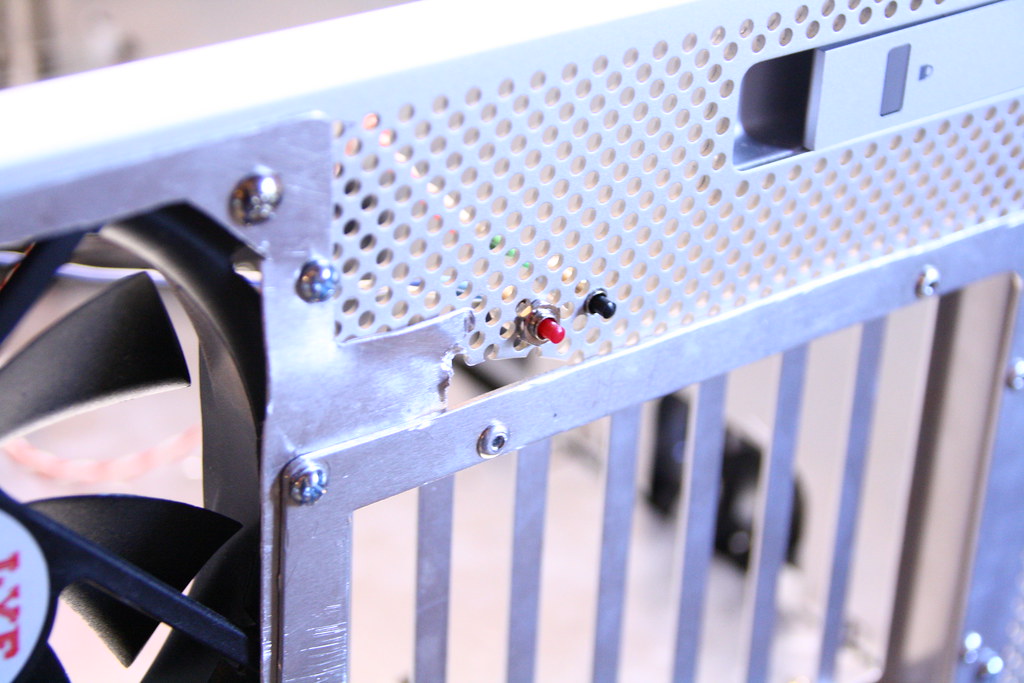
Extra external buttons:
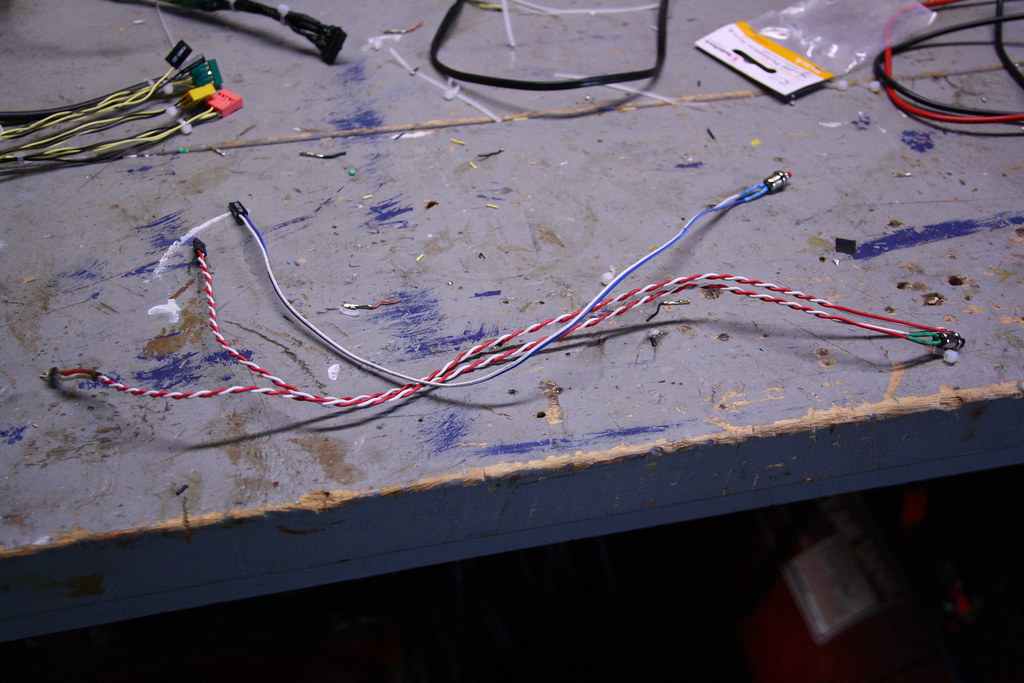
I bought a pair of submini pushbutton switches at Radioshack for like 3 bucks this afternoon after school. These will be mounted on the back, in the hole to the left of the motherboard tray's PCI slots that was left by the G5's rear fan grille. One will be for reset and the other for optical drive eject. I made a wire to solder into the optical, but hopefully I'll be able to disconnect the OD's audio out and rewire it internally to the eject button.
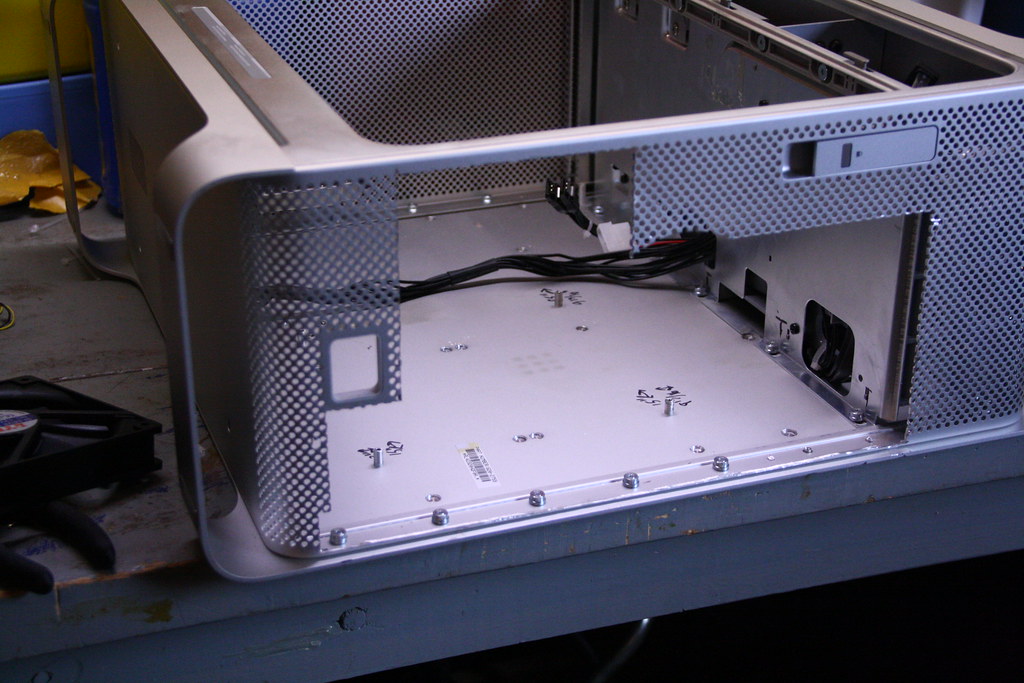
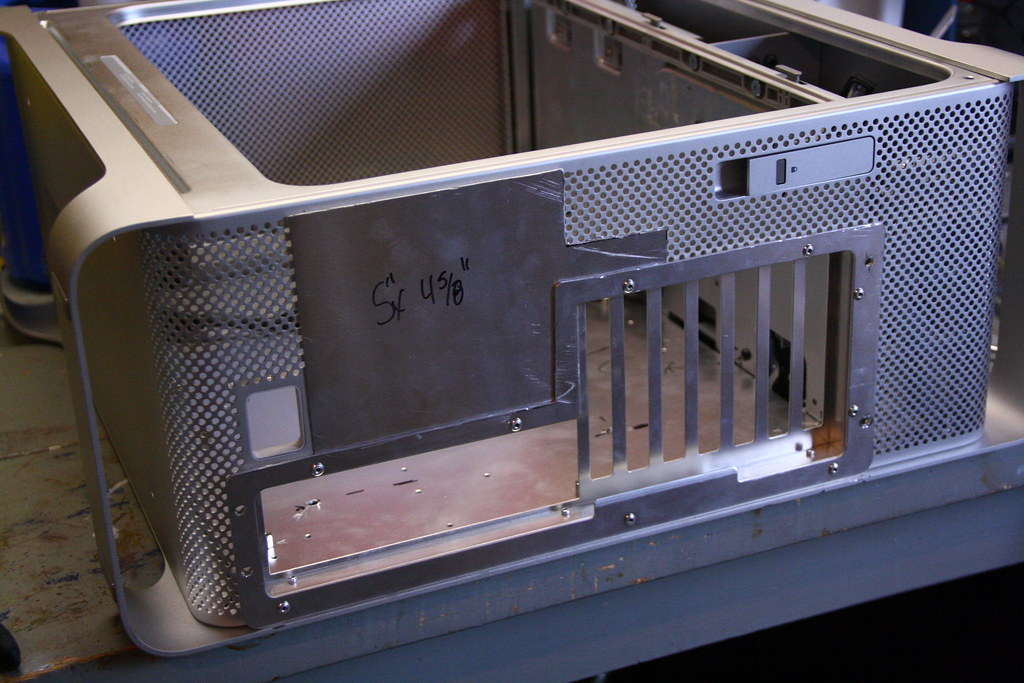
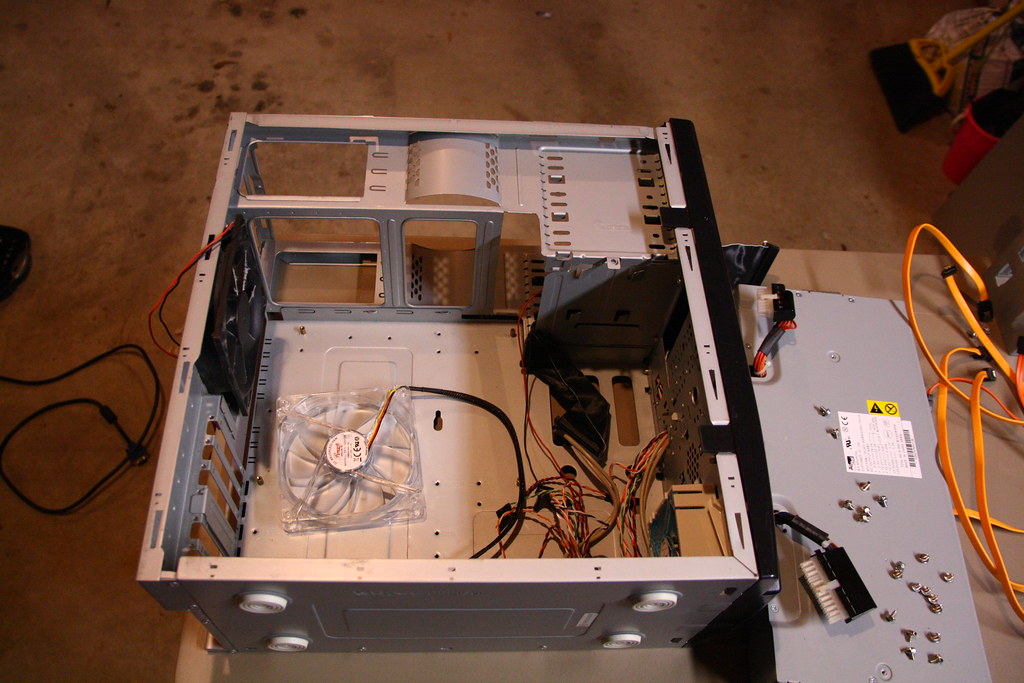
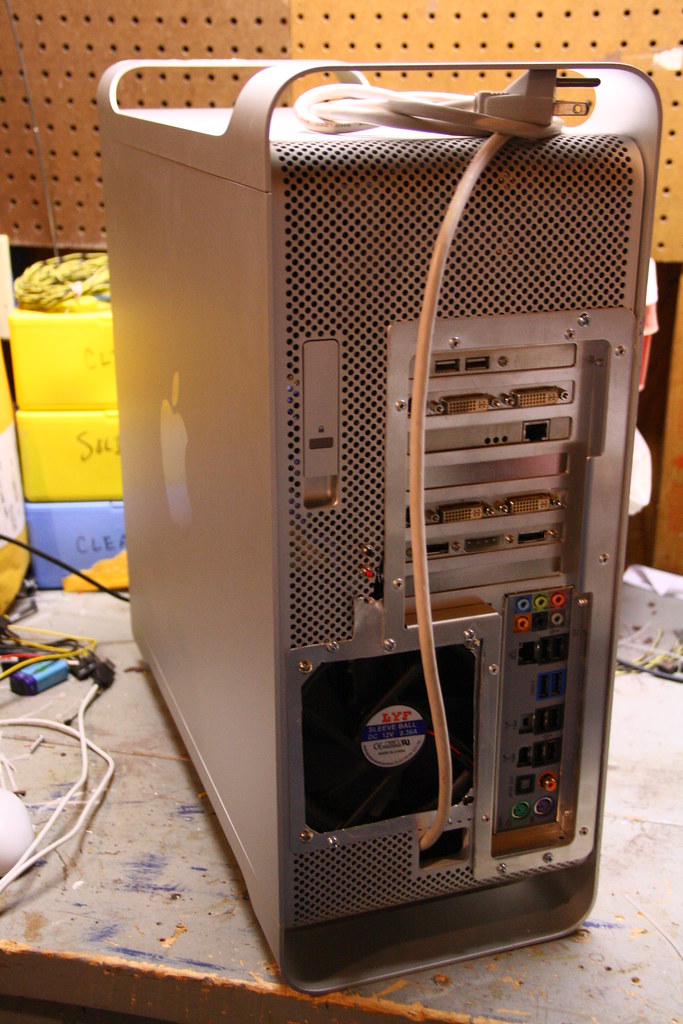
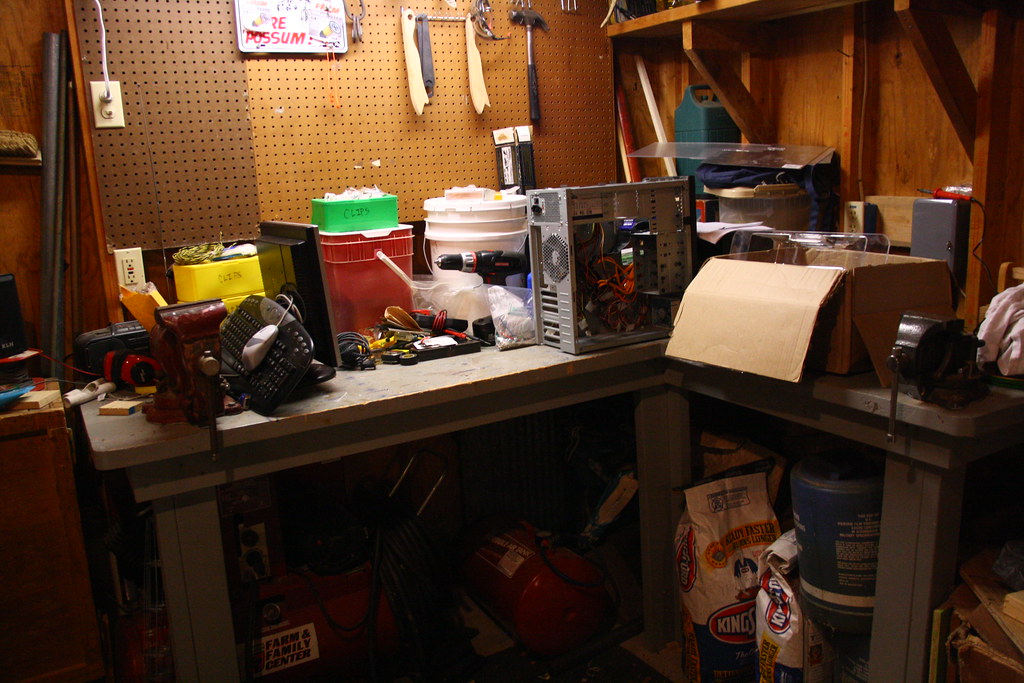
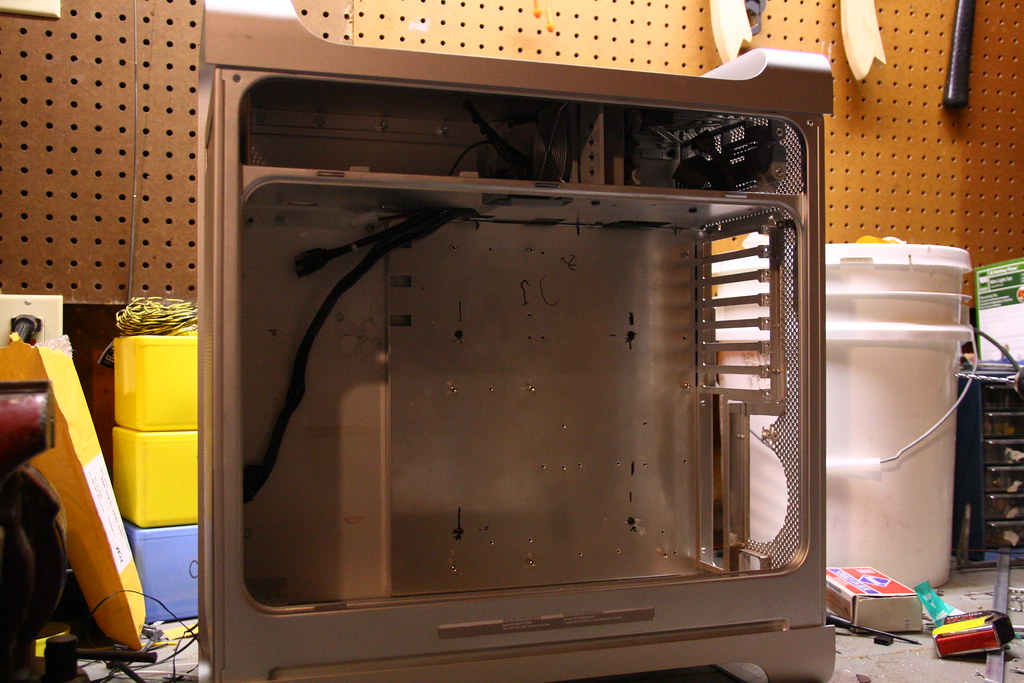
The G5, ready for modding:
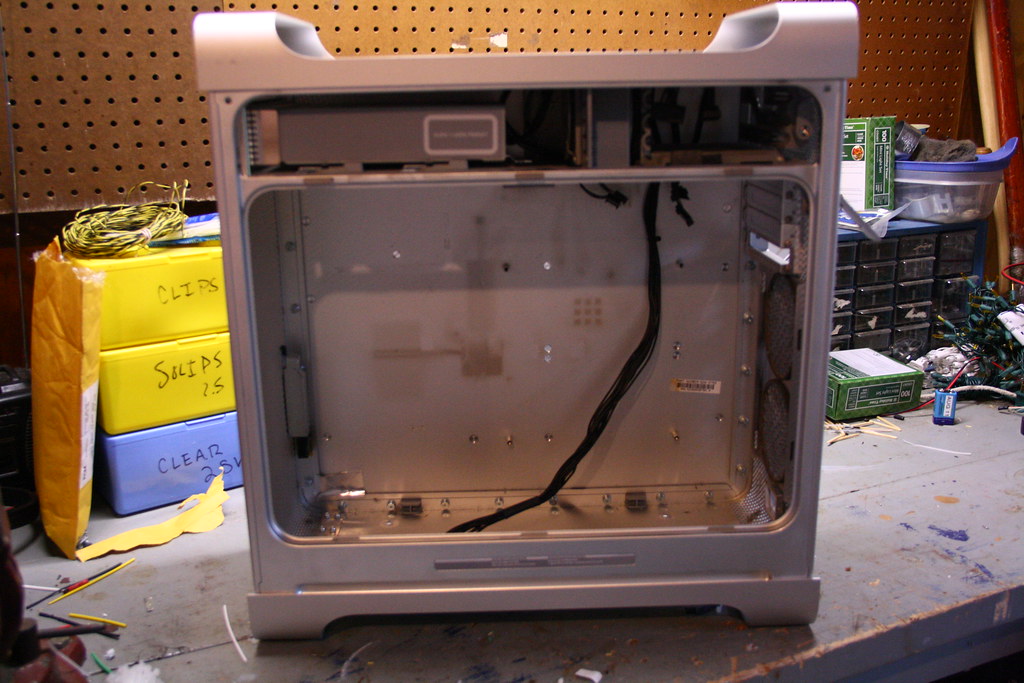
Empty except for top tray stuff:
Starting to cut for the new motherboard tray:
I went through 19 of 20 Dremel cutoff wheels tonight. I'll have to make a special trip to Lowes tomorrow morning in order to continue with the modding fun.
Didn't quite get this edge low enough the first time:
Another snag...
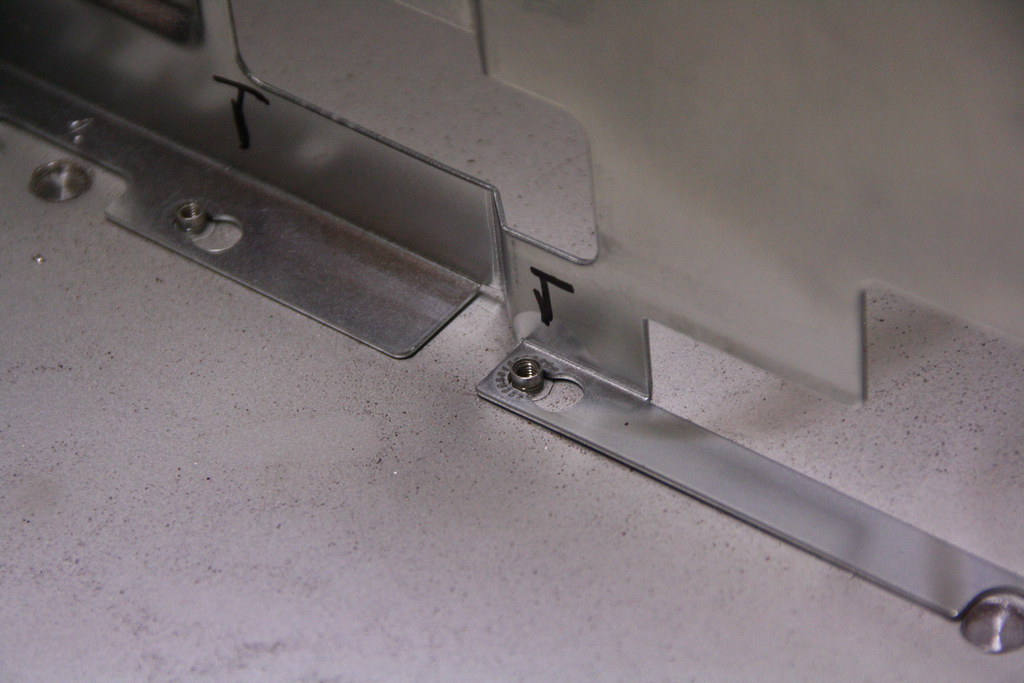
I realized once I put the motherboard tray in that it would hit the screws that hold the top tray in place. So I marked where the screws would go on the top tray, slid the Lian Li mobo tray in, marked that, and dremeled out the edge of the tray where the screws would have hit.
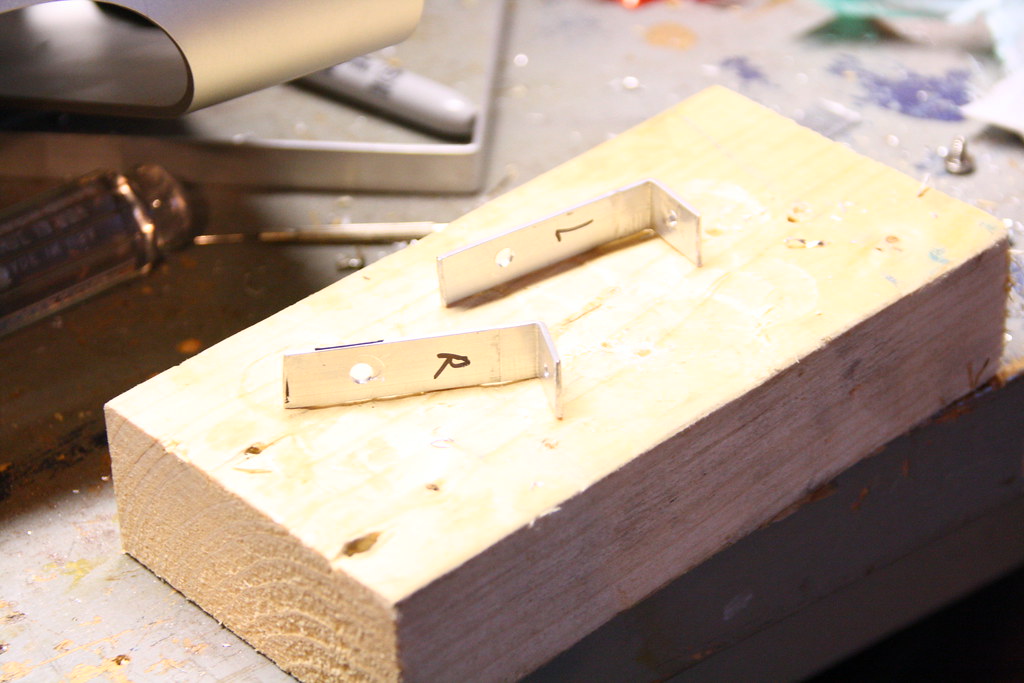
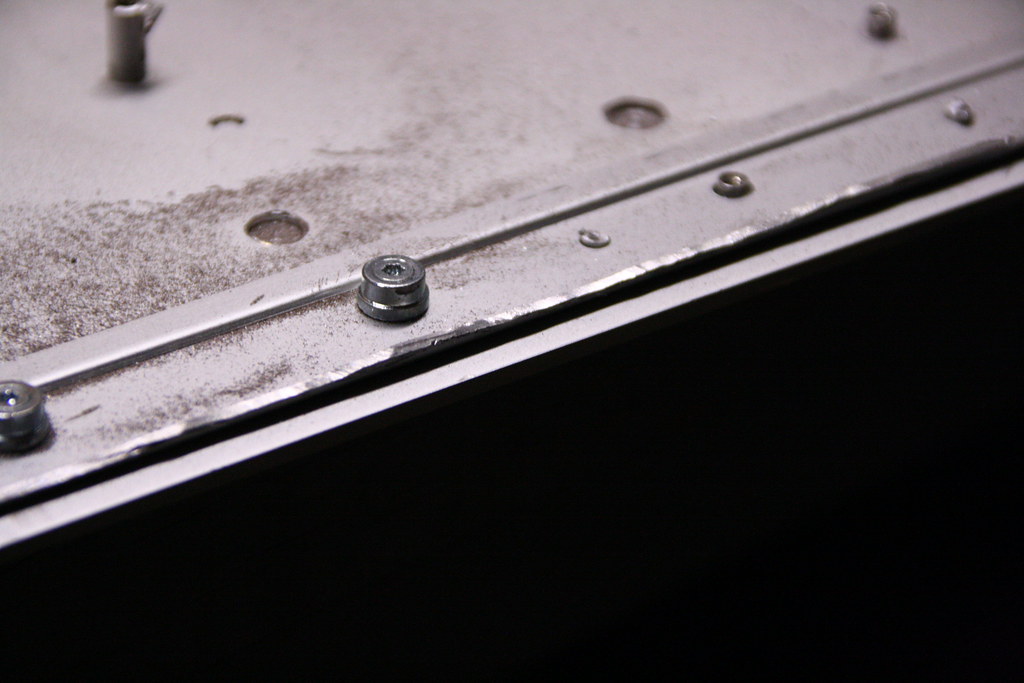
Measuring for motherboard tray standoffs:
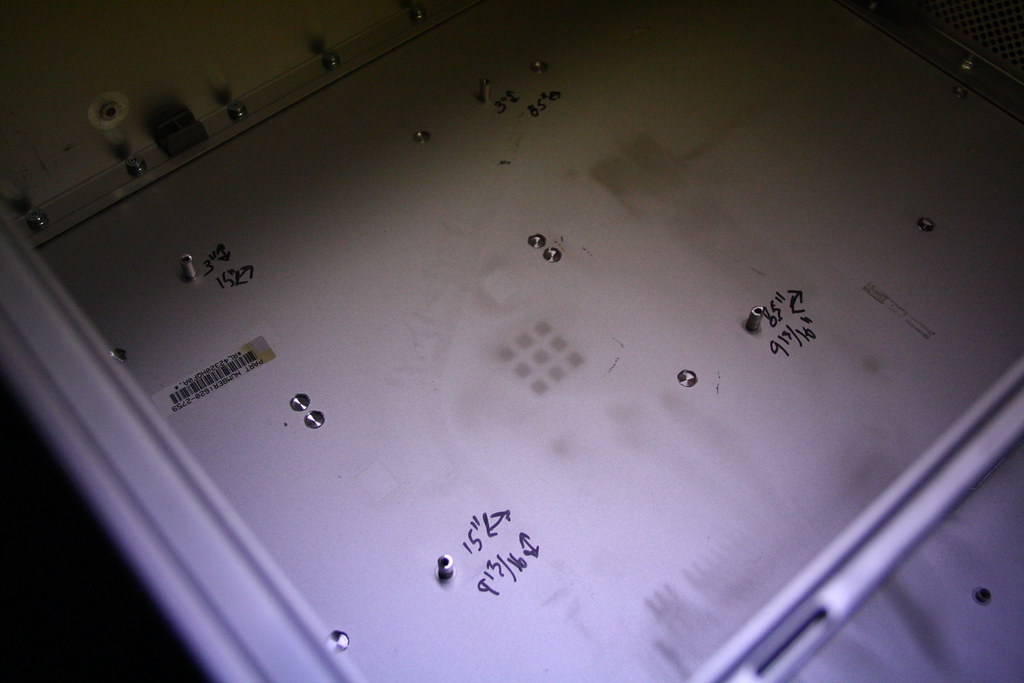
Wrote these down, then measured with the tray in the case and drilled my holes. They were a bit off, but were fixable. Using original G5 mobo screws here.
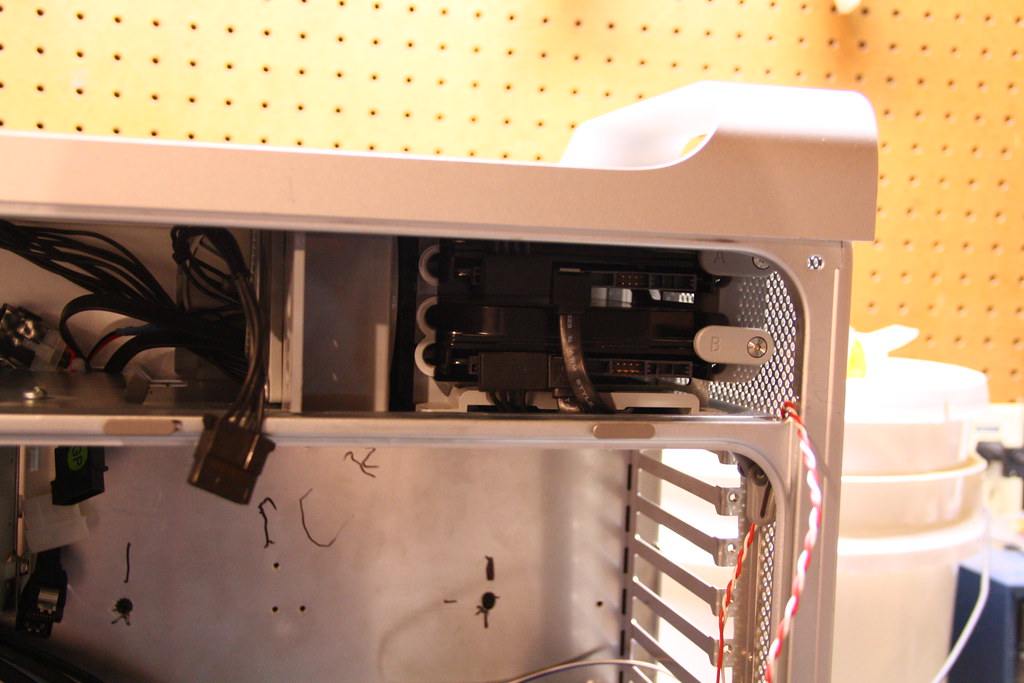
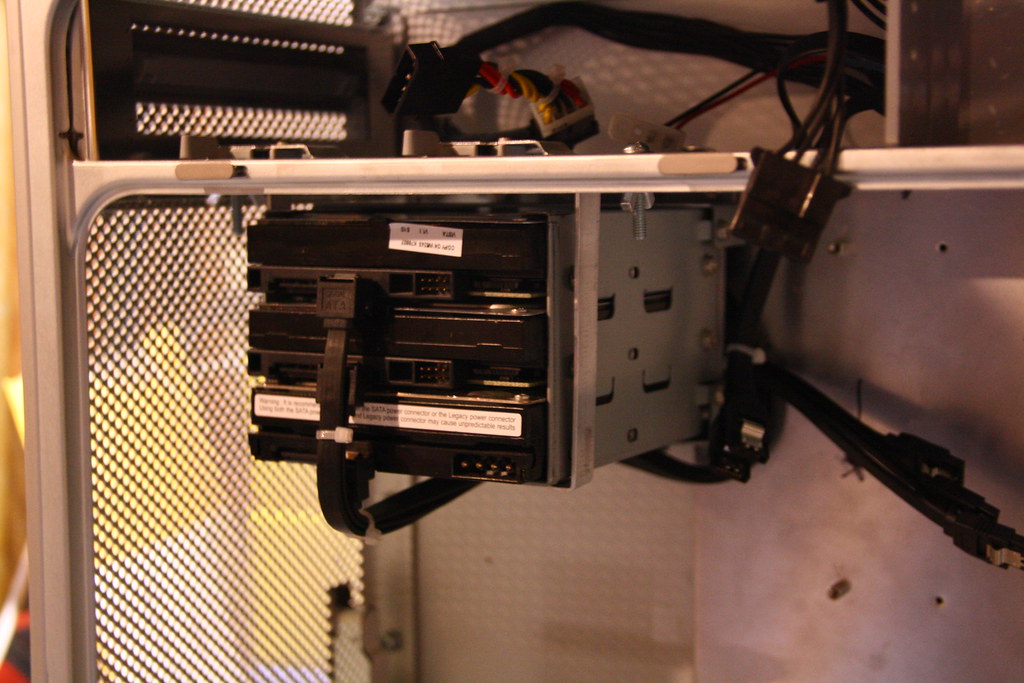
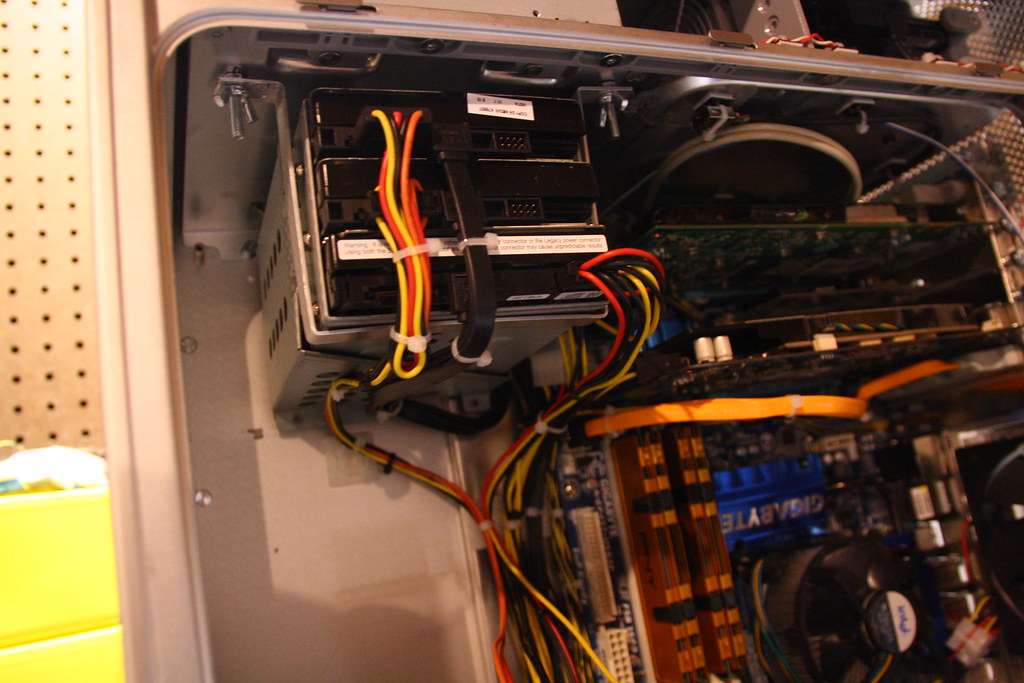
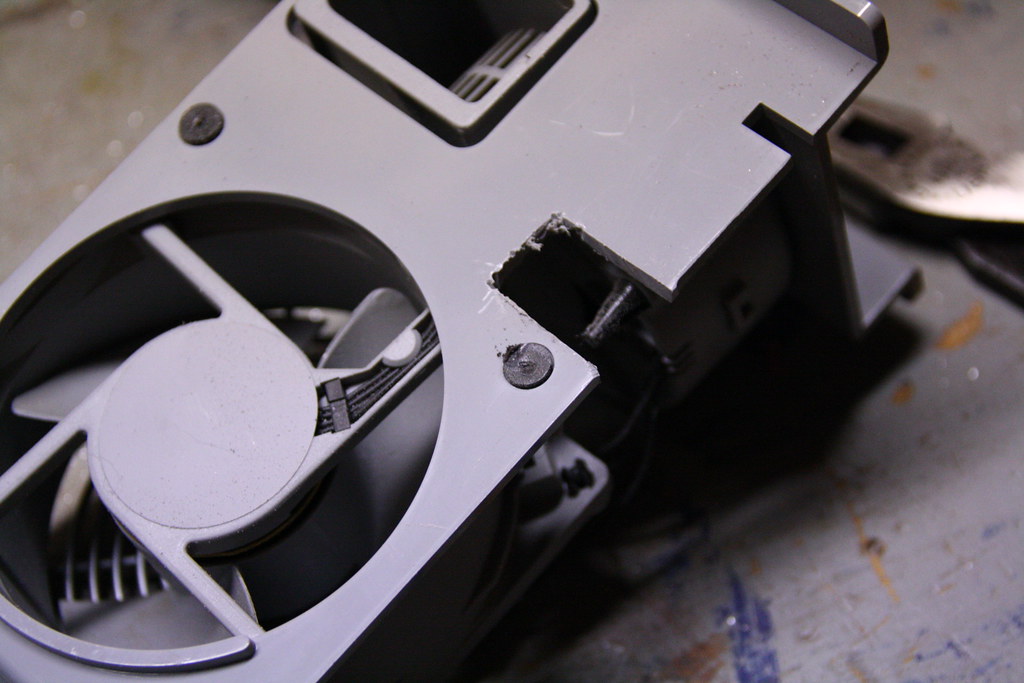
Rewiring HD fan/blower:
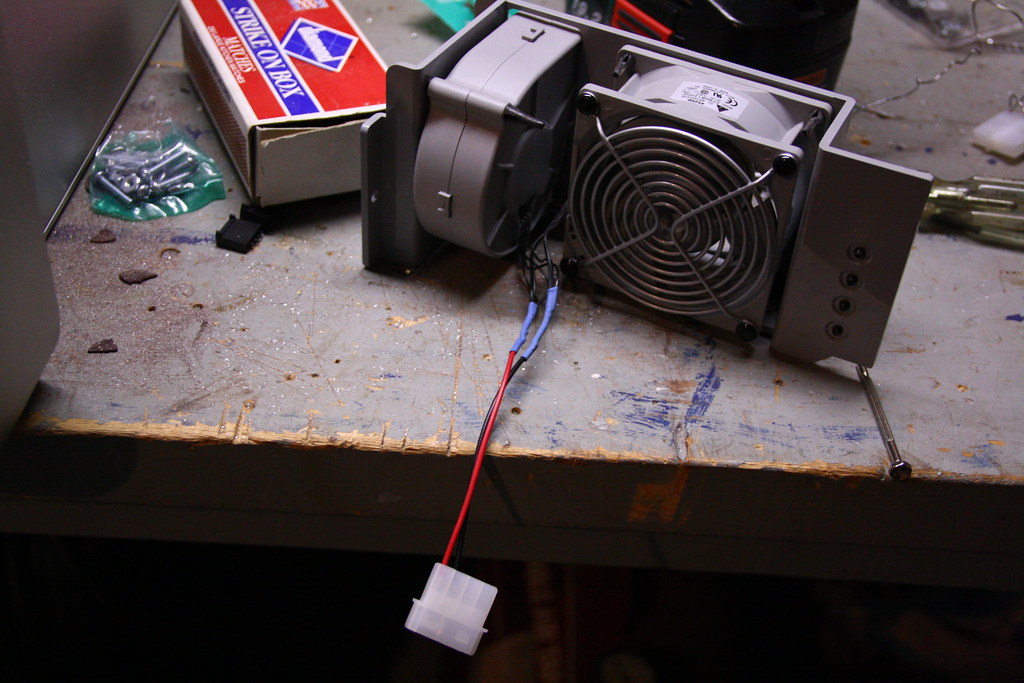
Rewired the HD fan and blower with 5 volts each per a diagram from InsanelyMac. It'll be nice having that fan up there, since the two drives that will go in the Apple cage are my RAID0'd boot drives. They hit about 127F right now, at the top of a stack of drives with no air blown on them.
The blower will hopefully help suck heat away from my top graphics card.
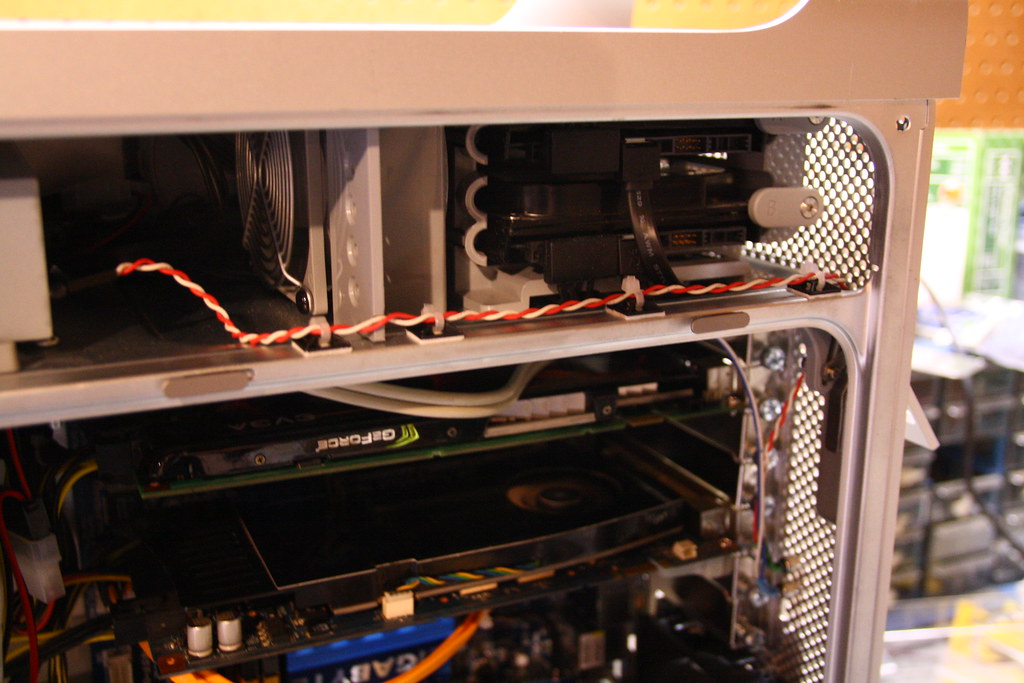
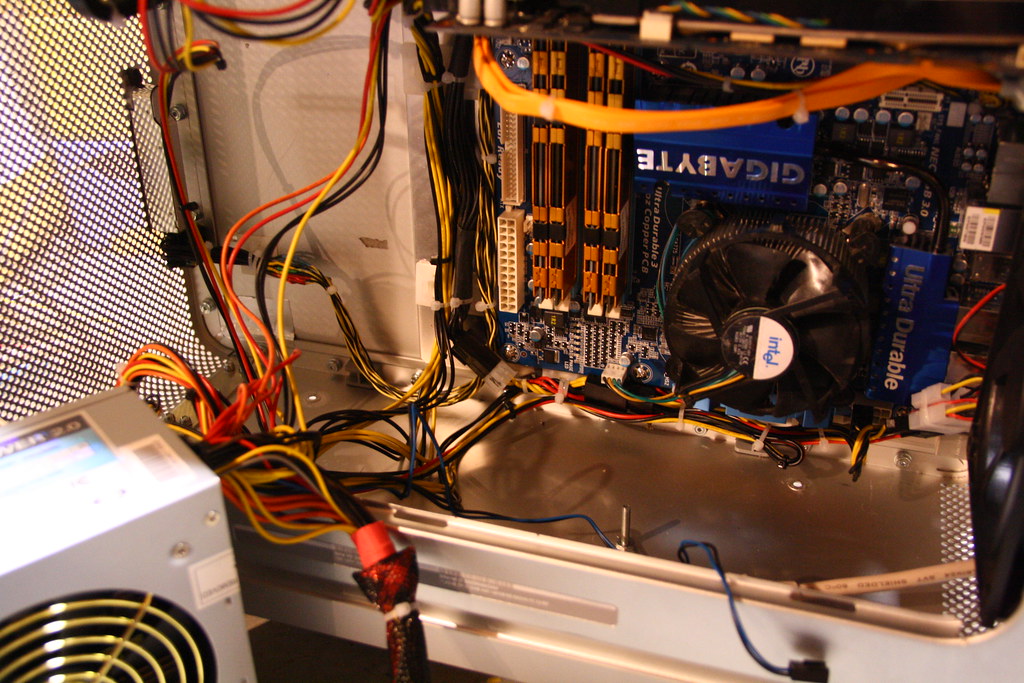
Cable notch:
Decided I didn't want my SATA cables going through the opening right below the HDs but rather through the optical drive cable's opening. Bit of dremeling and I have a nice notch for the power and SATA cables to fit through.
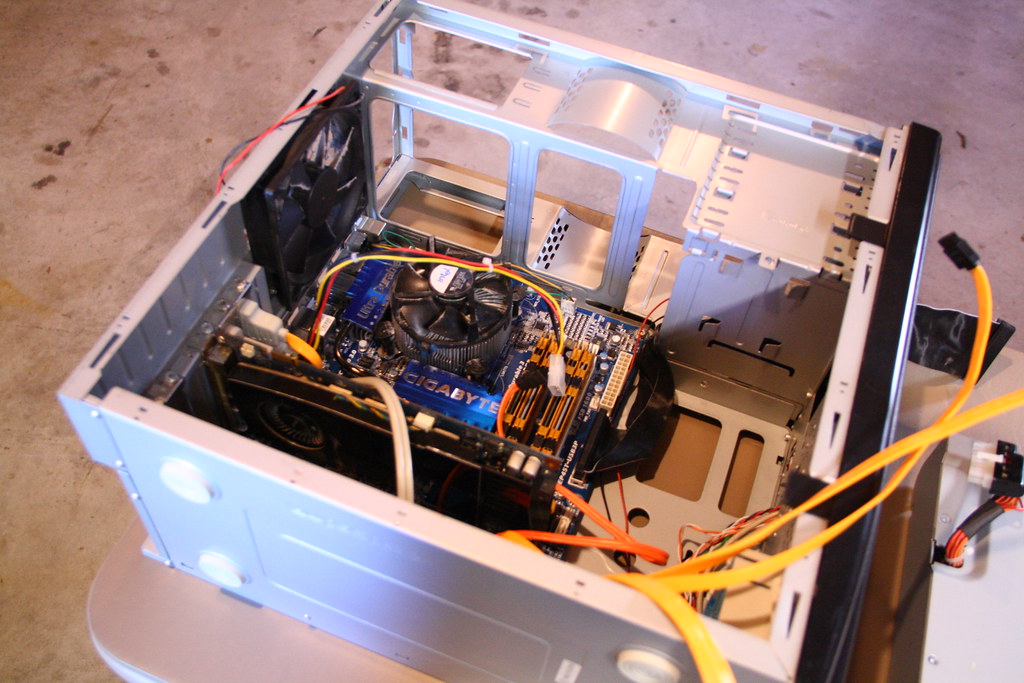
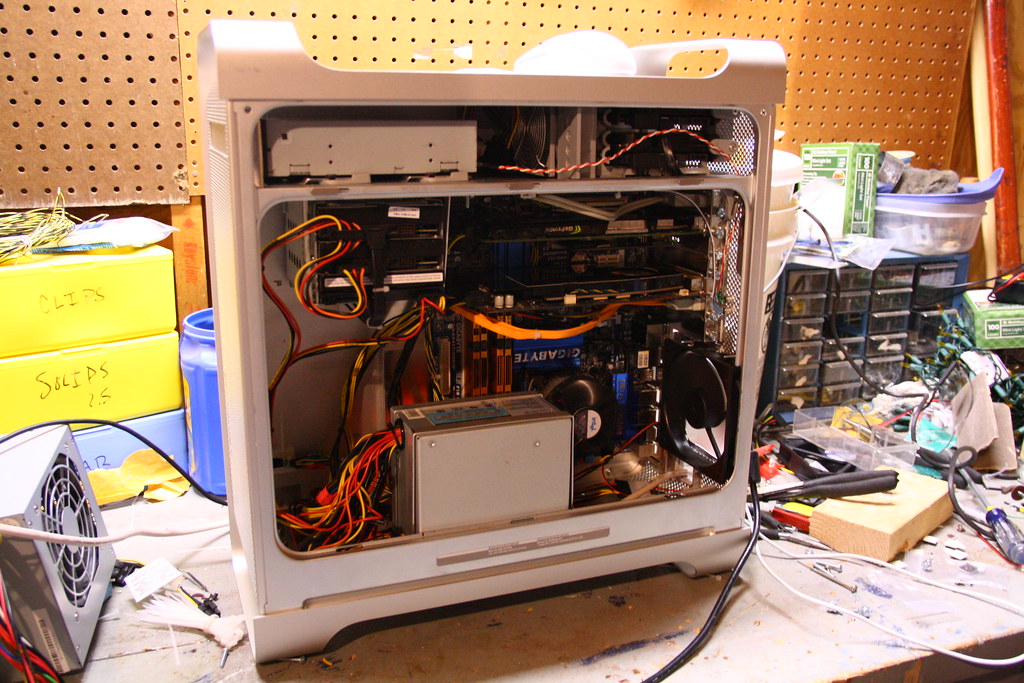
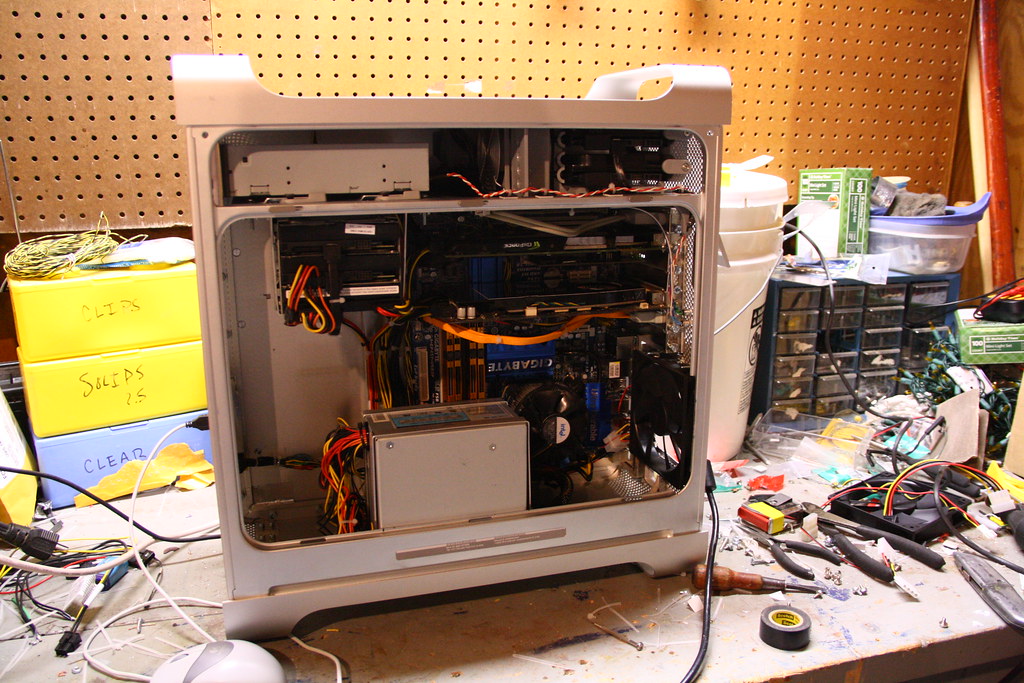
Done for the day:
This is where I was at at 10 tonight. Can't wait to get back to work on this tomorrow!
So, here we go with my G5 build. I started today and will hopefully finish tomorrow. I spent over 6 hours on it tonight and plan to do the same tomorrow.
Well, time for the parts lists!
Case mod parts with approximate cost:
Dead G5: $60
Lian-Li Tray: $30
3x120MM fans: $25
5x Black 2' SATA cables - $12
18x24 sheet of acrylic - $10
2 36" Aluminum strips - $5
Front panel from Dell XPS - $11
Various bolts and such - $10
2 packs of 20 Dremel cutoff wheels - $12
Total: $175. Rather hefty, but hey, it's worth it. Also, I have the optical drive, mobo, and a CPU from the dead G5 to sell off, so I should be able to recoup some of what I spent.
Now the Hackintosh componets:
Intel Q6600 - $90
Gigabyte GA-EP45T-USB3P - $145
4x 2GB PNY DDR3 1333 - $60
2x nVidia GeForce 9600GT 512MB - $100
Antec TruePower (?) 480W dual 12V rail PSU - $40
BenQ DVD+-RW DL PATA - $0 (Free from a friend)
2x 80GB Samsung 7200RPM SATA - $32
1x 250GB WD 7200RPM SATA - $0 (Another freebie)
2x 400GB (1 WD, 1 Hitachi) 7200RM SATA - $50
Total: $517. Not bad considering it gives the early Mac Pros a run for their money. Everything is used except the mobo.
So, on to Day 1 of the build!
Front IO cable:
I decided to make my own front IO cable. Cut the wires on the G5's stubby cable and added ~3' of twisted pair I had laying around. Color coded using heatshrink. I got mobo headers from an old ATX case that goes in the can soon and from a Dell XPS front panel I bought on eBay for $11. Instead of cutting the headers and soldering wire to wire, I pulled the pins out and soldered my wire right to them. The connection seems secure enough, and is much cleaner than a second mess of heatshrink.
Full cable. Notice the black USB cable and socket. That will be mounted somewhere in the case for a USB bluetooth dongle. I couldn't waste half a USB header when I had a socket I could use with it.
Extra external buttons:
I bought a pair of submini pushbutton switches at Radioshack for like 3 bucks this afternoon after school. These will be mounted on the back, in the hole to the left of the motherboard tray's PCI slots that was left by the G5's rear fan grille. One will be for reset and the other for optical drive eject. I made a wire to solder into the optical, but hopefully I'll be able to disconnect the OD's audio out and rewire it internally to the eject button.
The G5, ready for modding:
Empty except for top tray stuff:
Starting to cut for the new motherboard tray:
I went through 19 of 20 Dremel cutoff wheels tonight. I'll have to make a special trip to Lowes tomorrow morning in order to continue with the modding fun.
Didn't quite get this edge low enough the first time:
Another snag...
I realized once I put the motherboard tray in that it would hit the screws that hold the top tray in place. So I marked where the screws would go on the top tray, slid the Lian Li mobo tray in, marked that, and dremeled out the edge of the tray where the screws would have hit.
Measuring for motherboard tray standoffs:
Wrote these down, then measured with the tray in the case and drilled my holes. They were a bit off, but were fixable. Using original G5 mobo screws here.
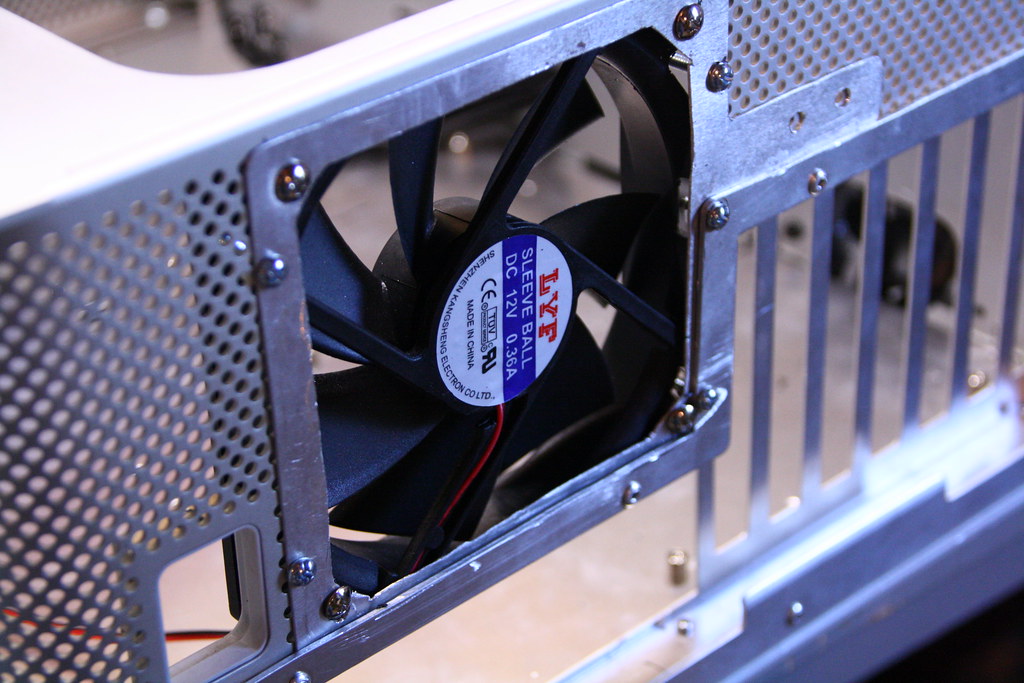
Rewiring HD fan/blower:
Rewired the HD fan and blower with 5 volts each per a diagram from InsanelyMac. It'll be nice having that fan up there, since the two drives that will go in the Apple cage are my RAID0'd boot drives. They hit about 127F right now, at the top of a stack of drives with no air blown on them.
The blower will hopefully help suck heat away from my top graphics card.
Cable notch:
Decided I didn't want my SATA cables going through the opening right below the HDs but rather through the optical drive cable's opening. Bit of dremeling and I have a nice notch for the power and SATA cables to fit through.
Done for the day:
This is where I was at at 10 tonight. Can't wait to get back to work on this tomorrow!