- Joined
- Apr 1, 2013
- Messages
- 117
- Motherboard
- GA-Z77X-UD5H
- CPU
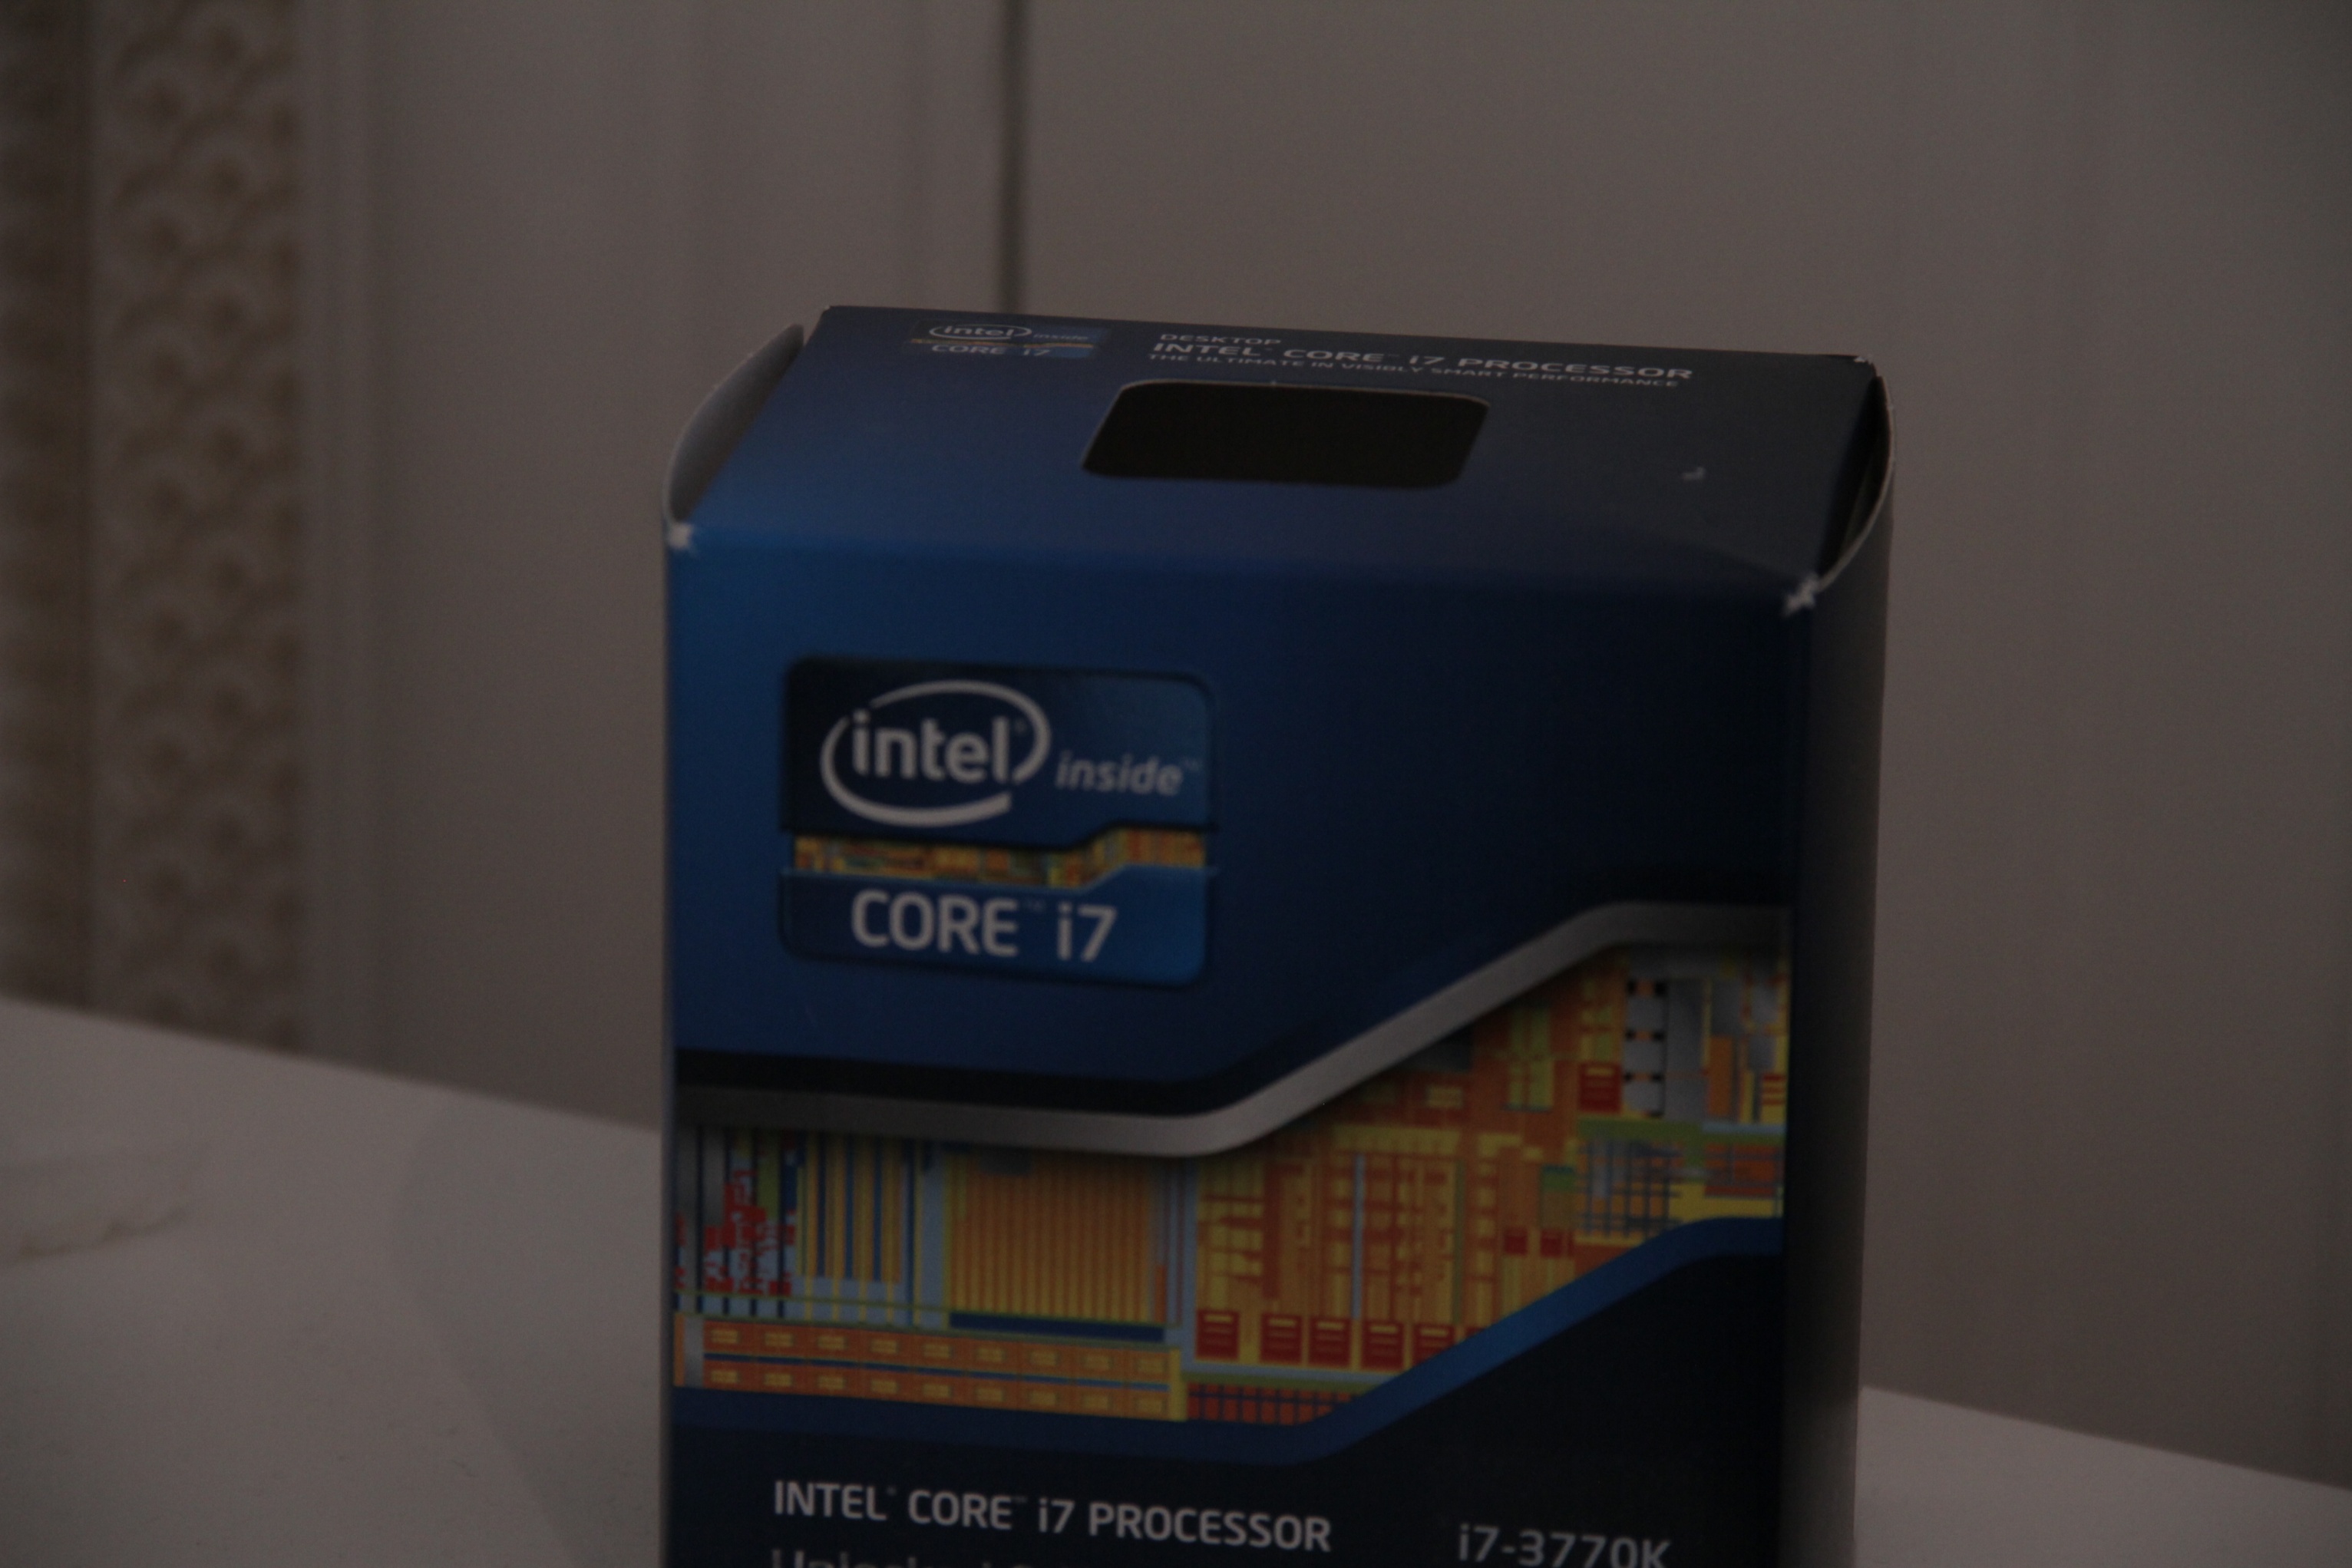
- Intel i7 3770K
- Graphics
- Gigabyte 680 SOC
- Mac
- Classic Mac
- Mobile Phone
[SUCCESS] Sirre's Build - Core i7-3770K - GA-Z77X-UD5H - 8GB RAM - HD4000 + (Soon will be added) GeForce GTX 770
Apple OS X Mountain Lion @ Mac Apps Store
http://itunes.apple.com/us/app/os-x-mountain-lion/id537386512?ls=1&mt=12
Gigabyte Intel Z77 LGA 1155 AMD CrossFireX/NVIDIA SLI Dual LAN Dual UEFI BIOS ATX Motherboard GA-Z77X-UD5H
http://www.amazon.com/dp/B007R21JK4/
Intel Core i7-3770K Quad-Core Processor 3.5 GHz 8 MB Cache LGA 1155 - BX80637I73770K
http://www.amazon.com/gp/product/B002KQ5KDY
Corsair Vengeance Pro Series 16GB (2x8GB) DDR3 1866 MHZ (PC3 15000) Desktop Memory
http://www.amazon.com/dp/B00D2LGRO2/
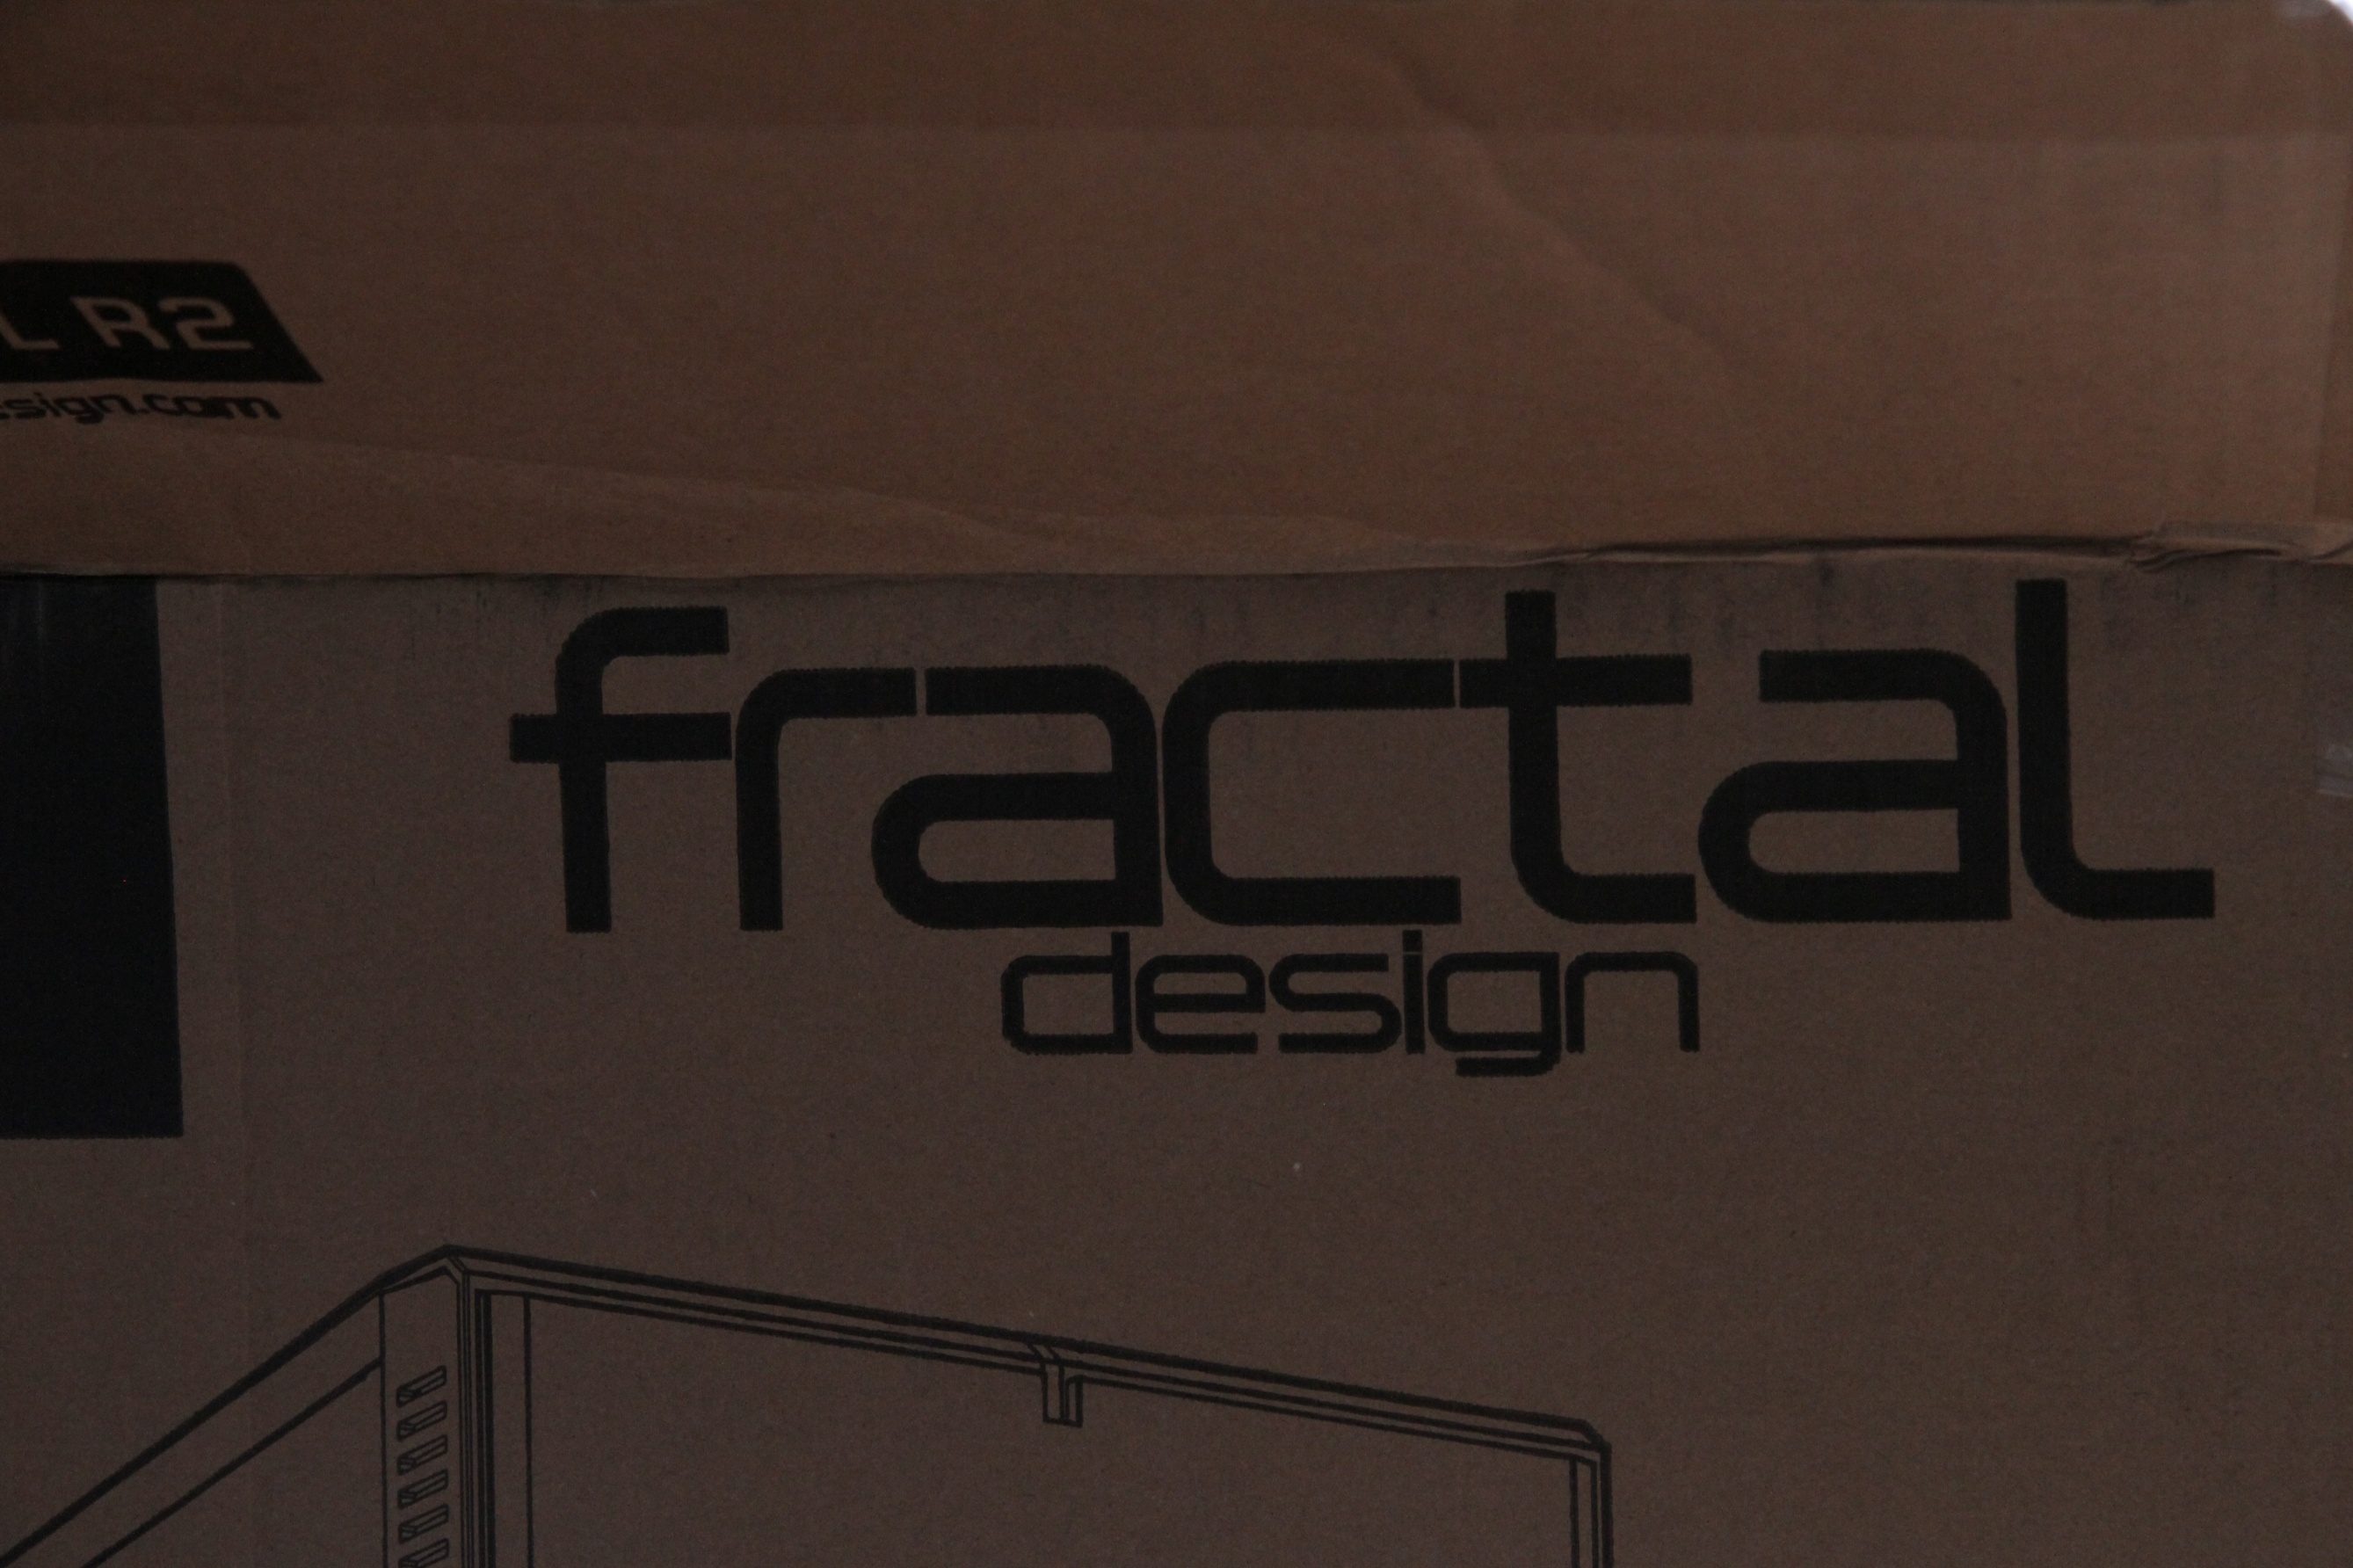
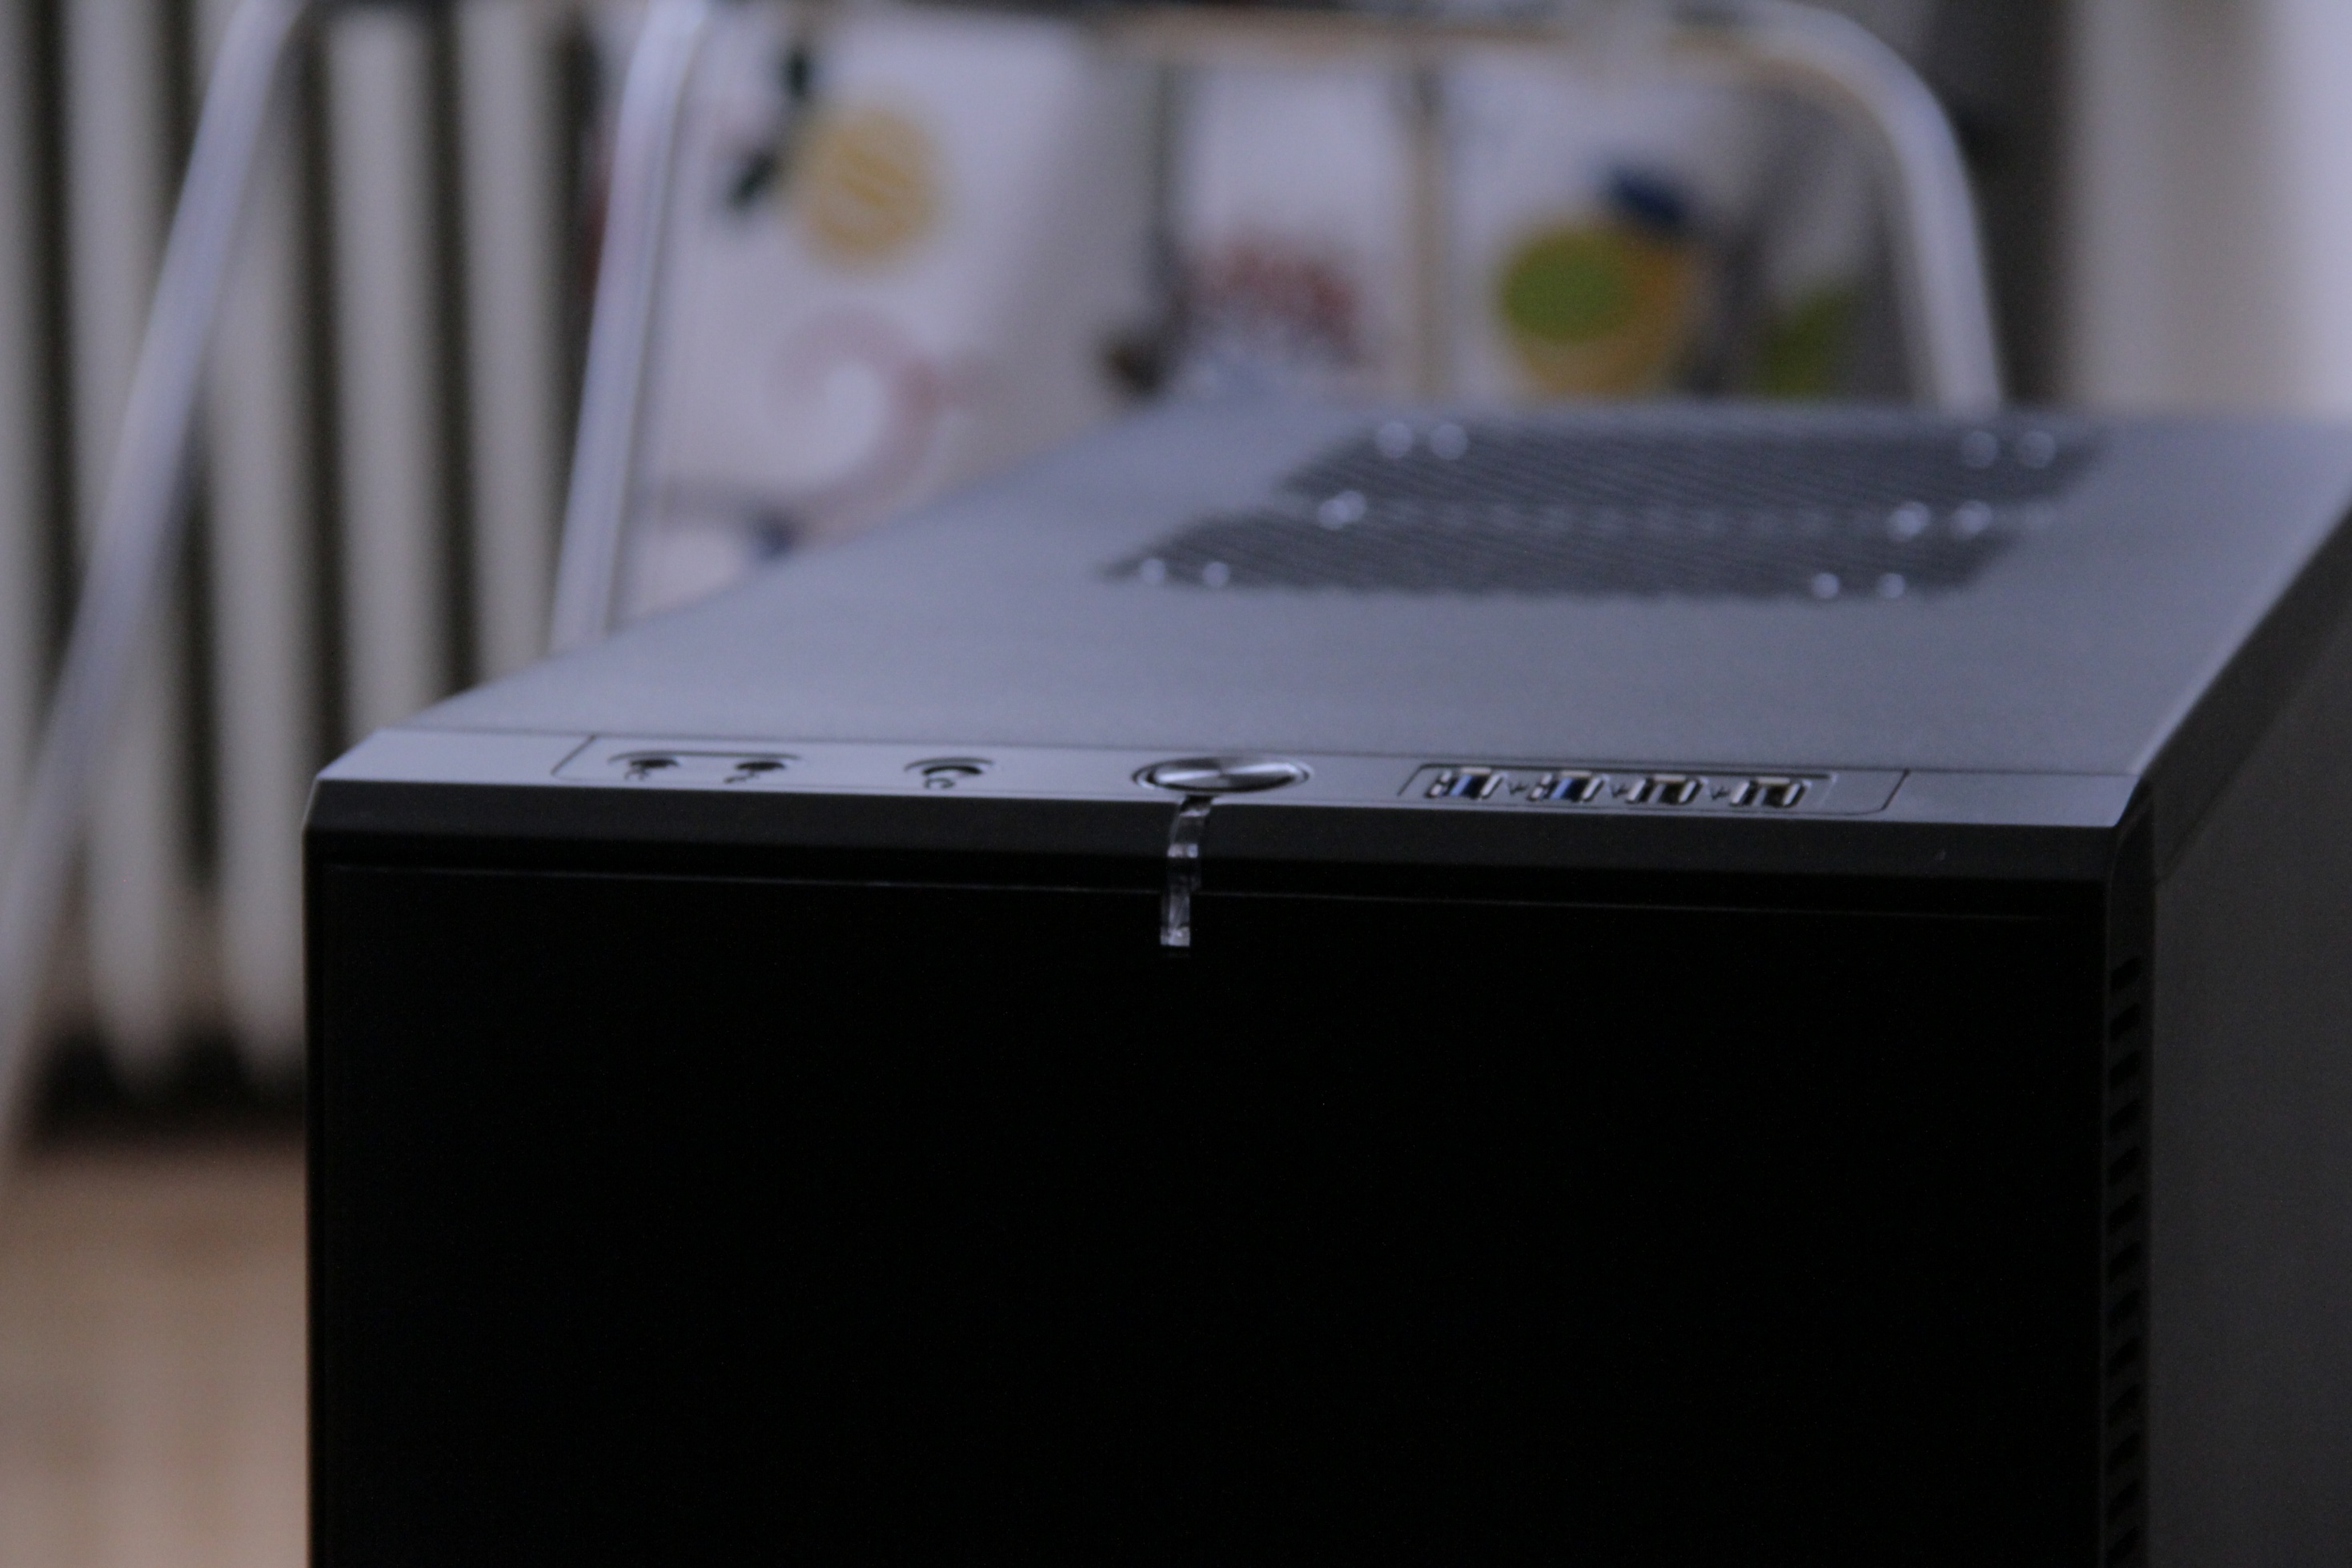
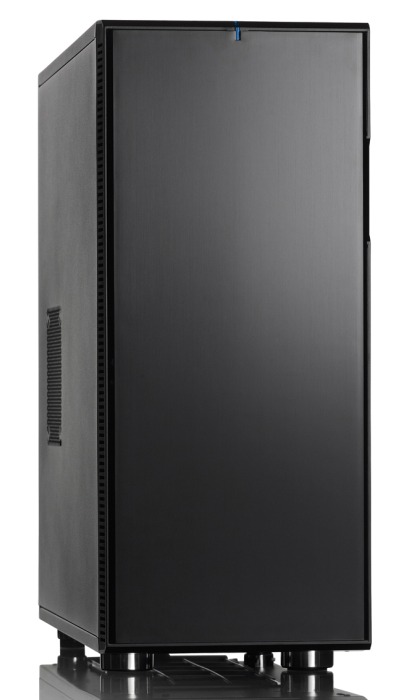
FRACTAL DESIGN FD-CA-DEF-XL-R2-BL Define XL R2 Computer Case
http://www.amazon.com/dp/B00AZQTZFU
Corsair Enthusiast Series TX 750 Watt ATX/EPS Modular 80 PLUS Bronze (TX750M)
http://www.amazon.com/dp/B005E98I0G/
Kingston Digital 120GB SSDNow V300 SATA 3 2.5 (7mm height) with Adapter Solid State Drive 2.5-Inch
http://www.amazon.com/dp/B00A1ZTZOG/
Already Owned
SanDisk Cruzer 8 GB USB Flash Drive
http://www.amazon.com/gp/product/B00272NHOK/
ASUS MX279H 27-Inch Screen LED-Lit Monitor
http://www.amazon.com/gp/product/B00B17C5KO/
Apple Wireless Keyboard
http://www.amazon.com/gp/product/B002TMRZOQ
Apple Magic Mouse
http://www.amazon.com/gp/product/B002TLTGM6
Belkin USB 4.0 Bluetooth Adapter
http://www.amazon.co.uk/dp/B009IQB3US/
Sony Optiarc Black 24X DVD+R 8X DVD+RW 12X DVD+R DL 24X DVD-R 6X DVD-RW 12X DVD-RAM 16X DVD-ROM 48X CD-R 32X CD-RW 48X CD-ROM 2MB Cache SATA DVD/CD Rewritable Drive - OEM
http://www.amazon.com/gp/product/B00264GING?ie=UTF8
Comments
I have no experience what so ever in building computers. I have never built one to be exact. Though because of my love to Apple and their Operative systems and their software, I decided my 27" iMac was not enough and went on to build a beast to computer, I thought. My mind was set on socket 2011 systems with crazy much power CPU's, Titans SLI configurations, huge towers and dual Apple Cinema Displays. Then I realized i'm actually just a student and hardware is really expensive and Sweden. So my ambitions dropped a step but i still went on and built a pretty nice and stable build!
Everything I have tried so far works (See below). The Apple motto: "It just works" was what I told my friends about this system, and oh how they envy me. So far this is the best computer I have ever used! I can't wait to get my hands on a closed looped CPU cooler to just overclock the feces of that i7 3770K! I was thinking the H100i! Feel free to leave suggestions!
[*] My main goal in this build was to have a computer which is as stable as possible and also really quiet with a lot of room for expansion, thus the Fractal Define XL R2 case!
As for now I'm really happy with every component that I bought! The Gigabyte customer service is great! I mean they really are great! I asked them a lot of embarrassing questions and they were happy to answer them all without making fun of me.
Now to the really important part of the build: witch mac it is really about the experience of using the system and not really the components used. I can happily tell you that this system both performance and feels better then a "real mac". With the Apple magic mouse and the wireless keyboard all connected to Bluetooth, the feeling is great! The magic mouse is so responsive and the keyboard feels so solid and ascetic! My next goal is to purchase a WiFi card and the Magic trackpad!
Working
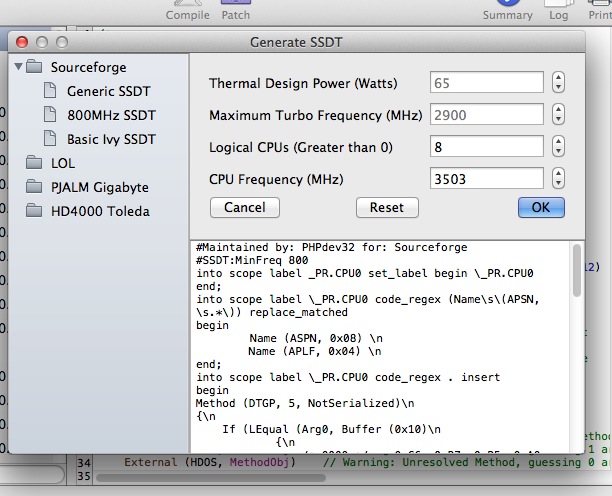
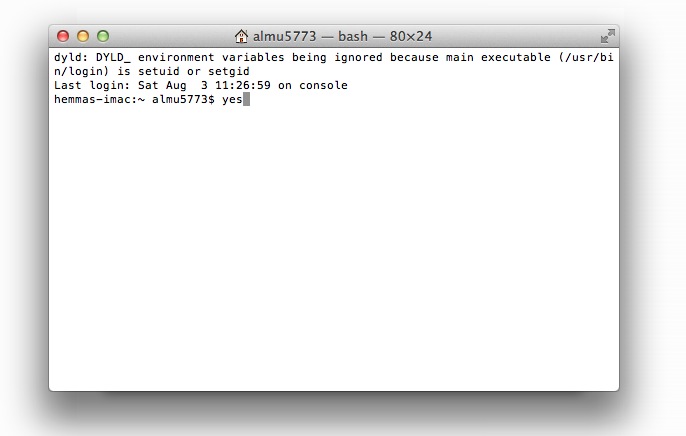
Next step is actually to get a SSDT because right now I think I get the P-states x16, x18, x35 and x39 So the gap is huge! Im not sure yet though as it is kind of hard to find a plug in for OSX to test your CPU! But i found writing yes in the terminal sometimes does a real stress test on the CPU.
Ports Working / Not Working
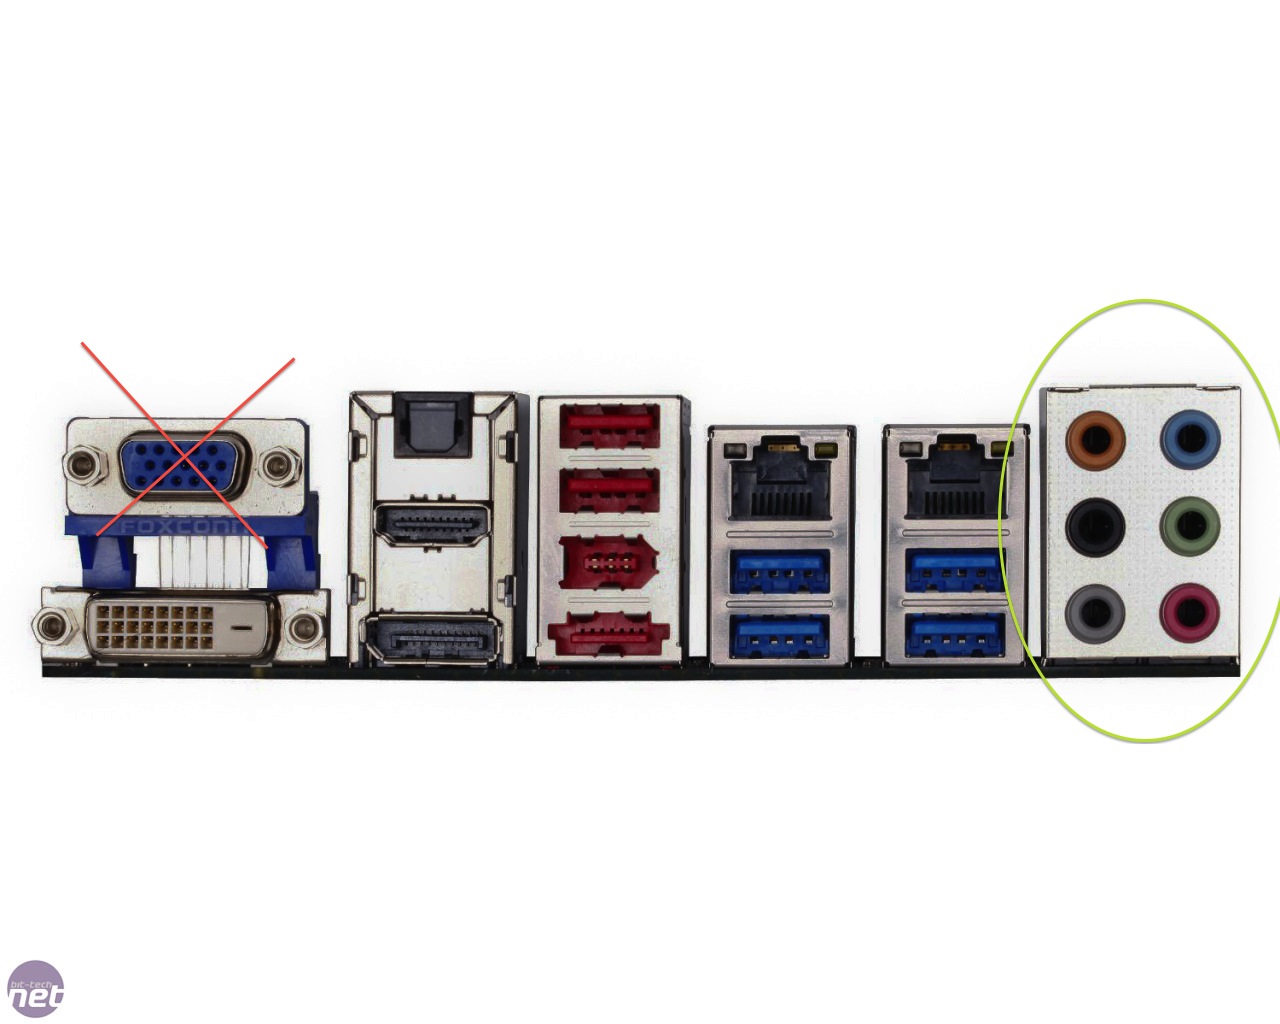
Notice that The green port actually works on this rev 1.0 board. I think i'm on Bios F8 and so far no issues what so ever so I don't feel like upgrading it! Now i'm actually using a DSDT for this motherboard though it doesn't need one! I am not sure if that fixed the issue but to all people that doesn't have audio from green port give it a try! This means that I actually could 6.1 or 5.1 audio. I don't use it but it is a nice feeling that I actually can use it if I feel like it. I found a great guide posted by Tonymacx86. It can be found here http://www.tonymacx86.com/130-how-enable-5-1-channel-analogue-audio-os-x.html
he also embedded a great video guide for it.
[video=youtube;po-_c7eHrkg]http://www.youtube.com/watch?v=po-_c7eHrkg[/video]
Also theoretically this could be used to set up either 3.1 audio or 2.1 audio if you only have a few ports working.
How I achieved this:
First of don't use your manual as a cup holder or a decoration! Use it for the purpose it was made of: To instruct you and guide you to success! In simple terms in order to reach success use the manual and a DSDT! It increases overall stability and enabled auto sleep not sure if it also actually enabled the green audio jack!
This is what I did! It might not be what is essential and maybe some steps are unnecessary but it works! Mulitbeast setitngs are not anything special. Just getting what is essential! No need for Hwmonitor or or other. Just getting audio and ethernet is fine for me. USB 3.0 is actually detected in about this mac so it should work!
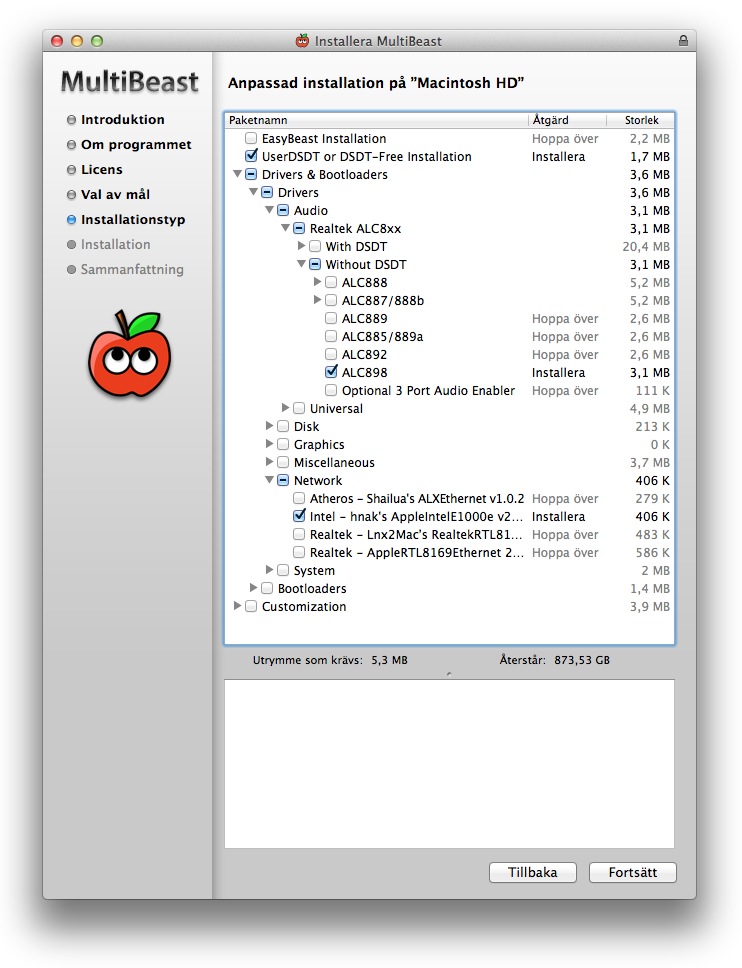
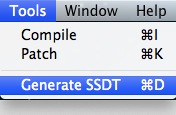
Now go ahead and download MaciASL made by SJ and a lot of DSDT patches by Pjalm. Shout out to those guys!
You should be greeted by something like this: While patching your dsdt make sure you boot with DSDT=Null. It should say System DSDT in the window and not like mine DSDT.aml . In simple terms you want to work with a clean DSDT to not screw up your system!

Head on to preferences by hitting ( "cmd + ," )
and this should pop up:

Make sure that you check [ACPI 5.0] and that everything is updated. This is recommended by Pjalm him self.
If it is all done then go to sources and click the plus sign in the right corner and first add:
then name it PJALM Gigabyte. As this great picture tells you!

then do the same thing but add this from toldeda
Now you have had the sources and the software has now a few more patches that it can do. These sources are essential!. The second code is optional but essential for HDMI audio. HDMI audio comes quite handy with built in speakers to monitors, or if you want to use your 1500 dollar PC as a media server!
Anyways it should look something like this:

Wow, now we go crazy! I mean real monkey bananas crazy! We, noobs are going to create our own DSDT!???? I know it sounds like it will end in a disaster! But it wont trust me! No need to be able to even read code. Head on to PATCH then select your motherboard -> hit apply. then select where you want to get HDMI audio from. For me it is the HD4000. Press it -> Hit apply -> Close.
Here is the screen!
 So for me:
if you get any errors search for them in the Tonymacx86 search bar! I had one error but for the love of god I can't remember it. The solutios was found by just searching the line of code it was from in the search bar here at the forum! Compile it as DSDT.aml then save it as ACPI MAchine Language Binary then to the desktop.
Go to System/Library/Extensins and delete HDAEnabler.kext
Go to /extra and put you DSDT.aml there. Reboot.
I leave you with this! Have a great Day!
Sirre's Build - Core i7-3770K - GA-Z77X-UD5H - 8GB RAM - HD4000 + (Soon will be added) GEForce GTX 770
Components
Apple OS X Mountain Lion @ Mac Apps Store
http://itunes.apple.com/us/app/os-x-mountain-lion/id537386512?ls=1&mt=12
Gigabyte Intel Z77 LGA 1155 AMD CrossFireX/NVIDIA SLI Dual LAN Dual UEFI BIOS ATX Motherboard GA-Z77X-UD5H
http://www.amazon.com/dp/B007R21JK4/
Intel Core i7-3770K Quad-Core Processor 3.5 GHz 8 MB Cache LGA 1155 - BX80637I73770K
http://www.amazon.com/gp/product/B002KQ5KDY
Corsair Vengeance Pro Series 16GB (2x8GB) DDR3 1866 MHZ (PC3 15000) Desktop Memory
http://www.amazon.com/dp/B00D2LGRO2/
FRACTAL DESIGN FD-CA-DEF-XL-R2-BL Define XL R2 Computer Case
http://www.amazon.com/dp/B00AZQTZFU
Corsair Enthusiast Series TX 750 Watt ATX/EPS Modular 80 PLUS Bronze (TX750M)
http://www.amazon.com/dp/B005E98I0G/
Kingston Digital 120GB SSDNow V300 SATA 3 2.5 (7mm height) with Adapter Solid State Drive 2.5-Inch
http://www.amazon.com/dp/B00A1ZTZOG/
Already Owned
SanDisk Cruzer 8 GB USB Flash Drive
http://www.amazon.com/gp/product/B00272NHOK/
ASUS MX279H 27-Inch Screen LED-Lit Monitor
http://www.amazon.com/gp/product/B00B17C5KO/
Apple Wireless Keyboard
http://www.amazon.com/gp/product/B002TMRZOQ
Apple Magic Mouse
http://www.amazon.com/gp/product/B002TLTGM6
Belkin USB 4.0 Bluetooth Adapter
http://www.amazon.co.uk/dp/B009IQB3US/
Sony Optiarc Black 24X DVD+R 8X DVD+RW 12X DVD+R DL 24X DVD-R 6X DVD-RW 12X DVD-RAM 16X DVD-ROM 48X CD-R 32X CD-RW 48X CD-ROM 2MB Cache SATA DVD/CD Rewritable Drive - OEM
http://www.amazon.com/gp/product/B00264GING?ie=UTF8
Comments
I have no experience what so ever in building computers. I have never built one to be exact. Though because of my love to Apple and their Operative systems and their software, I decided my 27" iMac was not enough and went on to build a beast to computer, I thought. My mind was set on socket 2011 systems with crazy much power CPU's, Titans SLI configurations, huge towers and dual Apple Cinema Displays. Then I realized i'm actually just a student and hardware is really expensive and Sweden. So my ambitions dropped a step but i still went on and built a pretty nice and stable build!
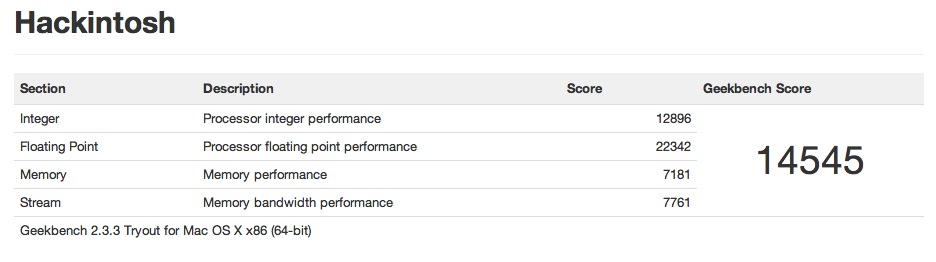
Everything I have tried so far works (See below). The Apple motto: "It just works" was what I told my friends about this system, and oh how they envy me. So far this is the best computer I have ever used! I can't wait to get my hands on a closed looped CPU cooler to just overclock the feces of that i7 3770K! I was thinking the H100i! Feel free to leave suggestions!
[*] My main goal in this build was to have a computer which is as stable as possible and also really quiet with a lot of room for expansion, thus the Fractal Define XL R2 case!
As for now I'm really happy with every component that I bought! The Gigabyte customer service is great! I mean they really are great! I asked them a lot of embarrassing questions and they were happy to answer them all without making fun of me.
Now to the really important part of the build: witch mac it is really about the experience of using the system and not really the components used. I can happily tell you that this system both performance and feels better then a "real mac". With the Apple magic mouse and the wireless keyboard all connected to Bluetooth, the feeling is great! The magic mouse is so responsive and the keyboard feels so solid and ascetic! My next goal is to purchase a WiFi card and the Magic trackpad!
Working
| Audio (All ports incl. Green Port) | YES |
| HDMI + HDMI Audio | YES |
| Sleep | YES |
| Auto Sleep (USB does unplug but not an issue for me!) | YES |
| ETHERNET | YES |
| Speed stepping | YES |
| USB 2.0 | YES |
| USB 3.0 | Have no devices to try but is recognized |
Next step is actually to get a SSDT because right now I think I get the P-states x16, x18, x35 and x39 So the gap is huge! Im not sure yet though as it is kind of hard to find a plug in for OSX to test your CPU! But i found writing yes in the terminal sometimes does a real stress test on the CPU.
What this does is just making the terminal write out y infinite times. To stop it you can write
or shut the program down by "CMD + Q"
Code:
killall yesPorts Working / Not Working
Notice that The green port actually works on this rev 1.0 board. I think i'm on Bios F8 and so far no issues what so ever so I don't feel like upgrading it! Now i'm actually using a DSDT for this motherboard though it doesn't need one! I am not sure if that fixed the issue but to all people that doesn't have audio from green port give it a try! This means that I actually could 6.1 or 5.1 audio. I don't use it but it is a nice feeling that I actually can use it if I feel like it. I found a great guide posted by Tonymacx86. It can be found here http://www.tonymacx86.com/130-how-enable-5-1-channel-analogue-audio-os-x.html
he also embedded a great video guide for it.
[video=youtube;po-_c7eHrkg]http://www.youtube.com/watch?v=po-_c7eHrkg[/video]
Also theoretically this could be used to set up either 3.1 audio or 2.1 audio if you only have a few ports working.
How I achieved this:
First of don't use your manual as a cup holder or a decoration! Use it for the purpose it was made of: To instruct you and guide you to success! In simple terms in order to reach success use the manual and a DSDT! It increases overall stability and enabled auto sleep not sure if it also actually enabled the green audio jack!
This is what I did! It might not be what is essential and maybe some steps are unnecessary but it works!
Now go ahead and download MaciASL made by SJ and a lot of DSDT patches by Pjalm. Shout out to those guys!
You should be greeted by something like this: While patching your dsdt make sure you boot with DSDT=Null. It should say System DSDT in the window and not like mine DSDT.aml . In simple terms you want to work with a clean DSDT to not screw up your system!
Head on to preferences by hitting ( "cmd + ," )
and this should pop up:
Make sure that you check [ACPI 5.0] and that everything is updated. This is recommended by Pjalm him self.
If it is all done then go to sources and click the plus sign in the right corner and first add:
Code:
[FONT=arial][B][URL]http://pjalm.info/repos/gigabyte[/URL][/B][/FONT]then do the same thing but add this from toldeda
Code:
[URL]https://raw.github.com/toleda/audio_hdmi_uefi/master[/URL]Now you have had the sources and the software has now a few more patches that it can do. These sources are essential!. The second code is optional but essential for HDMI audio. HDMI audio comes quite handy with built in speakers to monitors, or if you want to use your 1500 dollar PC as a media server!
Anyways it should look something like this:
Wow, now we go crazy! I mean real monkey bananas crazy! We, noobs are going to create our own DSDT!???? I know it sounds like it will end in a disaster! But it wont trust me! No need to be able to even read code. Head on to PATCH then select your motherboard -> hit apply. then select where you want to get HDMI audio from. For me it is the HD4000. Press it -> Hit apply -> Close.
Here is the screen!
Code:
GA-Z77X-UD5H -> APPLY -> AMI-HD400 7series... -> APPLY -> AMI-EFI Clean -> APPLY -> CLOSE -> CompileGo to System/Library/Extensins and delete HDAEnabler.kext
Go to /extra and put you DSDT.aml there. Reboot.
I leave you with this! Have a great Day!
Last edited by a moderator: