Contribute
Register

Retro wooden hack

Status
Not open for further replies.
Joined
Jun 20, 2014
Messages
10
Motherboard
GA Z97X-UD7 TH
CPU
I7 4770
Graphics
4600
Mac
  1. iMac
  2. MacBook Air
Classic Mac
  1. 0
Mobile Phone
  1. iOS
So, after building my first hack recently (http://www.tonymacx86.com/user-builds/135706-core-i7-4770-gigabyte-z97x-ud7-th-8gb-ram-hd4600.html) and viewing some of the great mods on here, I decided to try my own case mod.

Inspiration comes from neilhart and Jeffrey Stephenson http://slipperyskip.com

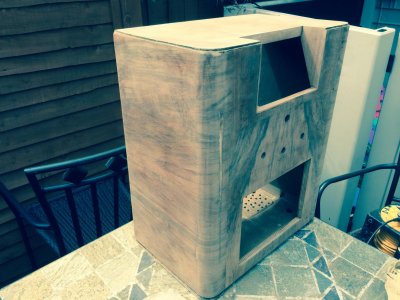
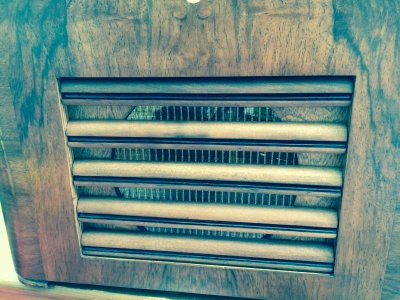
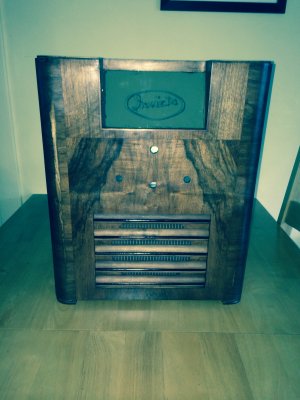
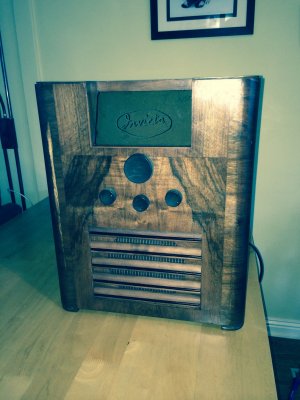
My woodworking/ metalworking skills are minimal, so I decided to try modding an existing case and see how it goes, so I bought this old wooden valve radio case from eBay:
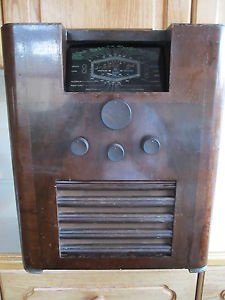
image.jpg

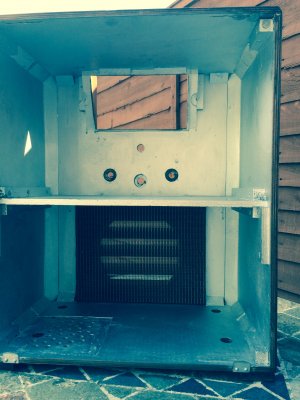
First job, strip innards and start sanding nasty old varnished exterior:
image.jpg
After sanding:
image.jpg

A little colour applied and the inside painted silver:
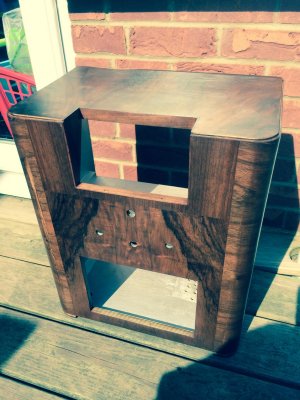
image.jpg


More coming....
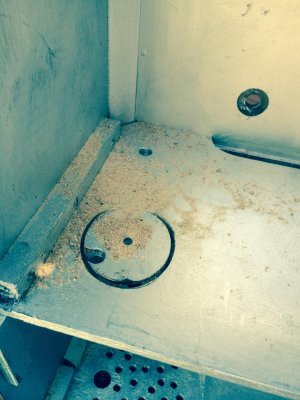
 
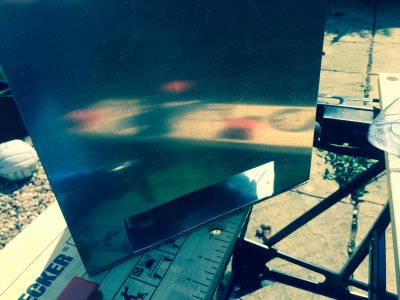
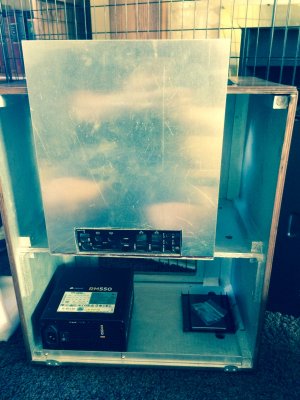
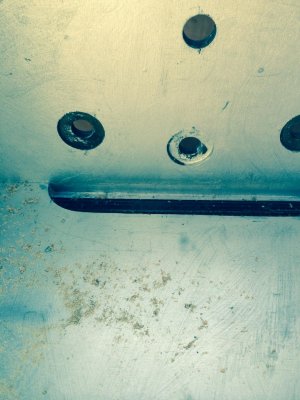
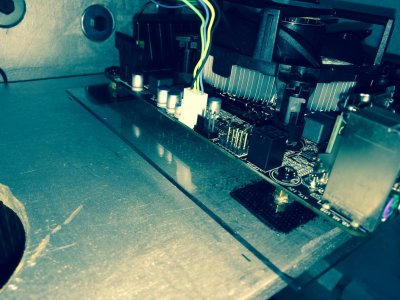
Starting to play around with location of the parts, I've drilled holes in the base of the case where the power supply is and underneath added a filter

image.jpg

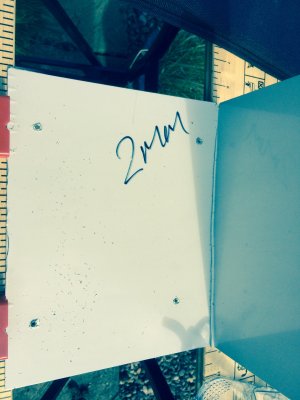
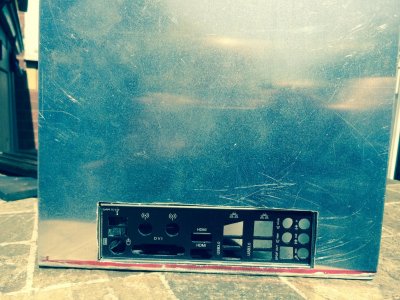
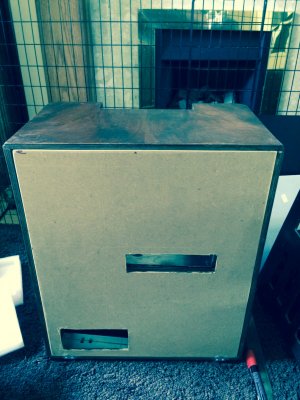
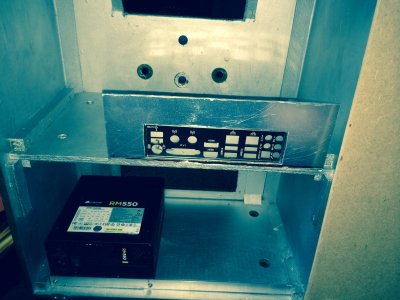
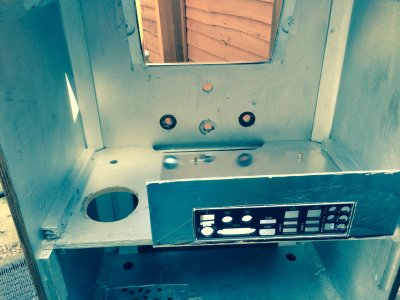
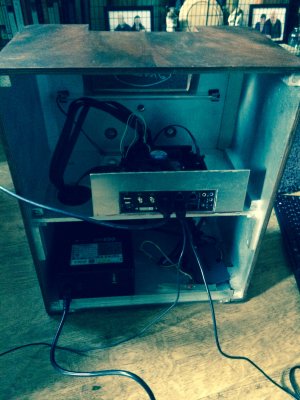
And an MDF backboard built with cut outs for the I/O and power supply
image.jpg

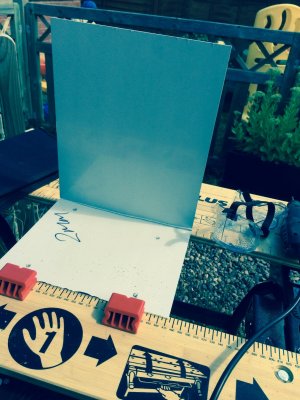
I've cut the motherboard tray down a bit, but I'm still undecided if ill be keeping it like this
image.jpg
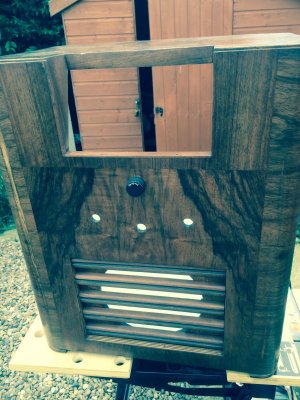
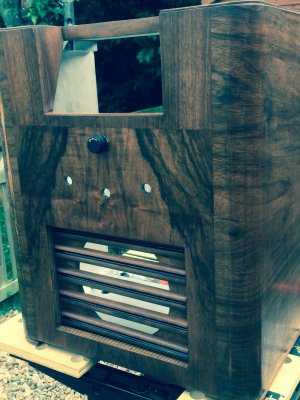
This is the removal, sanding, staining and re-fitting of some of the front panel pieces
image.jpgimage.jpgimage.jpg

image.jpg
The button visible is just a test power button which will be replaced by the original knob
 
PHILDARV I like what you are doing here. That case will be a standout piece again.

Good modding,
neil
 
Thanks Neil


Latest updates

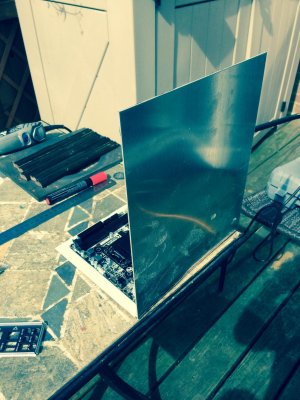
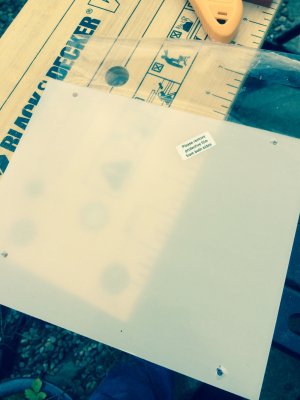
Sadly the glass got damaged in transit to me, so I needed to create another
image.jpg
My first attempt at cutting perspex, with a nifty little tool
image.jpg

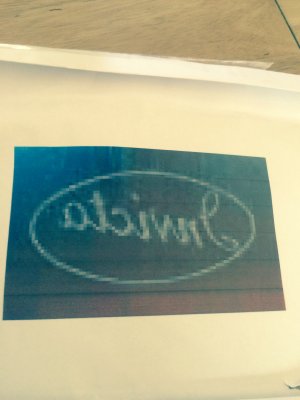
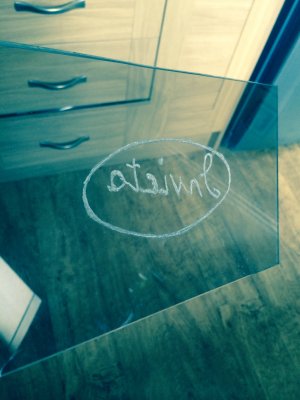
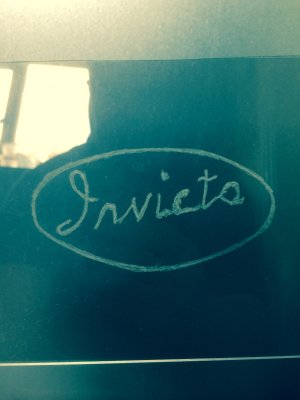
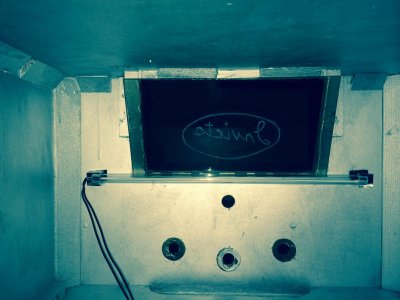
The make of the old radio is "invicta" and after a quick search on the web I found a logo from the 1930'S to 1940's. I decided to try my hand at engraving with my Dremel which I have only recently bought but am getting very attached to.

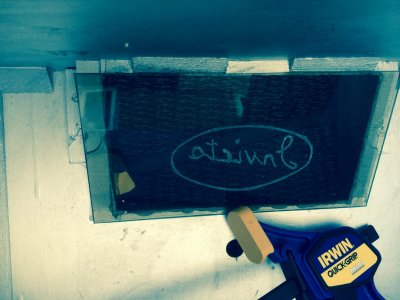
This is a print out of the logo in reverse in order for me to use to trace the engraving
image.jpg
I sellotaped the image to the perspex sheet and used a dremmel engraving bit and "had a go" - lots of firsts for me in this build
image.jpg
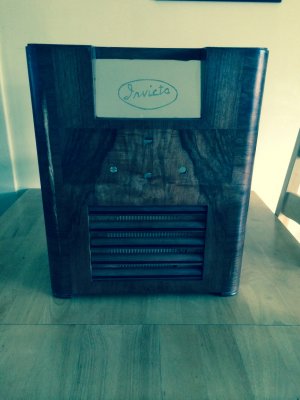
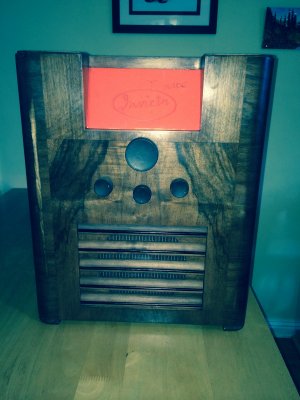
From the front
image.jpg
Added the front bars back with a new piece of "grill cloth" found on the front of fender speakers etc
image.jpg
Internal shot
image.jpg
I was hoping to get the motherboard wires from the power supply through the small slit at the front of the case, but after fitting the front bars back they just wouldn't goimage.jpg
So a new hole had to be cut
image.jpg
image.jpg
Fixing the perspex logo into place
image.jpg
Views from the front
image.jpg
image.jpg
A nice strip,light fit under the logo for effect (hopefully a good one)
image.jpg
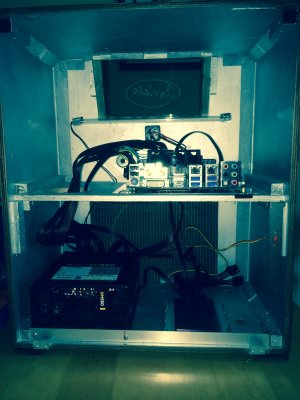
Trying the electronic parts again
image.jpg
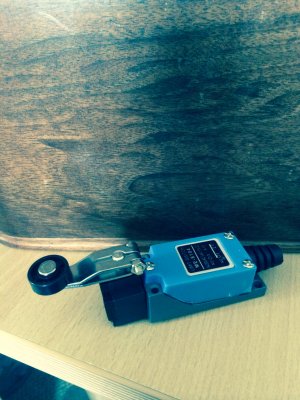
The power switch will be a momentary rotary switch, I've seen this CNC switch used on another mod, wired up and worked OK but the shaft was too short to fit through the case. I spent an hour or so looking into ways to extend the shaft but couldn't find a simple way so in the end I used a Durite 2 way rotary switch which had a longer shaft and works a treat

image.jpg
Old knobs attached via nut and bolt throughout the case, so they are just for show but do rotate
image.jpg
Power knob attached

image.jpg
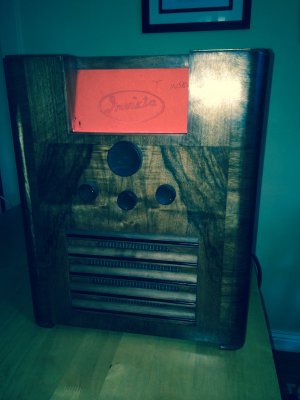
And with the light on

image.jpg
image.jpg

image.jpg
Next to attach all the PC bits and get OSX working.....
 
Status
Not open for further replies.
Back
Top