
- Joined
- Jun 13, 2017
- Messages
- 3,341
- Motherboard
- Gigabyte A520i AC
- CPU
- Ryzen 7 4700G
- Graphics
- Radeon Vega 8
- Mac
- Classic Mac
- Mobile Phone
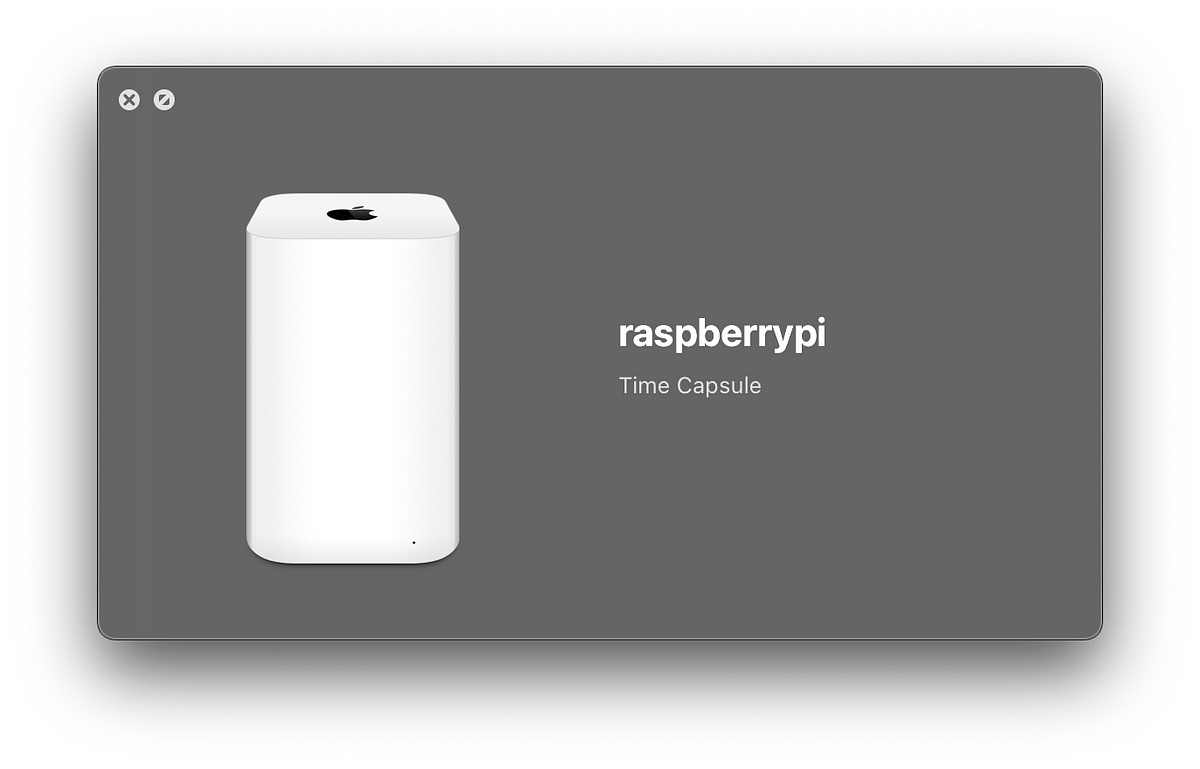
Turn your raspberry pi into an Apple Time Machine/Capsule.
This guide is aimed for the simplest setup, a low maintenance no fuss Time Machine. There are other options available, I'm currently trying OpenMediaVault and will update the thread. So, for the simplest setup you will reuire.
Micro SDXC Card. A 1TB card is around a $100, wouldn't require external storage!.
Micro SDXC USB adapter.
Raspberry Pi 2-4, I'm using a 3 B+.
Hackintosh, WiFi or Ethernet, I'm using Terminal via ssh in this guide.
Storage. Using an NVMe SSD plugged into the USB2 slot via an adapter.
I've been all about Apple Pi all week me, getting it working then breaking it again, and repeat!. But through the various resources linked below, I created my own Apple Raspberry Pi machine guide. You can download the Desktop version from the link provided below, or simply enter the following in Terminal.
Code:
sudo apt install rpi-imager
Code:
Hostname -I
Code:
ssh [username]@[ip]
Code:
sudo apt-get update && sudo apt-get upgrade -y
Code:
sudo apt-get install hfsutils hfsprogs
Code:
sudo mkfs.hfsplus /dev/sda2 -v TimeMachine
Code:
sudo mkdir /media/tm && sudo chmod -R 777 /media/tm && sudo chown [username]:[username] /media/tm
Code:
ls -lha /dev/disk/by-uuid
Code:
sudo nano /etc/fstab
Code:
UUID=[YOURUUID] /media/tm hfsplus force, rw,user,noauto 0 0control X to save
Y to confirm
return
Code:
df -h
Code:
sudo apt-get install netatalk -y
Code:
sudo nano /etc/nsswitch.confcontrol x to save
Y to confirm
return
Code:
sudo nano /etc/netatalk/afp.confcontrol x to save
Y to confirm
return
Code:
sudo crontab -e
Code:
@reboot sleep 30 && mount /media/tm && sleep 30 && umount /media/tm && sleep 30 && mount /media/tm && sleep 30 && service avahi-daemon start && service netatalk startcontrol x to save
Y to confirm
return
Code:
sudo reboot|
|
|
Code:
sudo chown -R [username]: /media
Raspberry Pi Time Machine (2021 update)
2019-01-02 Updated after comments from Guy 2019-07-21 Updated after comments from Bastiaan 2019-12-14 Updated after comments from AlexWiseman & Nick 2020-01-03 Updated after email from Ron 2020-02-11 Updated after comment from Stefan 2021-06-03 Updated after comments from Pdnellius & Chris Smith...
gregology.net

Raspberry Pi OS – Raspberry Pi
From industries large and small, to the kitchen table tinkerer, to the classroom coder, we make computing accessible and affordable for everybody.
 www.raspberrypi.com
Use a Raspberry Pi 4 for Time Machine (works with Big Sur)
Time Machine is built into the system of MacOS and I’m using it since the early days of Mac OS X Leopard. If you have a Raspberry Pi (or…
 saschaeggi.medium.com
Using a Raspberry Pi for Time Machine
How to share a disk with Samba and Avahi on a Raspberry Pi for use with macOS backups.
 mudge.name
Recycled Thin Mini ITX [NAKED] Prime H310T R2.0 — i5-9600K — RX560/UHD630
craighazan's Recycled Thin Mini ITX [NAKED] ASUS Prime H310T R2.0 — i5-9600K — RX560/UHD630 Components: New ASUS Prime H310T R2.0 motherboard — Newegg Intel® Core™ i5-9600K 6 Core Processor 3.7GHz (9MB L3 Cache, Boost up to 4.60 GHz) — Newegg | Amazon 8GB (2x4GB) G-Skill DDR4 2400 MHz...
Attachments


Last edited: