- Joined
- Oct 18, 2012
- Messages
- 16
- Motherboard
- Mac OS X 10.8.2
- CPU
- C2D 2.8
- Graphics
- Nvidia GeForce 9400M 256mb
- Mac
- Classic Mac
- Mobile Phone
Good day to you all,
So after several weeks of reading on this forum i decided to try to build an Hackintosh. There is so much info on this site that gives you the opportunity to build one yourself. I think that i am not the only person who decided to build an Hackintosh rather then to buy an iMac or MacPro it saves some cash.
I managed to pick up a Powermac G5 for a good price (25 euro) (the logicboard was dead). I love the build quality of the G5 case it is AWESOME and even when you take it apart there is so much detail going on. The Powermac came with the old keyboard and mouse and there are two HDD in it, both 160Gb. I think i will re-use the HDD and i will re-use the cage of the PSU.
I think i have one of the {first} late G5's (early 2005), the last owner said it is was from 2006.
The shopping list:
MB: ASRock Z77 Pro4-M
CPU: intel i5 3570K
COOLING: Corsair Hydro H60 (2013 edition)
GPU: Do i need one?
RAM: Corsair Vengeance 16gb
PSU: Corsair CX 600M / 2x Fractal Design Silent R2 series (60mm) mounted in the original powermac PSU
HDD: 1 SSD for MacOSX, 1 of the spare HDD for windows
What i want to do with it:
- I want a system that is easy to upgrade if possible, i will not use it for gaming.
- I want to use wireless internet
- I want to use bleu tooth keyboard and mouse
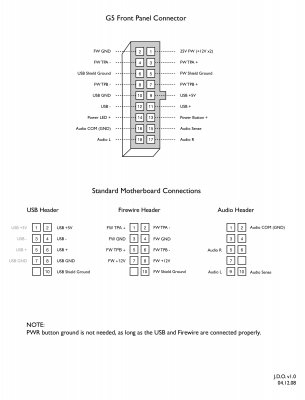
- I want to use the original on off button
You can all pass your ideas or advice to me via a PM or in this topic.
Here are some pictures:
This was on the box:

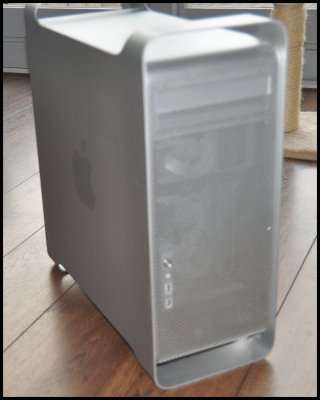
Blurry Front:
Back side:

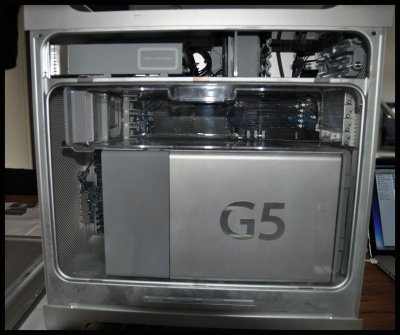
Inside with plastic cover:
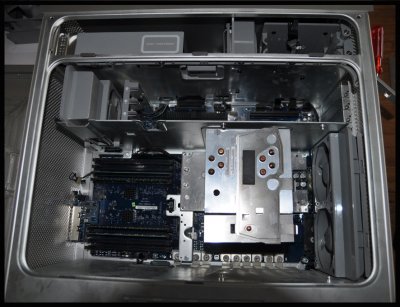
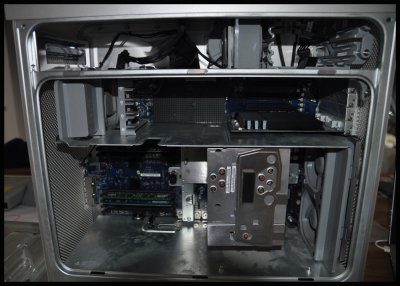
First things removed:
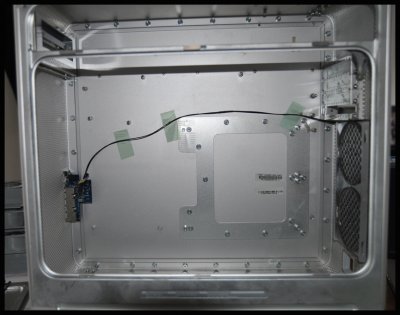
Almost empty:
The final result:
So after several weeks of reading on this forum i decided to try to build an Hackintosh. There is so much info on this site that gives you the opportunity to build one yourself. I think that i am not the only person who decided to build an Hackintosh rather then to buy an iMac or MacPro it saves some cash.
I managed to pick up a Powermac G5 for a good price (25 euro) (the logicboard was dead). I love the build quality of the G5 case it is AWESOME and even when you take it apart there is so much detail going on. The Powermac came with the old keyboard and mouse and there are two HDD in it, both 160Gb. I think i will re-use the HDD and i will re-use the cage of the PSU.
I think i have one of the {first} late G5's (early 2005), the last owner said it is was from 2006.
The shopping list:
MB: ASRock Z77 Pro4-M
CPU: intel i5 3570K
COOLING: Corsair Hydro H60 (2013 edition)
GPU: Do i need one?
RAM: Corsair Vengeance 16gb
PSU: Corsair CX 600M / 2x Fractal Design Silent R2 series (60mm) mounted in the original powermac PSU
HDD: 1 SSD for MacOSX, 1 of the spare HDD for windows
What i want to do with it:
- I want a system that is easy to upgrade if possible, i will not use it for gaming.
- I want to use wireless internet
- I want to use bleu tooth keyboard and mouse
- I want to use the original on off button
You can all pass your ideas or advice to me via a PM or in this topic.
Here are some pictures:
This was on the box:

Blurry Front:

Back side:

Inside with plastic cover:

First things removed:

Almost empty:

The final result:


