- Joined
- Aug 12, 2012
- Messages
- 57
- Motherboard
- G3 Billyjackintosh
- CPU
- i7 4790k
- Graphics
- Galaxy 670 4gb
- Mac
- Classic Mac
- Mobile Phone
June 2021 Update!!
Wow Team! 42K!!!
There are so many awesome case mods on this site. I am honored to have so many views on this project. I am over 42k views!!! So many folks are having conversations about vintage modding these days and to be part of that culture is amazing. I say dream on and mod on Team... One thing that has totally changed the modding scene is the rise of 3d printing and lazer cutting. These units can fit on the desk of any modding workshop. Although, I wouldnt change the hands on experience i had and collaborating with modders from this community and using the feedback from them. Not to mention custom pcbs are cheap these days i could have implemented some of the great ideas i had for this case. Over all the Billyjackintosh G3 build is standing the test of time and im utilizing this build as you read this. Its a beautiful case that apple made, and i tried to stick with the original concept.
Enjoy and feel free to ask questions as i check from time to time so message me or ask on one of the threads.
Thanks so much to this great community!! Mod ya later!,
Billyjack
Do i shoot my self now or later? lol i love building computers and modding out cases but i do believe this is the greatest challenge i have faced thus far lol
saw this on someones post its a famous Quote:
"Old Chinese Proverb: Make Hackintosh take great patience"
Does anyone know a good free web place to put photos so i can post them on this site for you guys to critique?
So about several months ago i decided to look in to building a hackintosh, at this point i was just going to get some parts toss them in a case and call it good. But some where along the line i remembered how cool those apple cases were in my freshman computer lab (Fall 2000) when i was taking intro in to engineering classes and walked by the art department (because the hottest chicks were there) and chatting with the girls in the new high end computer lab they got all Apple G4's and i was tripping on how sweet these computers were. They made my compaq presario from high school seem so bland (even with all the sticker mods i added).
So my Jealously and Hatred of Apple began, mainly because i was to poor to even think about owning one.
My hatred and Jealously have diminished over the years i have even purchased some apple gear for my niece and brother, i still officially own no fruity products...... until this project started this past month.
I started out surfing forums and websites to figure out what i needed and to find my start point. Thanks to This website i really only need to surf this wave so to speak all i need is here. Thanks in advance...
On to the Good Stuff about my build
Finish this post a bit later after i get the pic's
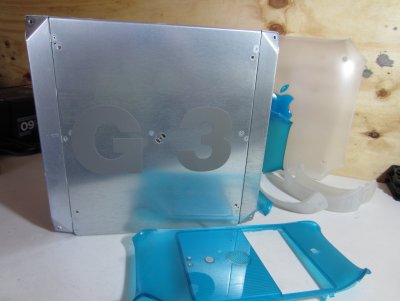
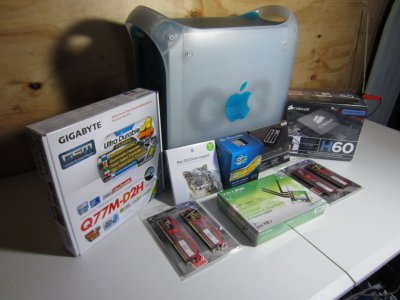
1. First off i Found a case off ebay for around 50$ shipped a fully functional g3 w/450 mhz ppc
2. Reviewed tonymacx86 buying guide ordered some shizzel from new egg, lots of accessories not pictured
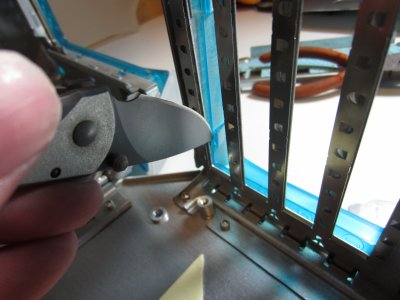
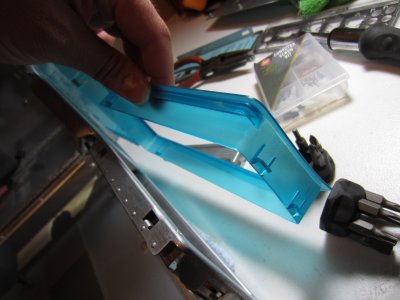
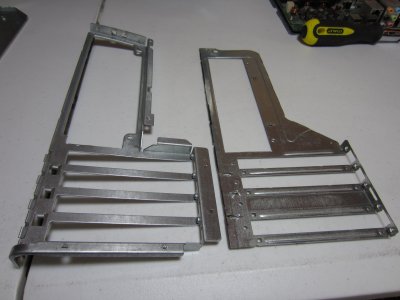
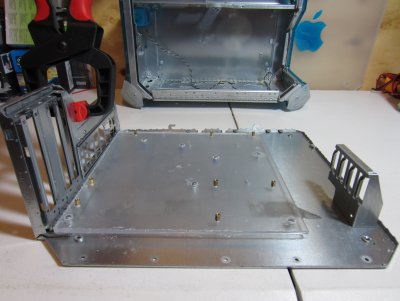
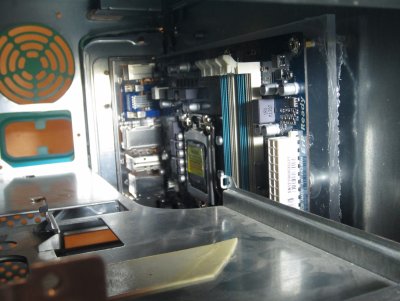
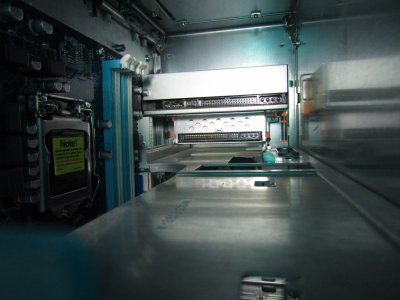
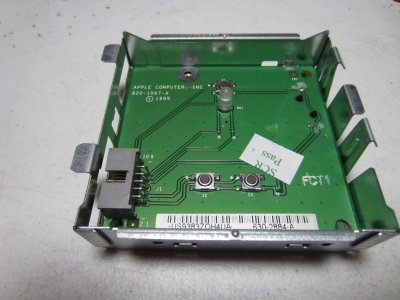
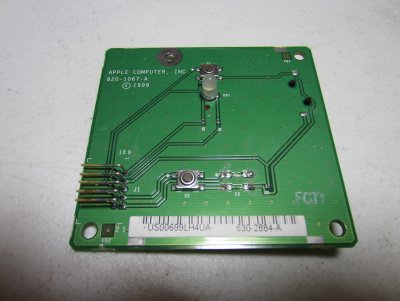
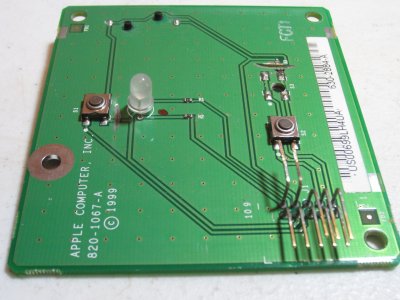
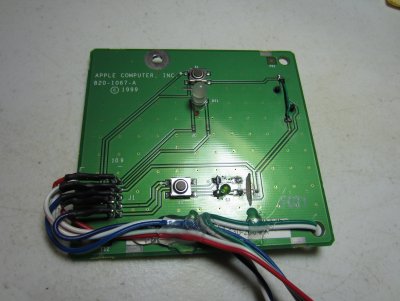
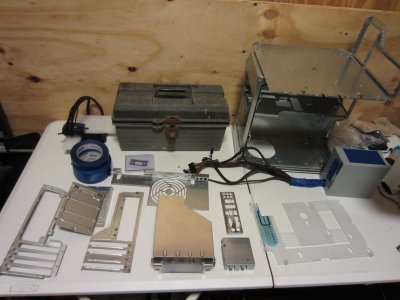
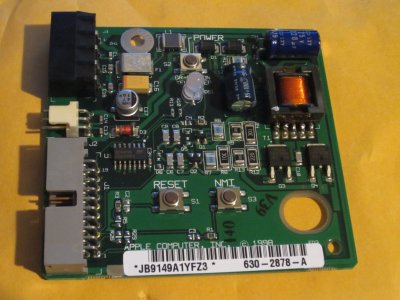
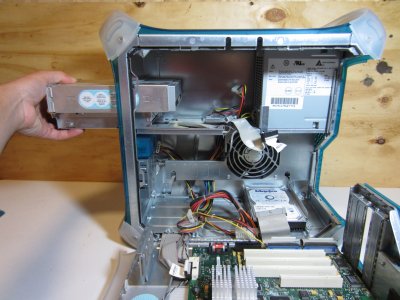
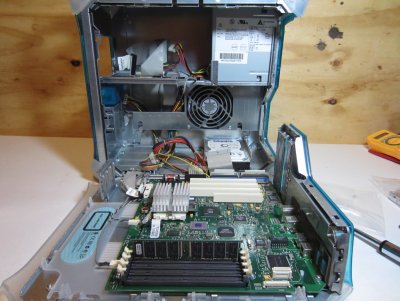
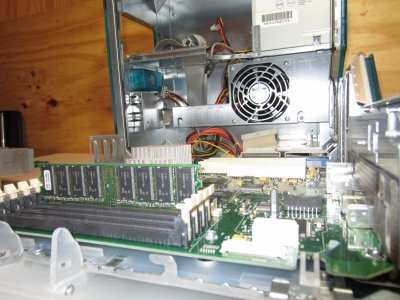
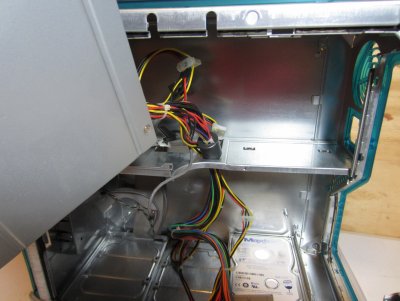
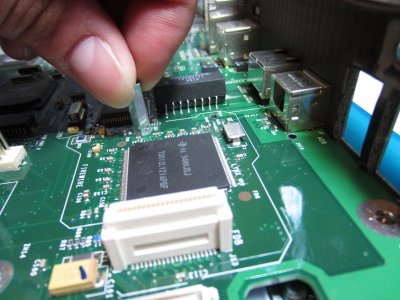
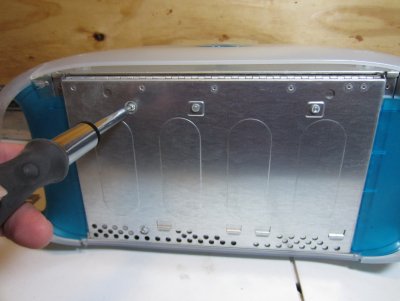
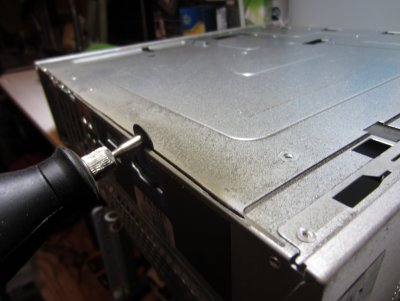
3. Started disassembling the G3 (i hate tearing apart working computers... its kind of like murder) but in this case i am thinking of it as a upgrade so this g3 can run ML.
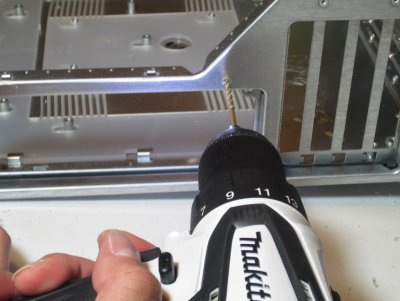
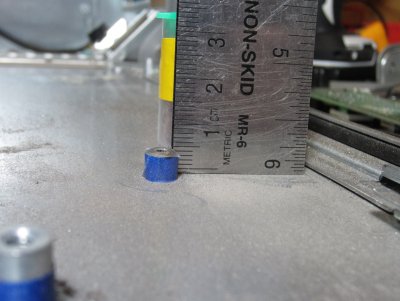
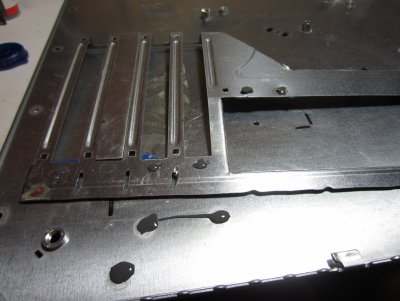
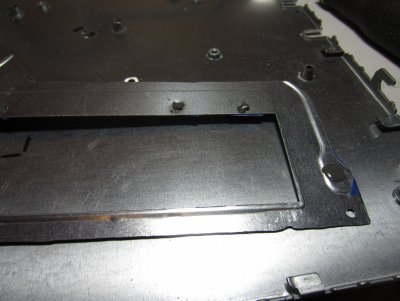
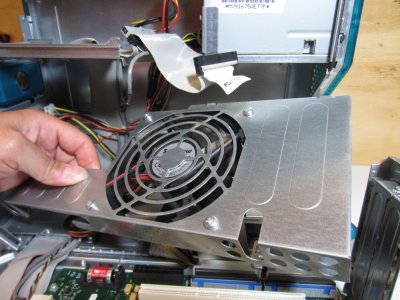
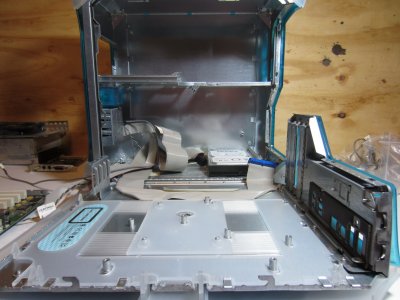
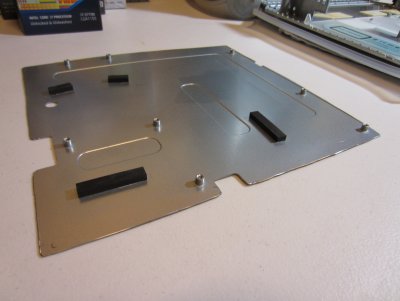
4. Found a "donor" dell laying around with a m-atx board. going to use this for lining things up and hole placement.
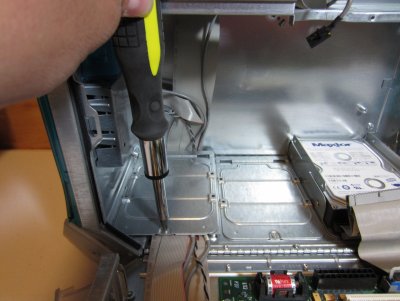
5. Busted out the Dremmel (sp?)(with this a normal person becomes a Modding God)
6. Awesome metal burning smell and three cutting plates later a m-atx templete.
Break time and More photos to come! Went by Lowes and Home Depot to pick up some more supplies today with a long weekend coming up hopefully some good progress will be made.
Cheers all!
Wow Team! 42K!!!
There are so many awesome case mods on this site. I am honored to have so many views on this project. I am over 42k views!!! So many folks are having conversations about vintage modding these days and to be part of that culture is amazing. I say dream on and mod on Team... One thing that has totally changed the modding scene is the rise of 3d printing and lazer cutting. These units can fit on the desk of any modding workshop. Although, I wouldnt change the hands on experience i had and collaborating with modders from this community and using the feedback from them. Not to mention custom pcbs are cheap these days i could have implemented some of the great ideas i had for this case. Over all the Billyjackintosh G3 build is standing the test of time and im utilizing this build as you read this. Its a beautiful case that apple made, and i tried to stick with the original concept.
Enjoy and feel free to ask questions as i check from time to time so message me or ask on one of the threads.
Thanks so much to this great community!! Mod ya later!,
Billyjack
Sept 2019 Update!
Hello All! Thank You all for Viewing my Project! 35,000 Times!!
Its been a few years since completed and I am still using this Rig for My You Tube editing. I might be Upgrading hardware once again next year, as the case has seen a few hardware revisions since inception. Hopefully, this page still helps folks going into the future. I had so much fun creating this and posting it on Tonymac's Website!! This is truly a great place for creative people and such a great community. Please feel free to ask questions as i do check this every so often and enjoy helping people. Send me a PM anytime.
Much love to the Community and Thanks Again!
Billyjack
Do i shoot my self now or later? lol i love building computers and modding out cases but i do believe this is the greatest challenge i have faced thus far lol
saw this on someones post its a famous Quote:
"Old Chinese Proverb: Make Hackintosh take great patience"
Does anyone know a good free web place to put photos so i can post them on this site for you guys to critique?
So about several months ago i decided to look in to building a hackintosh, at this point i was just going to get some parts toss them in a case and call it good. But some where along the line i remembered how cool those apple cases were in my freshman computer lab (Fall 2000) when i was taking intro in to engineering classes and walked by the art department (because the hottest chicks were there) and chatting with the girls in the new high end computer lab they got all Apple G4's and i was tripping on how sweet these computers were. They made my compaq presario from high school seem so bland (even with all the sticker mods i added).
So my Jealously and Hatred of Apple began, mainly because i was to poor to even think about owning one.
My hatred and Jealously have diminished over the years i have even purchased some apple gear for my niece and brother, i still officially own no fruity products...... until this project started this past month.
I started out surfing forums and websites to figure out what i needed and to find my start point. Thanks to This website i really only need to surf this wave so to speak all i need is here. Thanks in advance...
On to the Good Stuff about my build
Finish this post a bit later after i get the pic's
1. First off i Found a case off ebay for around 50$ shipped a fully functional g3 w/450 mhz ppc
2. Reviewed tonymacx86 buying guide ordered some shizzel from new egg, lots of accessories not pictured
3. Started disassembling the G3 (i hate tearing apart working computers... its kind of like murder) but in this case i am thinking of it as a upgrade so this g3 can run ML.
4. Found a "donor" dell laying around with a m-atx board. going to use this for lining things up and hole placement.
5. Busted out the Dremmel (sp?)(with this a normal person becomes a Modding God)
6. Awesome metal burning smell and three cutting plates later a m-atx templete.
Break time and More photos to come! Went by Lowes and Home Depot to pick up some more supplies today with a long weekend coming up hopefully some good progress will be made.
Cheers all!
Attachments
-
 IMG_0841.jpg1 MB · Views: 3,809
 -
 IMG_0792.jpg1.1 MB · Views: 2,550
 -
 IMG_0779.jpg1.1 MB · Views: 2,226
 -
 IMG_0783.jpg1.1 MB · Views: 2,078
 -
 IMG_0801.jpg1.1 MB · Views: 2,065
 -
 IMG_0809.jpg1 MB · Views: 2,051
 -
 IMG_0833.jpg1.1 MB · Views: 1,981
 -
 IMG_0836.jpg1 MB · Views: 1,943
 -
 IMG_0813.jpg1 MB · Views: 1,921
 -
 IMG_0817.jpg1 MB · Views: 1,912
 -
 IMG_0850.jpg1.1 MB · Views: 2,129
 -
 IMG_0854.jpg1 MB · Views: 1,917
 -
 IMG_0856.jpg1,024 KB · Views: 1,863
Last edited: