- Joined
- Aug 29, 2012
- Messages
- 32
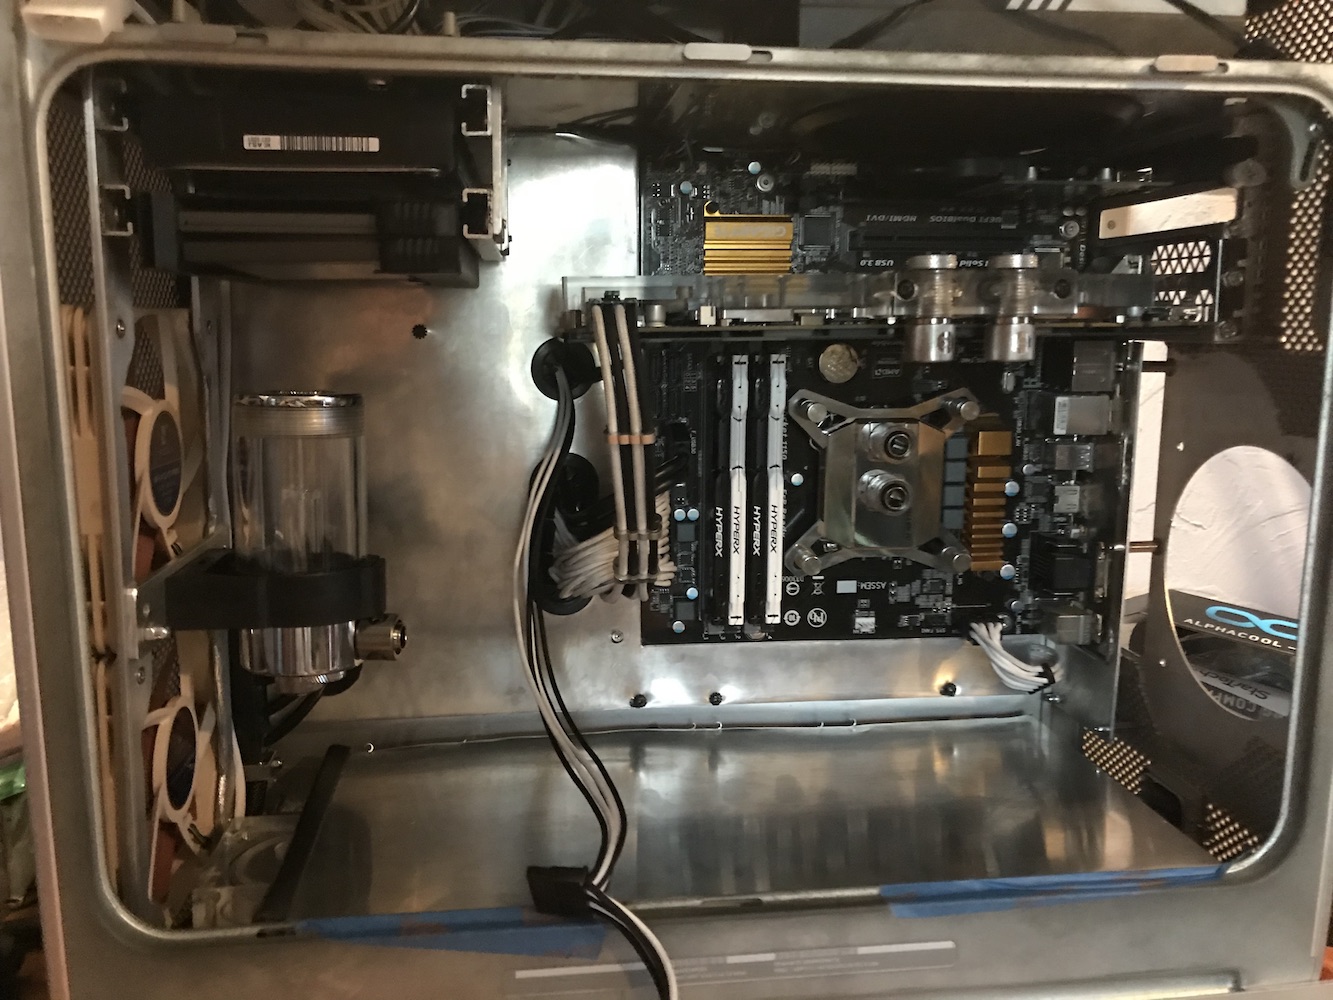
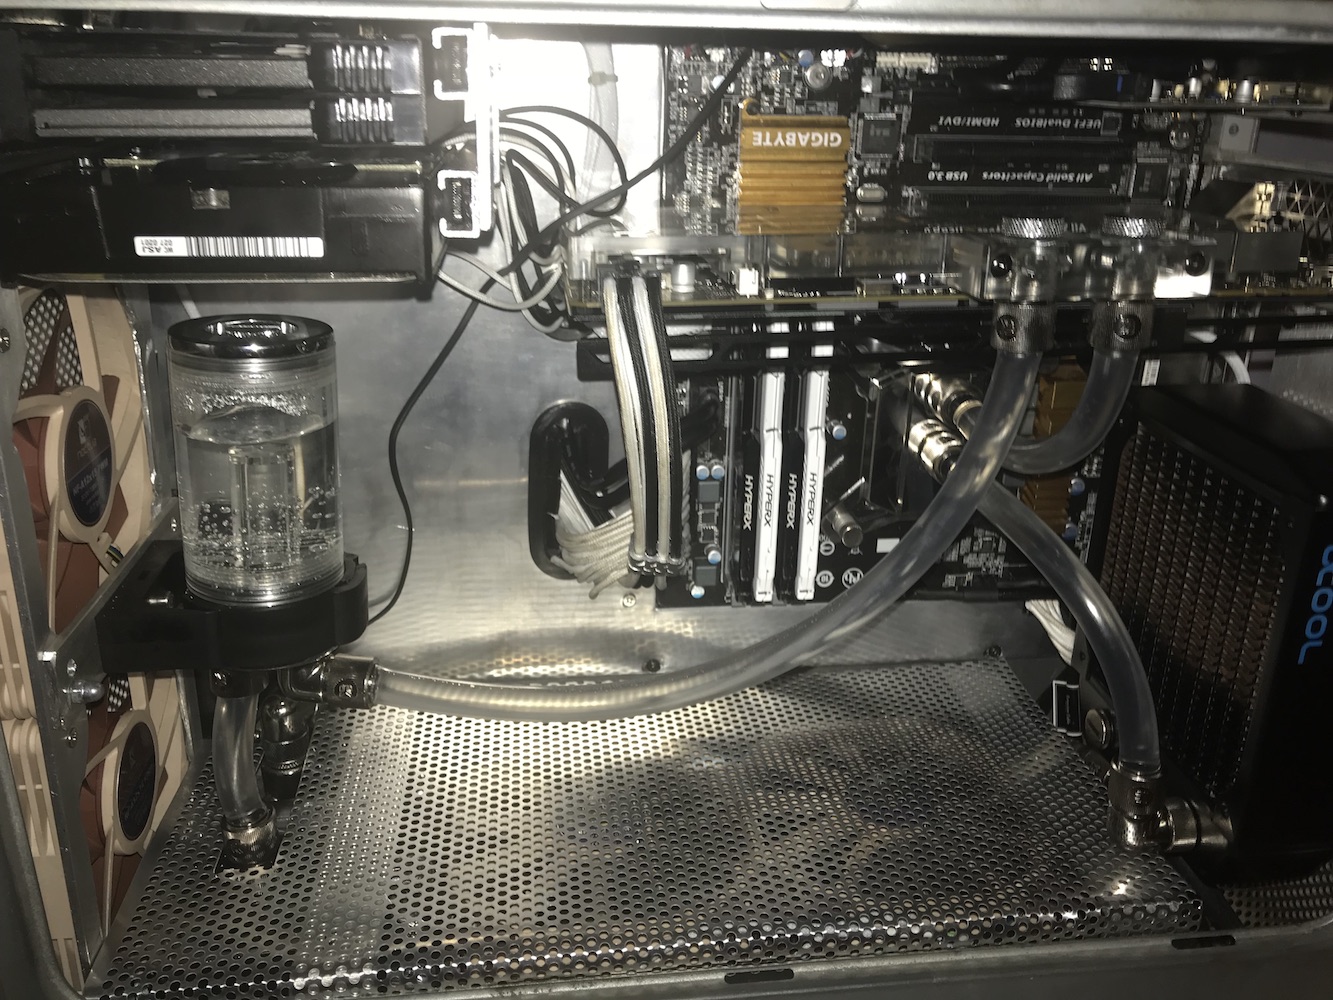
- Motherboard
- Gigabyte z370 Designare
- CPU
- i7-8700k
- Graphics
- RX 5700 XT
- Mac
- Classic Mac
- Mobile Phone
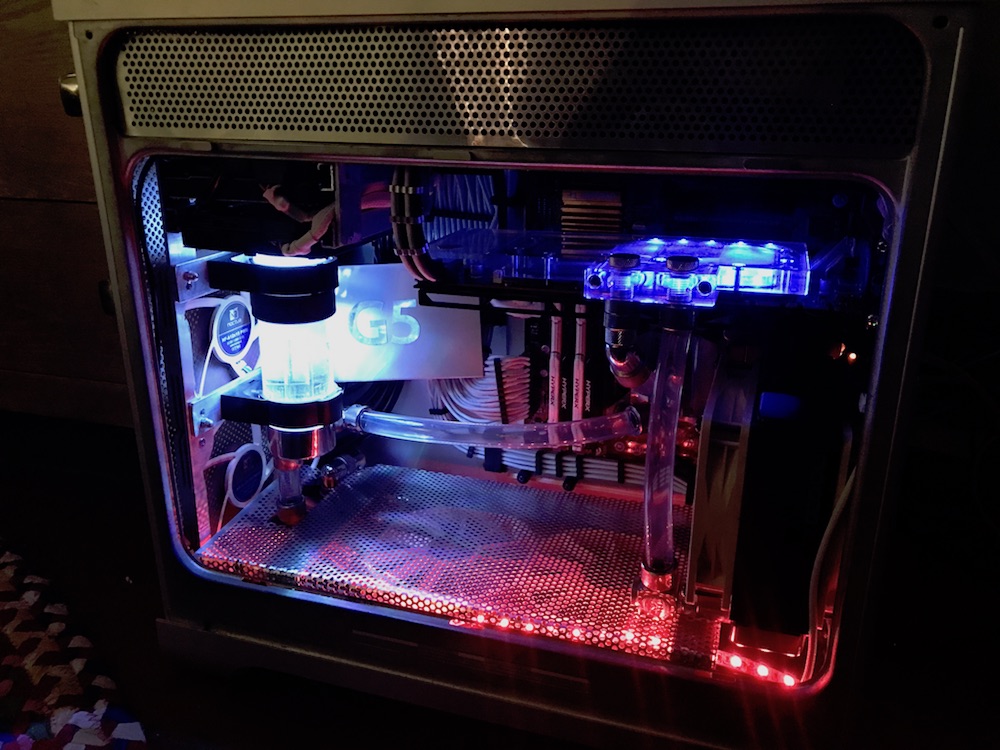
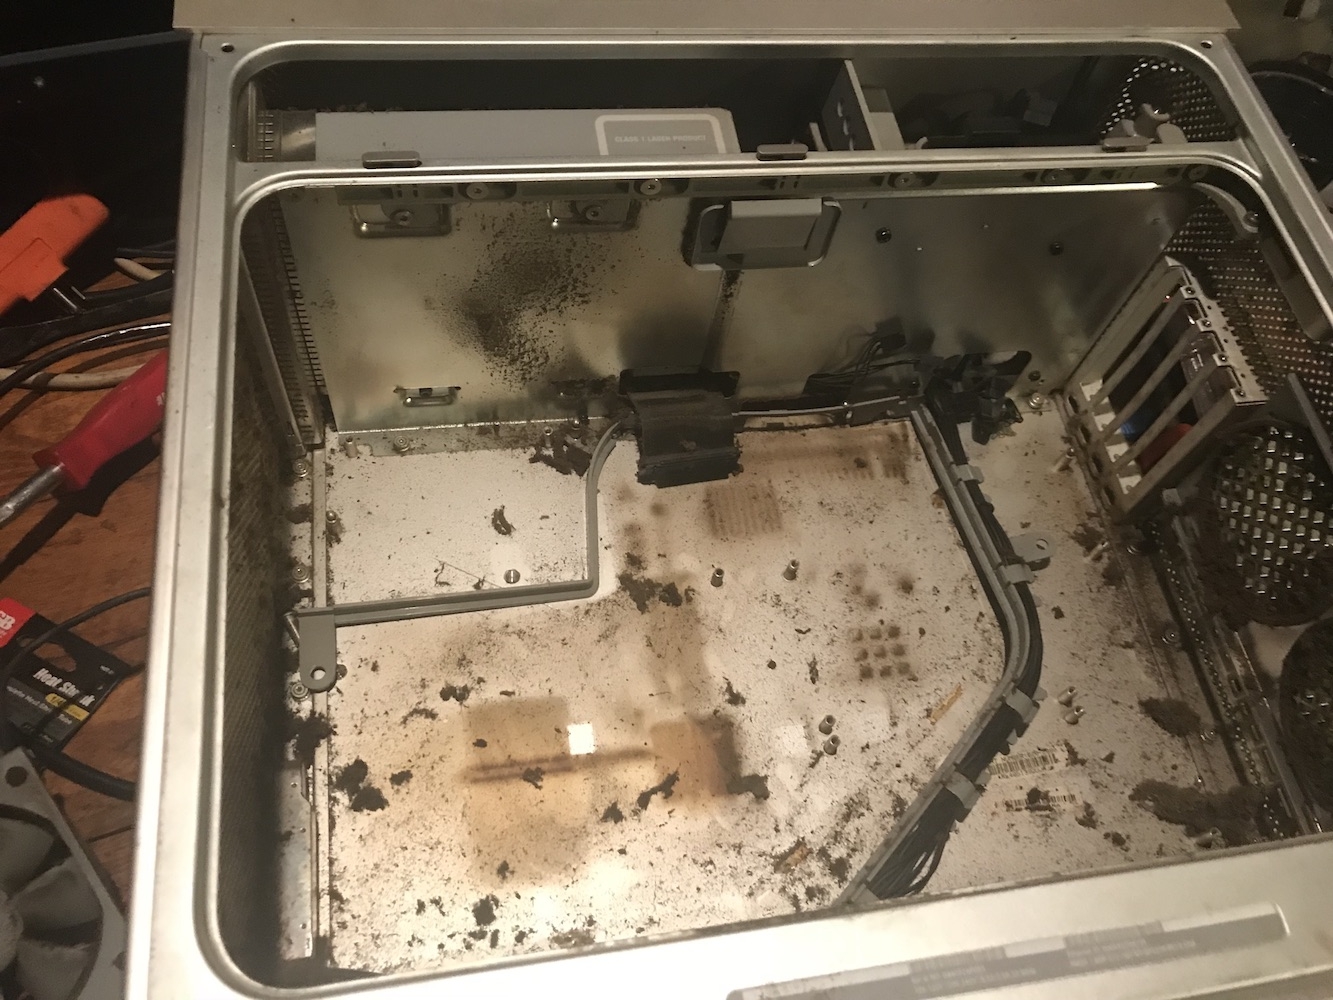
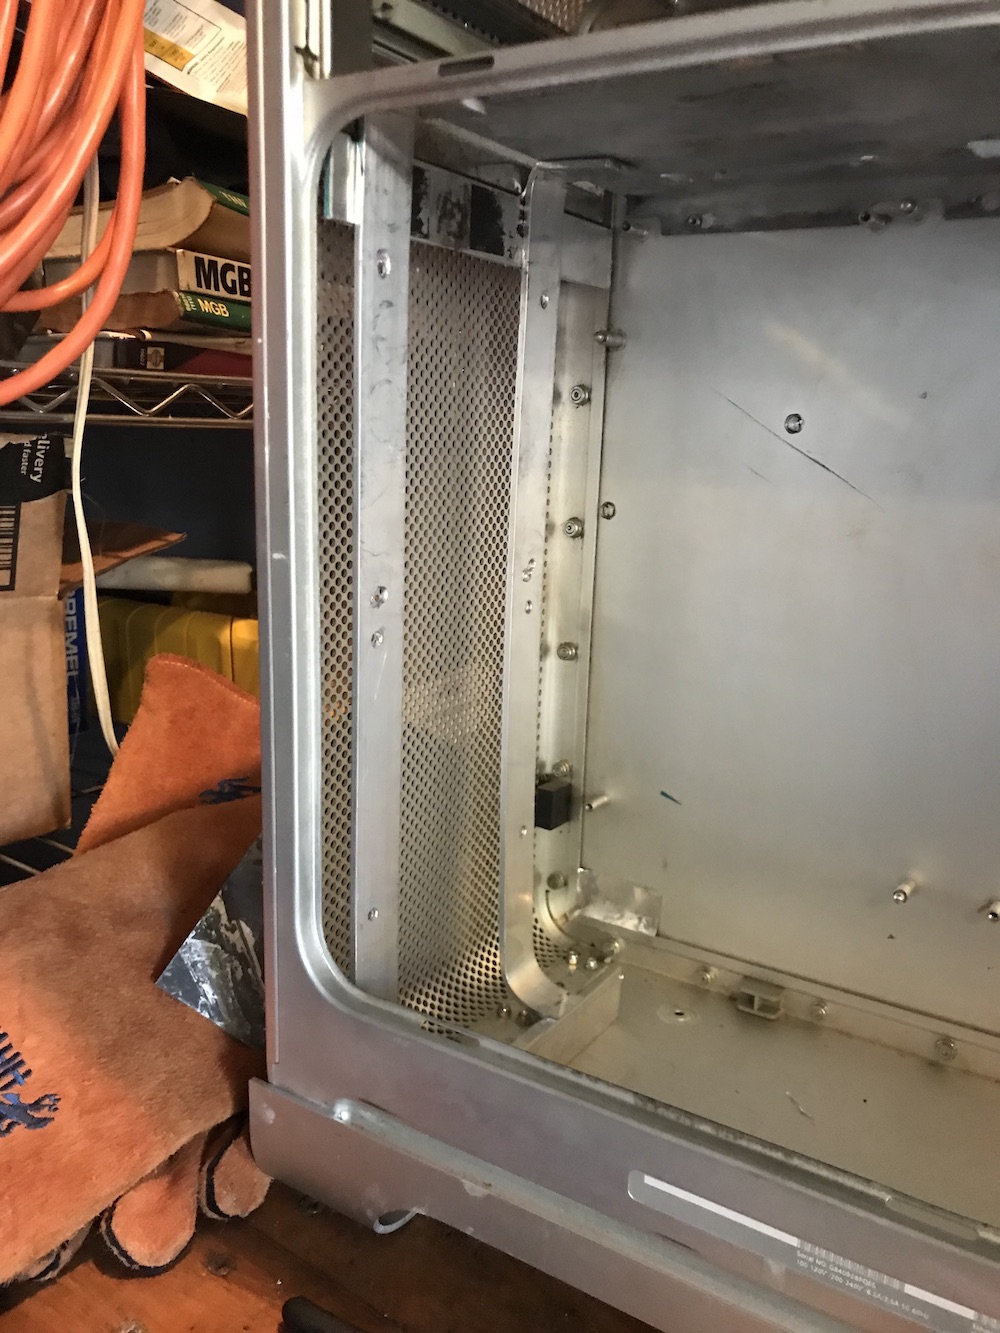
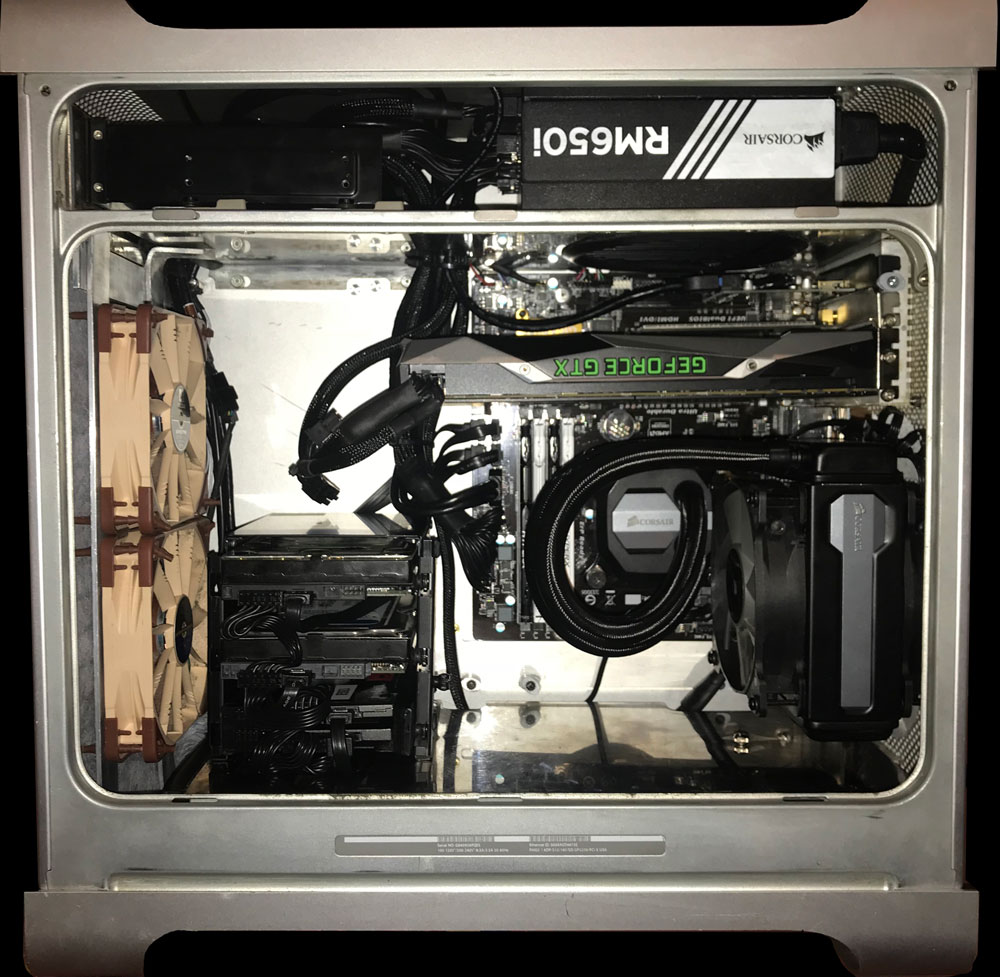
I figured I'd finally post this as it's getting close to finished. I got my old G5 back from my mother. I gave it to her around the time I made my first hackentosh. Man this thing has some history! I can say that it kick started my career in digital media, as it was the computer I had when I finished my undergrad and went freelance. My mother had used it to learn video editing in Final Cut. The computer would not start and when power up it would go into wind vortex mode. The one time I got into a HW test one of the temp sensors was reporting 2000f.
It was also a little dirty
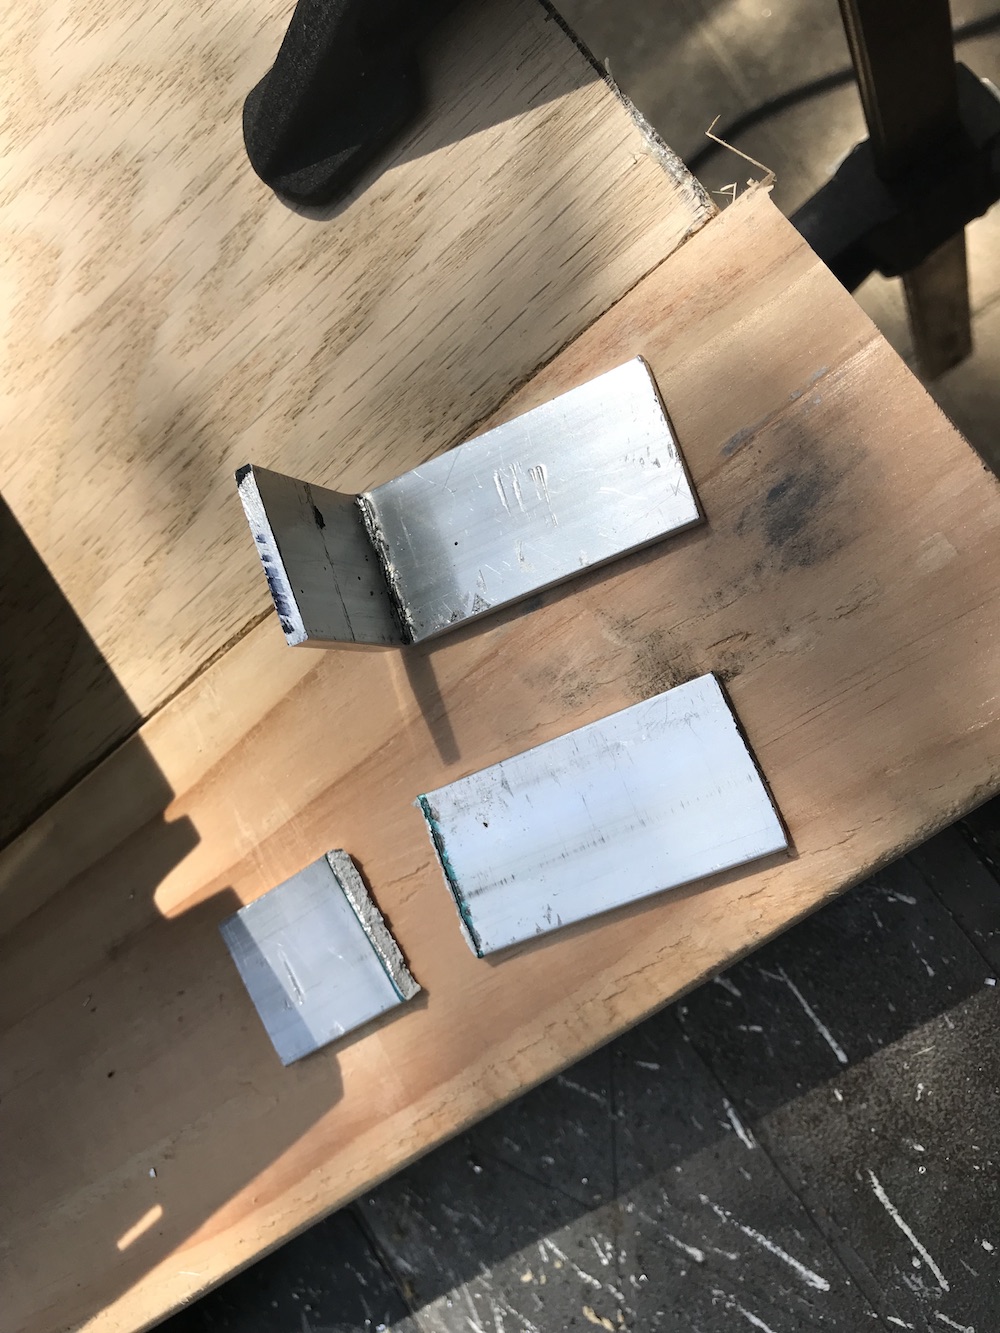
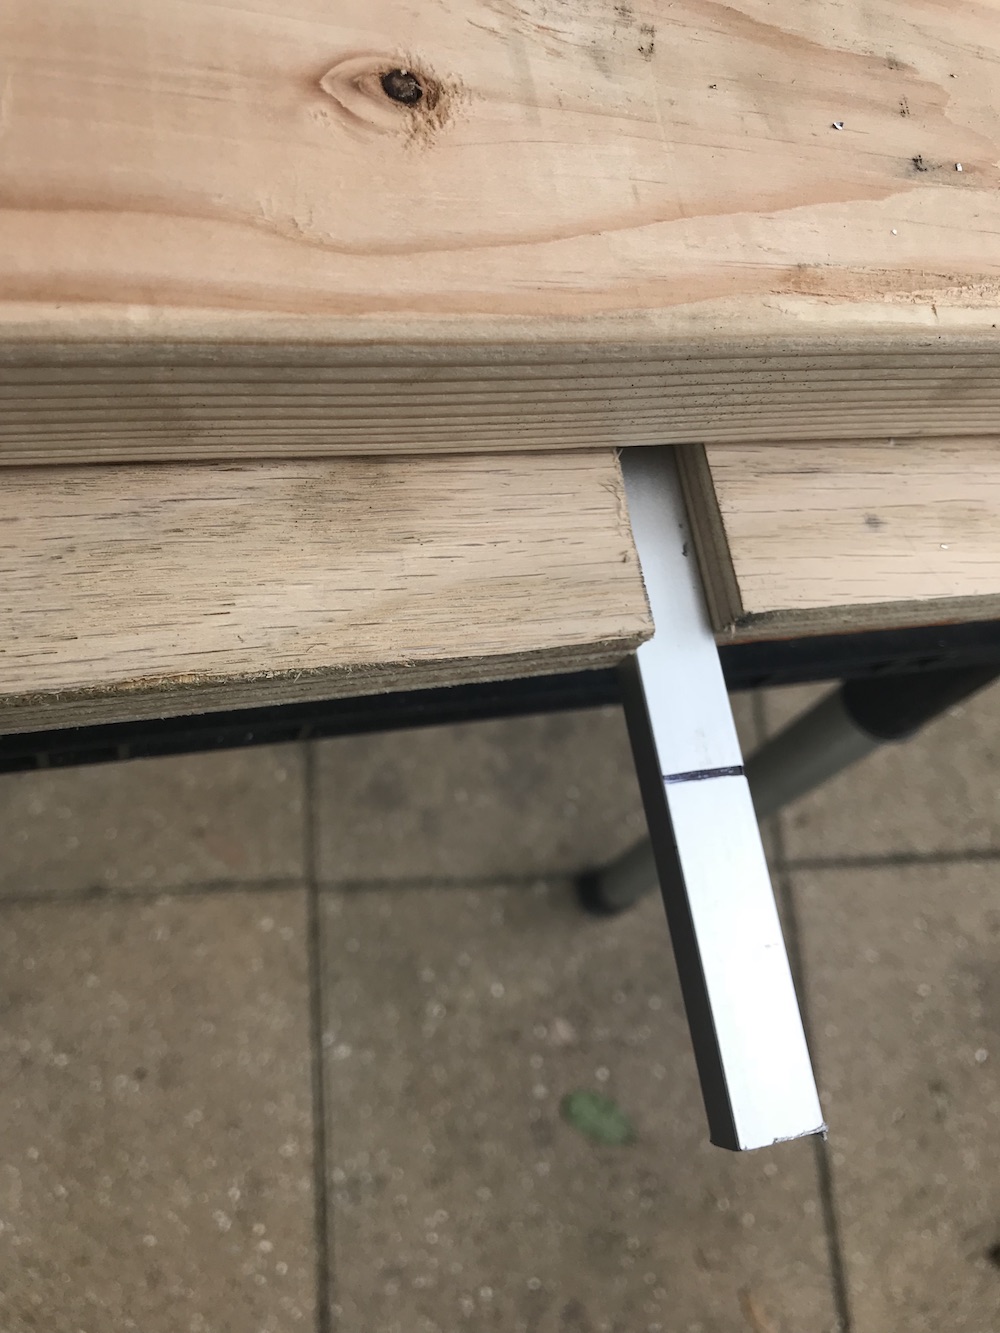
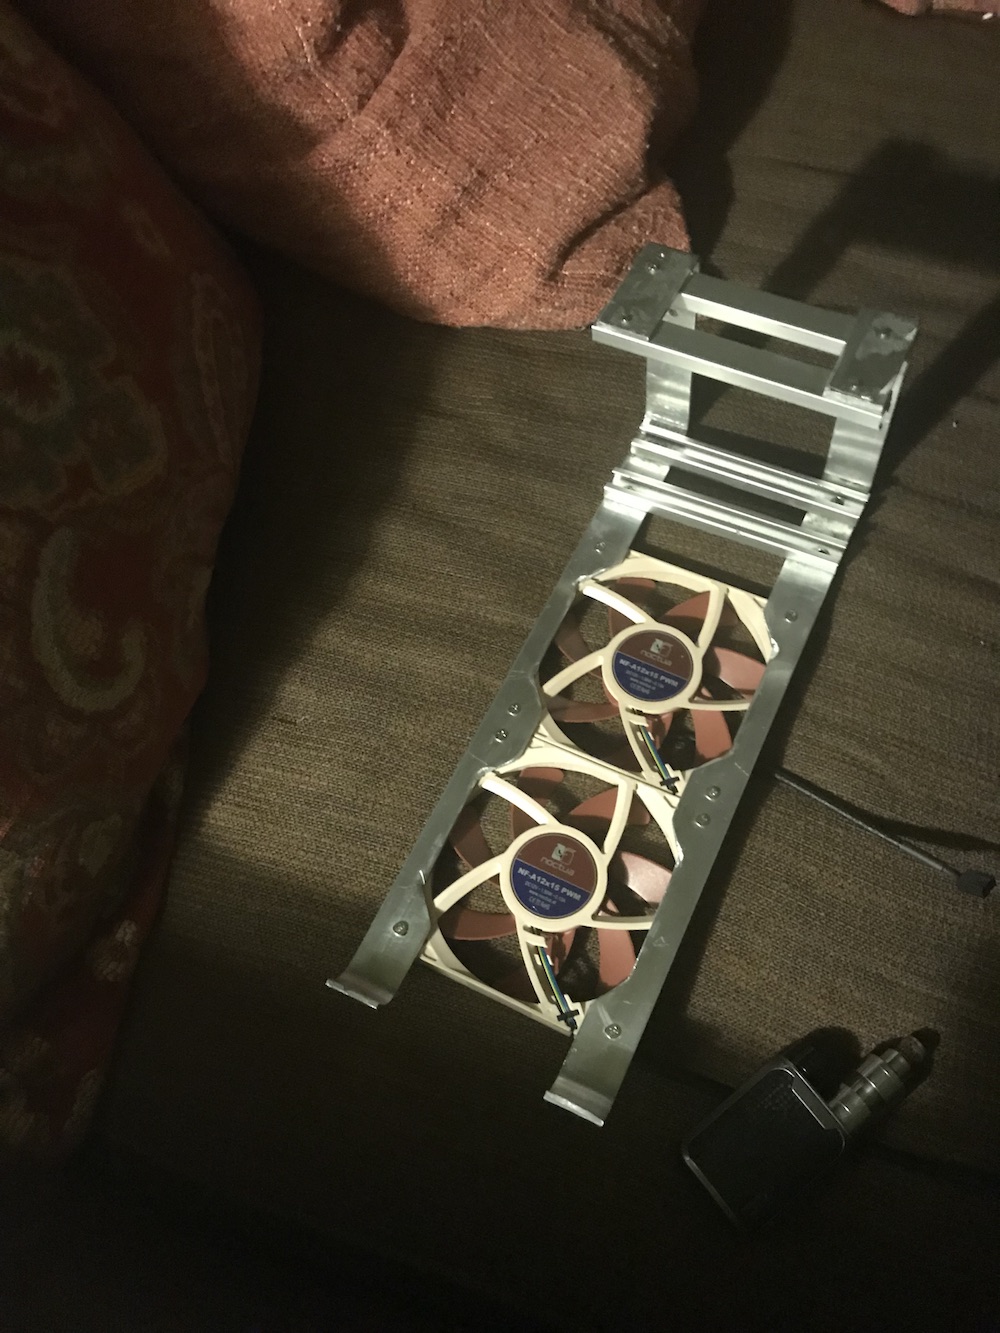
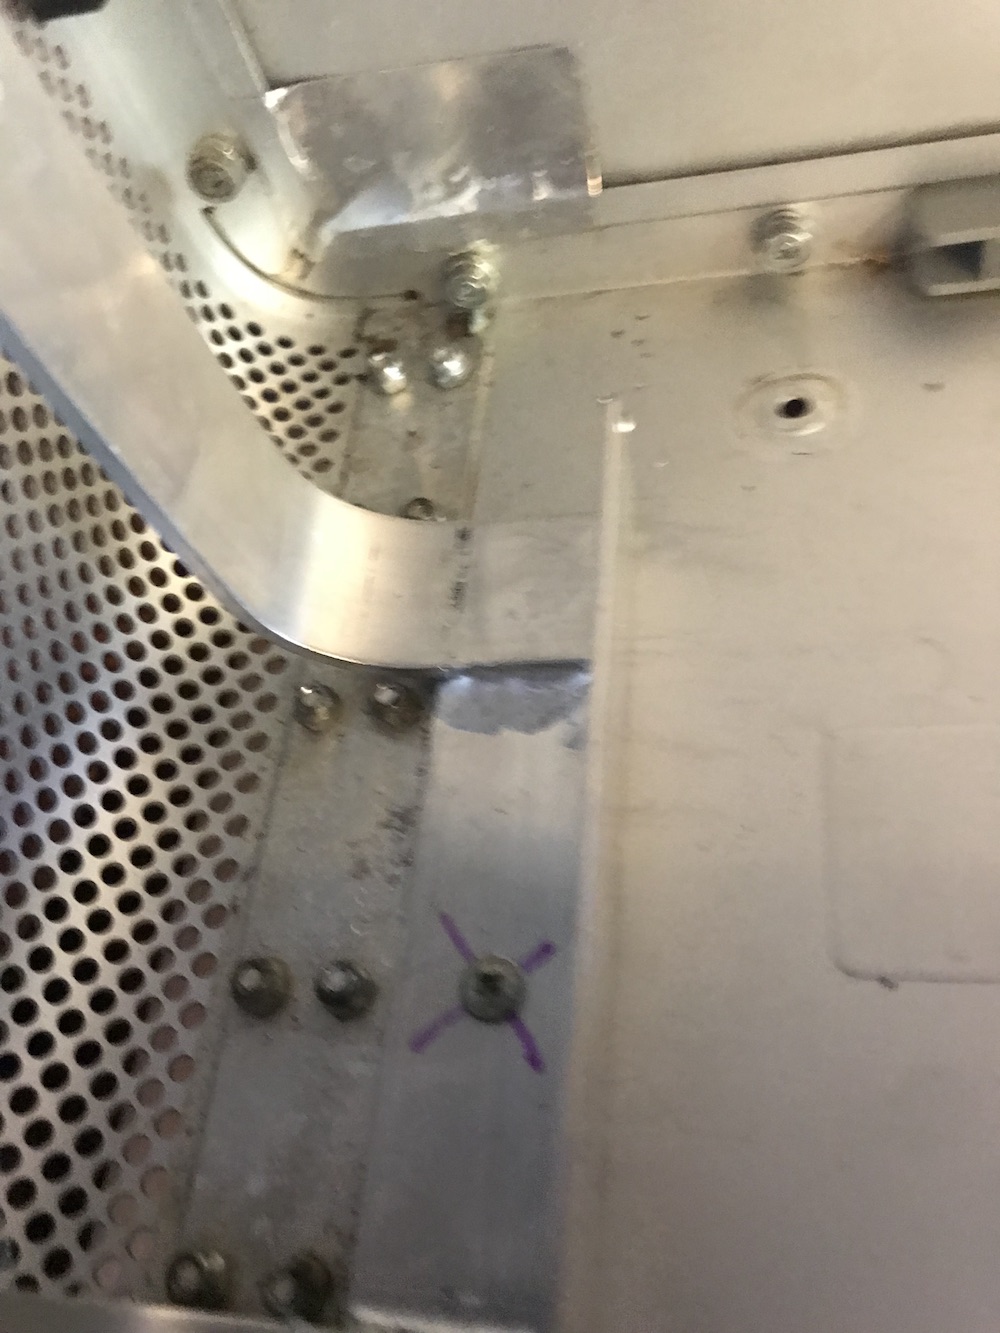
I stripped it down and created this fan bracket out of some 1/8 x 1 aluminum bar
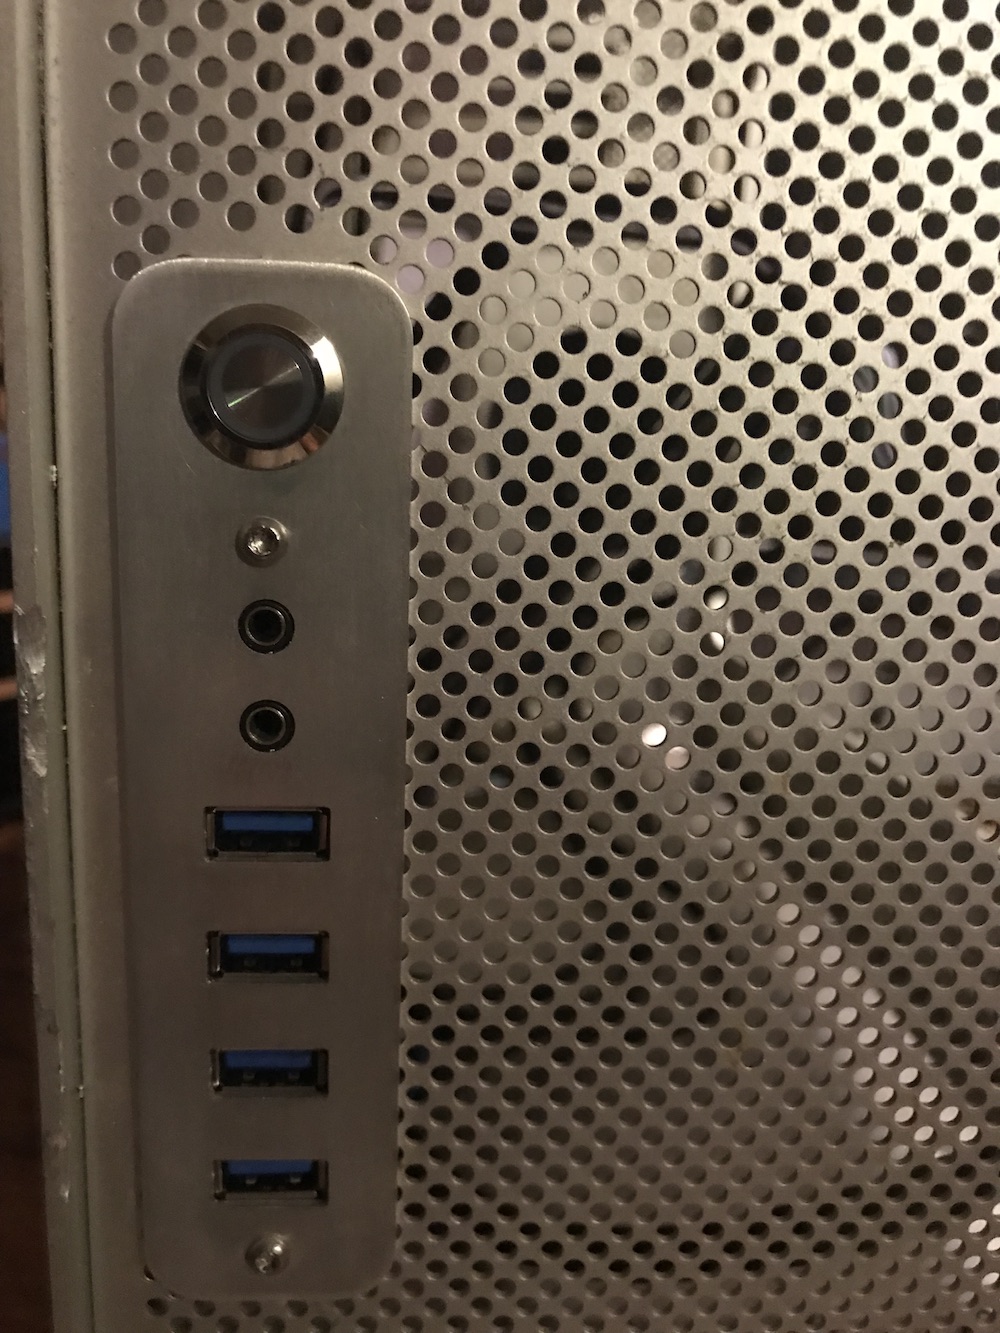
Right when I got the case from my mother, I ordered the front panel IO and mATX 120 kit from Laser Hive. I did have to buy a PCI-E usb 3.0 header card. See link below if you are looking for something that is plug and play
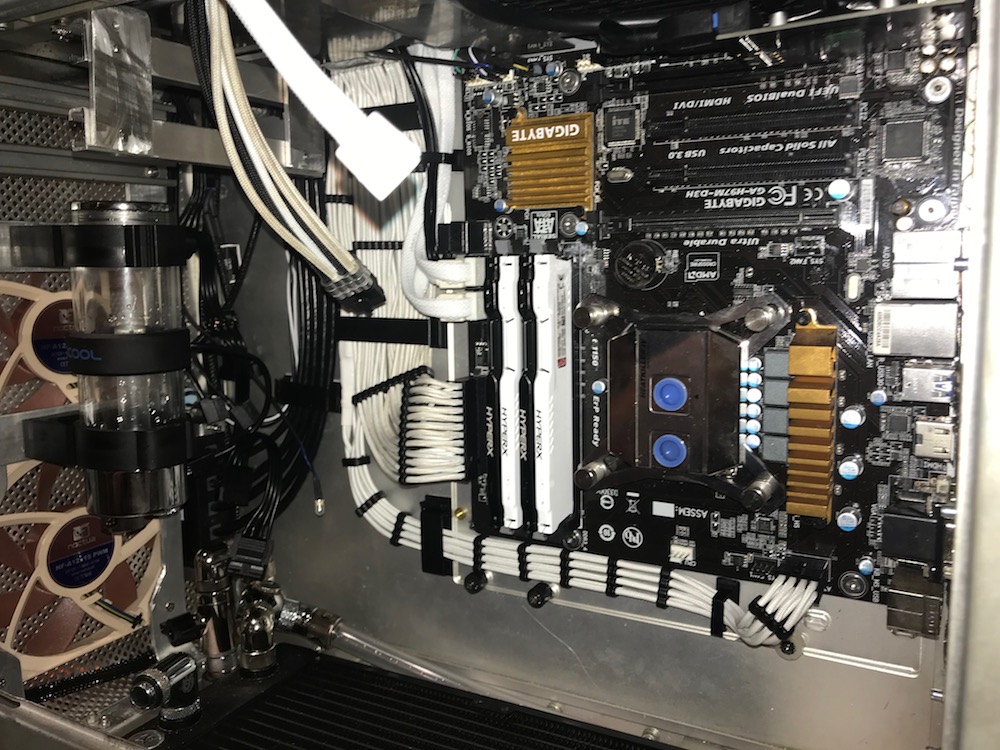
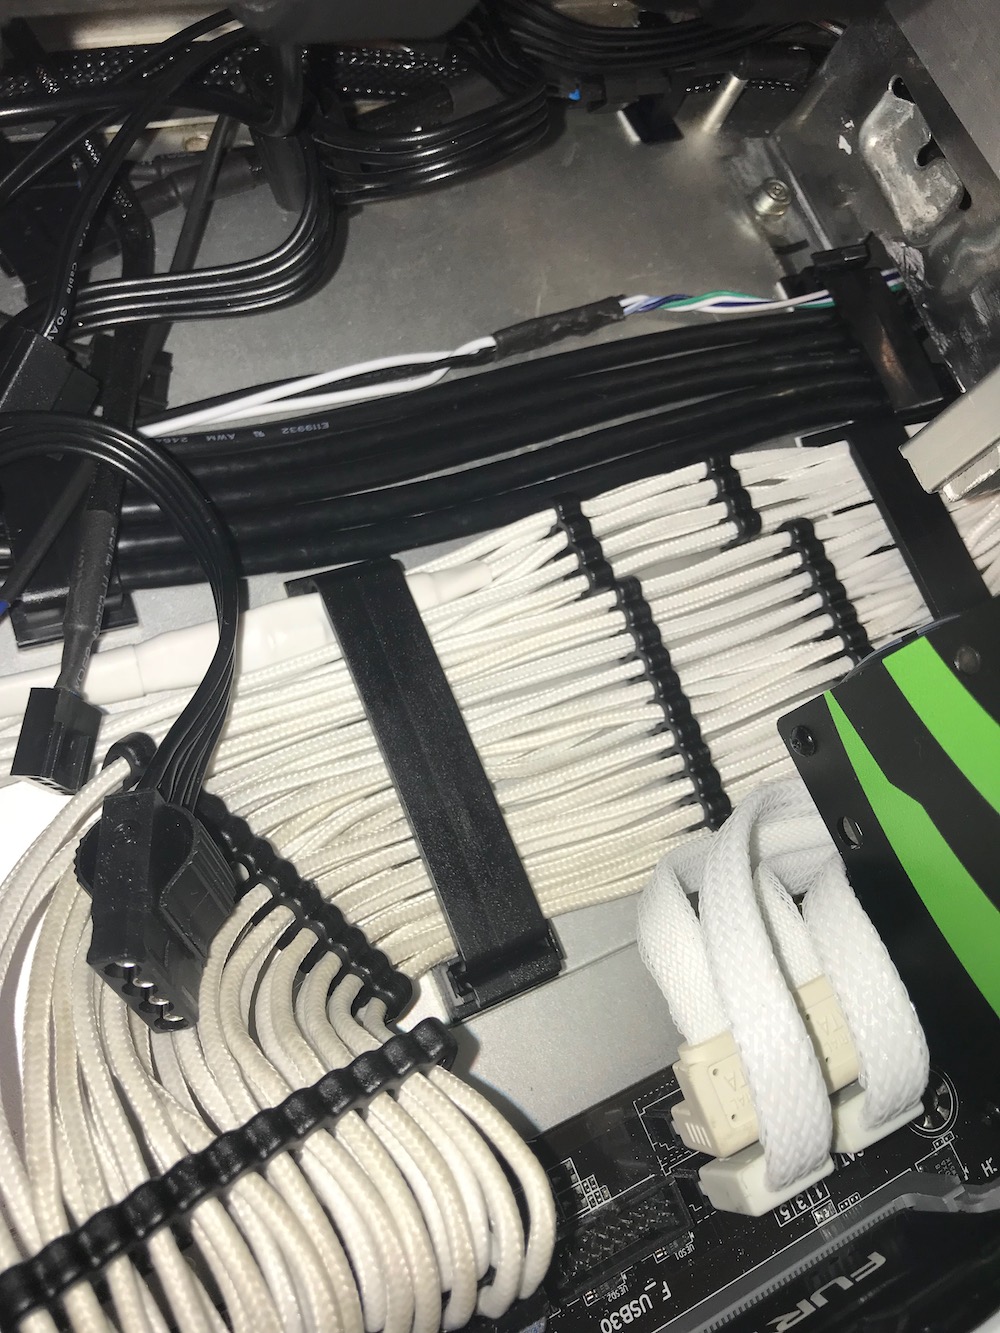
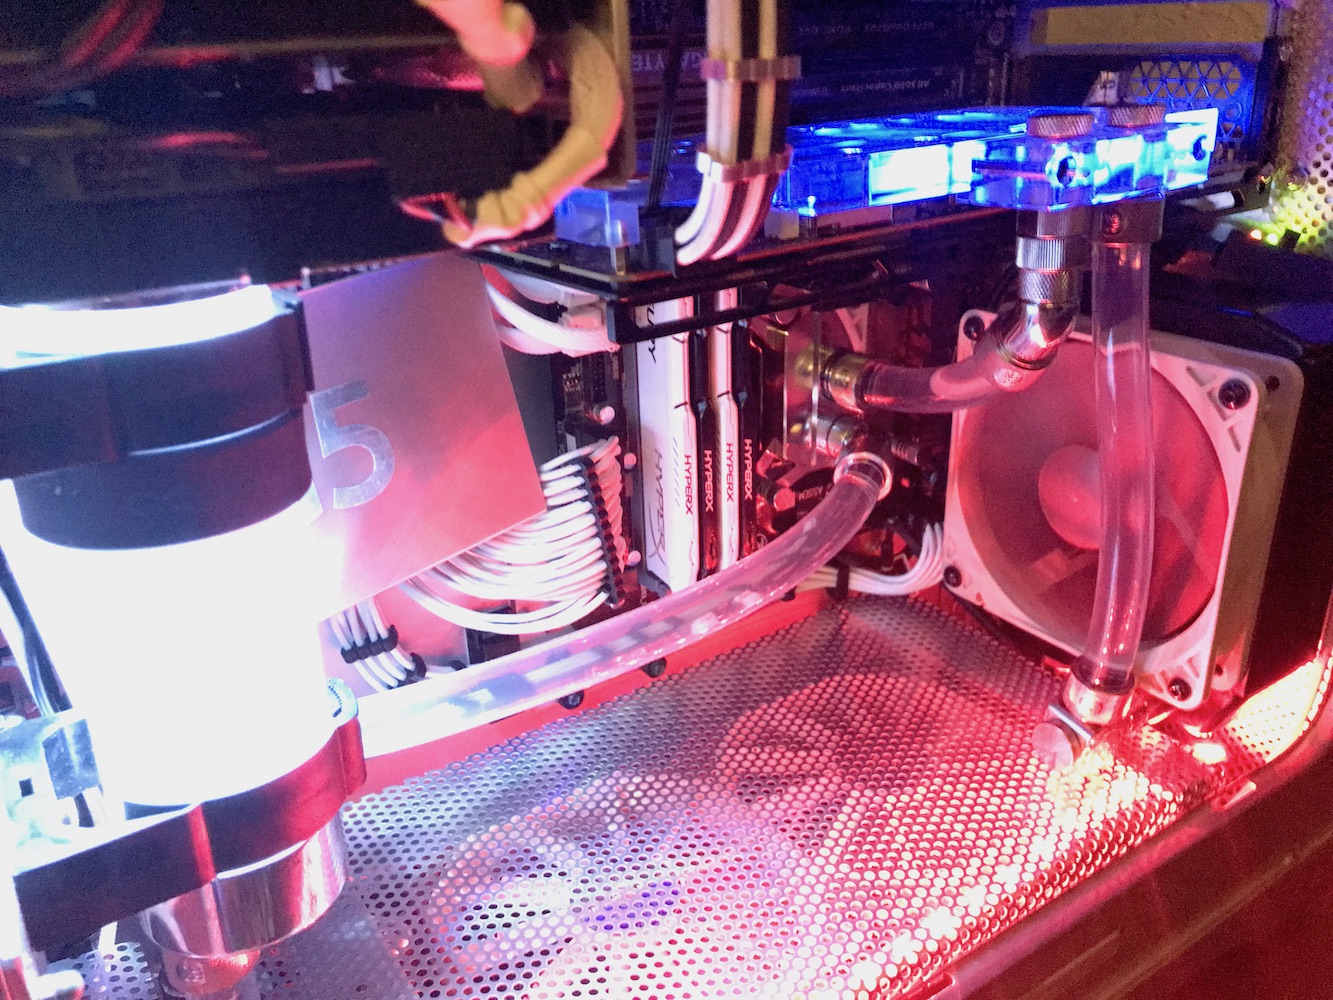
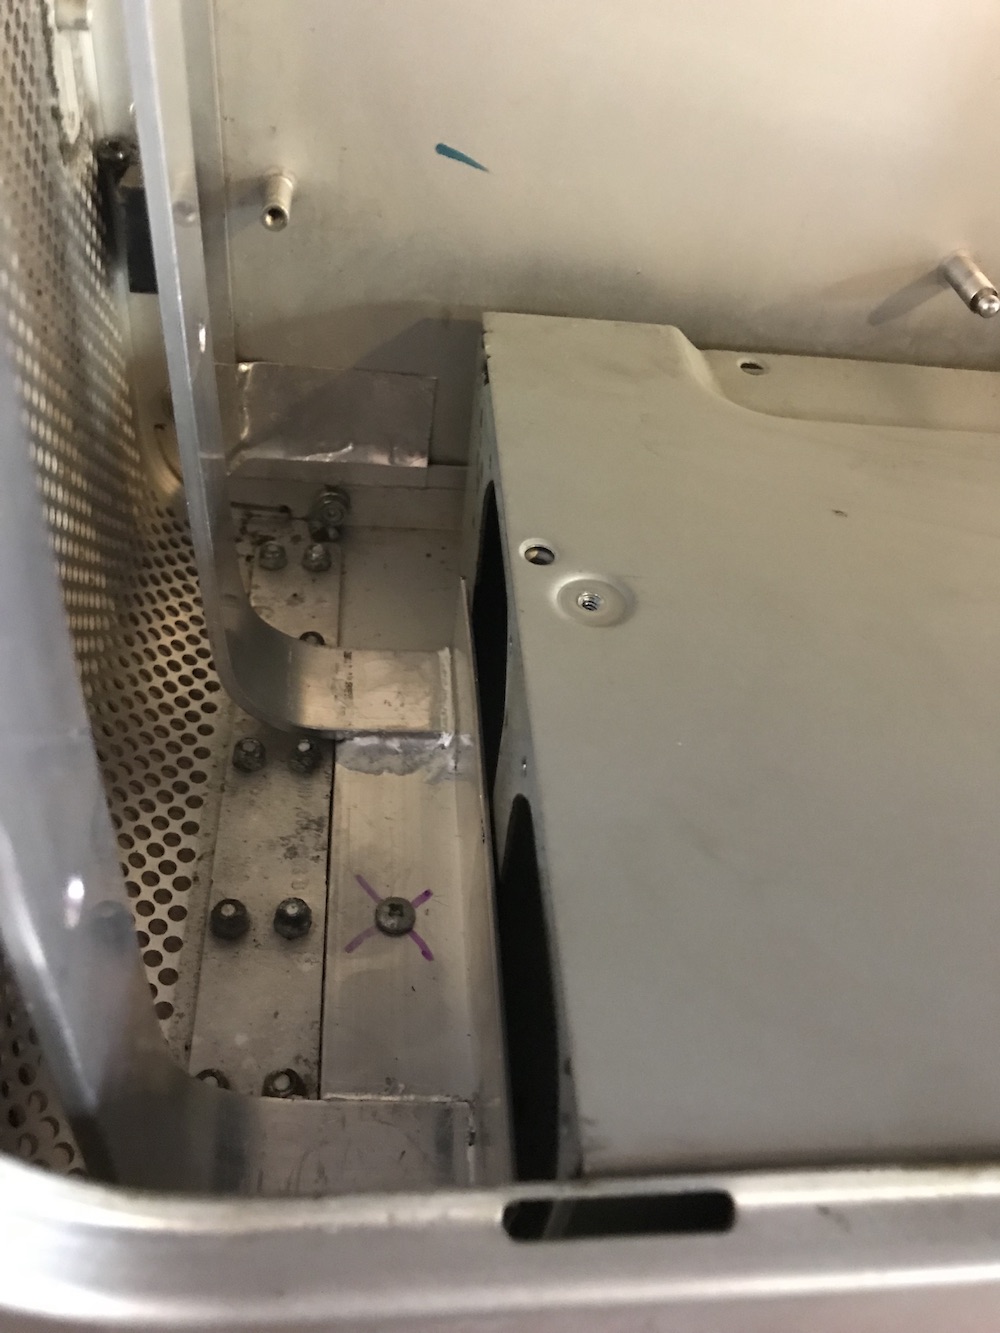
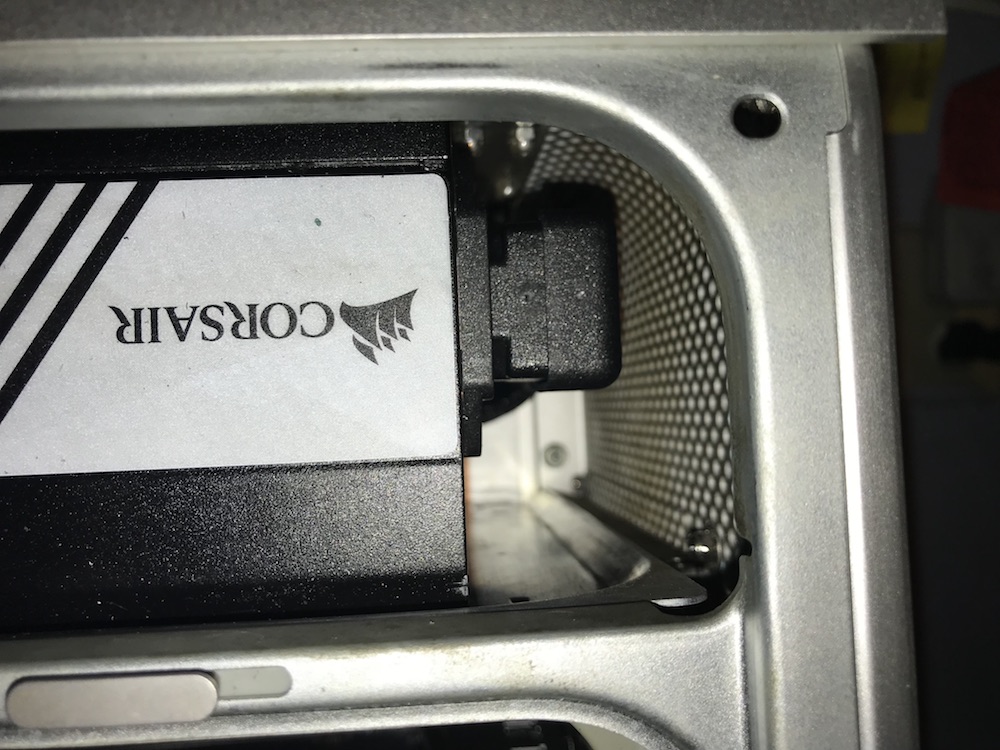
Power supply goes up top attached to a long sleeved wire. I had some think sleeving left over from making grounds for my car
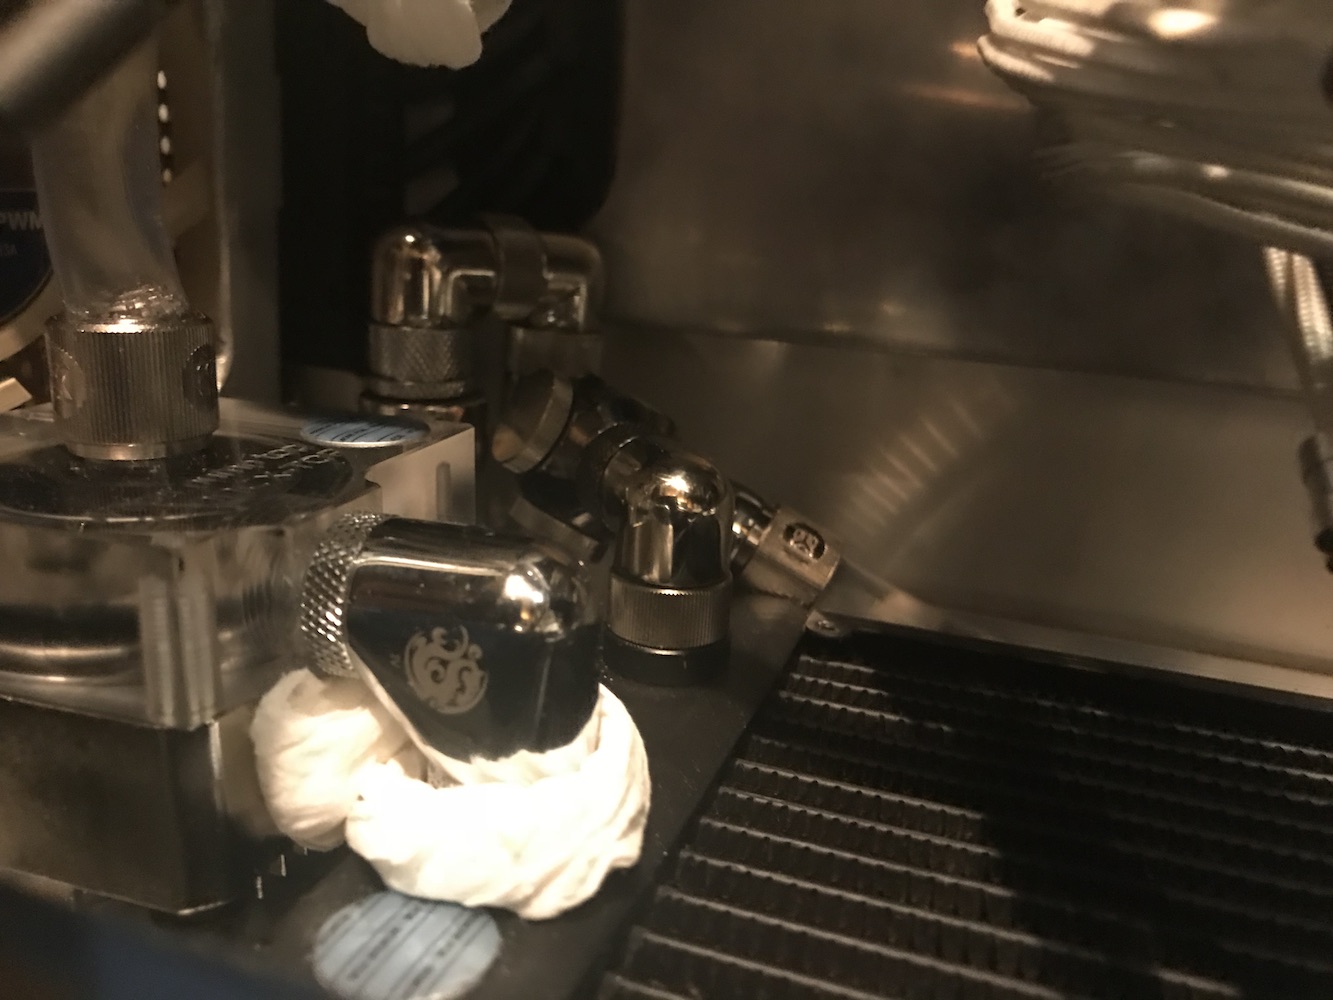
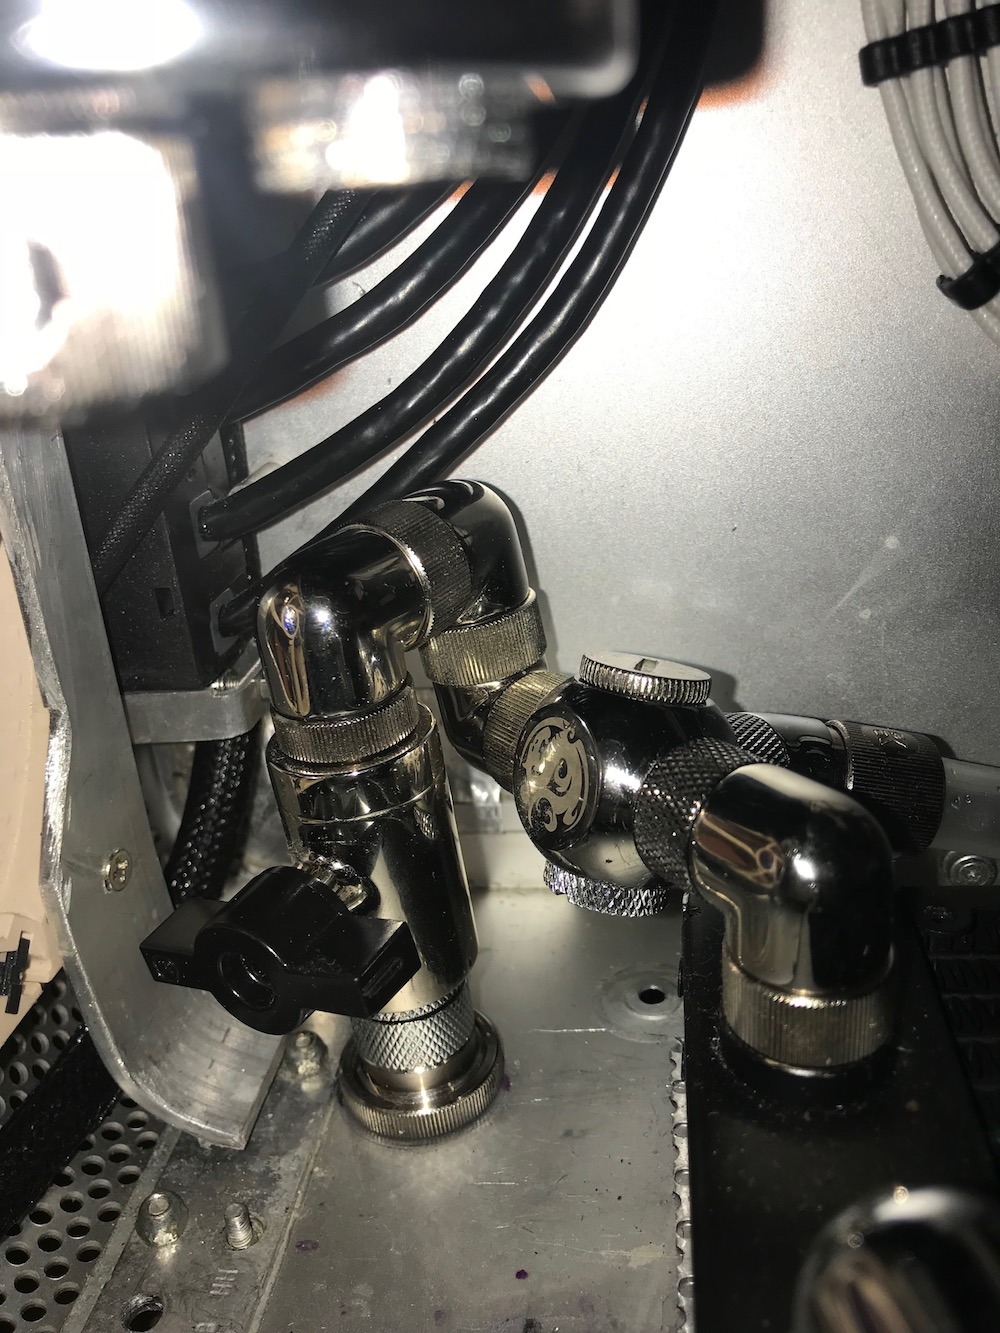
the 90 degree power connector is needed here
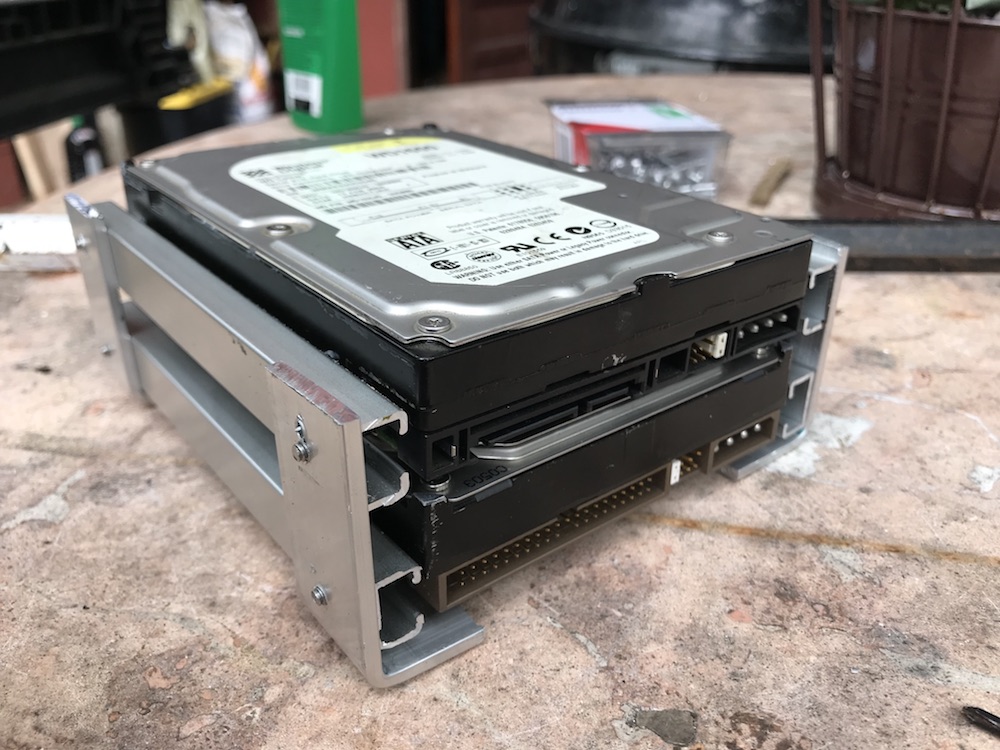
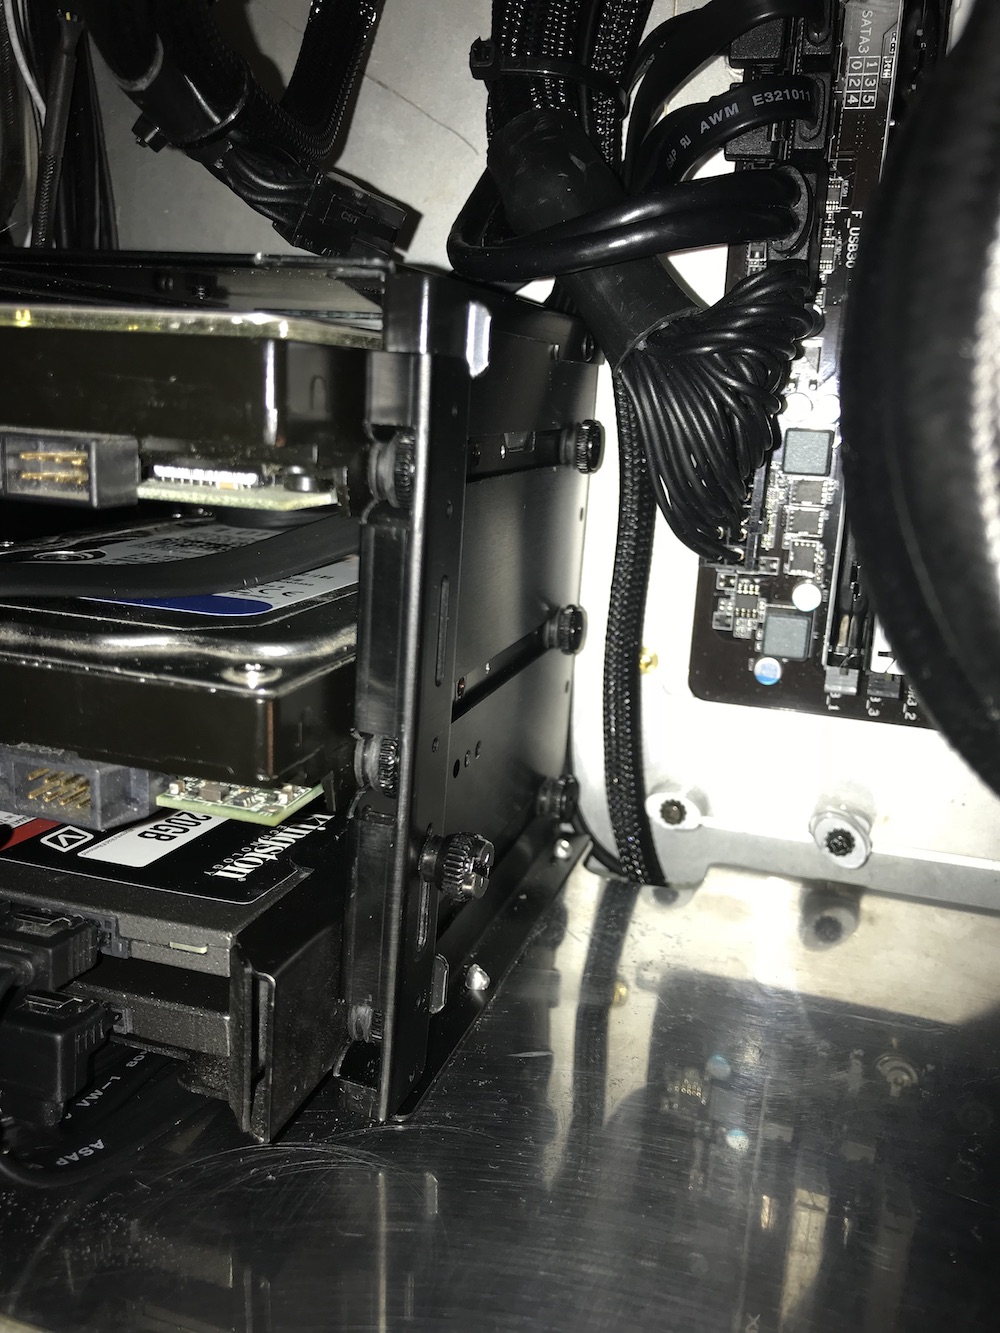
I grabbed a Lian Li HD rack from Performance-PCs. Turns out they are about 100 miles from me, so shipping is quick, sometimes quicker than Amazon. All of the components were in my TJ08-E, which is also a right sided case. Here is the first iteration
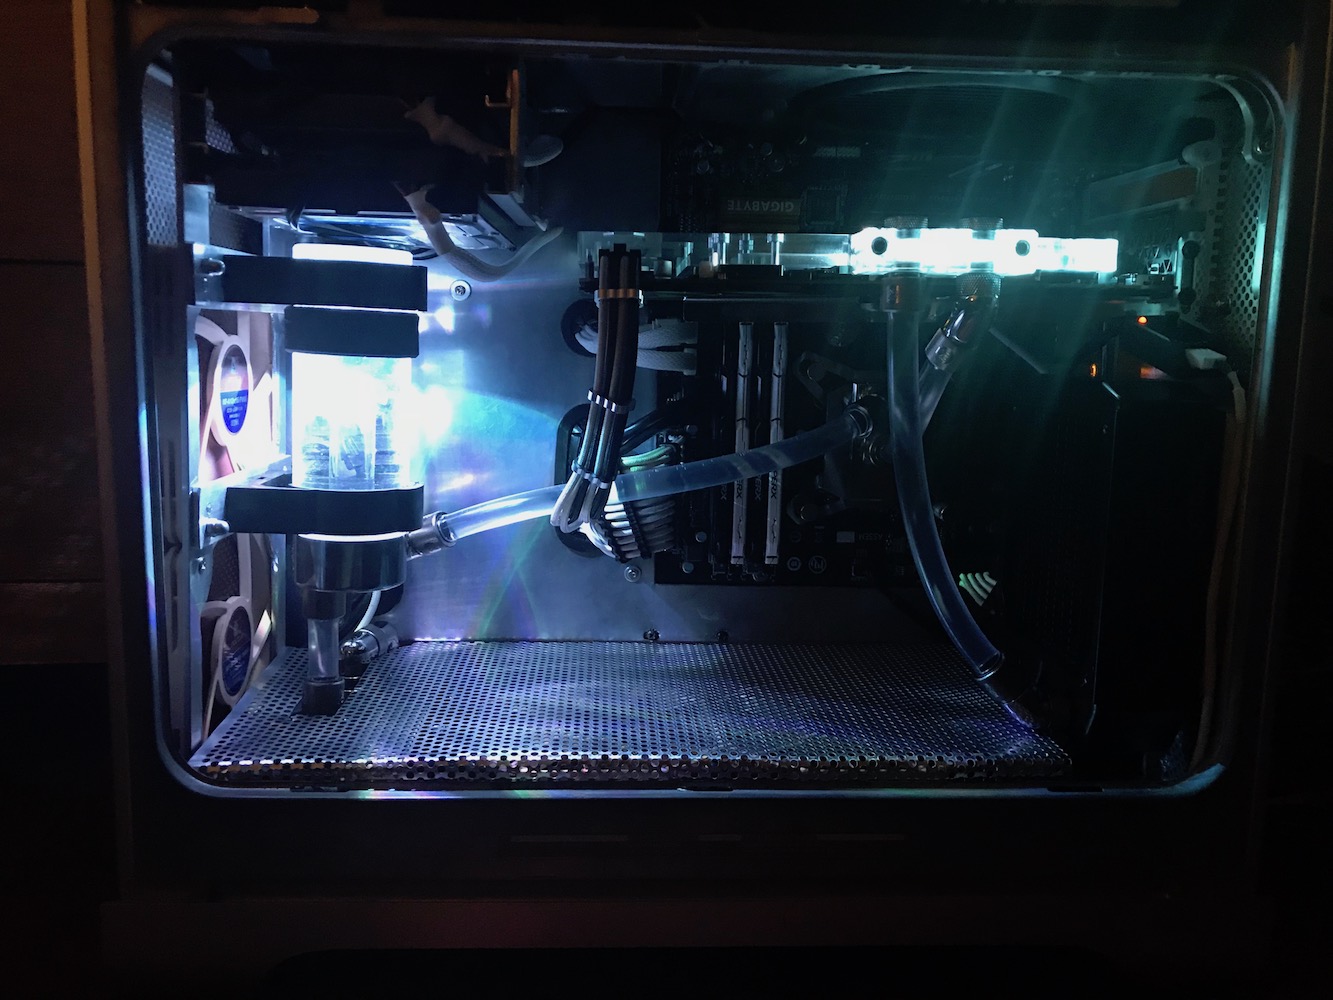
But that's just the start. More coming soon
parts purchased
It was also a little dirty
I stripped it down and created this fan bracket out of some 1/8 x 1 aluminum bar
Right when I got the case from my mother, I ordered the front panel IO and mATX 120 kit from Laser Hive. I did have to buy a PCI-E usb 3.0 header card. See link below if you are looking for something that is plug and play

Power supply goes up top attached to a long sleeved wire. I had some think sleeving left over from making grounds for my car

the 90 degree power connector is needed here
I grabbed a Lian Li HD rack from Performance-PCs. Turns out they are about 100 miles from me, so shipping is quick, sometimes quicker than Amazon. All of the components were in my TJ08-E, which is also a right sided case. Here is the first iteration
But that's just the start. More coming soon
parts purchased
- http://www.performance-pcs.com/lian...3x3-3-x-3-5-hdd-extension-cage-all-black.html
- https://www.homedepot.com/p/Everbil...m-Flat-Bar-with-1-8-in-Thick-801937/204273949
- Laser Hive stuff https://www.thelaserhive.com/
- https://www.amazon.com/gp/product/B01G85LFEK/?tag=tonymacx86com-20
- GA-h97m-D3H
- Intel i5 4660
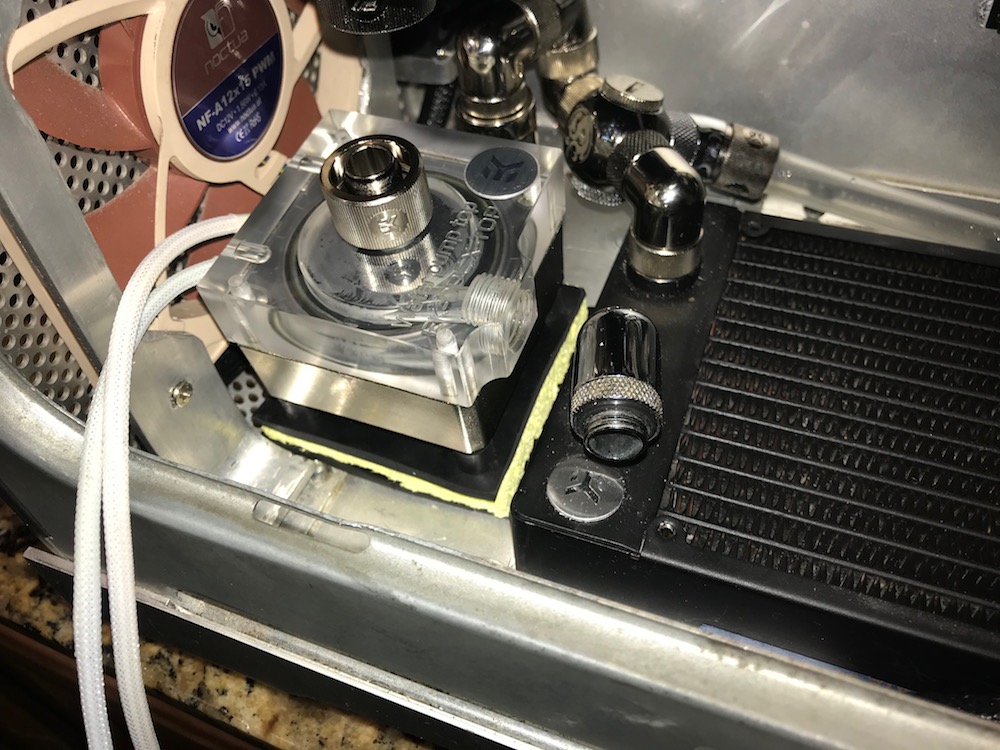
- 2 Noctua NF-P12s
- Corsair h80i gt with the 2 fans
- Nvidia GTX 1080 FE
- Corsair rx650i
- 3 HDDS and 2 SSDs
Last edited: