Contribute
Register

Ersterhernd's NUCiMac G4

Status
Not open for further replies.
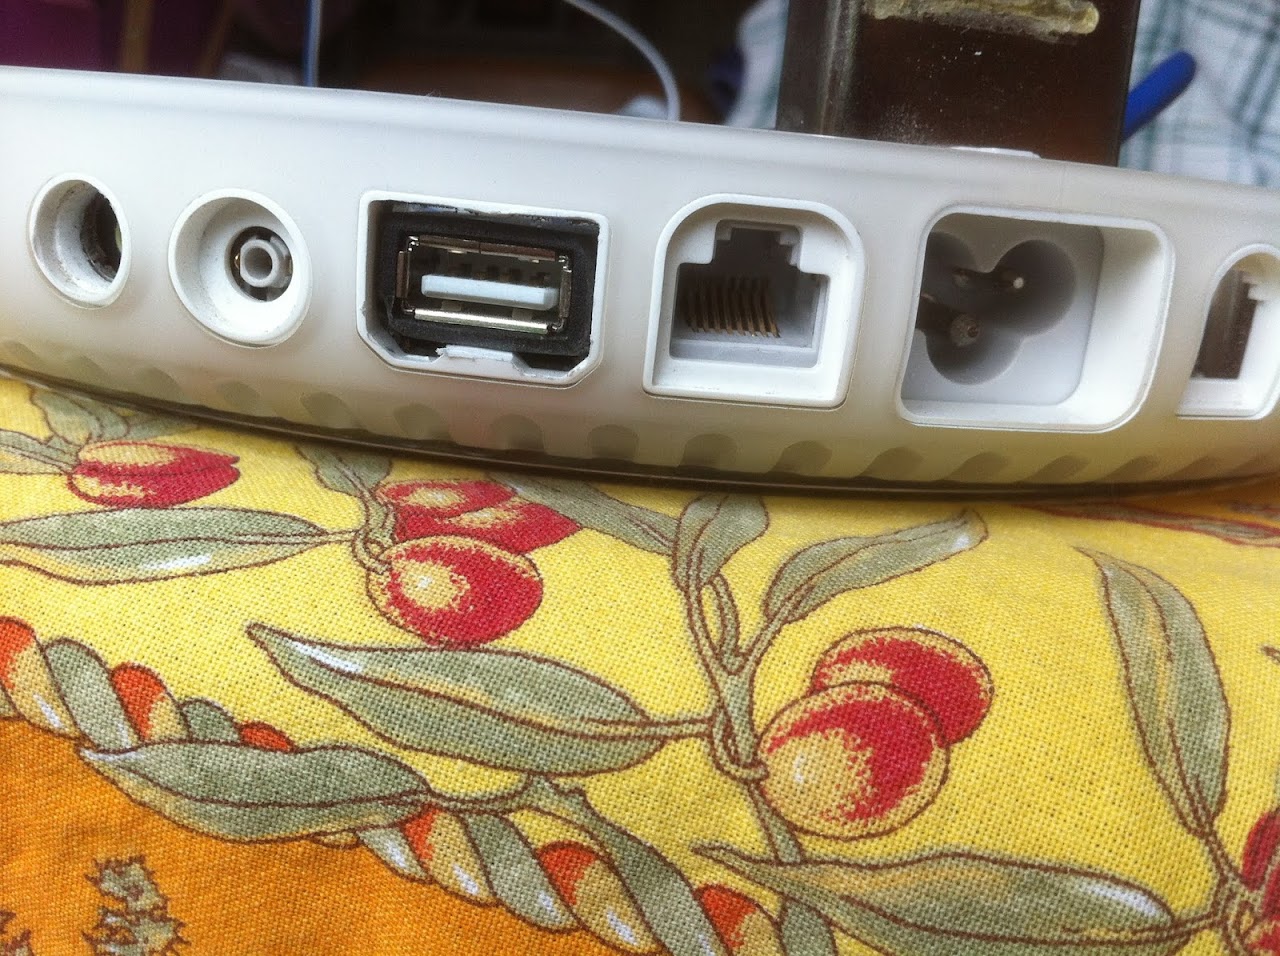
Build Log 8 - Wired Ethernet

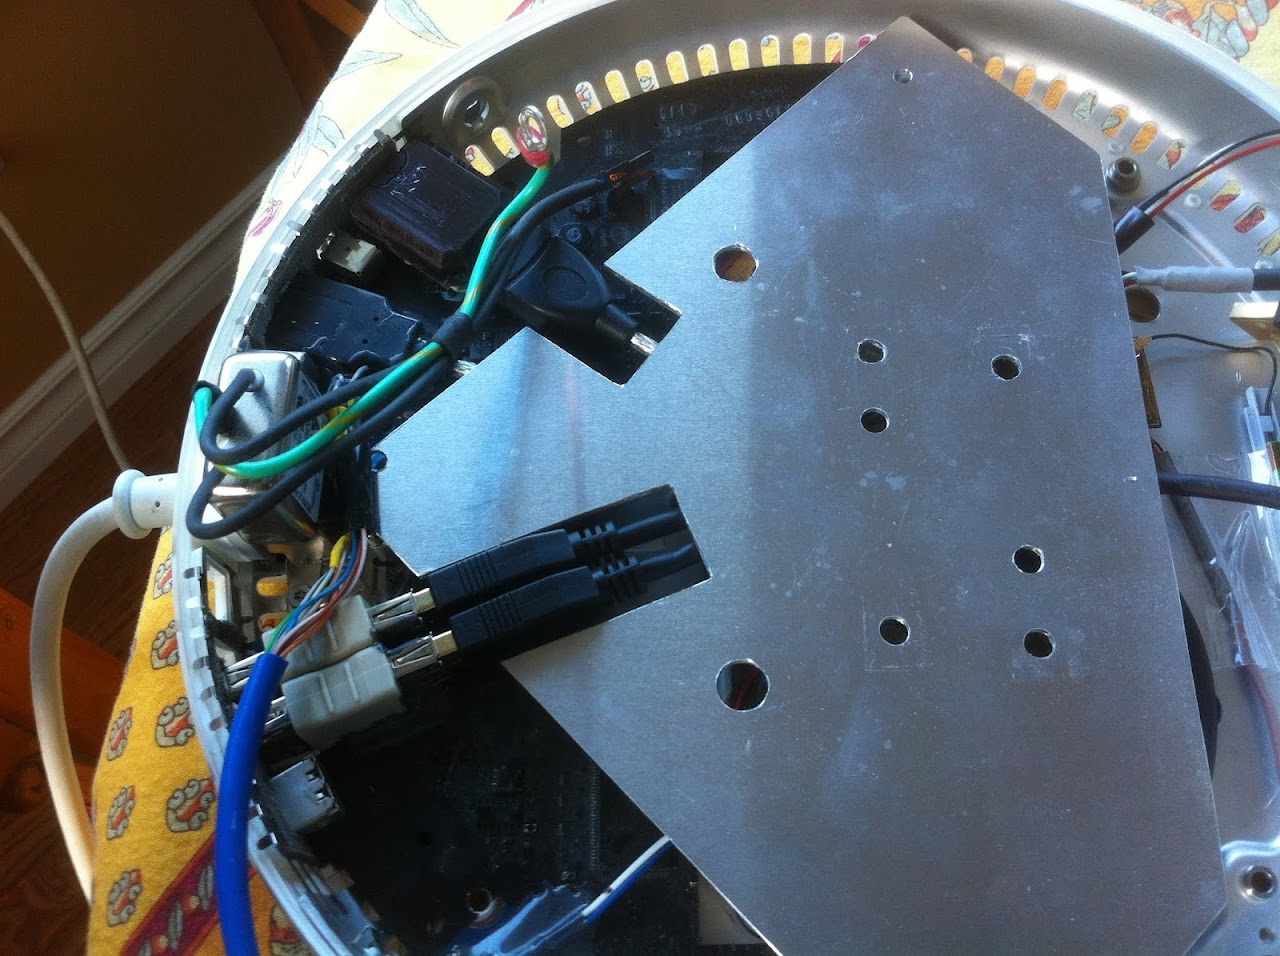
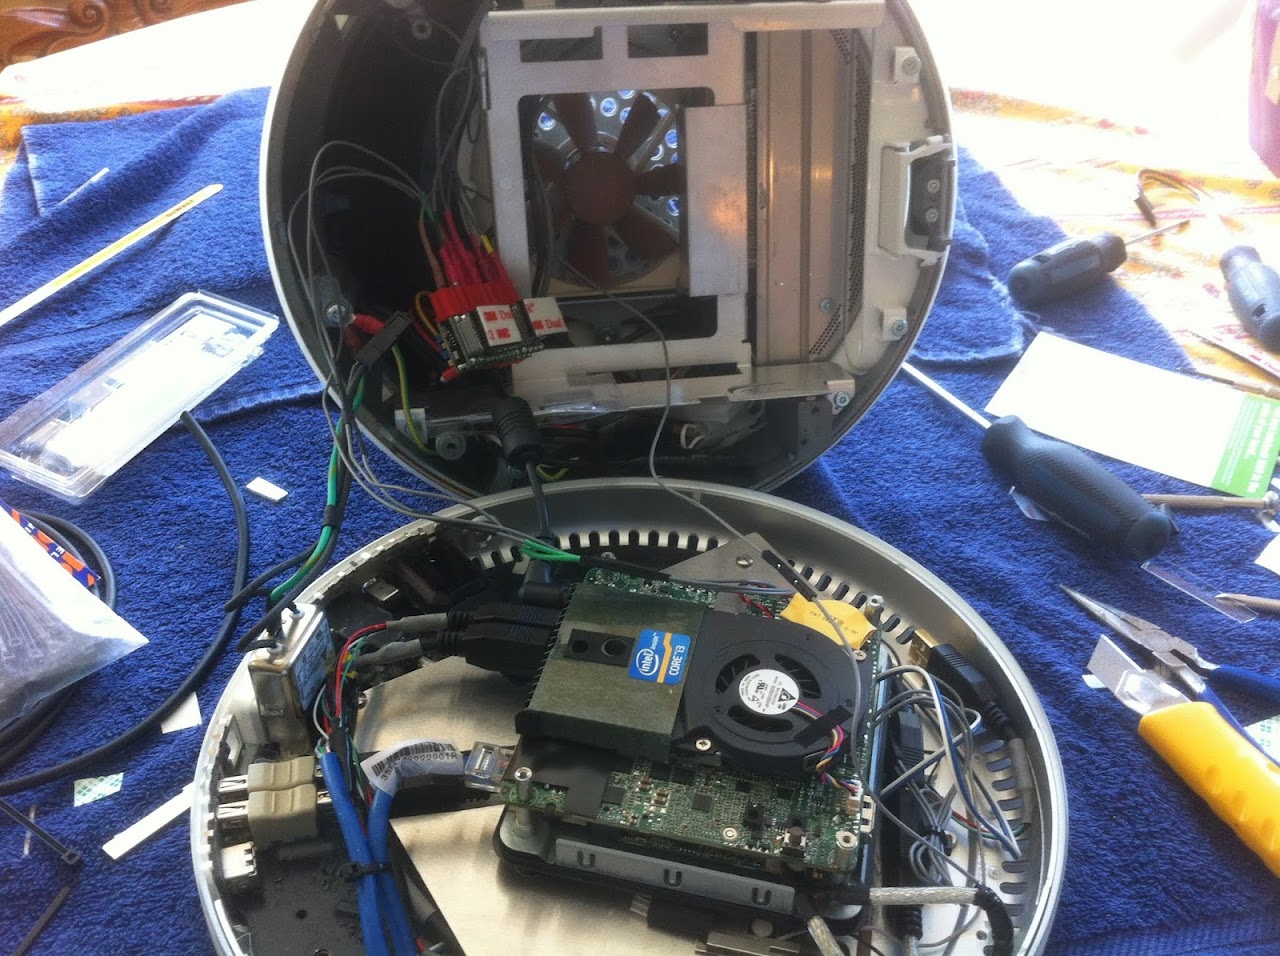
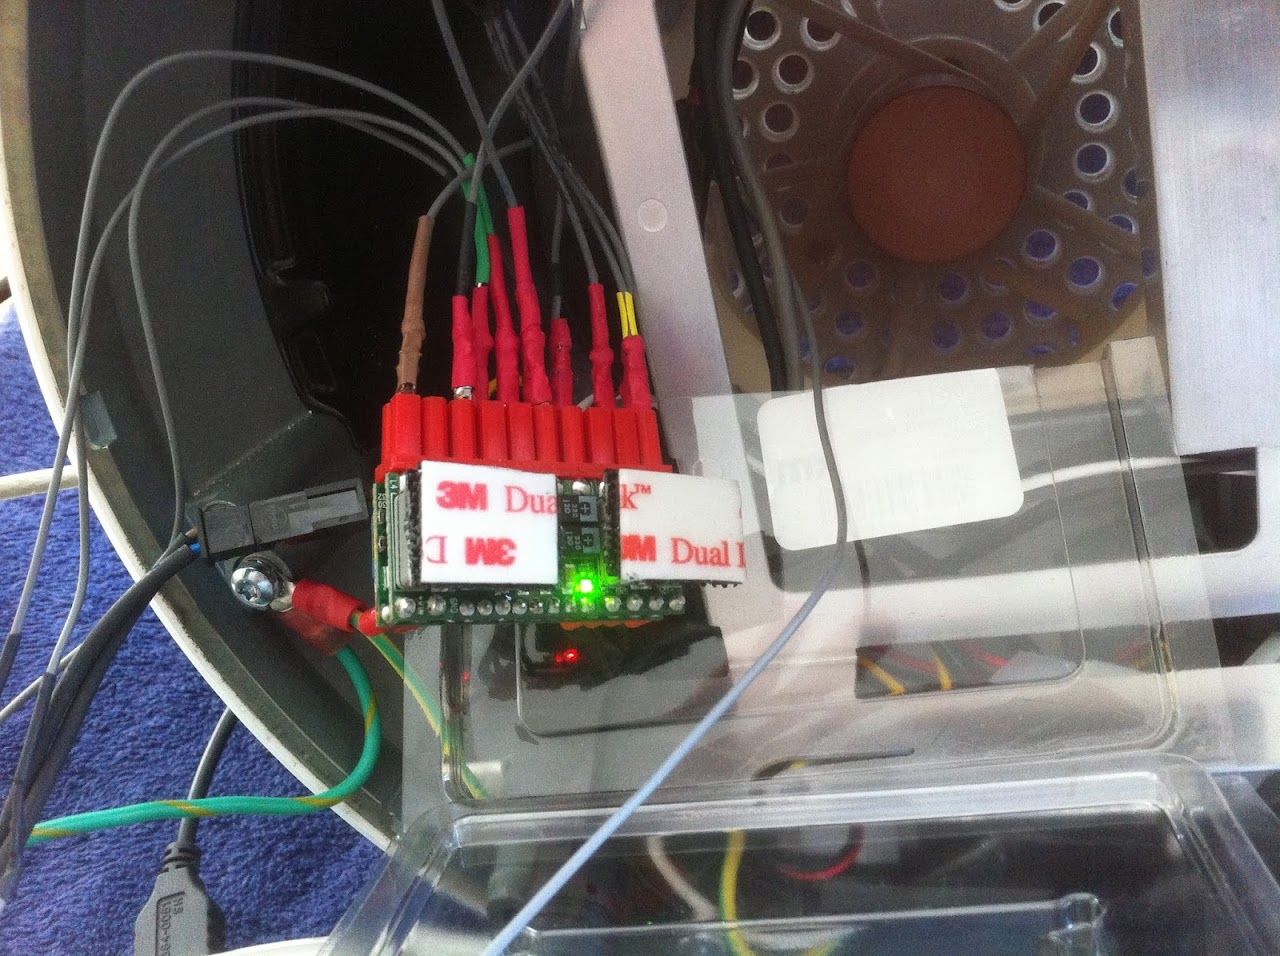
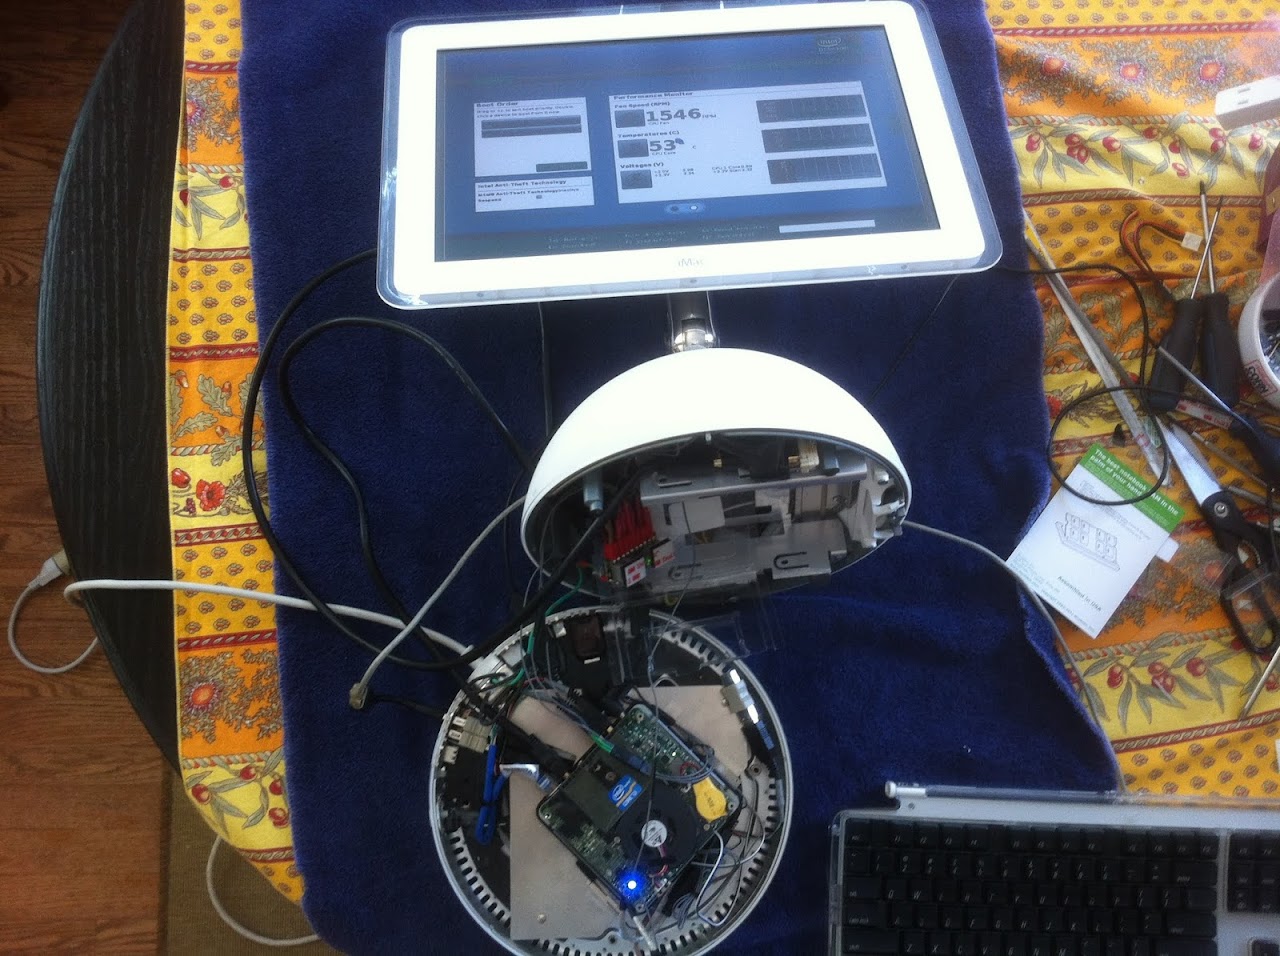
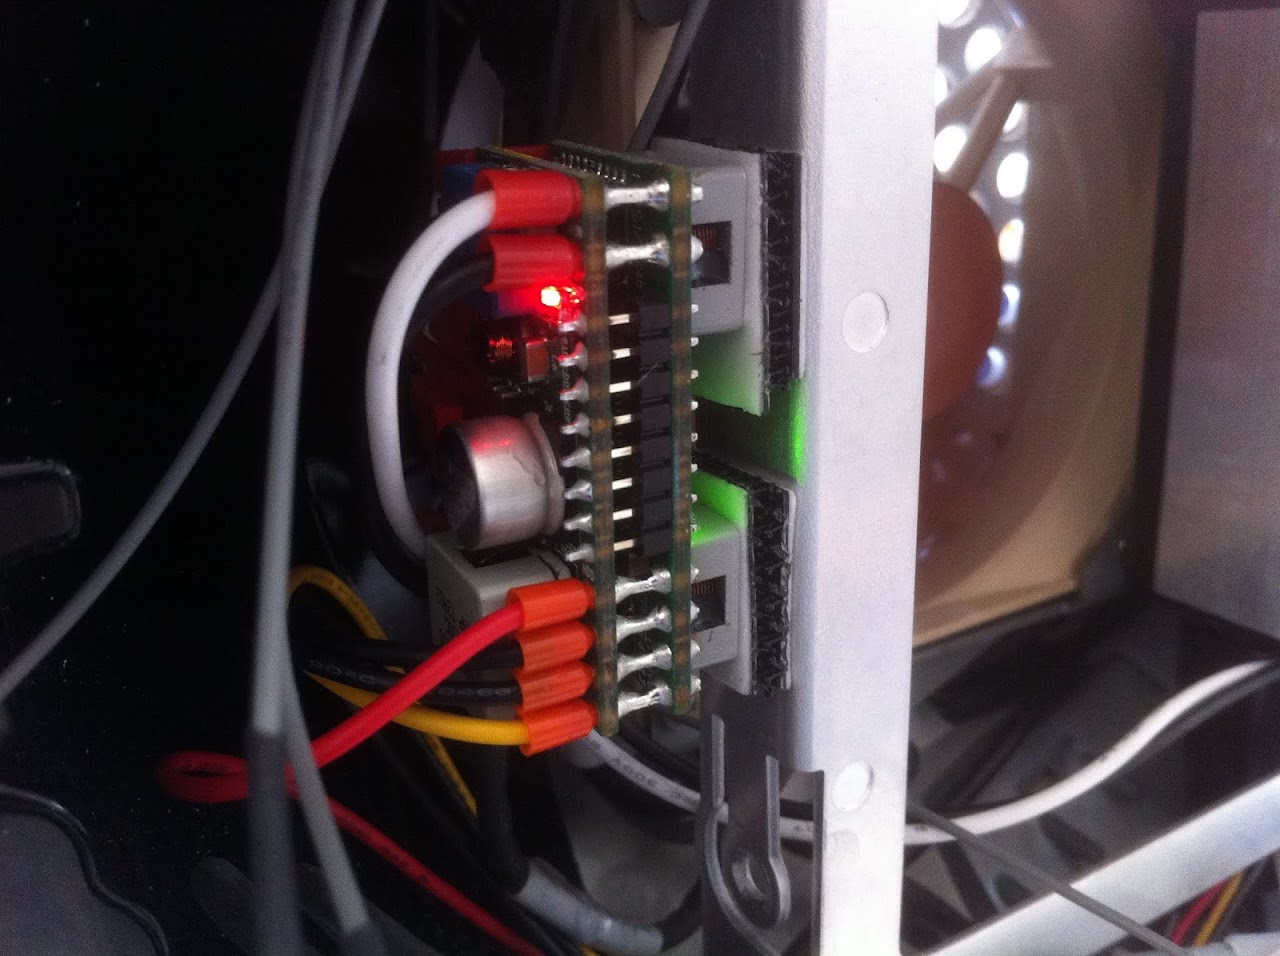
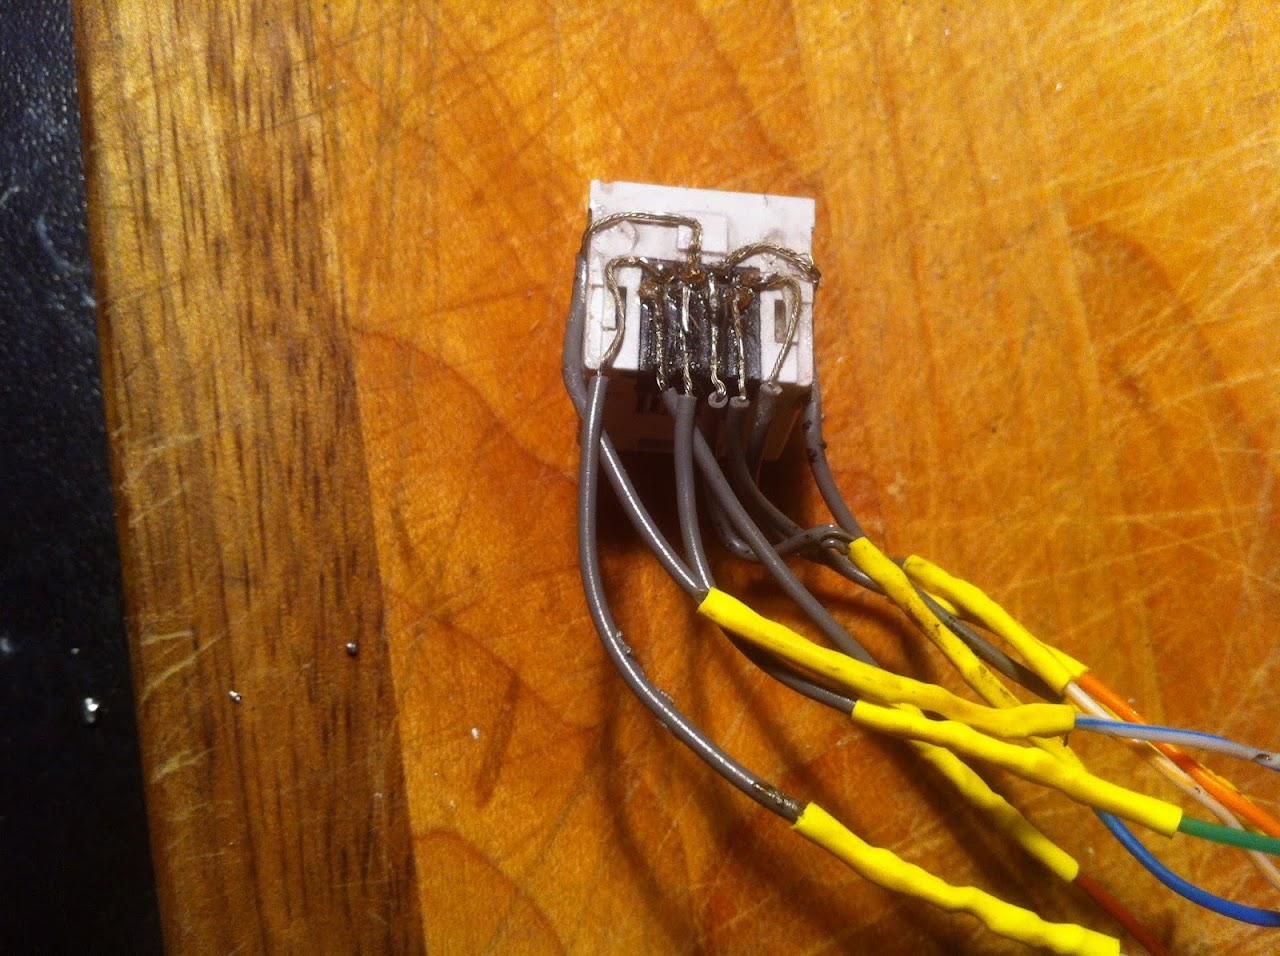
The second (non-working) G4 I bought to obtain the LCD wires also had a spare original ethernet jack that I stole from it. The only way I could think of to fit in the tight space beside the power plug was to re-wire it myself. It took an evening and some careful soldering, but in the end turned out to be a working ethernet port.


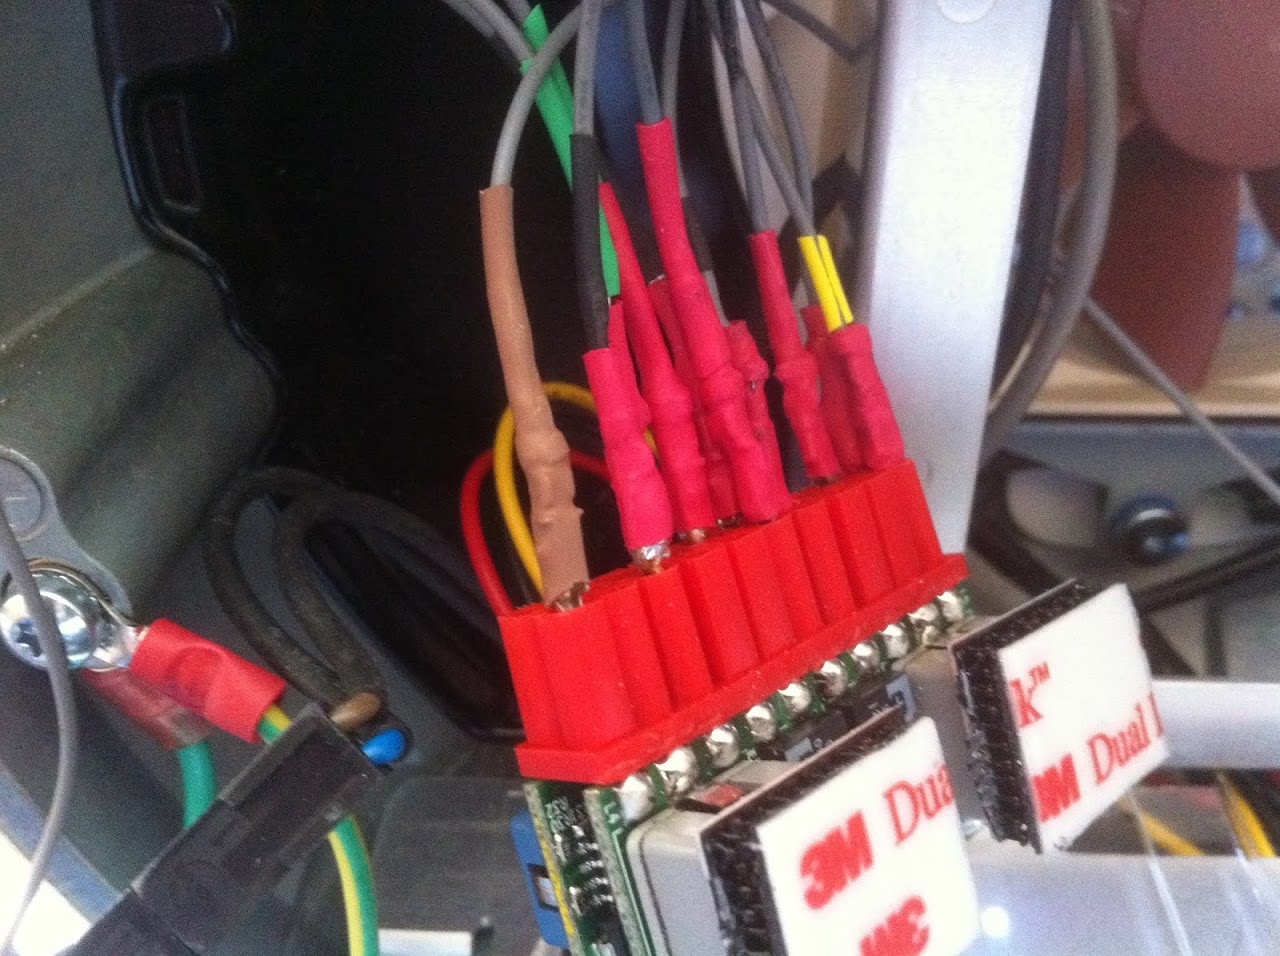
To fit the existing I/O, I had to solder the connecting wires to the bottom of the jack where the pins originally connected to the G4 motherboard. I routed the wires carefully apart and put a dab of crazy glue on to hold them from touching each other.

IMG_3973.JPG


IMG_3974.JPG


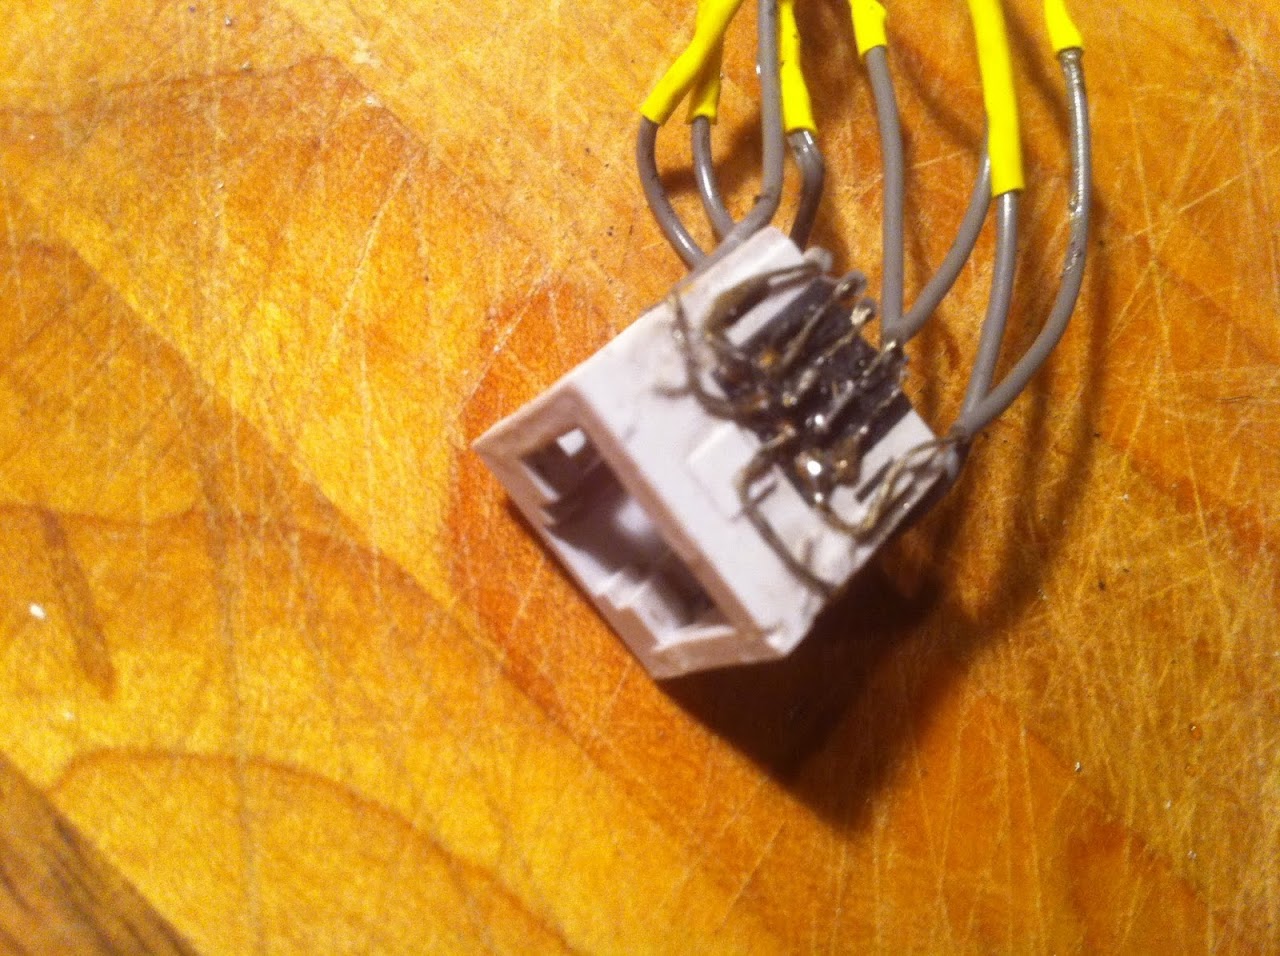
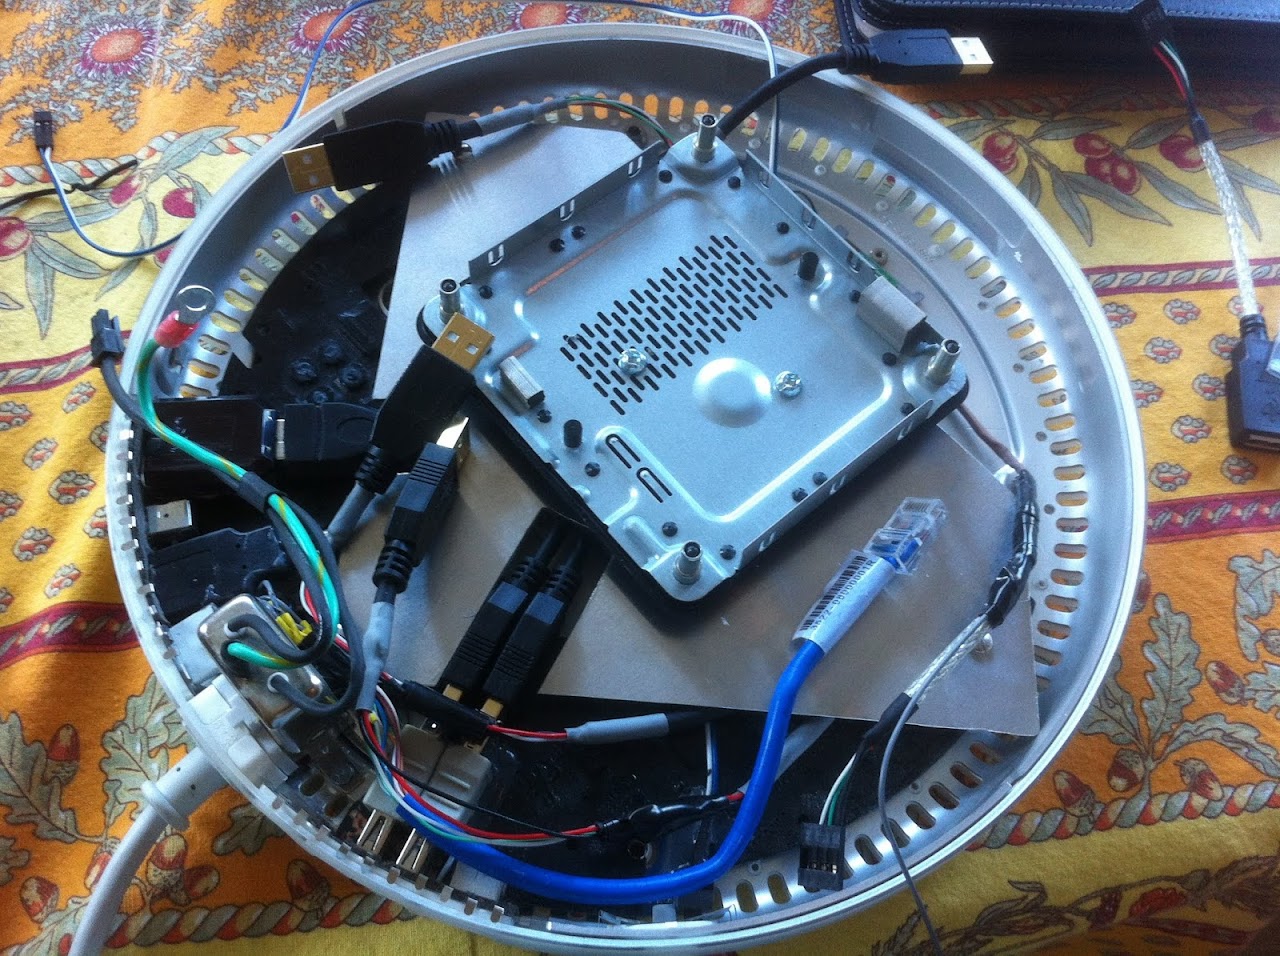
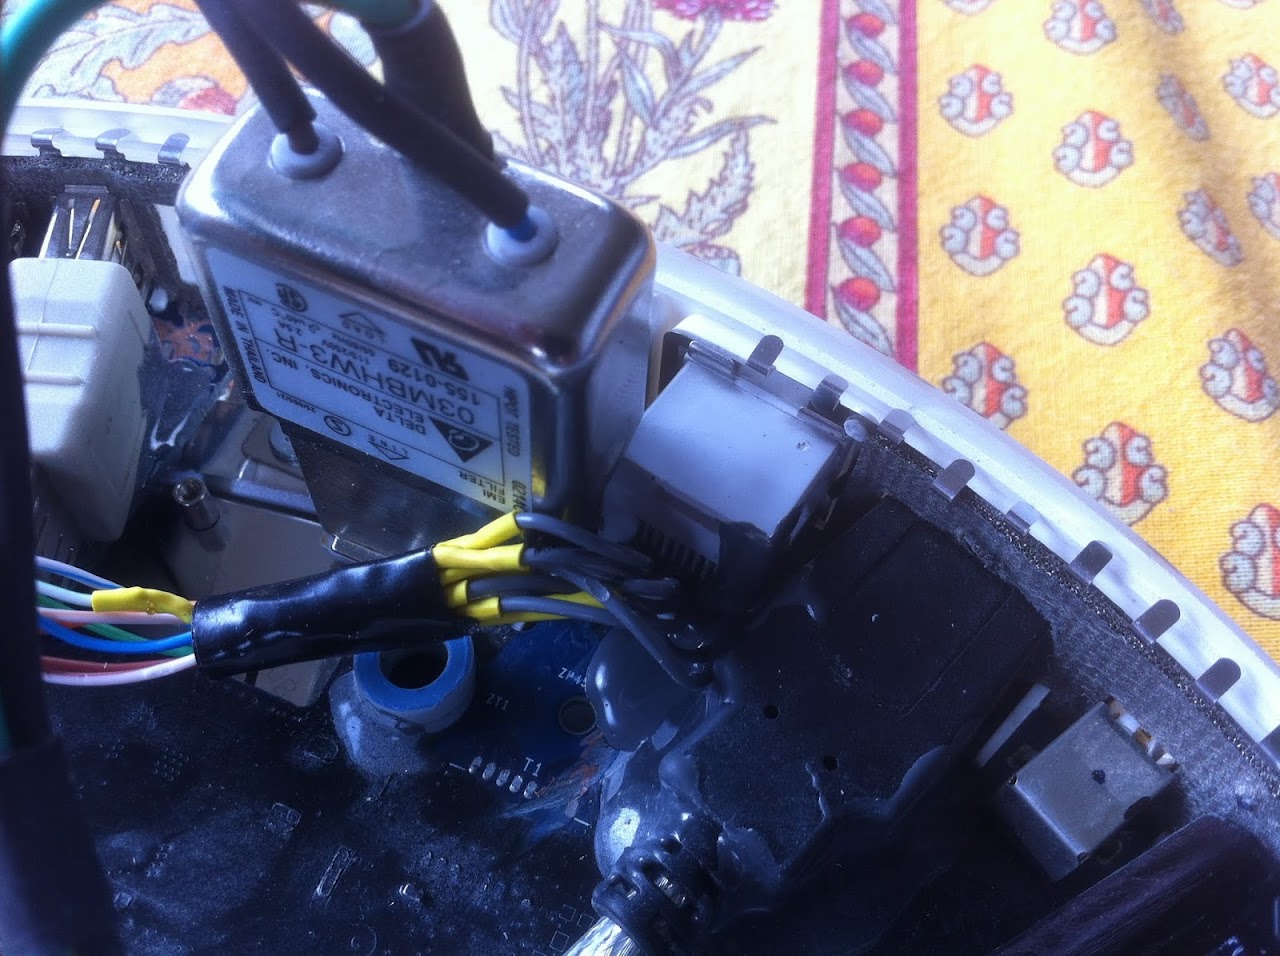
This is the result JB Welded onto the G4 motherboard, insulated from contact with a little pad.

IMG_3976.JPG


IMG_3977.JPG


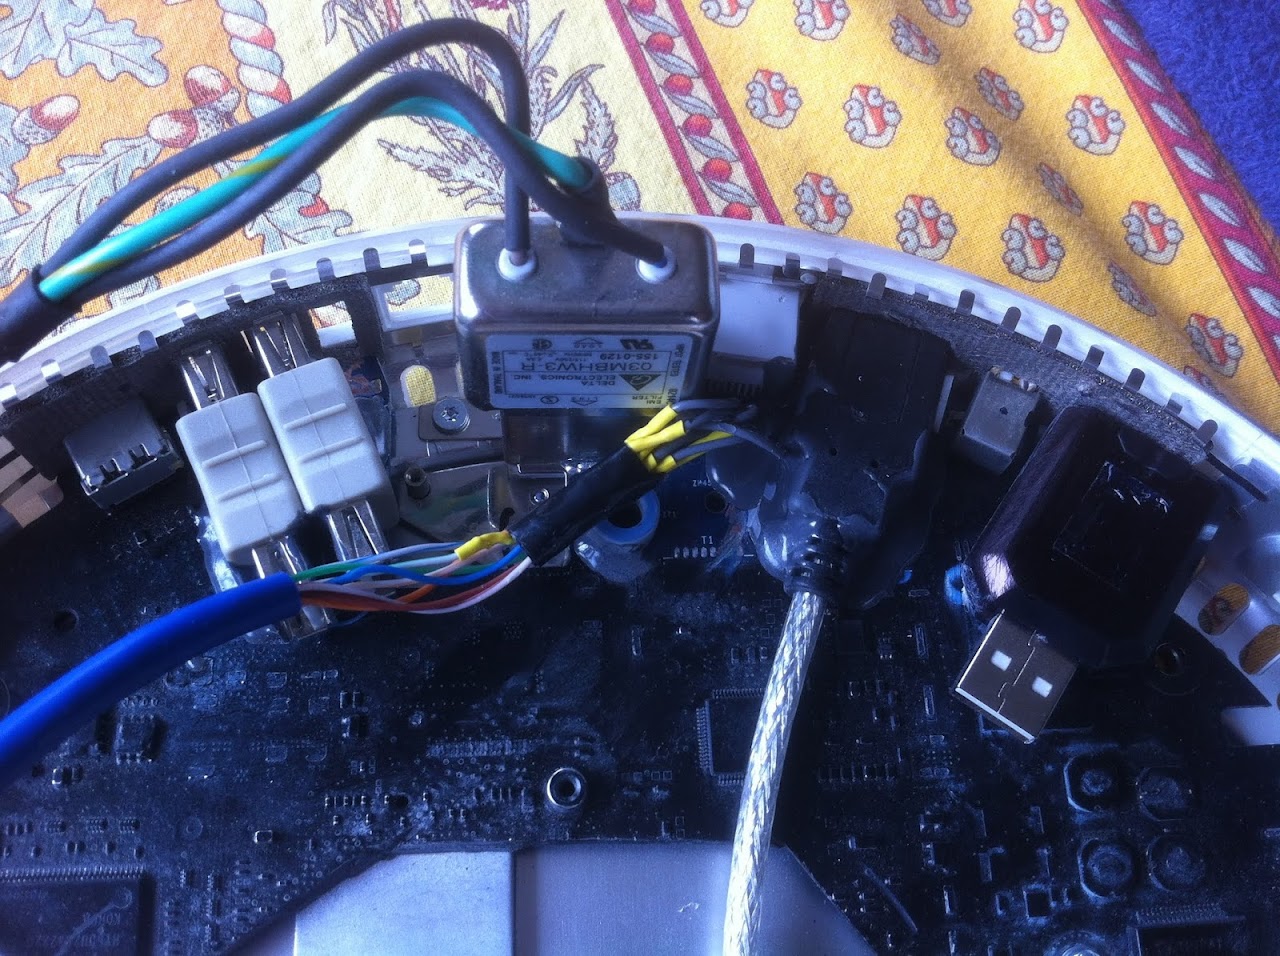
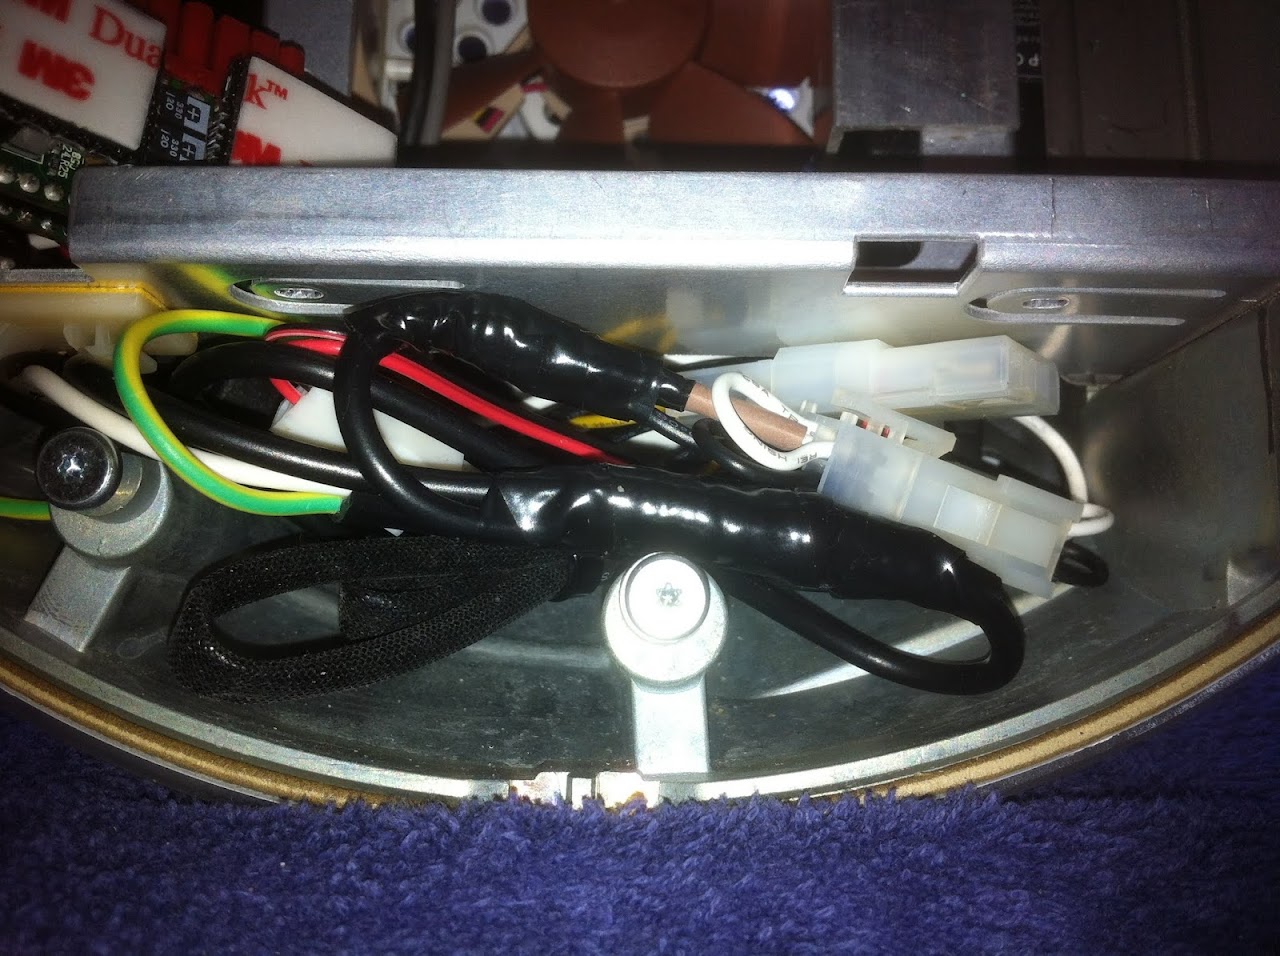
The completed rear I/O ethernet port

IMG_3978.JPG


Ersterhernd
 
Build Log 9 -- Completing the Rear I/O


The final step before final assembly was to complete the wiring for the rear I/O, and adapt the aluminum mounting plate slightly to accomodate the added USB lines. This would provide a rear I/O with 3 functional USB ports, 1 audio port, 1 ethernet port and 1 power cord. All five of the NUC USB connections are now used, with one being used internally for Apple Bluetooth.


Modded the aluminum plate slightly for the USB lines

IMG_3985.JPG


The I/O wired in, lots of cables to connect to the NUC.

IMG_3986.JPG


The NUC internal USB headers and Front Panel header

IMG_3988.JPG


EDIT: The rear I/O is completely repurposed and finished now. See this link for details.


Ready for assembly and power-up!


Ersterhernd
 
Build Log 10 - Final Assembly and First Power-up

If there's ever a moment in my life when I was nervous, it was now!

I proceeded to assemble the NUCiMac, connecting all the wiring that I had so meticulously mapped out to provide a working system. I completed the final wiring for the 19V PSU, splitting it to both the NUC and the PicoPSU. I connected the 5vdc relay so the machine would start both the NUC and the Pico with a single press of the power button. I wired my LCD, Inverter, Case Fan and Bluetooth to the PicoPSU connecting a total of 10 of the available 20 pins. I connected the NUC to the rear I/O, and finally as the last step plugged in the 2-pin Apple AC power connector to its sister plug waiting in the NUCiMac. This would be the first time the system was powered on, and I wasn't certain it was going to work.


Joining it all up

IMG_3989.JPG


The Wide-Input PicoPSU with 10 color-keyed wires inserted

IMG_3992.JPG


When I plugged the Apple power cord in from the exterior, the Pico and the NUC both lit up their green standby lights. A good sign...

IMG_4001.JPG


Finally, I held my breath and pushed the Power button. Here's what I got... :thumbup:

IMG_3998.JPG


Ersterhernd
 
Build Log 11 - OSX Installation

I was elated that I had got this far without a hitch, but there still lay ahead an OSX install. I updated to the latest 0042 BIOS first, then grabbed the DSDT from my Cube PSU NUC build and put it onto the UniBeast Installer.


Booted the Unibeast USB Installer stick to this, used the -V and -F flags. A very good sign!

IMG_4005.JPG


Made 2 identical partitions on the mSata SSD, one for boot and one for backup.

IMG_4006.JPG


The installation ran for about 20 minutes and completed successfully

IMG_4008.JPG


IMG_4014.JPG


Rebooted to a perfectly working OSX!

IMG_4015.JPG


Using Multibeast, I patched the powermanagement kext, added FakeSMC & Plugins, installed Hnak's ethernet, Macmini 5-1 system def, and Chimera 2.0 latest version. Moved my 0042 DSDT to /Extra and that was it.

A working NUCiMac, I love it. :thumbup:


Ersterhernd
 
Build Log 12 - Post Installation

Once I knew it worked, I moved everything to it's final position in the NUCiMac and fastened it all in place. I'm still waiting for one more part to arrive -- an 18" HDMI cable to install inside. Can't put it back together until I get that, but it all fits with the dome buttoned up.


PicoPSU final mounting held with heavy-duty 3M velcro. It is virtually un-moveable and the connecting power wires are protected in the top half of the dome where nothing can move or touch them.

IMG_4017.JPG


Power wires tucked neatly at the bottom and out of the way

IMG_3983.JPG


This was a pleasant surprise. Check out the power consumption when booted to OSX. I thought it'd be higher with the integrated LCD.

IMG_4021.JPG


This is complete and ready for reassembly, which is only four bolts. The long HDMI cable will be replaced by a short 18" version prior to putting the system back together. It has been test fit, and all goes in. Note the clear airway for the fan to draw warm air off the top of the NUC and out the vents at the top. This should work much more efficiently than the original iMac cooling did.

IMG_4025.JPG


I hope this build log has been informative. This was definitely my most challenging build to date.


Regards,

Ersterhernd
 
As I previously posted in this thread, I bought a 2nd non-working iMac G4 to get some extra wires for the LCD that I needed. It came with the bowling ball style Apple Pro Speakers too. I took out whatever else I may have a chance of using in the future, leaving only the dome and the screen.

It seemed like a huge waste of a G4 to simply toss the case away, so I made a nice enhancement to my office with it. Cost??? Zero, as it fit my existing desk lamp perfectly.

See what you think... I rather like it!


1pqs.jpg


Ersterhernd
 
Haha, that's great Ersterhernd! It looks pretty funny with the DVD drive, though.

Dremel Junkie is actually making a comprehensive guide for this project, based on his build.
 
I hope this build log has been informative. This was definitely my most challenging build to date.


Ersterhernd

This build log has been the spark I needed for my next build! Thanks!
 
Love that lamp, awesomest thing I've seen in awhile! :headbang:
 
Status
Not open for further replies.
Back
Top