- Joined
- Jun 11, 2012
- Messages
- 355
- Motherboard
- GA-Z87X-UD3H
- CPU
- i7-4770K
- Graphics
- GTX 960
- Mac
- Classic Mac
- Mobile Phone
I am starting on my second G5 Mod. I am going to model is similar to my first mod, but this one will be all blue inside and incorporate better cable management than the first. Since I used the drive cage from my second case in my first mod, I decided that this mod will use a completely different drive cage that will hold lots of drives. I intend to use this computer as a server. I've never had a Mac with 6 or 7 internal drives before and so through hackintoshing, I have found a way!
I have completed several of the sub-projects I outlined in my first mod, and here are the pictures.
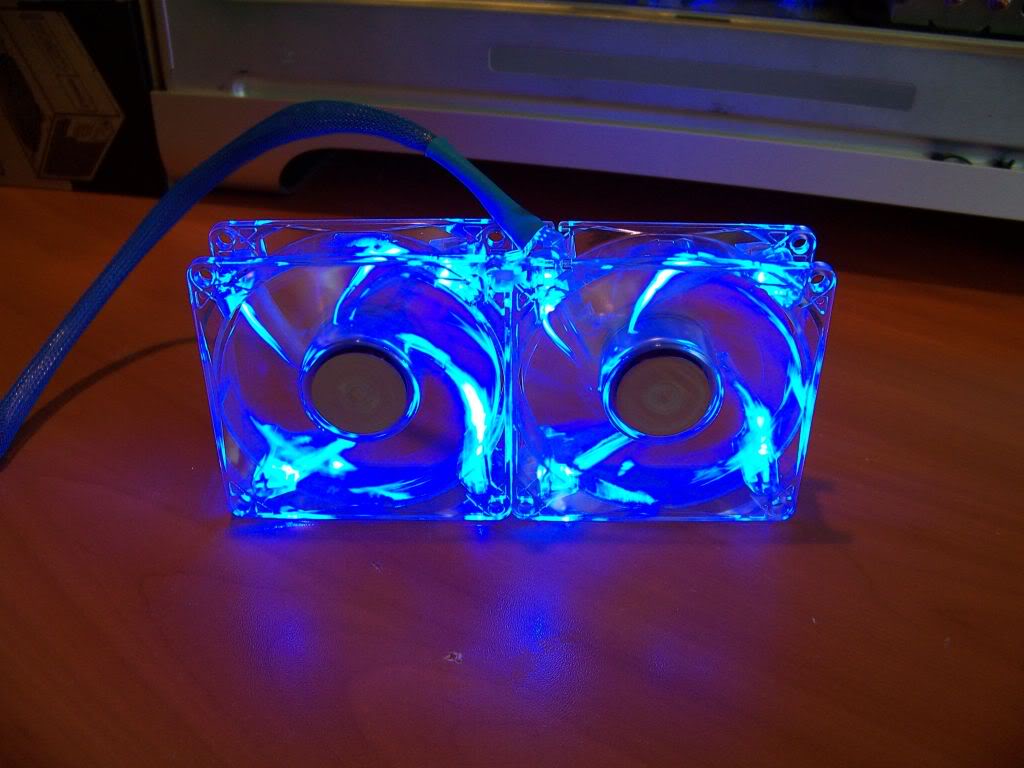
Front Fans
I ran out of L bracket aluminum, so I just added a small 2" long top bracket. These fans are so light that this wound up being remarkably secure. And I think a longer piece would take away from the beauty of the clear fans.

I cant wait to see what this looks like shining through the front grill of the G5 case.

Rear Fans
I found two 80mm clear fans to match the front fans. I used a couple of nylon straps to temporarily hold them together untIL I mount them onto the back panel.

Yes, they light up too.
Blue heat sink fans
I found these after I bought the clear ones for the front. They light up too. The only issue is that they are 3 pin fans so I don't think my motherboard will control their speed as well as a 4 pin fan.


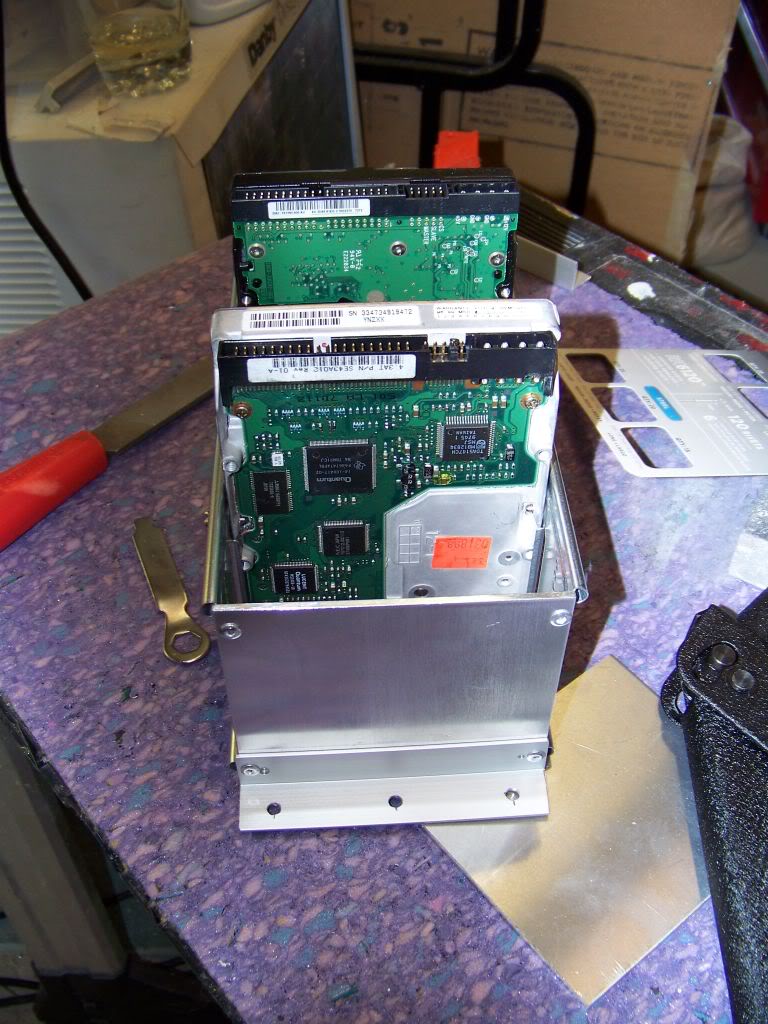
Drive Cage
I salvaged the sides from an old PC case. I used "tool-less" screws on the sides to secure the drives. Gives it a kind of cool look. Im using old IDE drives as placeholders. [EDIT: As it turned out, I did not use this drive cage method in this build. I discovered that there was no room on the left side of the cage to unscrew the mounting screws to remove a drive.]

I fabricated the ends out of scrap aluminum and stock aluminum angle and pop rivited them to the sides. I used a sanding block to give the aluminum a brushed finish.
Here is another mounting scheme that I will explore at a later date. I initially had a bracket on both sides, but when I took one side off, it was remarkably sturdy. I'm still noodling on this one.

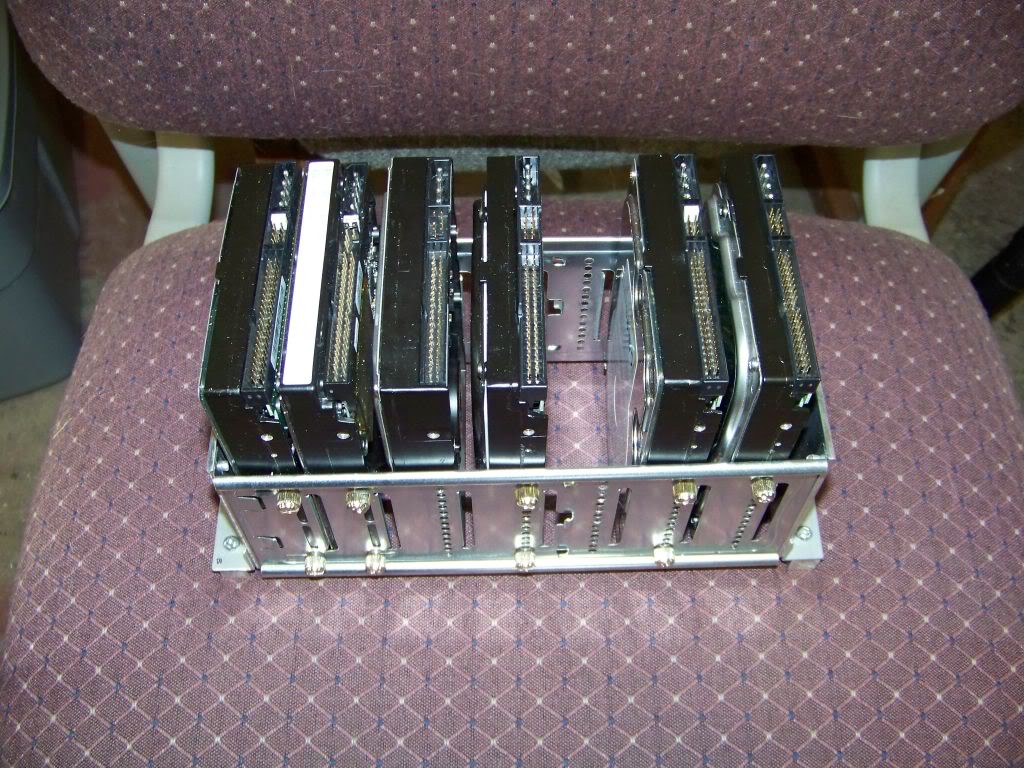
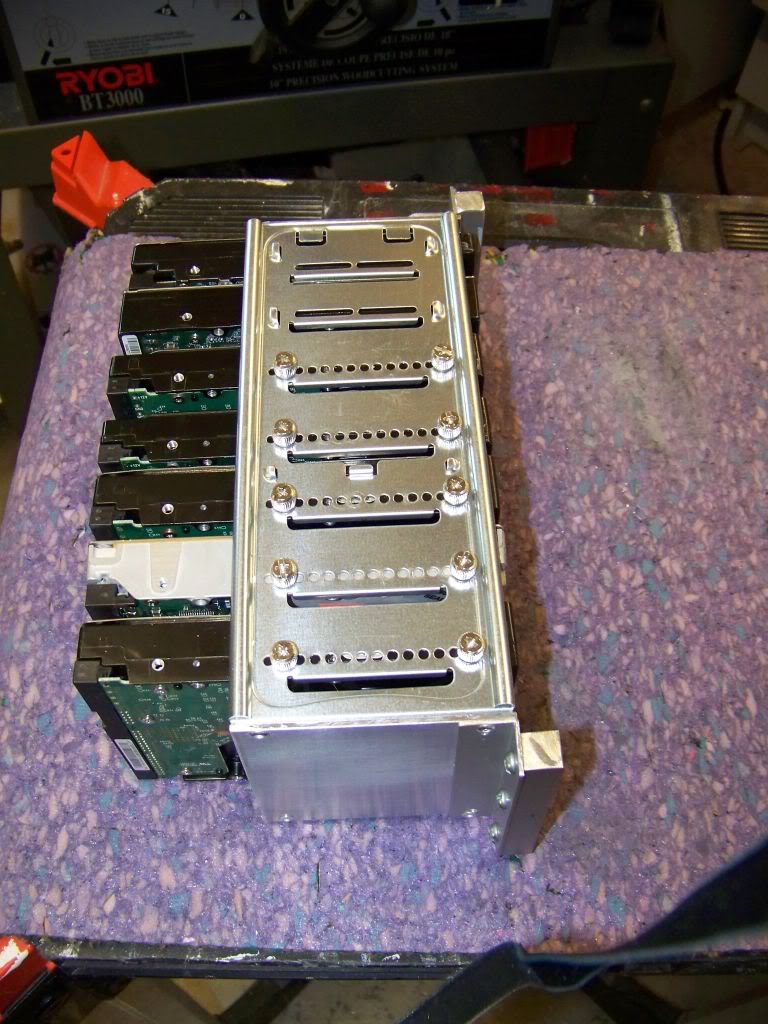
My home-built drive cage; well almost home built. It can hold 7 hard drives. It's really heavy, too! I thought of spray painting it black, but I think it will match better being silver.

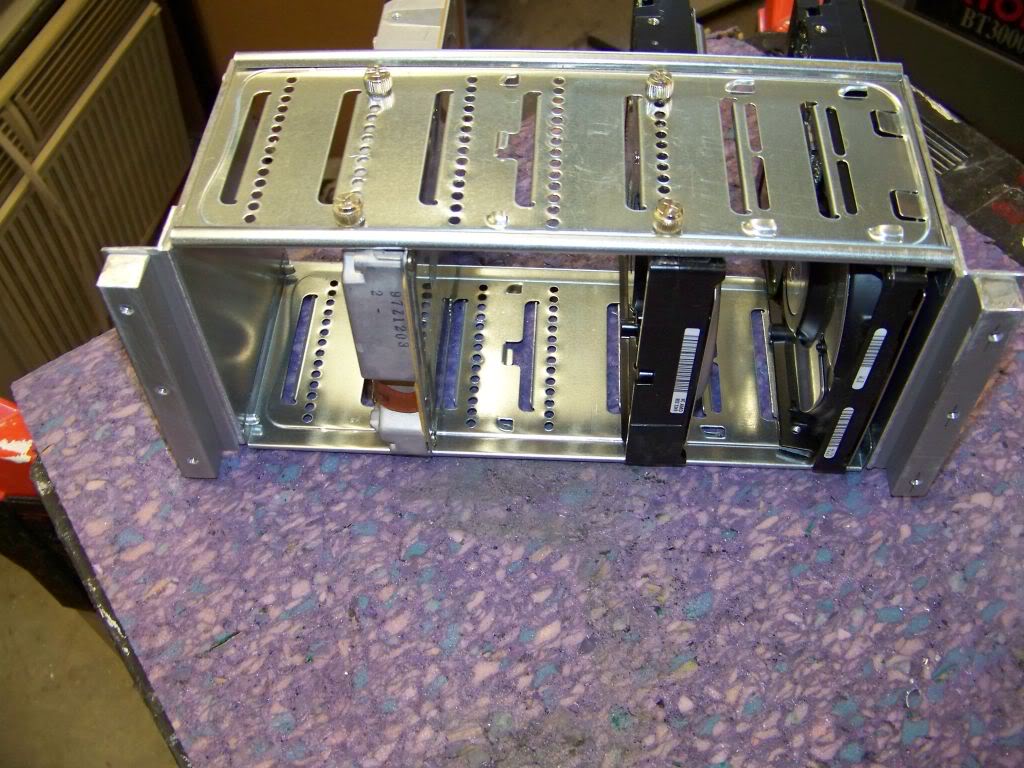
I have created the mounting bars, drilled and tapped and attached to the cage.
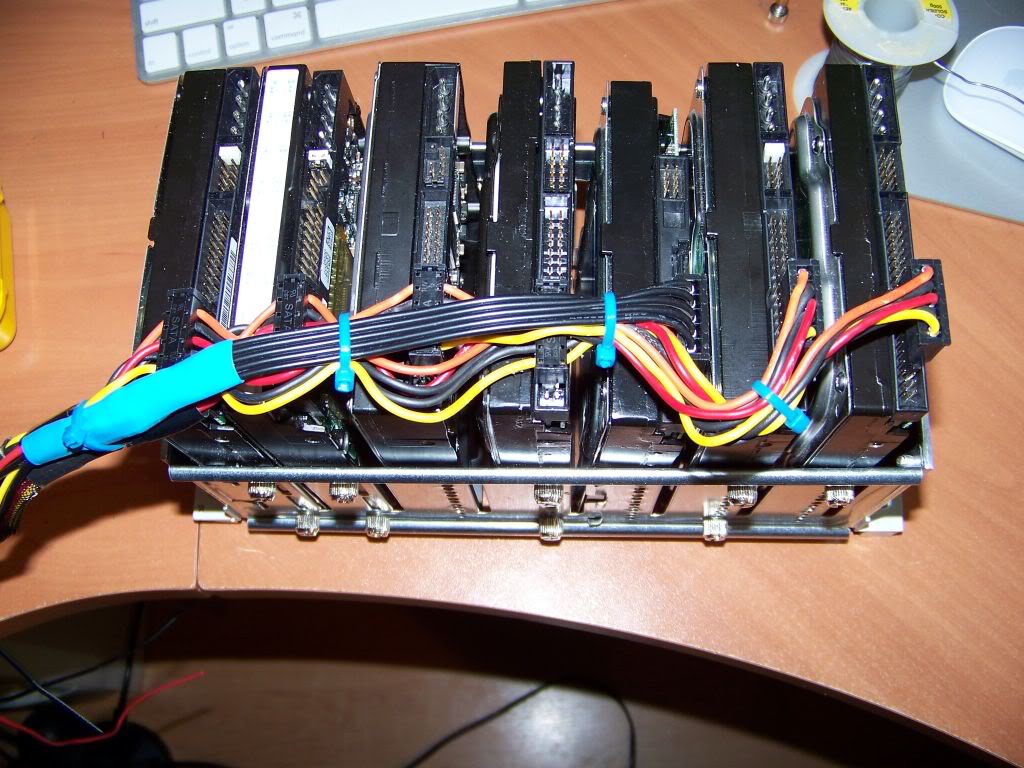
They will be JB welded to the G5 case. I made sure there was enough room at the back of the hard drives to run the SATA cables.
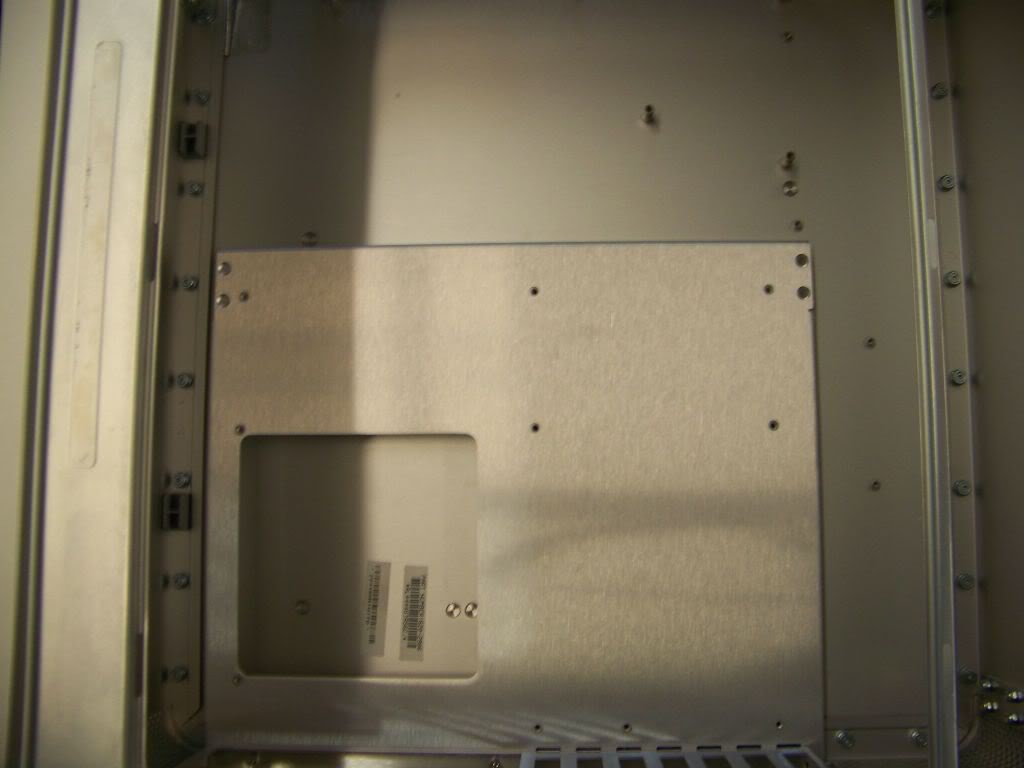
Power Supply
Shelf cut for power supply. This time I positioned the power supply as far forward as possible so I would have room behind it to hide the unused power cables.
Here you can see the power supply mounted on shelf. Note how far forward it is mounted. Please Note: In order to get the power supply mounted up in the corner of the case, it has to be mounted to the shelf and then the shelf installed with the power supply already mounted to it.

Notice the extra power cables bunched up ready to hide behind power supply.
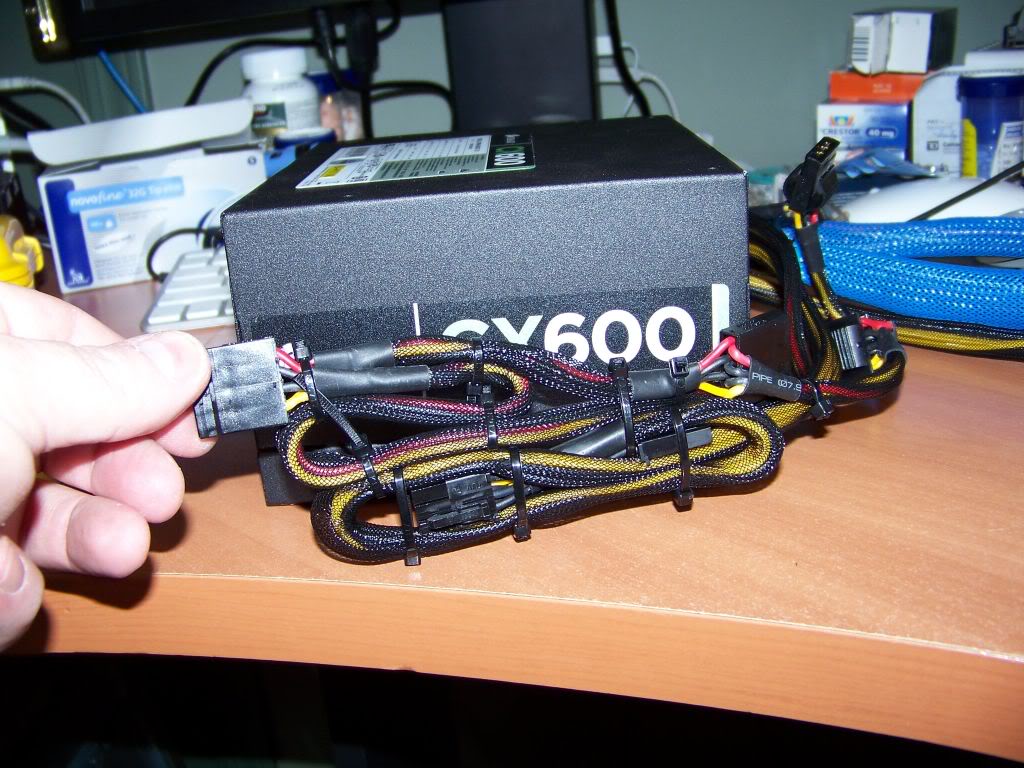
I purchased blue cable braiding to assist in my cable management.

Here I am planning the layout of the cable. I will use 3 connectors on each of the two cables, and add a third cable for the 7th drive. I have removed the factory black braiding. [EDIT: I wound up scrapping this method and going with something much cleaner.]
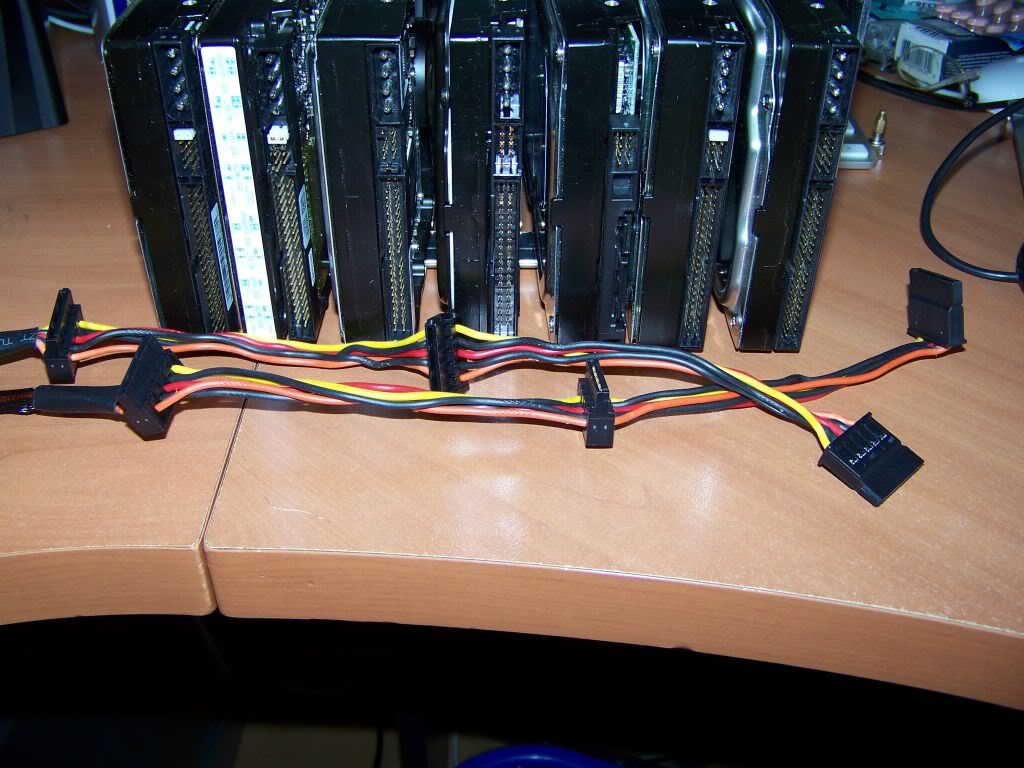
I repositioned the SATA Power connectors so that there was less excess cable between the drives.
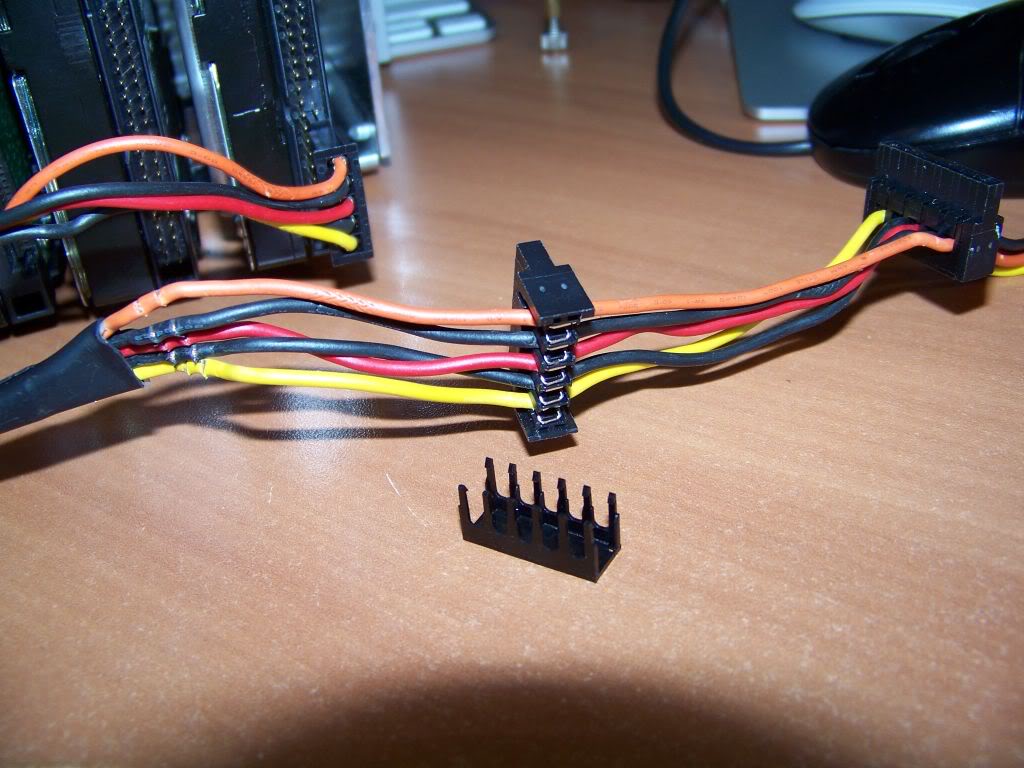
Organizing the hard drive power ends. I hope this looks better when its plugged into hard drives.
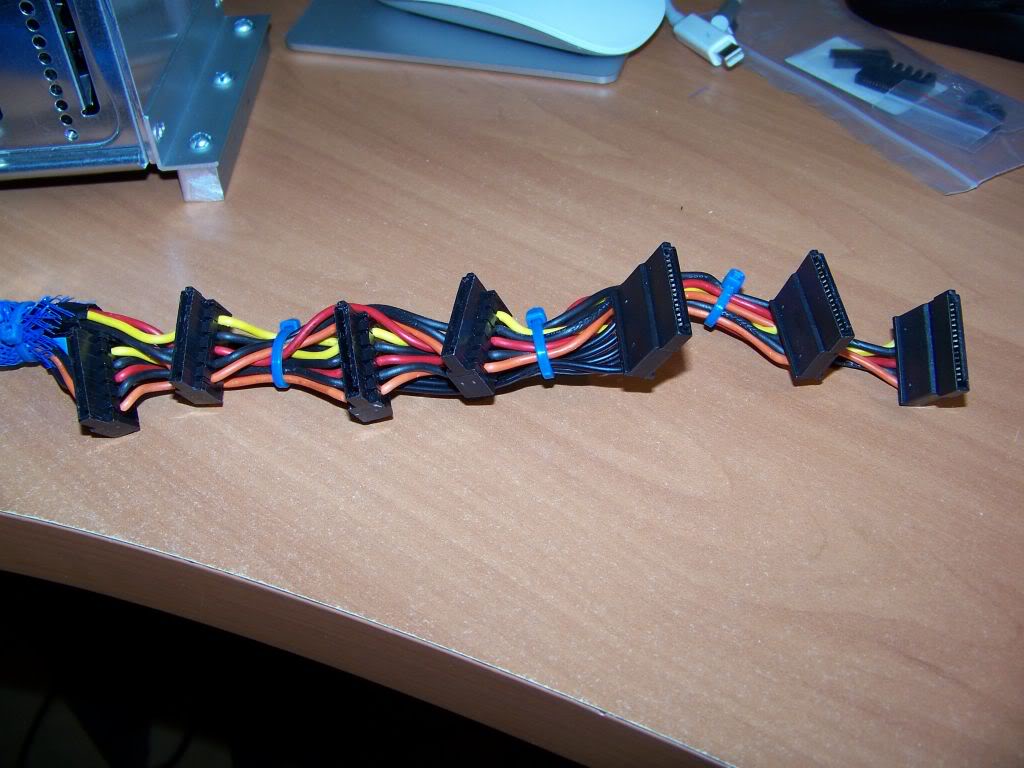
"Dry fitting" using my old IDE drives.

Here is the 7th power cable (the black one).
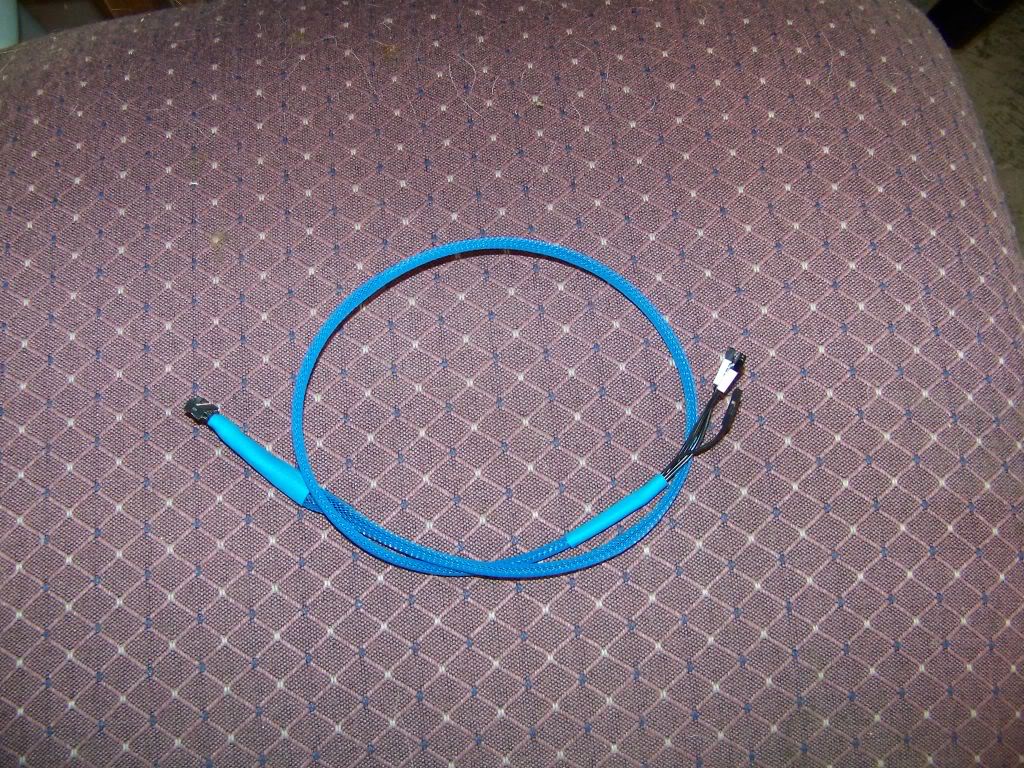
Front Panel
My simple front panel cable. This cable will only be used for the power switch and the power LED. The motherboard I plan to use doesn't have firewire, and I don't plan to use the front USB or audio jack.
I have completed several of the sub-projects I outlined in my first mod, and here are the pictures.
Front Fans
I ran out of L bracket aluminum, so I just added a small 2" long top bracket. These fans are so light that this wound up being remarkably secure. And I think a longer piece would take away from the beauty of the clear fans.
I cant wait to see what this looks like shining through the front grill of the G5 case.
Rear Fans
I found two 80mm clear fans to match the front fans. I used a couple of nylon straps to temporarily hold them together untIL I mount them onto the back panel.
Yes, they light up too.
Blue heat sink fans
I found these after I bought the clear ones for the front. They light up too. The only issue is that they are 3 pin fans so I don't think my motherboard will control their speed as well as a 4 pin fan.
Drive Cage
I salvaged the sides from an old PC case. I used "tool-less" screws on the sides to secure the drives. Gives it a kind of cool look. Im using old IDE drives as placeholders. [EDIT: As it turned out, I did not use this drive cage method in this build. I discovered that there was no room on the left side of the cage to unscrew the mounting screws to remove a drive.]
I fabricated the ends out of scrap aluminum and stock aluminum angle and pop rivited them to the sides. I used a sanding block to give the aluminum a brushed finish.
Here is another mounting scheme that I will explore at a later date. I initially had a bracket on both sides, but when I took one side off, it was remarkably sturdy. I'm still noodling on this one.
My home-built drive cage; well almost home built. It can hold 7 hard drives. It's really heavy, too! I thought of spray painting it black, but I think it will match better being silver.
I have created the mounting bars, drilled and tapped and attached to the cage.
They will be JB welded to the G5 case. I made sure there was enough room at the back of the hard drives to run the SATA cables.
Power Supply
Shelf cut for power supply. This time I positioned the power supply as far forward as possible so I would have room behind it to hide the unused power cables.
Here you can see the power supply mounted on shelf. Note how far forward it is mounted. Please Note: In order to get the power supply mounted up in the corner of the case, it has to be mounted to the shelf and then the shelf installed with the power supply already mounted to it.
Notice the extra power cables bunched up ready to hide behind power supply.
I purchased blue cable braiding to assist in my cable management.
Here I am planning the layout of the cable. I will use 3 connectors on each of the two cables, and add a third cable for the 7th drive. I have removed the factory black braiding. [EDIT: I wound up scrapping this method and going with something much cleaner.]
I repositioned the SATA Power connectors so that there was less excess cable between the drives.
Organizing the hard drive power ends. I hope this looks better when its plugged into hard drives.
"Dry fitting" using my old IDE drives.
Here is the 7th power cable (the black one).
Front Panel
My simple front panel cable. This cable will only be used for the power switch and the power LED. The motherboard I plan to use doesn't have firewire, and I don't plan to use the front USB or audio jack.
Last edited: