Edhawk
Moderator
- Joined
- Aug 2, 2013
- Messages
- 6,328
- Motherboard
- Asus ROG Strix X570-F Gaming
- CPU
- Ryzen 9 3900X
- Graphics
- RX 6700 XT
- Mac
- Mobile Phone
Here is a walk through for installing Clover in legacy mode. It is using Clover_r5119 but the steps would be the same if you are using a newer version of Clover.
You would need to gather some additional information in preparation of editing of the CLOVER folder contents to match your system requirements, before the Clover EFI was fit for purpose.
- Plug a 8GB or larger USB2 pen drive in to a USB2 port.
- Open Disk Utility and select the USB drive from the list of devices in the left hand column.
- Select 'Erase' from the top menu.
- Set the Erase options as shown below:
-
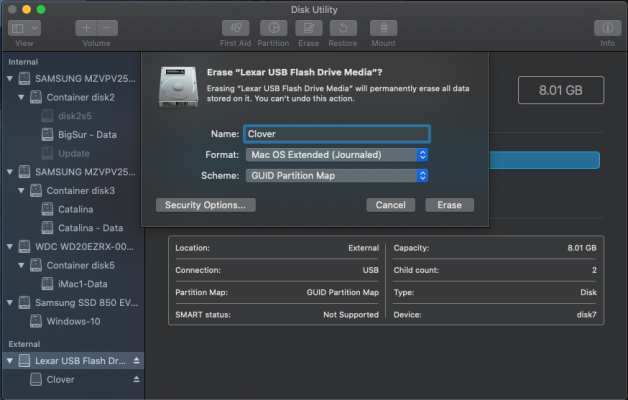
- Select the Erase button and in the example above the USB would named 'Clover'. You can use whichever name you want, the default is 'Untitled'.
- Disk Utility will then format your USB pen drive with a main HFS+ and a smaller 200MB FAT32 EFI partition, which will be hidden in macOS.


- Close Disk Utility once the USB has been successfully formatted. Leave it plugged in.
-
- Now Open your Clover installer, the image below shows Clover_r5119, which I used when creating these screenshots and walk through.

- You will be asked to confirm the software can run on your system, select continue.

- You will then be asked to select Continue to proceed with the Clover installation.
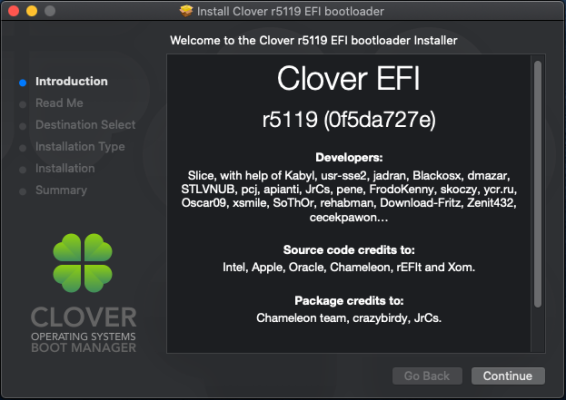
- Your will then be asked to select Continue to proceed with the Clover installation.

- The installation wizard will automatically select your current macOS drive as the installation location. We don't want to do that, so need to select the 'Change Install Location' button.
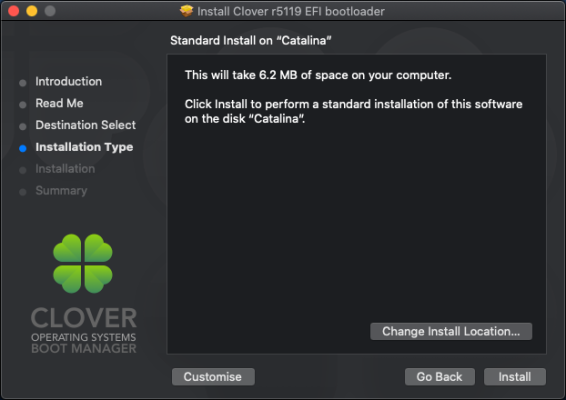
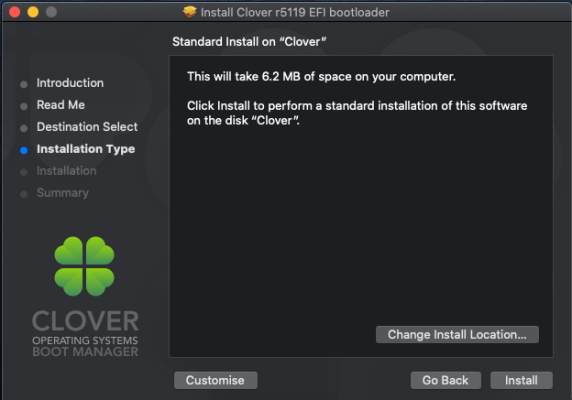
- We are then presented with a number of drive options, we need to select the USB pen drive, named Clover in the image below. Then we need to select the Continue button to proceed with the Clover installation.

- Upon returning to the Install page the Installation location should say your USB pen drives name. If it doesn't go back to the Change Install Location options and select the USB.
- Assuming the USB pen drive has been selected correctly you now need to select the 'Customise' button, to open the Clover configuration options.
- When you arrive at this page and assuming you need to create a Legacy installation, you need to make sure the top option in the list is not selected. You need to make sure the two options highlighted in the red rectangles are selected.
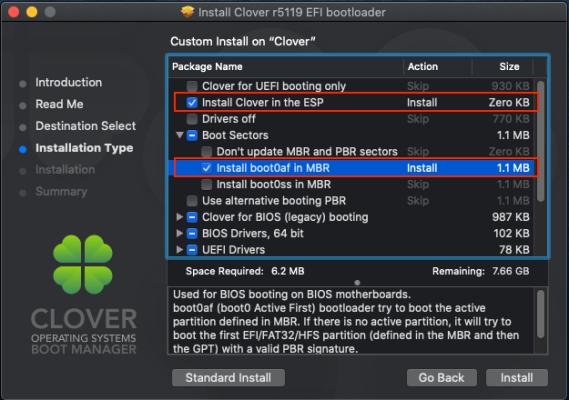
- You can then go through the other option menu's to select the drivers etc. required for your system. If you don't know what an option does, assume you don't need it. Do not add unnecessary drivers just because you can. Ask if you don't know.
- When you have selected the drivers Under the Clover for Bios sub-menu, select the Install button.
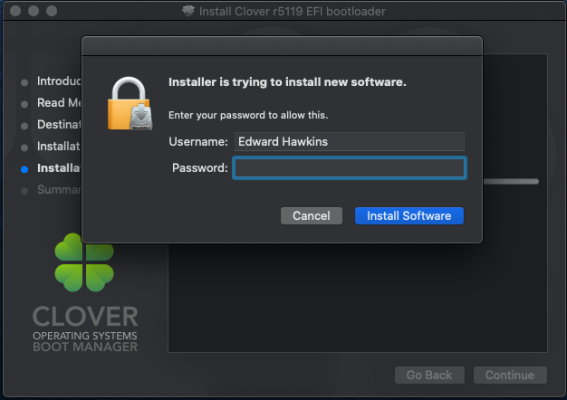
- You will be asked to provide your password and select Install Software button.
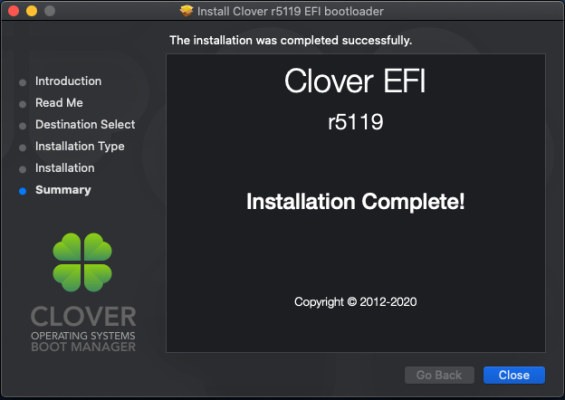
- Hopefully Clover installation will complete and you can close the Clover wizard.
- You should now have two partition icons on your desktop, if you named the USB Clover then they would look like the two shown below.

- If you double-click on the EFI Partition, the contents should look like the image below.

- If you double -click on the EFI folder, the contents should look like the image below.

- If you double-click on the CLOVER folder, the contents should look like the image below.
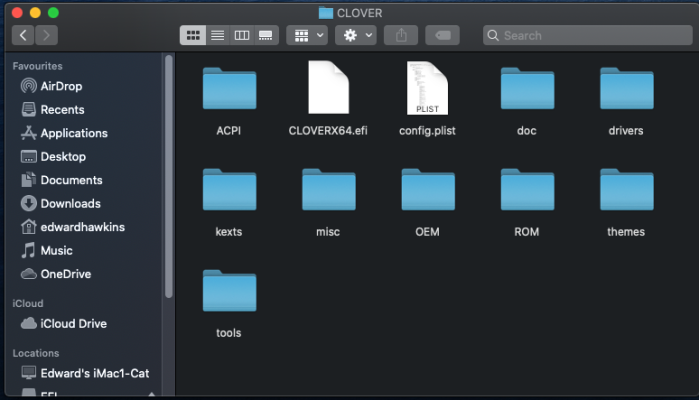
- This current Clover folder won't boot your system, it is a generic placeholder containing a lot of rubbish, which you need to edit to work with your system.
You would need to gather some additional information in preparation of editing of the CLOVER folder contents to match your system requirements, before the Clover EFI was fit for purpose.
Last edited:
