- Joined
- Jun 7, 2014
- Messages
- 32
- Motherboard
- Power mac g4
- CPU
- G4 PowerPc
- Graphics
- ?
- Mac
- Classic Mac
- Mobile Phone
Hi everyone
I'm new here, great website just looking through the things people have come up with! There are some very clever builds on here.
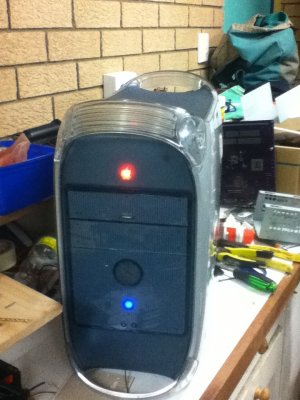
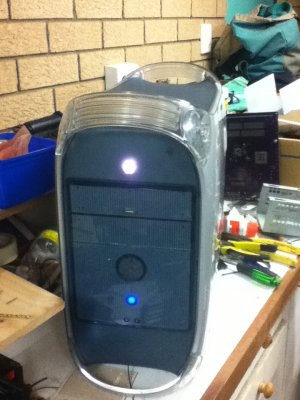
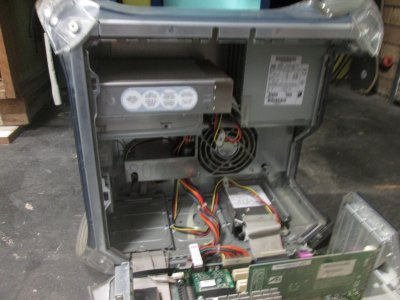
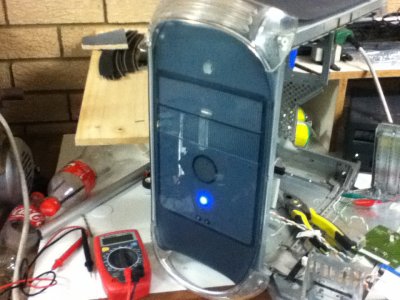
Anyways, so basically I've been looking for a new computer project and I was given this old G4 tower sitting around for a long time, it does still run and I upgraded the hard disk to a 250 gig one (though it doesn't recognise all of it.)
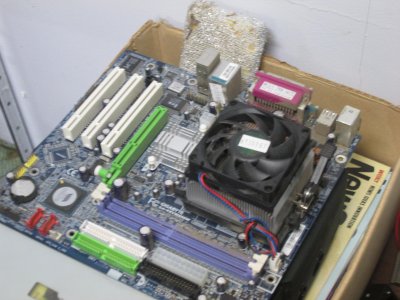
But what I want to do is do a case mod with it and install a micro atx motherboard inside, probably will just run windows for now as I like my games and I can't program at all
I know this has been done many times before and I need a bit of advice on a few things:
Firstly, has anyone managed to keep the original cd drive intact? On mine it looks like I'm going to have to pull it out because of the cpu cooler on the new motherboard, but I thought maybe I could use a laptop dvd drive or something like that to replace it.
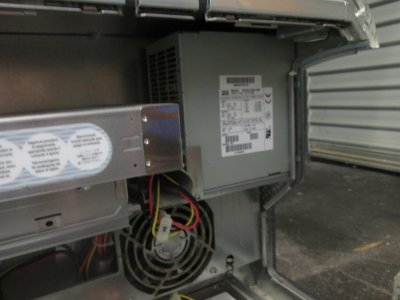
Secondly, can I simply install an ATX PSU in place of the apple one? The only thing that might be different is the holes from the looks of it.
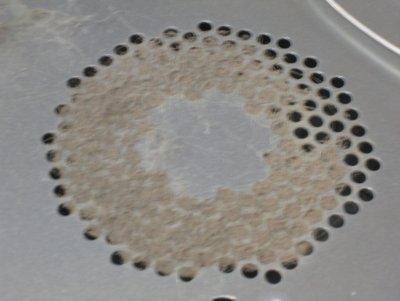
In terms of cooling I'll probably replace the fan at the back and maybe add a new one, also I will be getting a non working G5 imac (logic board broken) so I can get some nice fans out of that.
Thirdly i was wondering what kind of tool would be best to remove the plastic case covers? it looks like a small allen key, and the panels will have to be removed to make the new motherboard mounts.
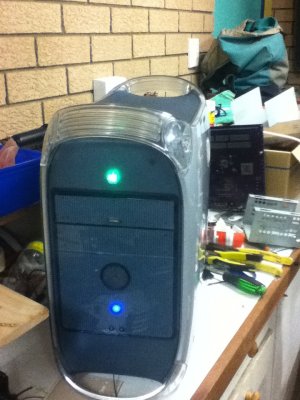
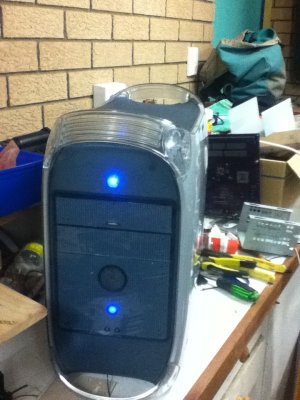
Here is the computer, and the motherboard I may be installing:
Thanks in advance for any help you can provide, I know my way around a normal desktop PC reasonably well ( I am guilty of gutting poor computers and of installing led fans
but this is the first time I've even contemplated playing with a mac!


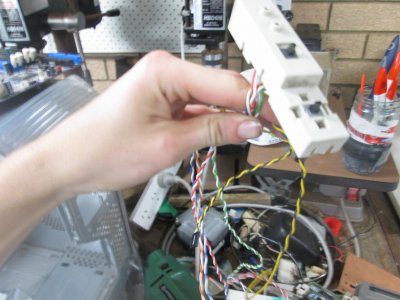

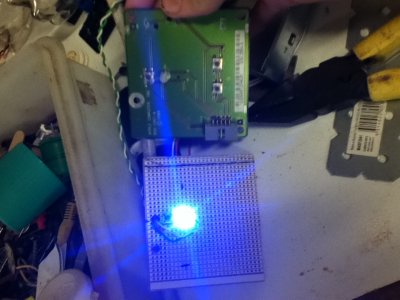
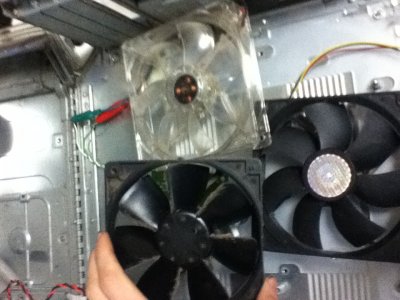
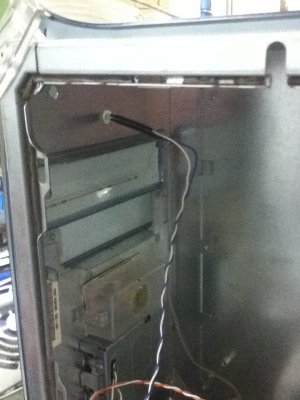
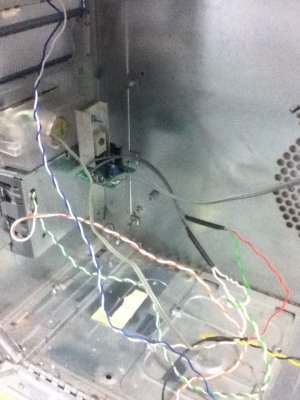
 ) but had better luck second try! The leds wouldn't power on until I'd adjusted it to minnimum 2.5 volts so I actually set it about 3v to get a decent brightness. My first go at using heat shrink as well, much neater and easier than the electrical tape I used on my last computer