Step 3 -- The Power Supply
Adapting an ATX PSU to the G5 is perhaps the single most critical factor in the final outcome of the project.
First, the height of the ATX and G5 are some 25mm different, with the ATX being an inch taller and needing either modification or retrofitting to conceal the excess height.
Second, the mass of wires coming out of the ATX PSU presents a huge challenge to effectively conceal from view. Modular ATX PSU's are more adaptable, but nonetheless still have to supply power to a lot of components spread around the system.
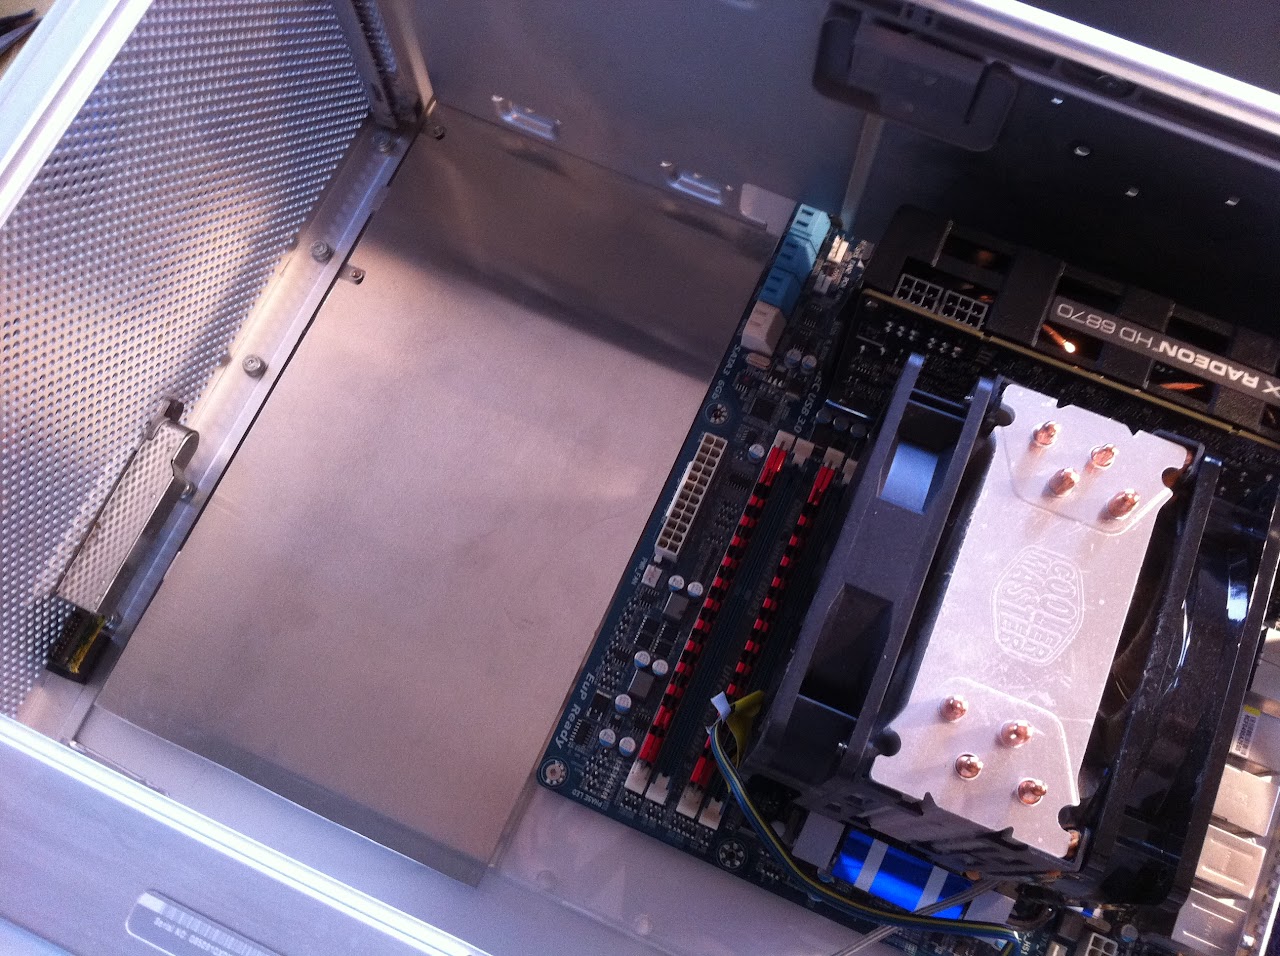
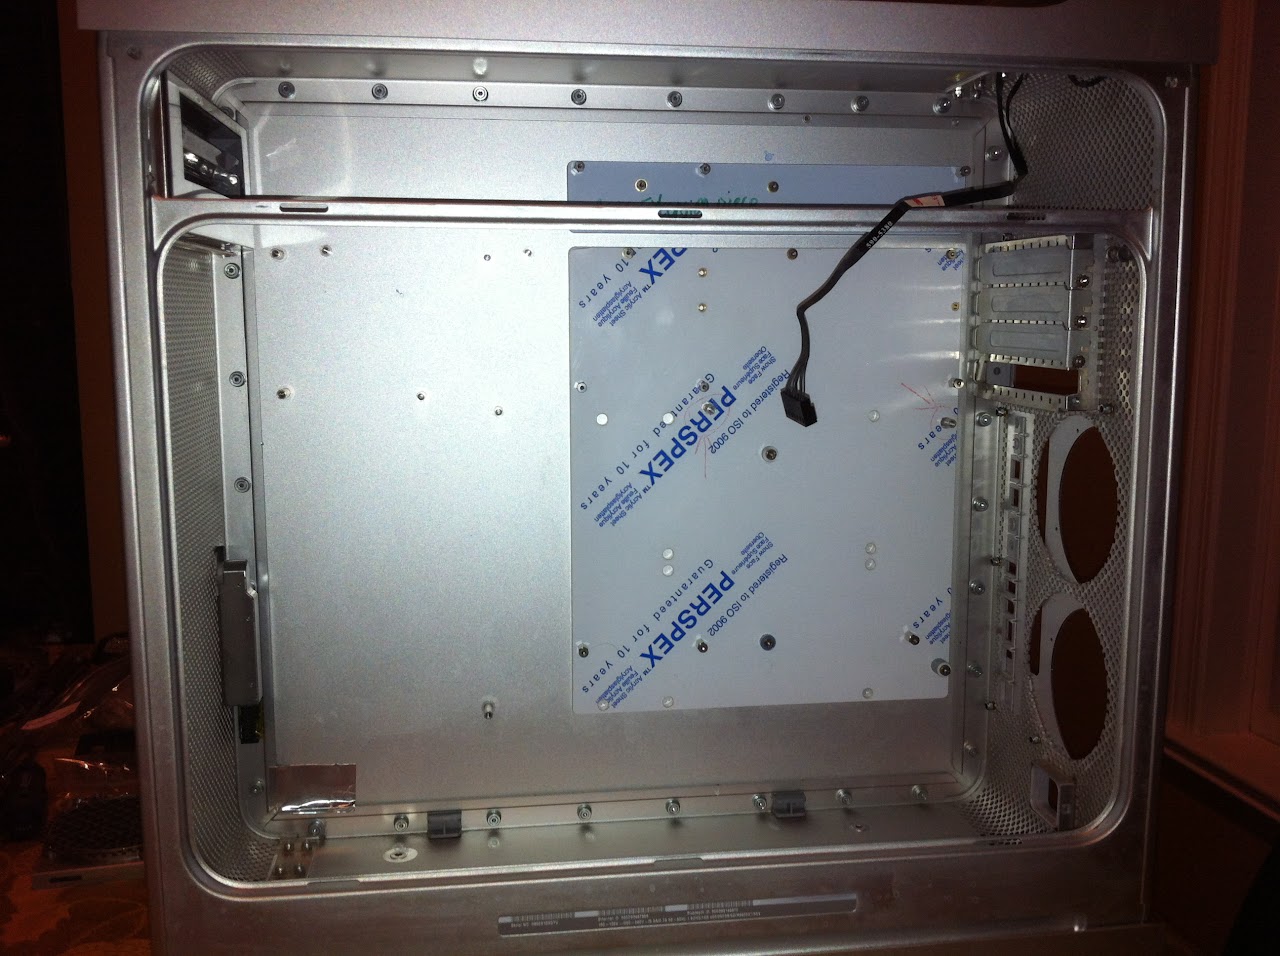
My first priority was that I didn't want to disassemble the ATX PSU. I am aware that some members have done it successfully, but didn't consider it as an option for my build. I wanted a clean unmodified plugin, no warranty voiding, easy replacement and the stock PSU cooling intact. As my Gigabyte system board is ATX form factor mounted all the way to the top of the G5 case, a top-rear mounted PSU wasn't an option; it had to be in the bottom.
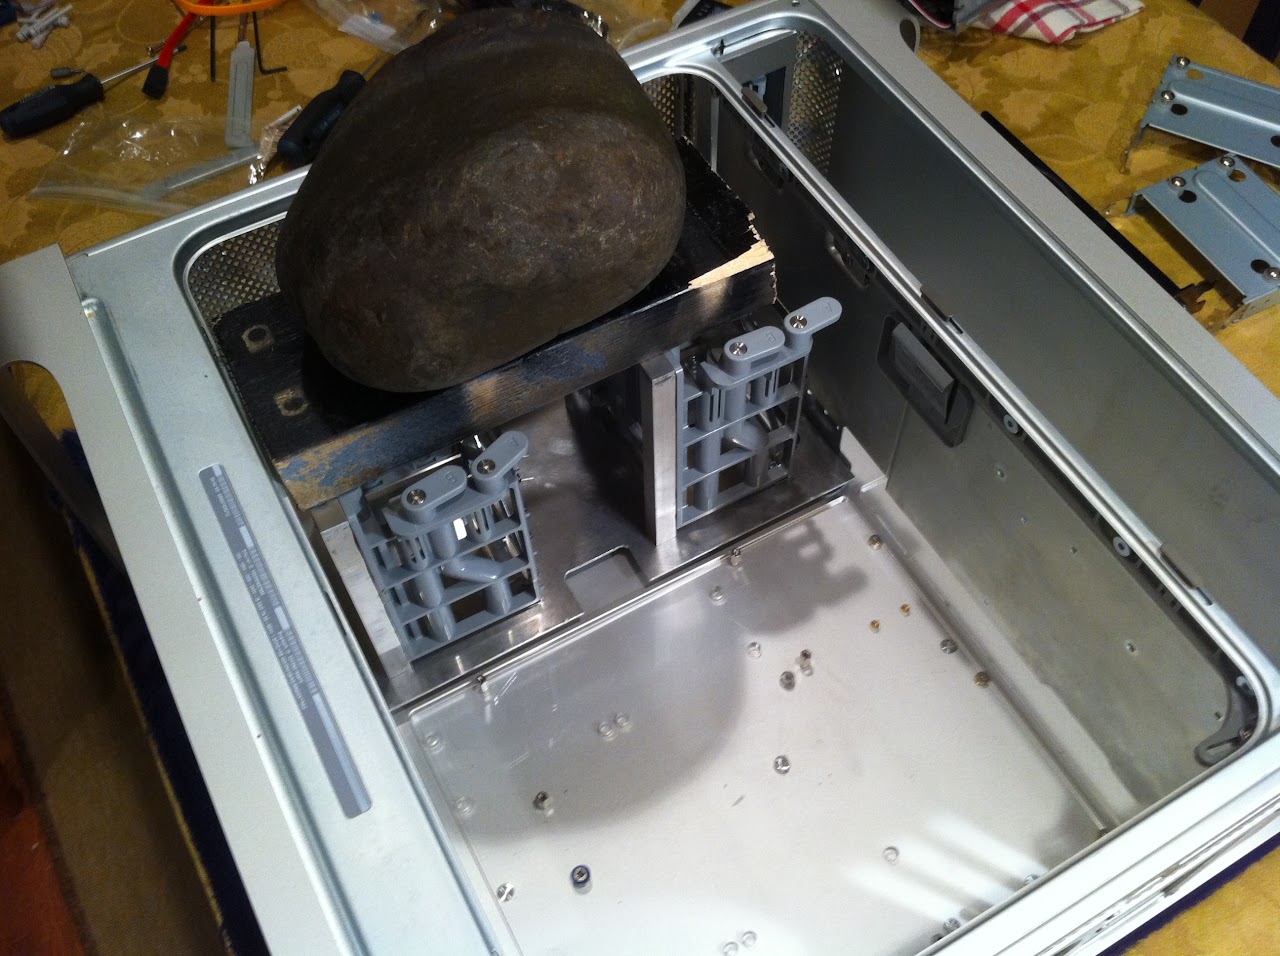
Second priority was keeping the floor of the case clutter-free in the final presentation. The decision had to be made to either cut the floor, or the bottom of the case. Apple threw modders our first bone here. The G5 sits on front a rear feet that elevate the case bottom (inside) 1 3/8" off the desktop. After measuring this, I realized that I could effectively cradle the excess 25mm (1") of the ATX PSU through a hole the bottom of the G5 with fan facing downward, and still have 3/8" clearance for drawing air upwards into the G5 PSU casing. The cradle would have to be made of a porous material that allowed the ATX PSU to breathe properly.
Using this method would allow the case floor to remain untouched and uncluttered by the bottom mounted ATX PSU, with little cosmetic detriment to the project overall, as the underside of the G5 case is perhaps the least noticeable location of all. It was worth a try!
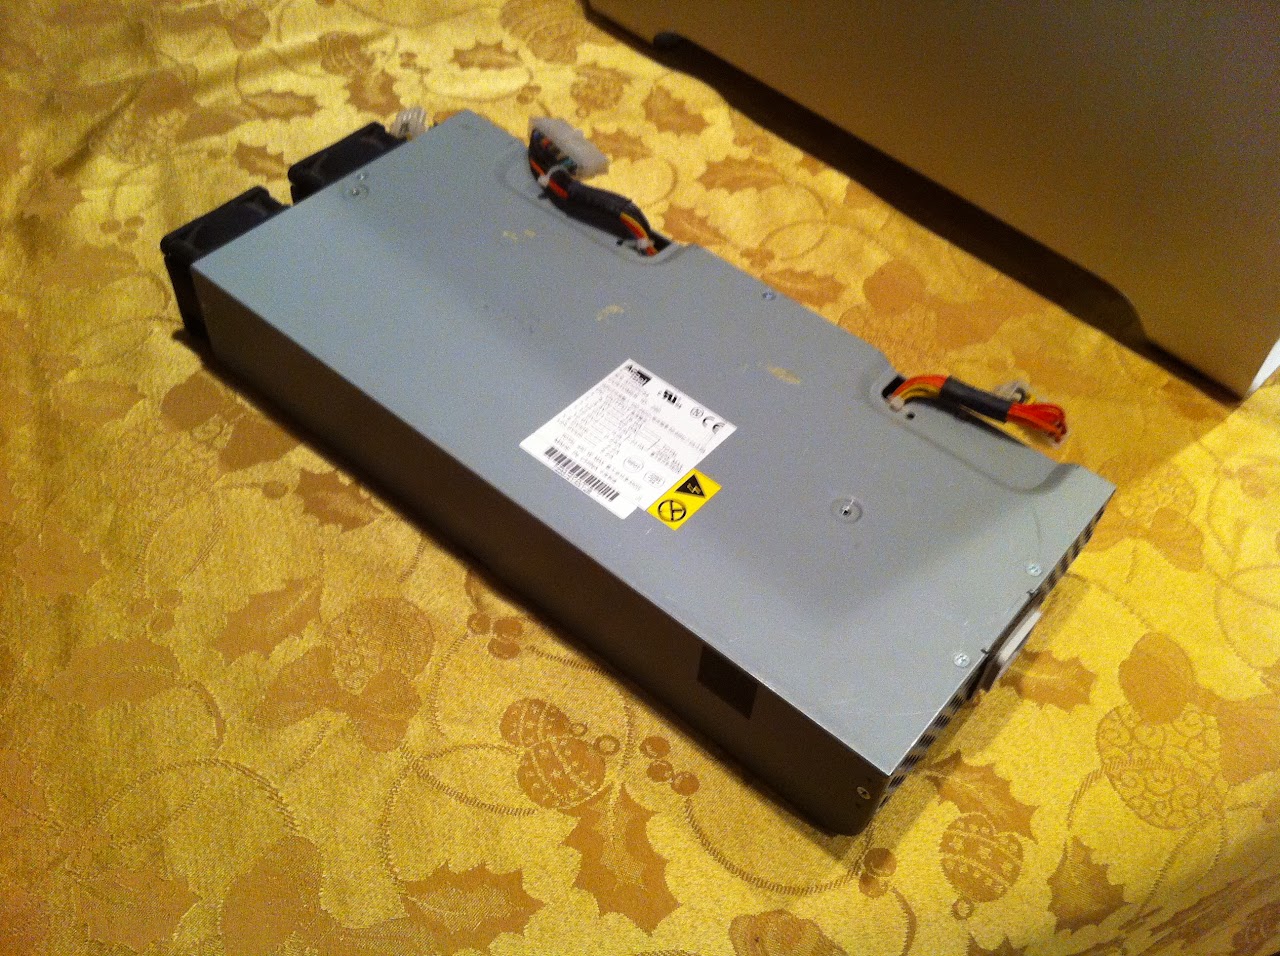
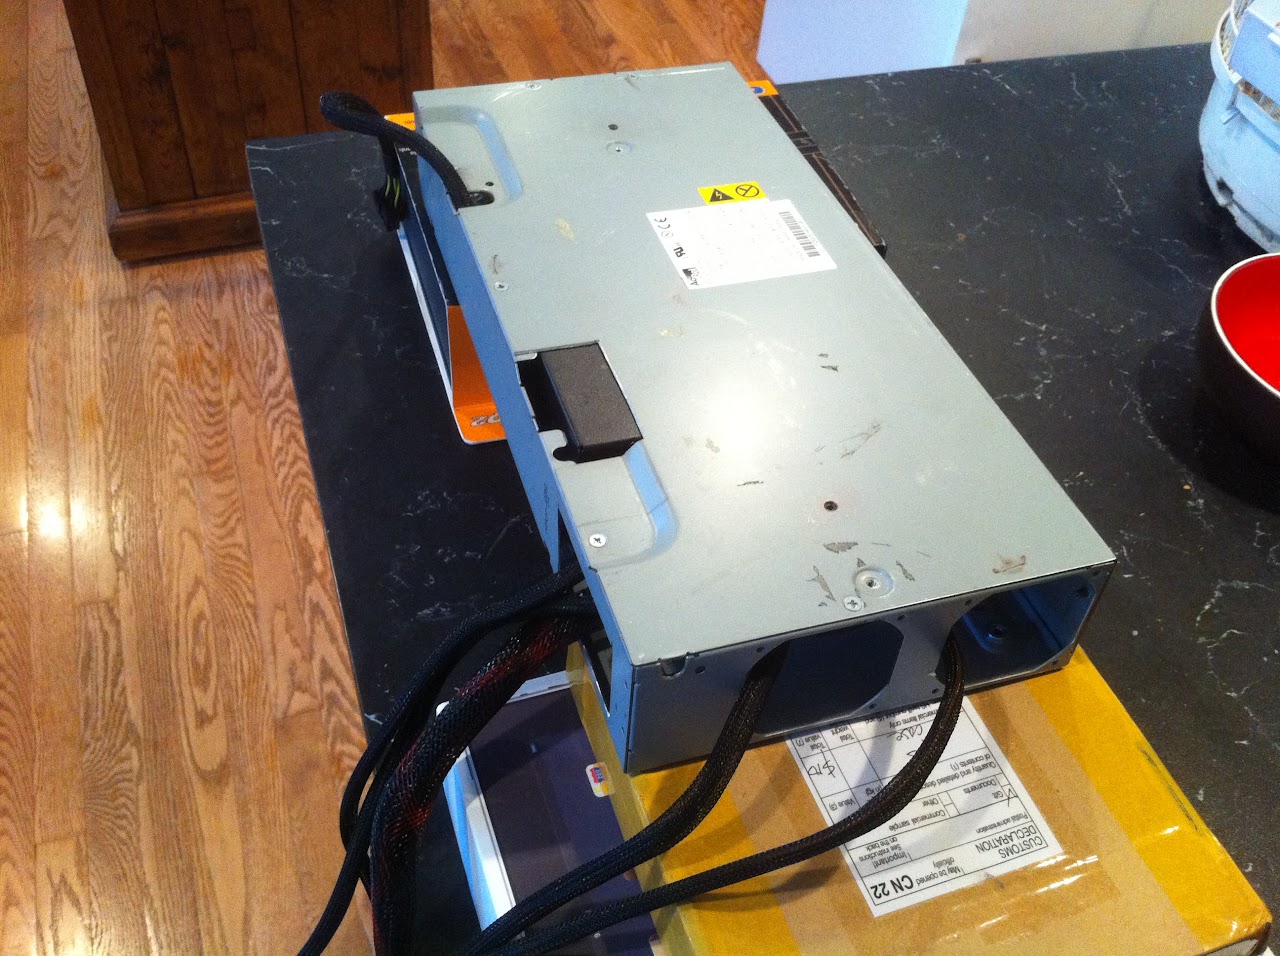
The victim -- A dead G5 PSU from eBay for 8 dollars
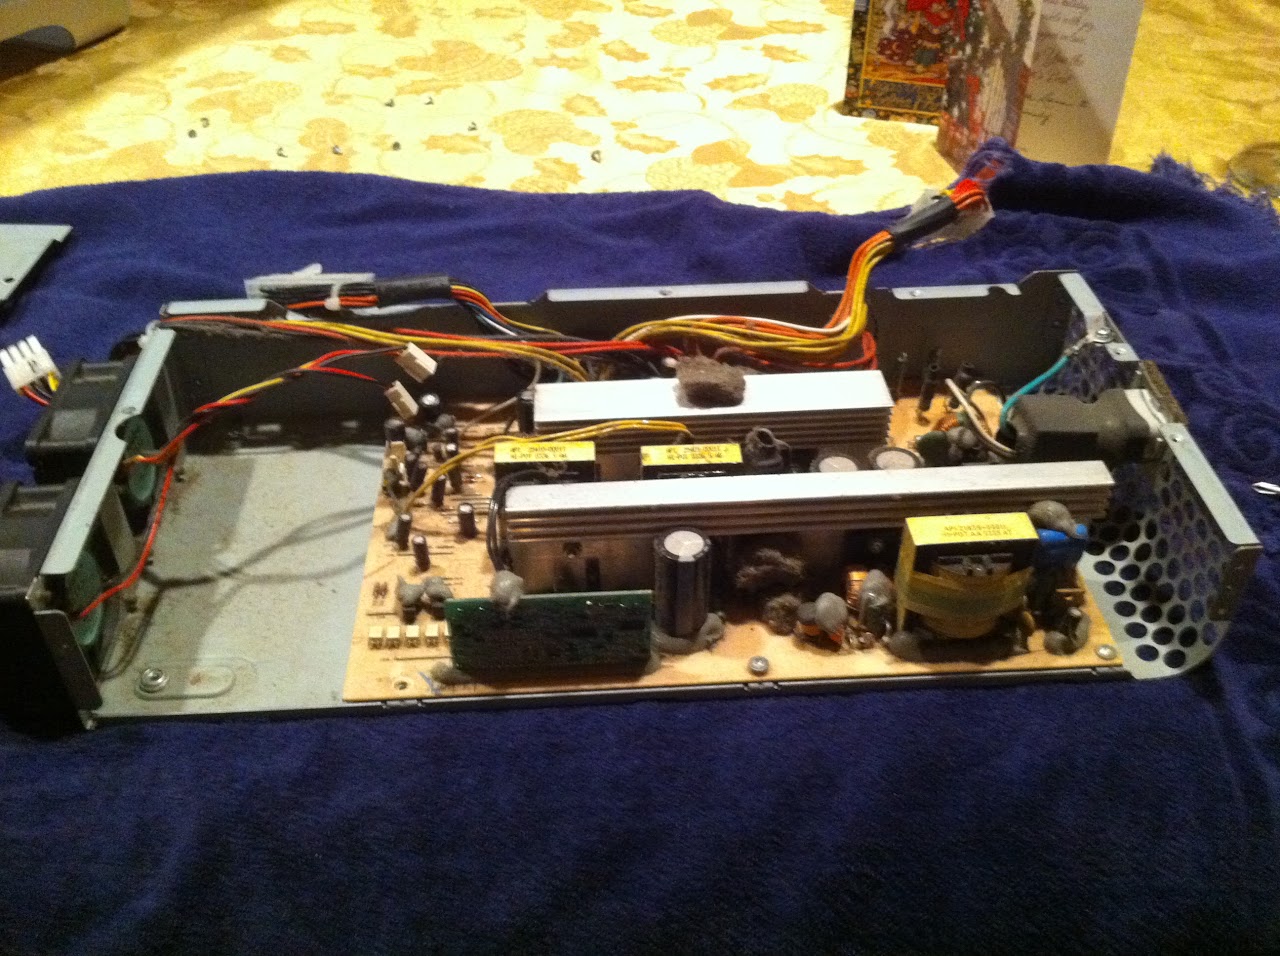
Ohhhhh this looks bad. Years worth of dust-balls
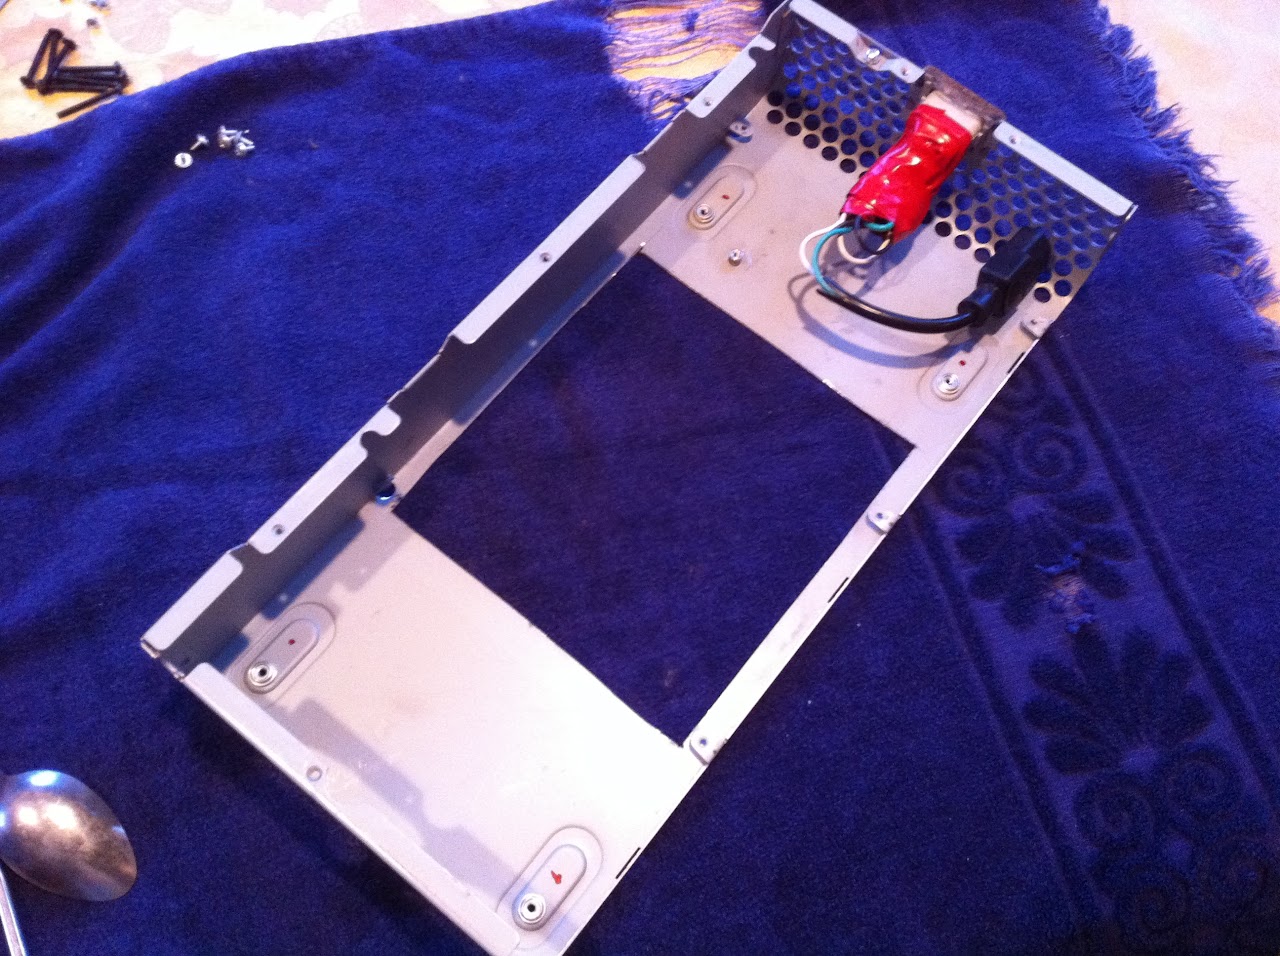
Gutted, Cut Out and Wired up to an ATX plug
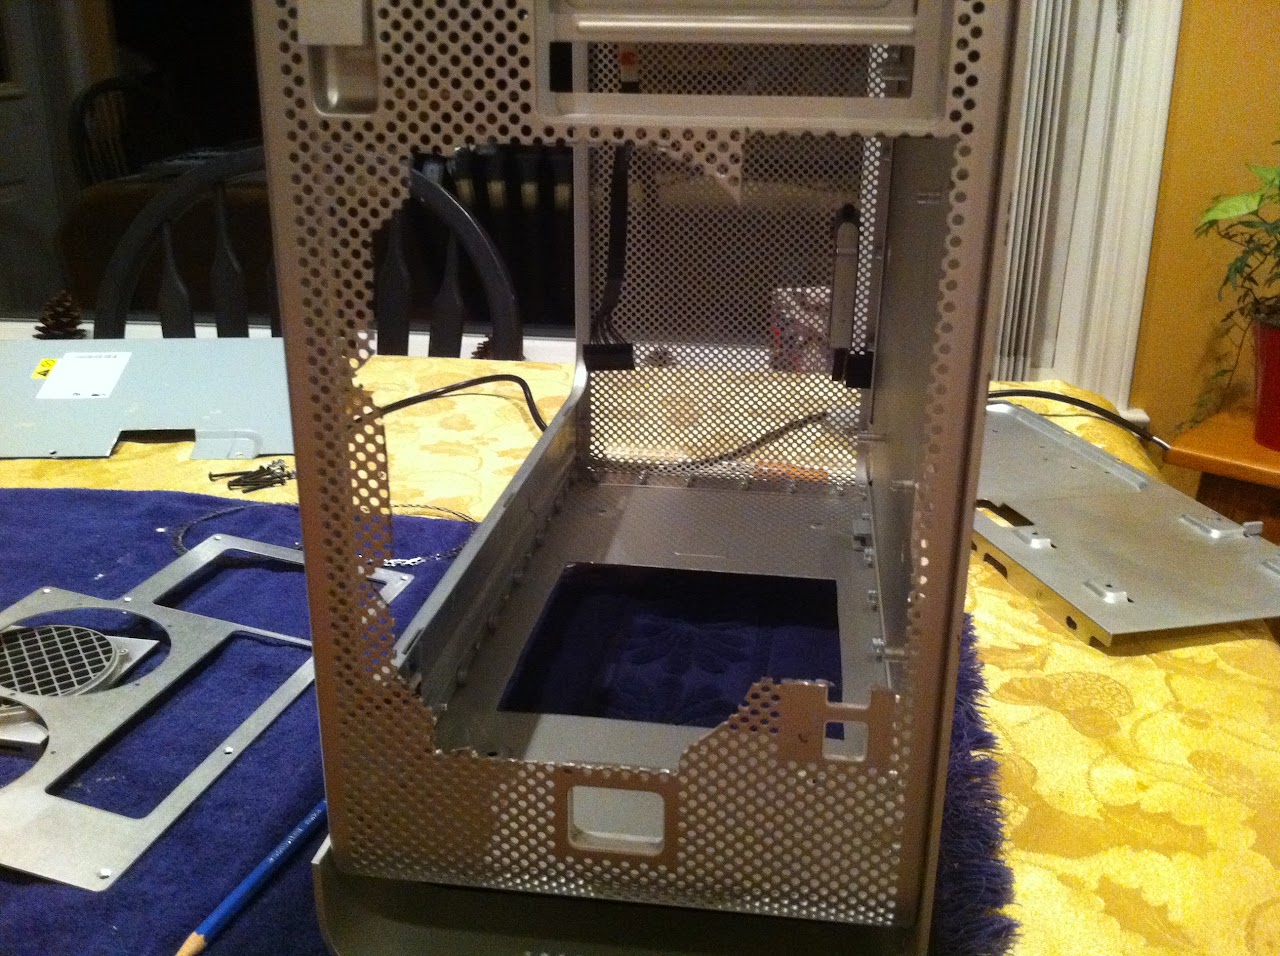
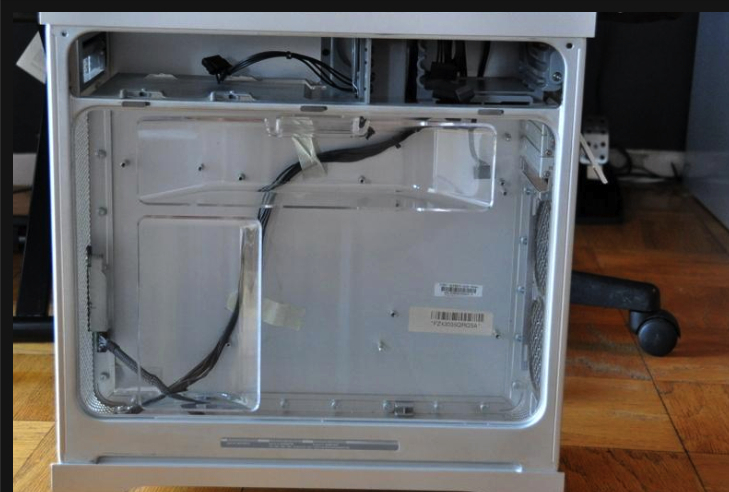
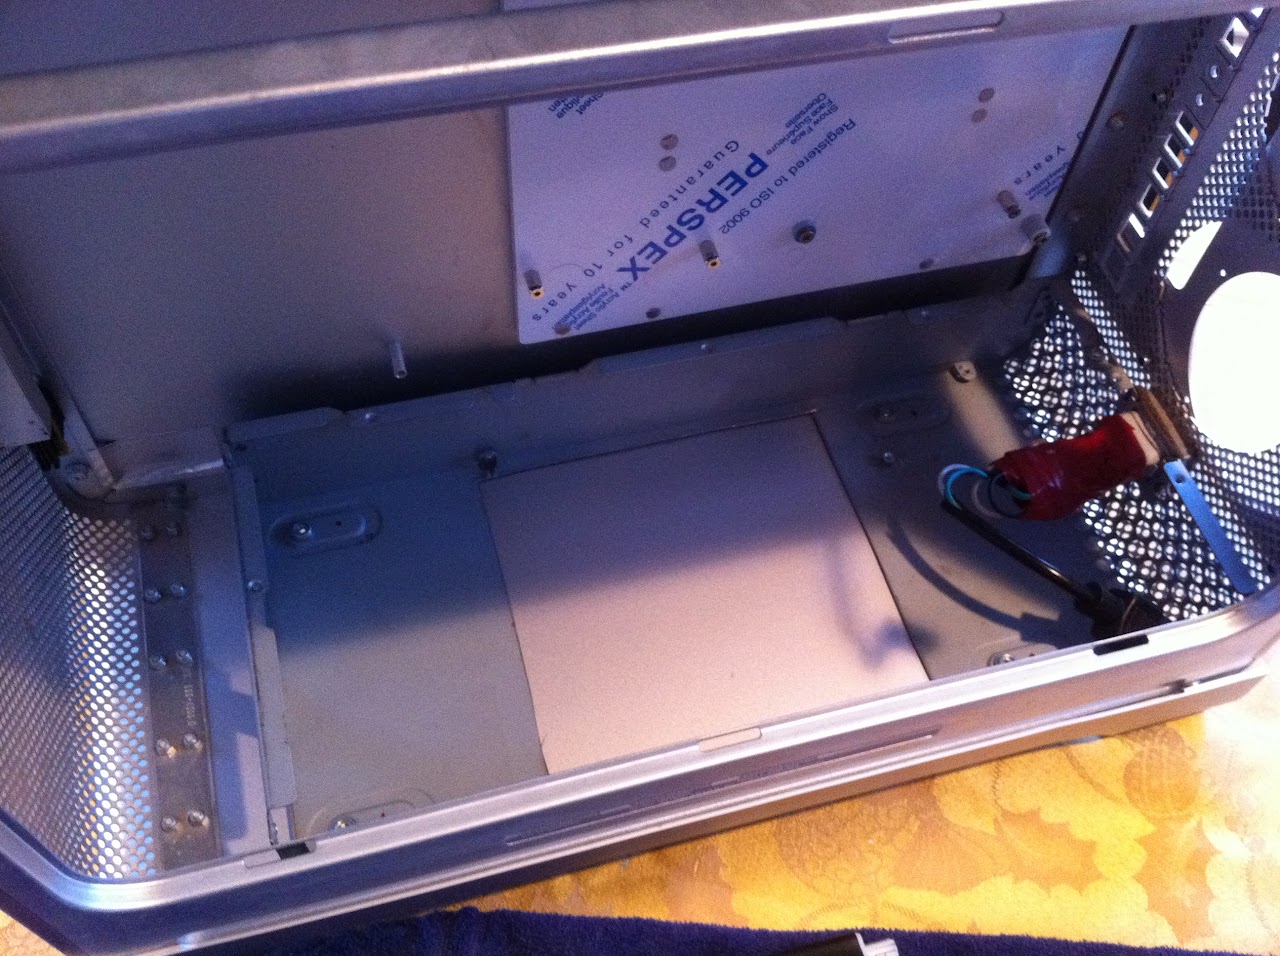
Mounted the PSU shell with four screws and traced a hole with pencil onto the bottom of the G5 for cutting.
IMPORTANT: The G5 PSU does NOT mount straight downward, it must slide approx 1/2" to the right after seating, so as to enter into the plug receptacle at the rear. Because of this, an extra 1/2" of material must be cut from the case bottom on the LEFT edge of the hole. I found this out after I tried to fit it for the first time. End result, the hole in the case bottom extends 1/2" (towards the FRONT of the case) beyond the hole cut in the PSU shell.
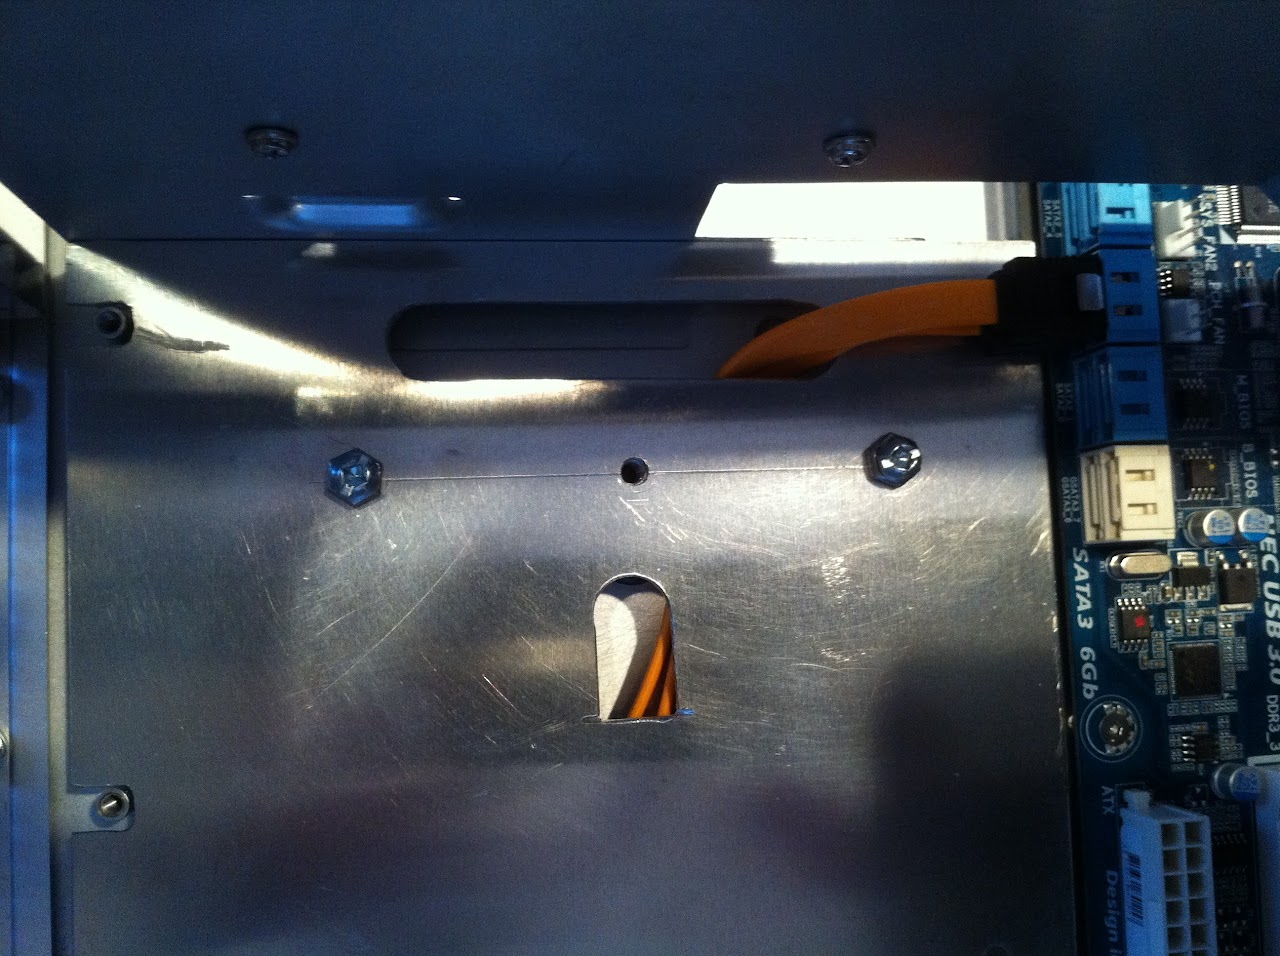
Apple throws us the second bone now. There is a gracious 1/2" of clearance between the G5 PSU and the case wall. This is a godsend for hiding cables later. To utilize this precious 1/2" of free space, I cut a small 'side door' in the PSU shell to run the mass of cables through later.
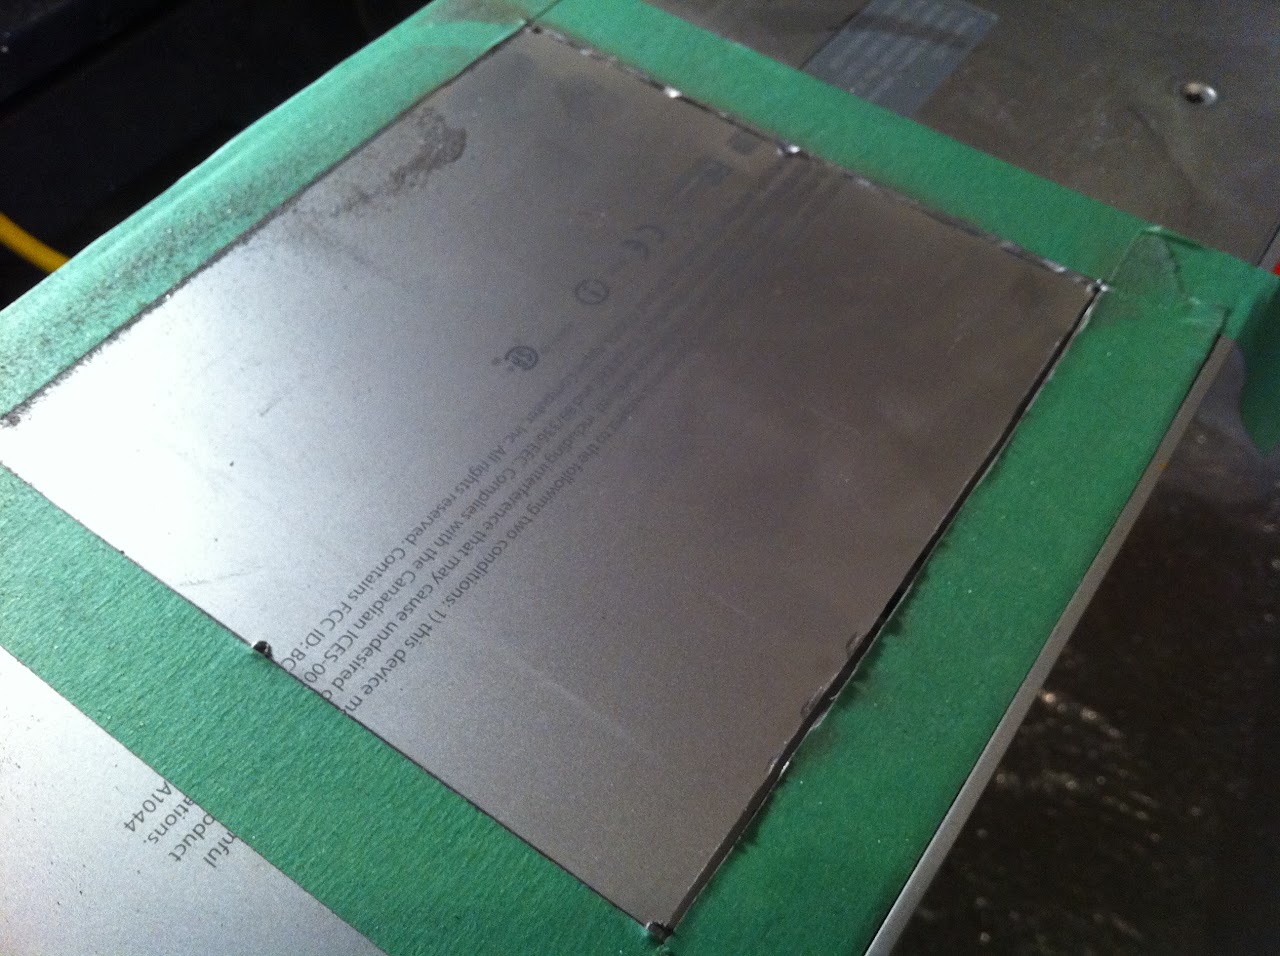
To cut the case bottom, an interesting problem presented itself... I couldn't fit my dremel inside the G5 case to cut the hole. To work around this, I drilled one small hole at each corner from the inside, then drew lines connecting them on the exterior of the case bottom. This made it possible to effective cut an accurate hole from the outside of the case. Accurate alignment of the PSU hole with the G5 case bottom hole is critical for proper seating of the PSU.
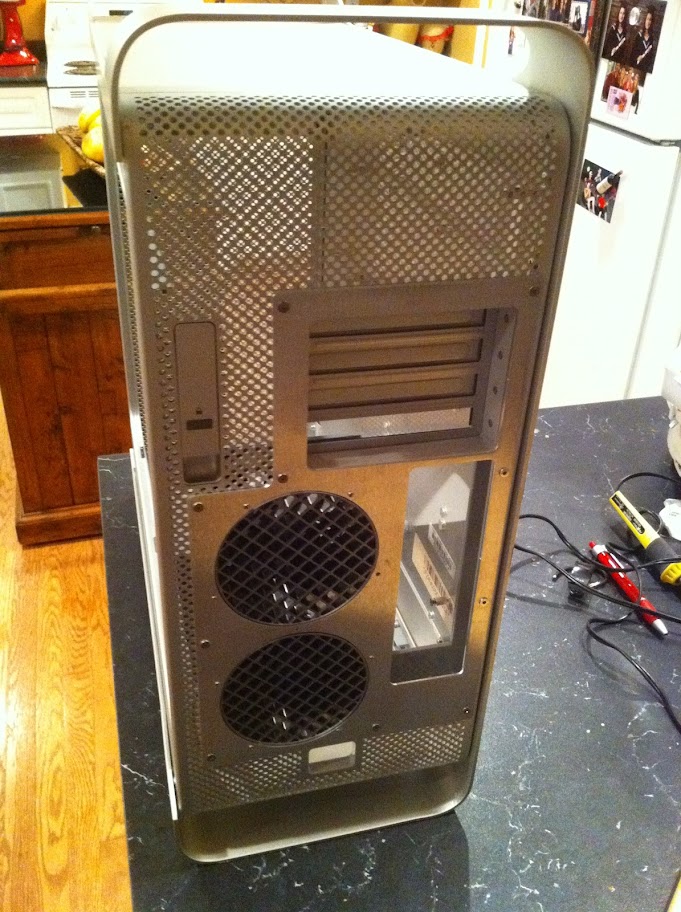
Case bottom -- cut and filed
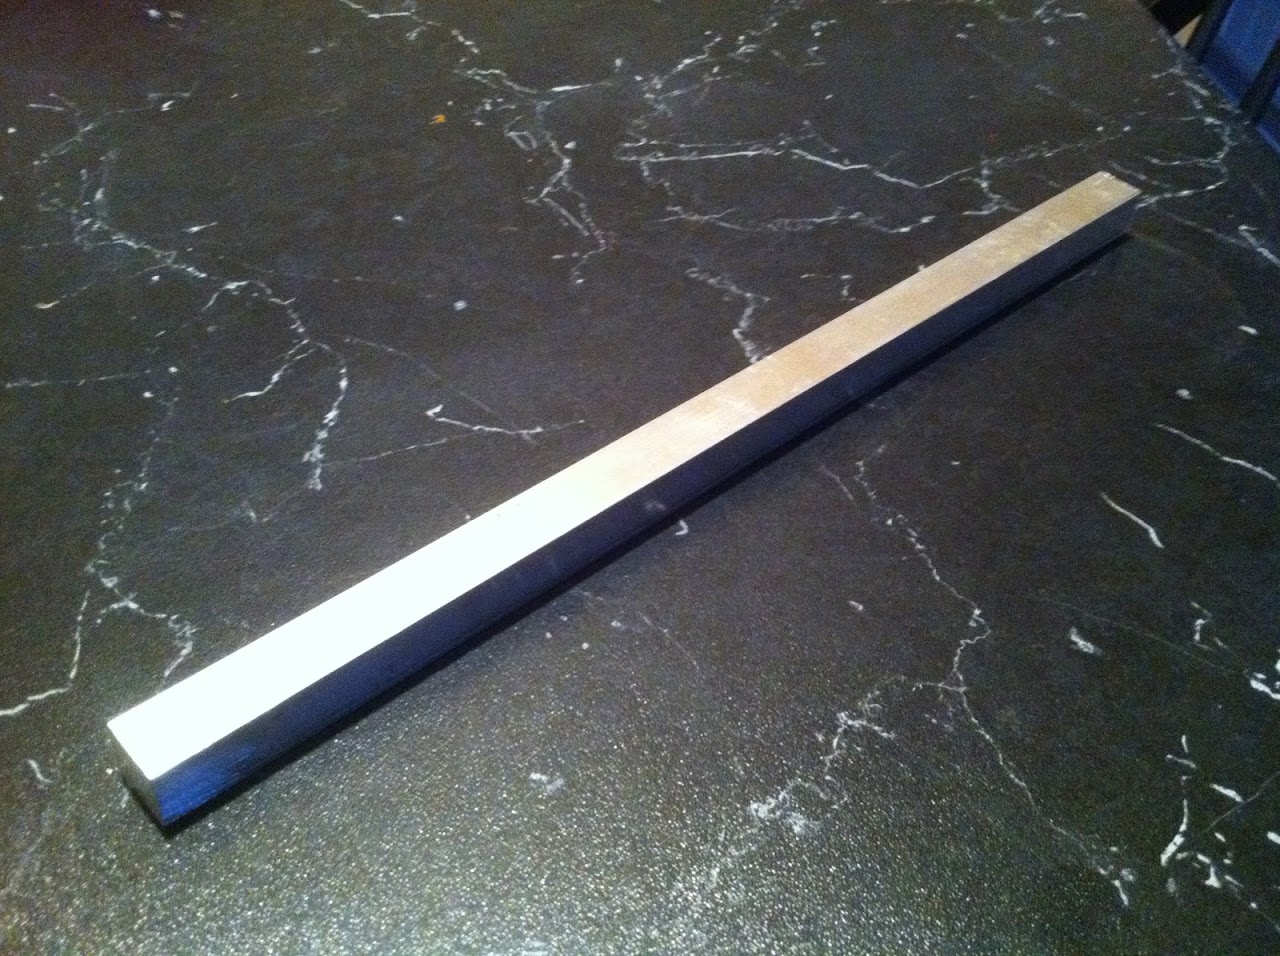
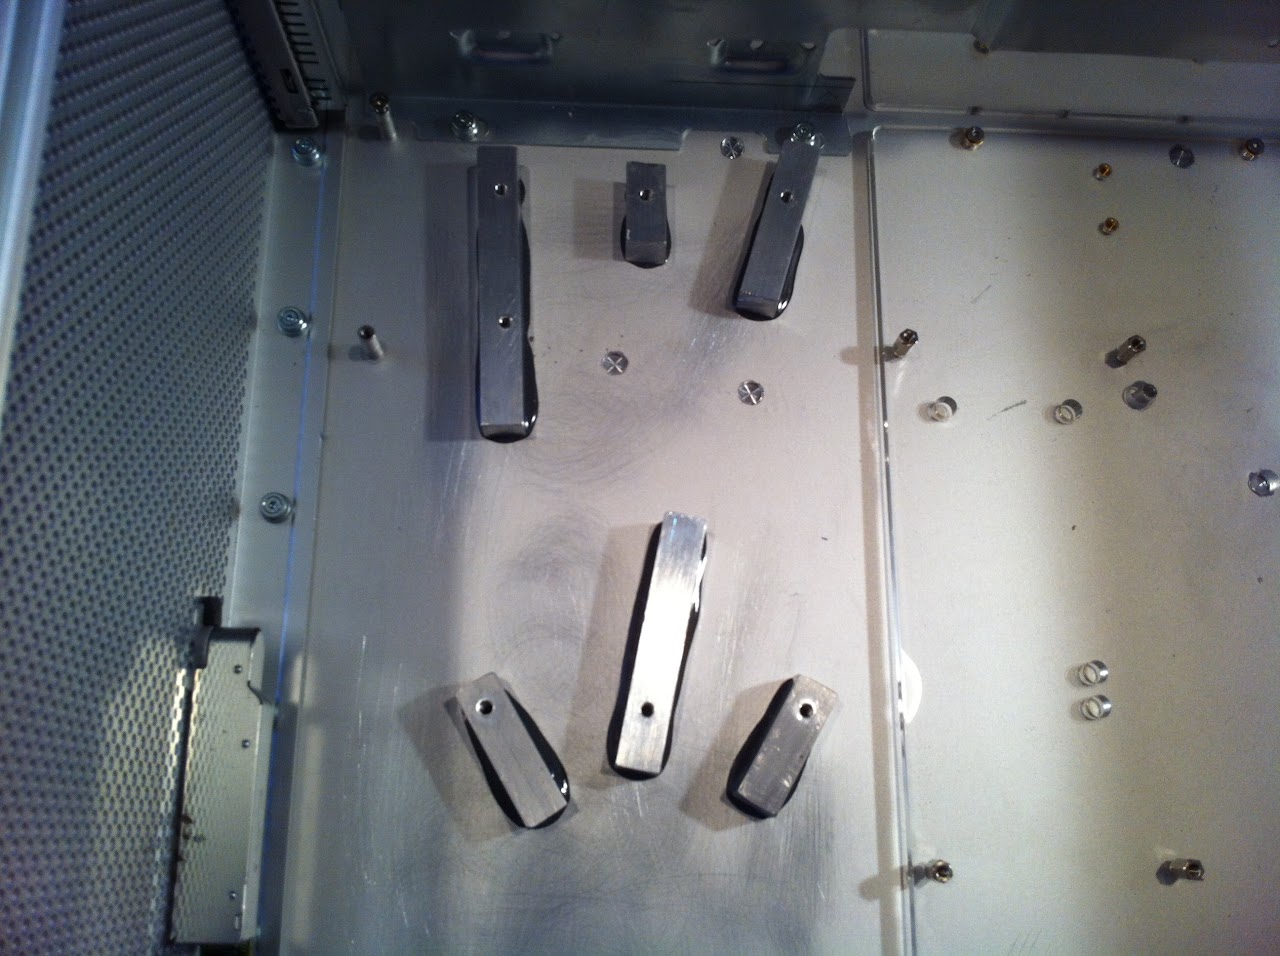
I found a perfect piece of thin perforated aluminum material on a construction site I was on. It bent easily to fit the shape of my ATX PSU and drop the unit downward the required 25mm out the bottom of the PSU shell. It allows the fan to draw plenty of air through the perforated holes, and was super easy to shape. I also installed four little sticky feet to sit the ATX PSU onto. I used JB Weld and a couple of short pieces of aluminum 1/8" flatbar to secure the mesh cradle to the inside of the G5 PSU shell.
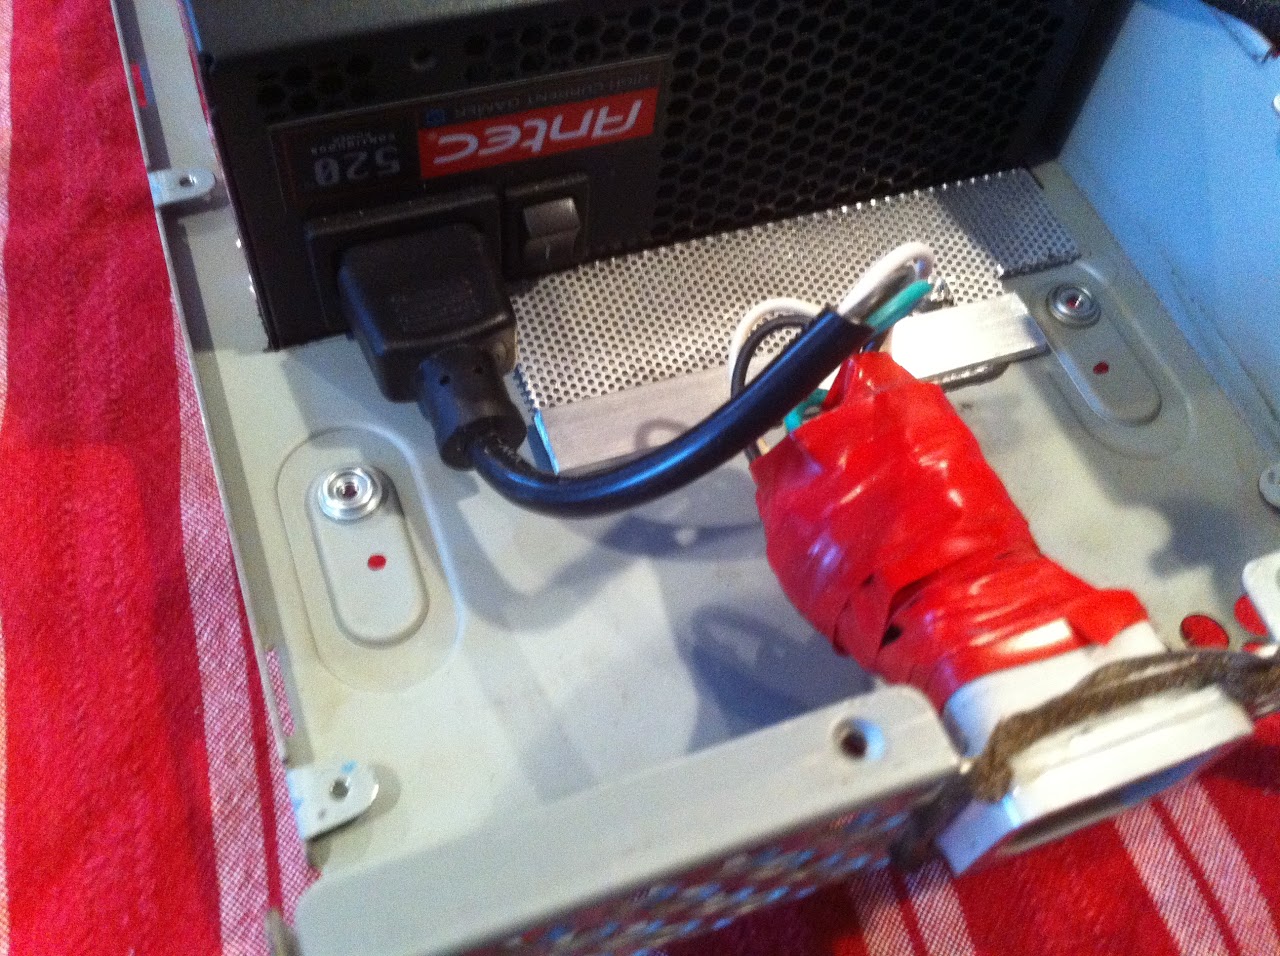
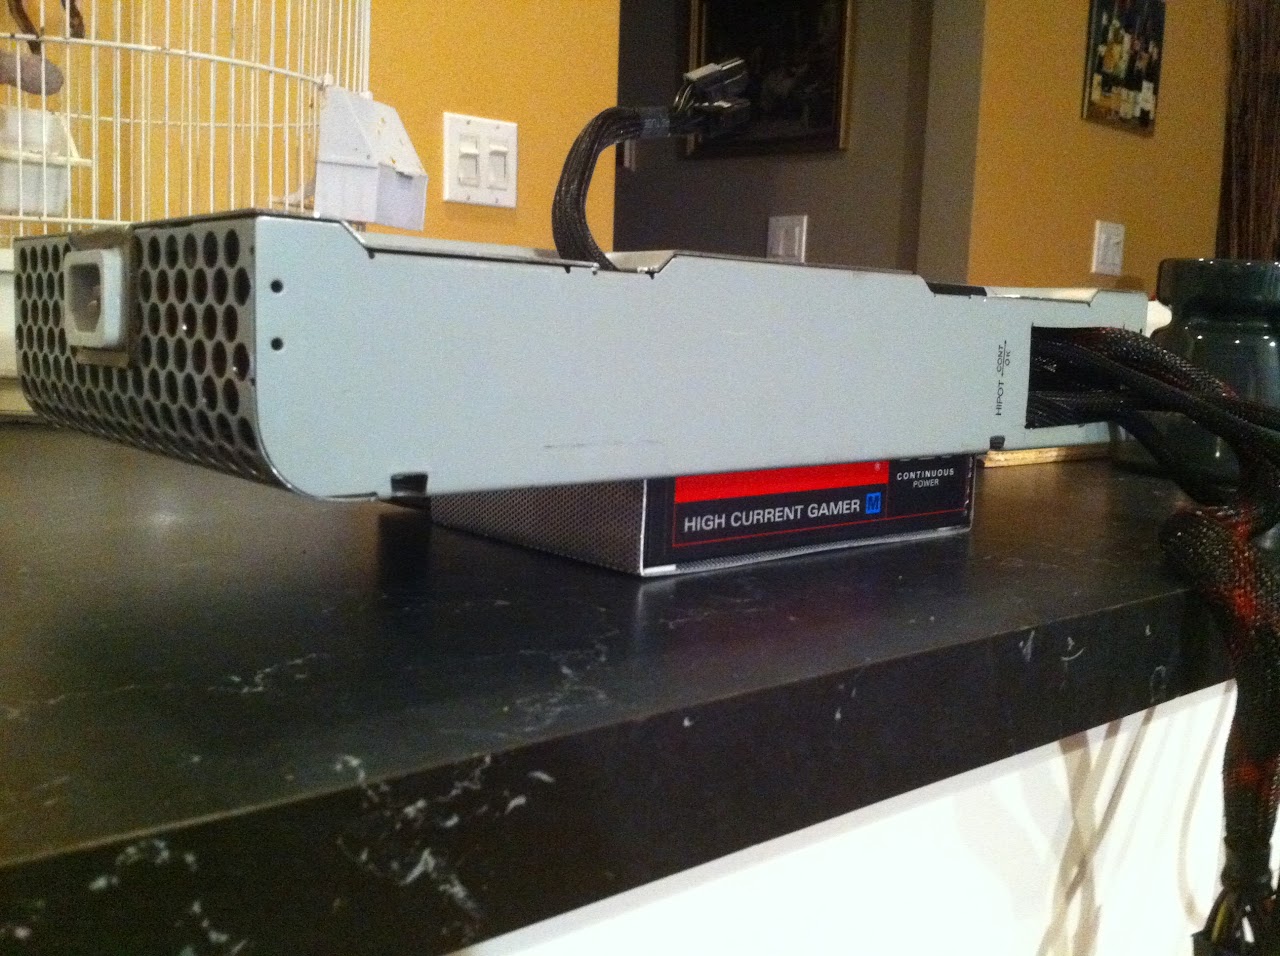
Seat the ATX PSU and route the ATX Cables
Plug in the ATX cord and turn on the power switch
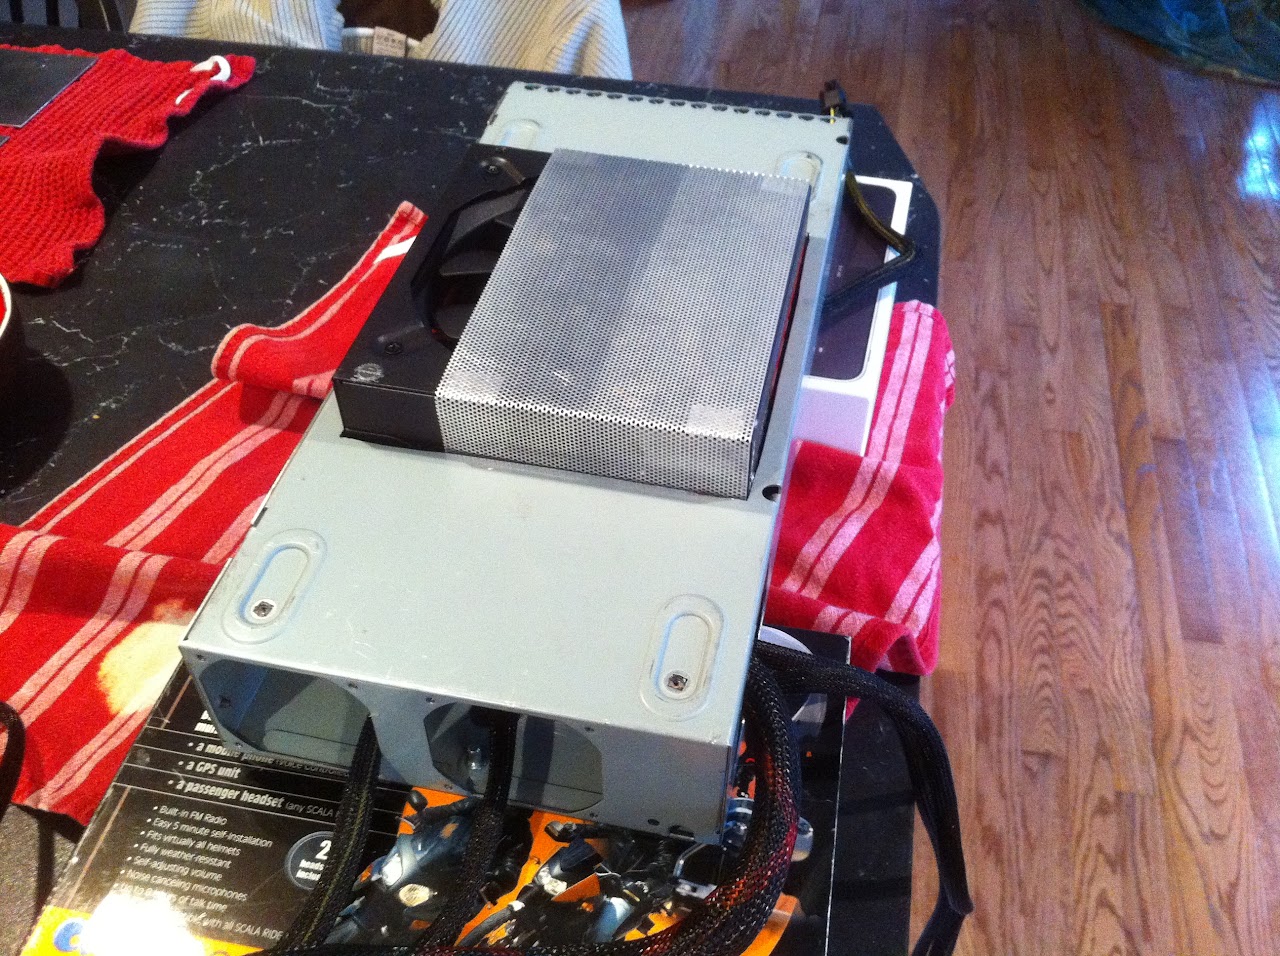
Mounted view from underside
Top views with G5 PSU lid closed and screwed down. Note that I had to cut one small piece of the shell lid to accomodate one corner of the ATX PSU. Very minor. Also note the tight tolerance of the closed lid to the surface of the ATX PSU. Careful measurement was critical in the heights to keep as much of the PSU in the shell as possible.
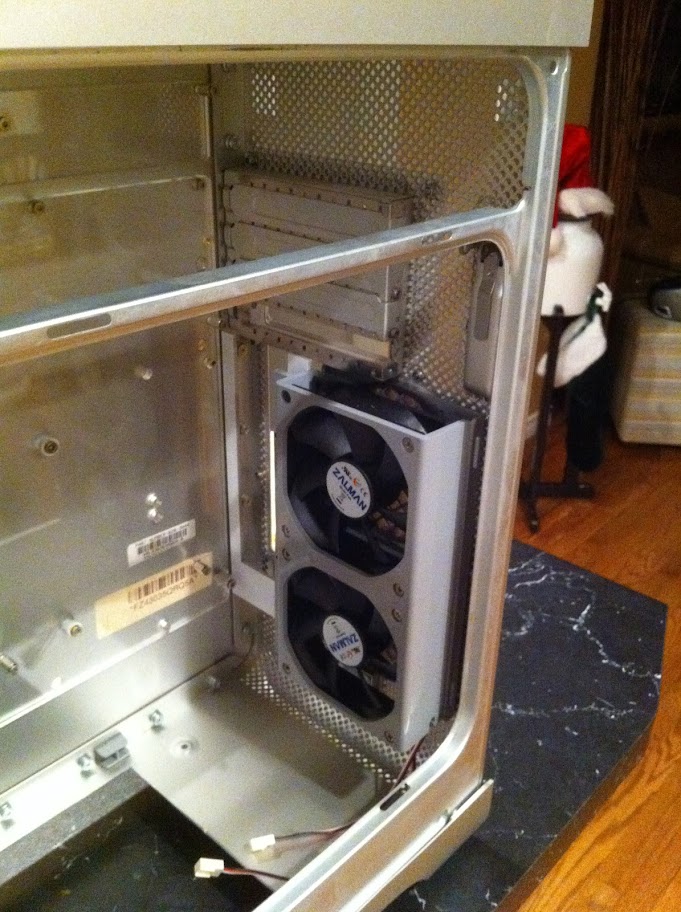
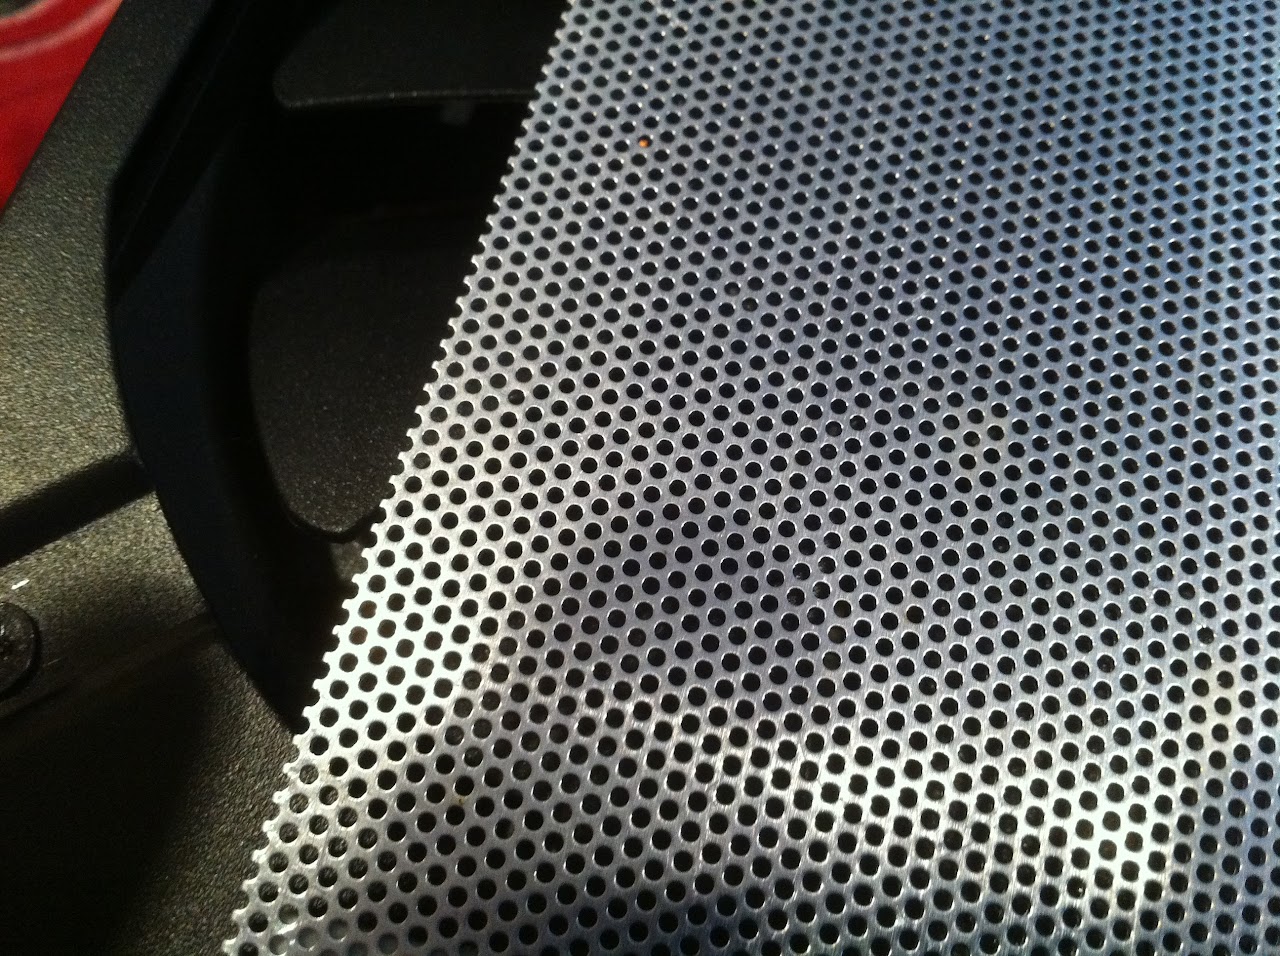
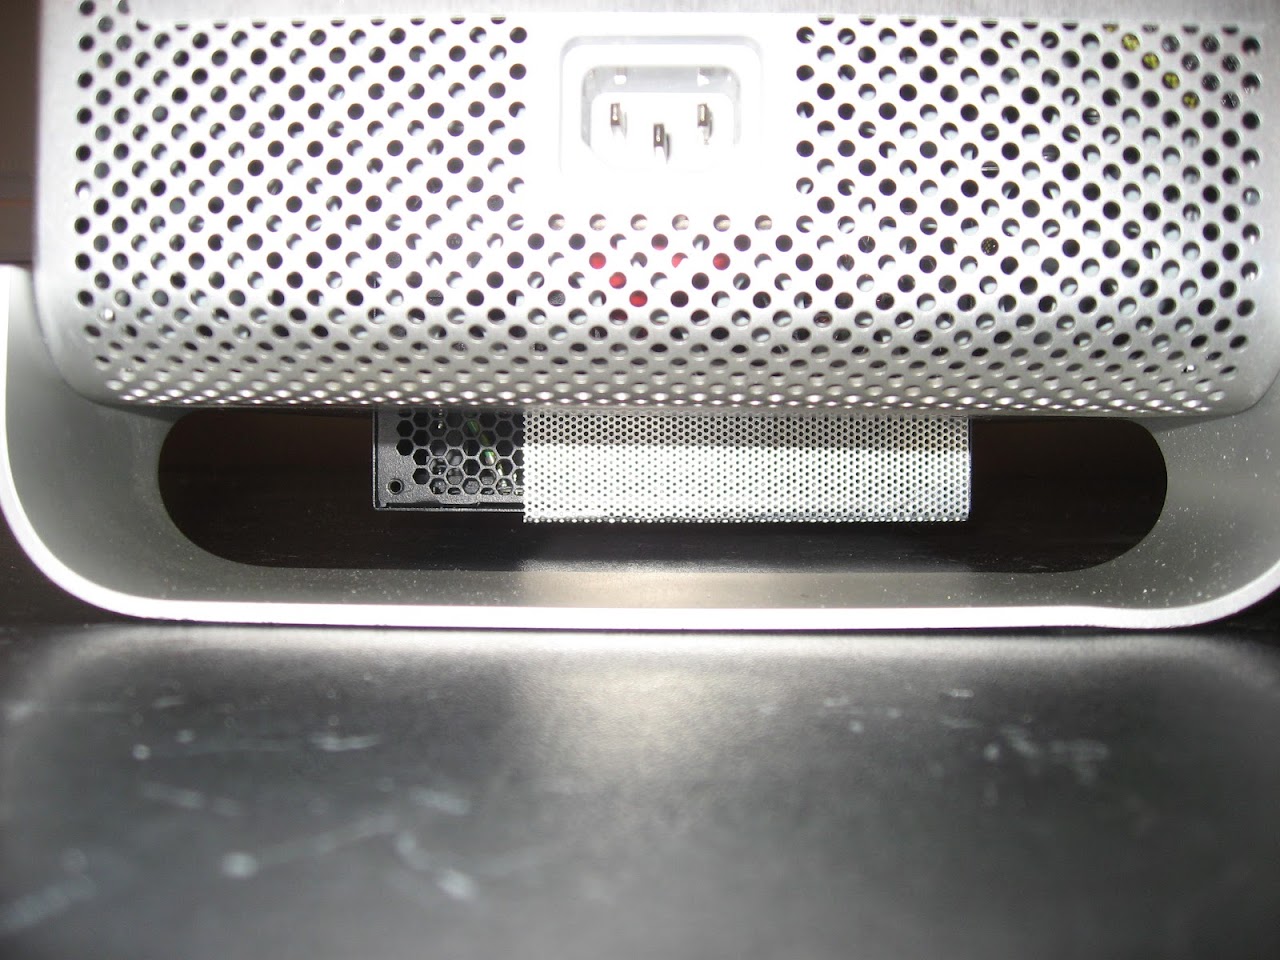
Closeup of PSU fan capable of breathing through aluminum mesh cradle
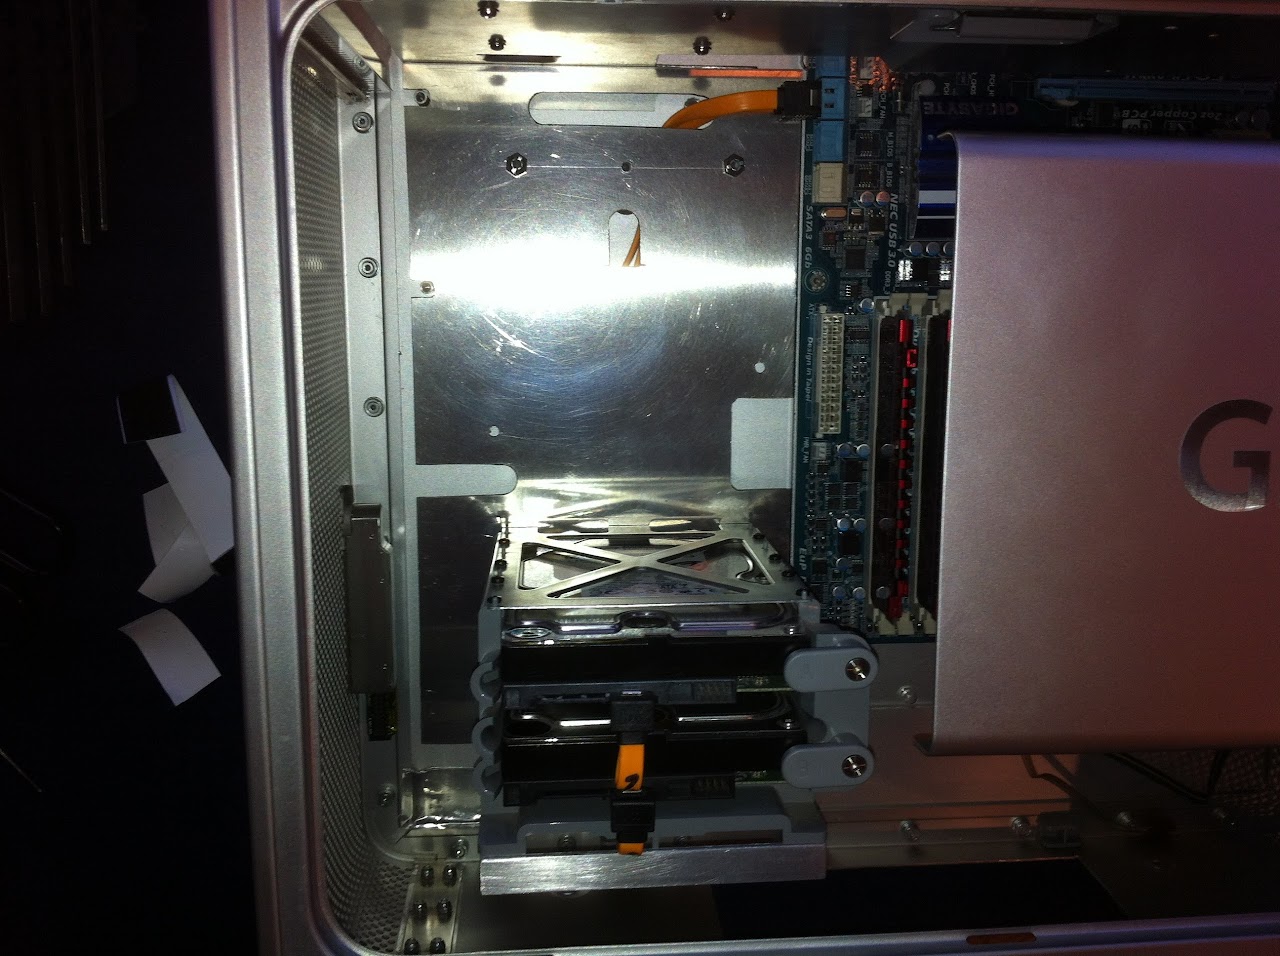
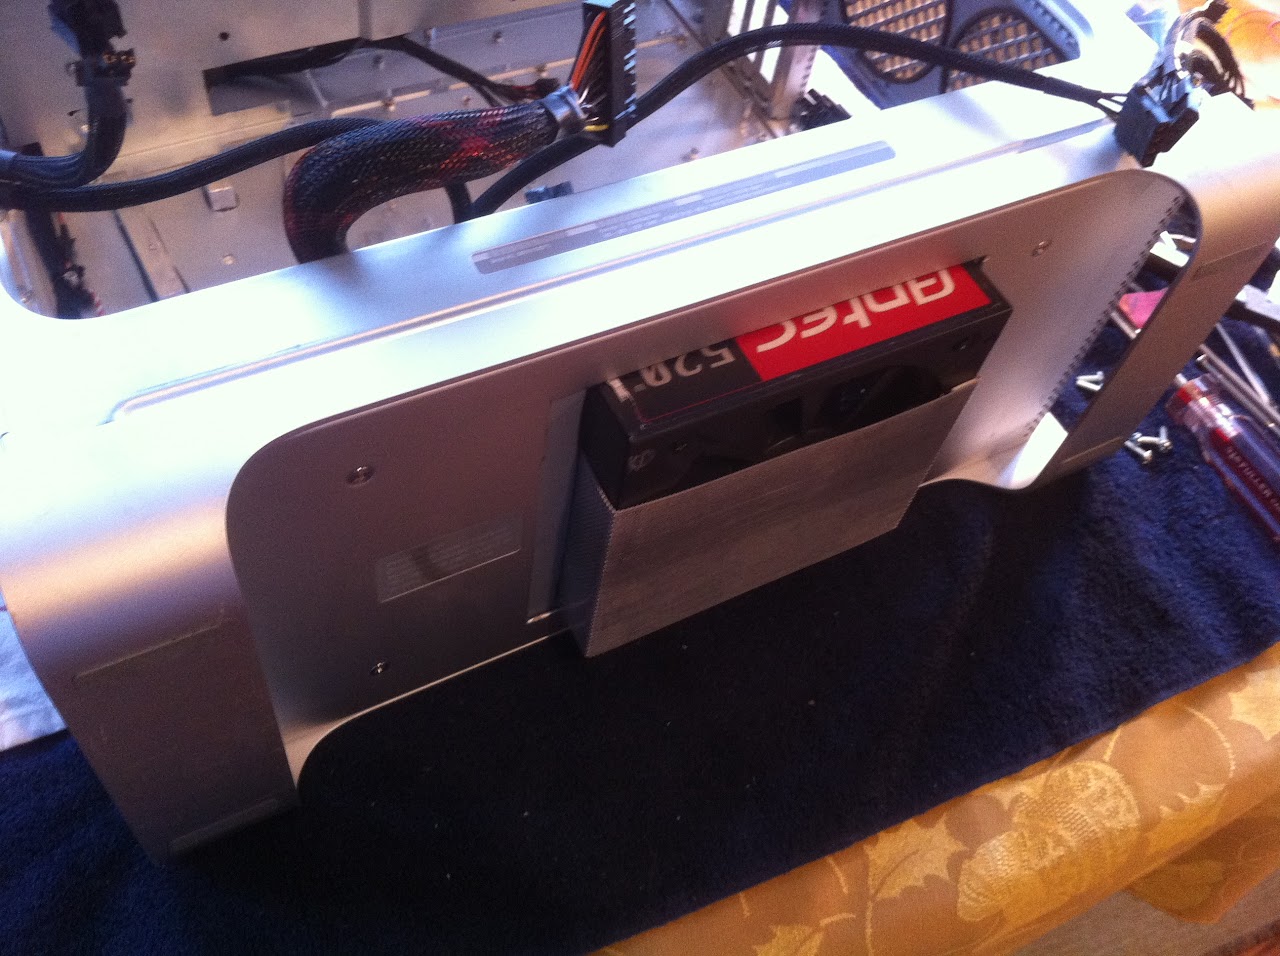
Test mounted in the case. 3/8" of clearance for proper breathing.
Underside clearance view (rear perspective)
Underside clearance view (side perspective)
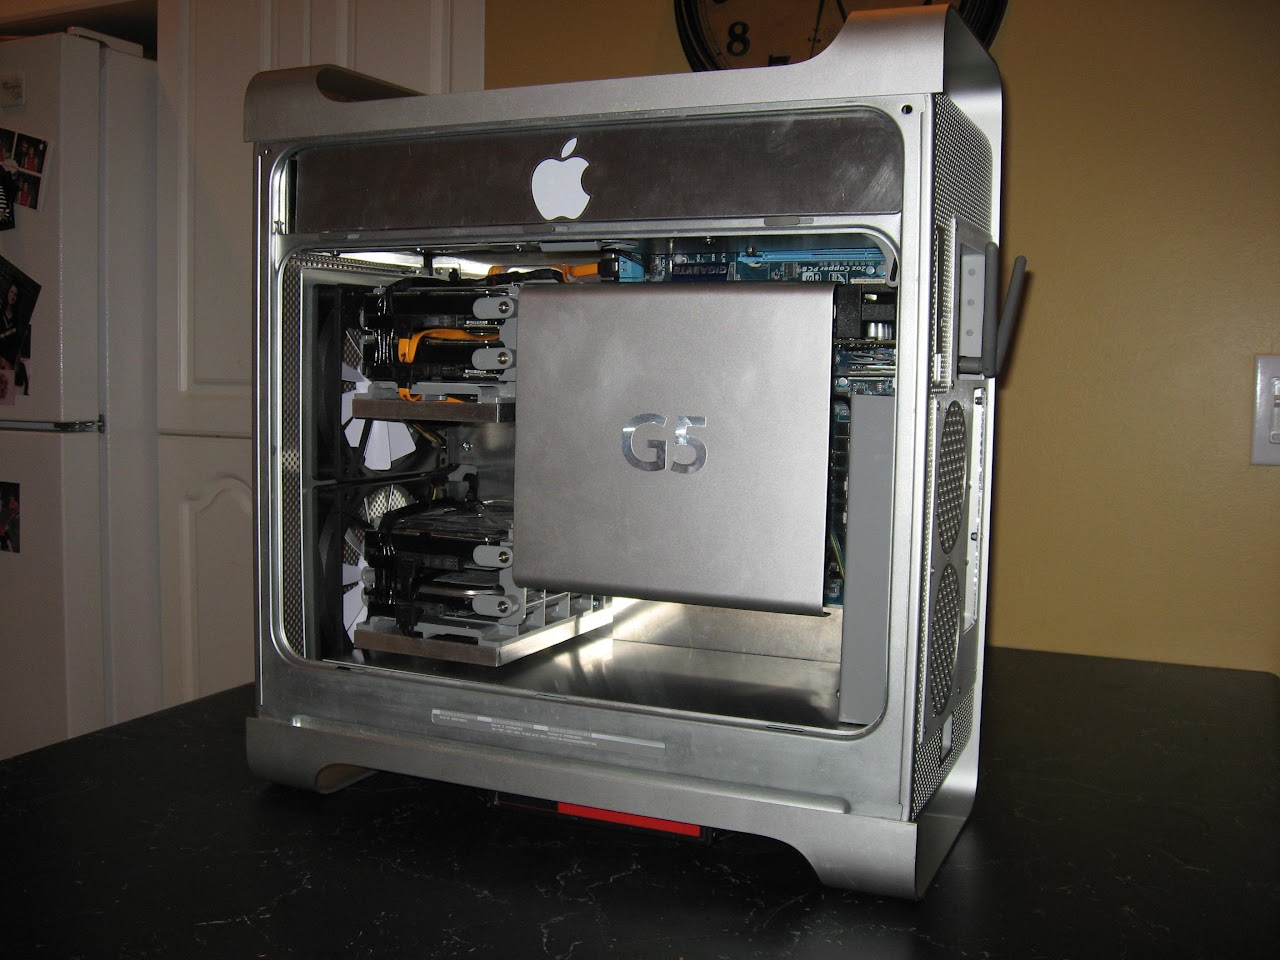
This was a long-winded post, but it showed all steps in achieving the end result. The PSU is barely noticeable now that the machine is finished (see pic from post #1), and a quick 'cool wet finger' test indicates good airflow into and out of the ATX PSU in its bottom mounted location.


")