- Joined
- Jun 6, 2011
- Messages
- 37
- Motherboard
- Gigabyte GA-H77-DS3H
- CPU
- Intel Core i7-3770K
- Graphics
- Geforce GTX 770 (2GB) + Geforce GTX 650 (1GB)
- Mac
- Classic Mac
- Mobile Phone
Hey guys.
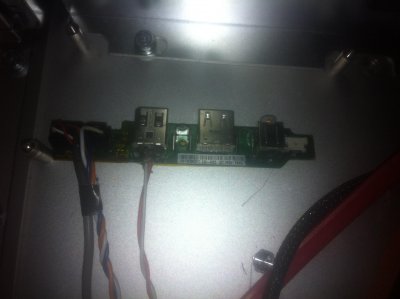
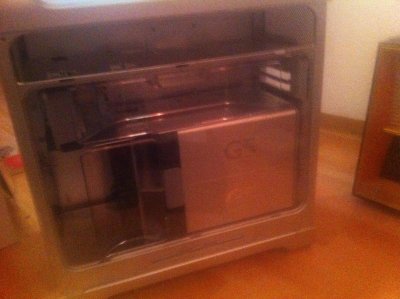
So after a long time i finally decided to buy a Powermac G5 Case off eBay. Luckily the Guy who sold it told me the case was never used and just an replacement part Powermac. So the Case i received was pretty much untouched and only the hardware was missing. Also i've been lucky that the guy sent me the power supply with it for free. Then i bought a logic board that isn't working off ebay. I will cut the board away and only use the I/O Panel. My Dad who is an electrician will provide the wiring so everything is safe and done properly.
My Goals:
- keep the case as close as original
- don't touch the outside of the case at all costs
- keep as much from the airflow design intact as possible
- maintain a good cable management
So far:
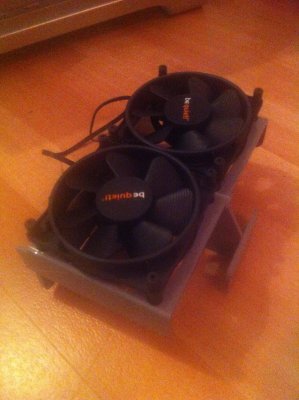
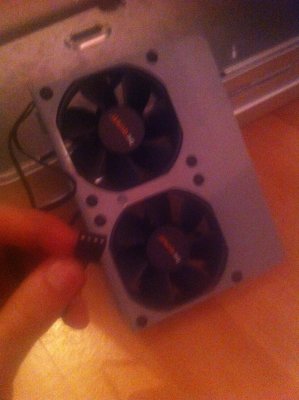
After research how to use the stock fans i decided to buy new fans. I wanted to use the PWM signal from my Motherboard to make it efficient and not just put the stock fans on a molex and let them run on 12/5v. I bought a set of beQuiet! 92mm fans to replace the Fans that are just next to the CPU (pictures included)
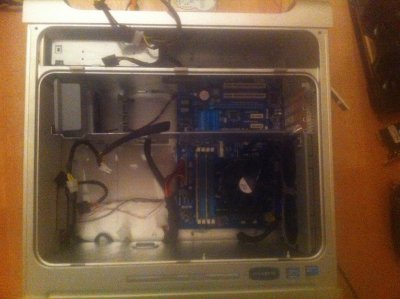
I used pliers remove the placeholders. After that the preparation continued with using pencil to mark where the screwholders should be. I did that by screwing the holders on the motherboard and connect my graphic cards onto it. i placed the cards where the PCI I/O on the back of the case were and then knew where the holder should be. I used a pencil to mark the area and then made it rough. Done that i put the epoxy glue on it and place the motherboard on top with the graphic cards to the slots and let it dry for some minutes.
Also i tried to plan everything correctly so i know what metal parts i have to cut away and where the hdd's should belong since my board is too long and the 2nd graphic card takes too much space resulting in a non usable hard drive cage.
Results:
ATX screwholders
Graphicscards are in place
Fans replaced with PWM compatible ones
---
Anyway this will be my log and i hope i will get everything done till next year or shortly after") peace
peace
So after a long time i finally decided to buy a Powermac G5 Case off eBay. Luckily the Guy who sold it told me the case was never used and just an replacement part Powermac. So the Case i received was pretty much untouched and only the hardware was missing. Also i've been lucky that the guy sent me the power supply with it for free. Then i bought a logic board that isn't working off ebay. I will cut the board away and only use the I/O Panel. My Dad who is an electrician will provide the wiring so everything is safe and done properly.
My Goals:
- keep the case as close as original
- don't touch the outside of the case at all costs
- keep as much from the airflow design intact as possible
- maintain a good cable management
So far:
After research how to use the stock fans i decided to buy new fans. I wanted to use the PWM signal from my Motherboard to make it efficient and not just put the stock fans on a molex and let them run on 12/5v. I bought a set of beQuiet! 92mm fans to replace the Fans that are just next to the CPU (pictures included)
I used pliers remove the placeholders. After that the preparation continued with using pencil to mark where the screwholders should be. I did that by screwing the holders on the motherboard and connect my graphic cards onto it. i placed the cards where the PCI I/O on the back of the case were and then knew where the holder should be. I used a pencil to mark the area and then made it rough. Done that i put the epoxy glue on it and place the motherboard on top with the graphic cards to the slots and let it dry for some minutes.
Also i tried to plan everything correctly so i know what metal parts i have to cut away and where the hdd's should belong since my board is too long and the 2nd graphic card takes too much space resulting in a non usable hard drive cage.
Results:
ATX screwholders
Graphicscards are in place
Fans replaced with PWM compatible ones
---
Anyway this will be my log and i hope i will get everything done till next year or shortly after
peaceAttachments
-
 2013-12-07 15.53.47.jpg732.5 KB · Views: 157
 -
 2013-12-07 15.55.23.jpg728.8 KB · Views: 172
 -
 2013-12-07 15.55.32.jpg768.3 KB · Views: 169
 -
 2013-12-07 15.56.16.jpg302.8 KB · Views: 163
 -
 2013-12-07 15.56.51.jpg717.6 KB · Views: 159
 -
 2013-12-07 16.51.26.jpg744.1 KB · Views: 157
 -
 2013-12-07 16.51.39.jpg734.8 KB · Views: 156
 -
 2013-12-07 16.52.37.jpg761.9 KB · Views: 165
 -
 2013-12-07 17.12.45.jpg814.5 KB · Views: 148
 -
 2013-12-07 17.12.56.jpg765.7 KB · Views: 158
 -
 2013-12-07 17.28.33.jpg760.3 KB · Views: 158
 -
 2013-12-07 17.29.00.jpg753.3 KB · Views: 123