- Joined
- Jul 18, 2011
- Messages
- 297
- Motherboard
- Z77X-UP5 TH
- CPU
- 3570K
- Graphics
- R9 270X
- Mac
- Classic Mac
- Mobile Phone
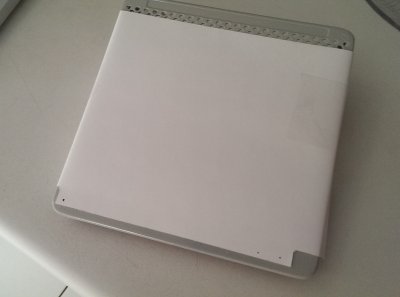
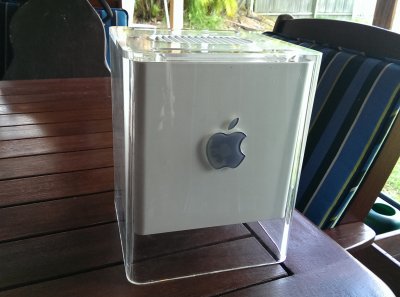
I had a Cube lying around that would lock up after running for a few minutes. Rather than figuring out the problem, (naturally) I decided to put it to better use.
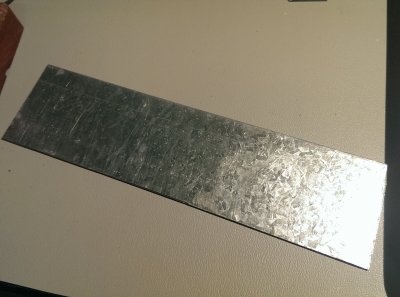
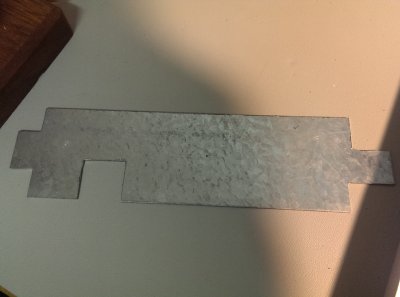
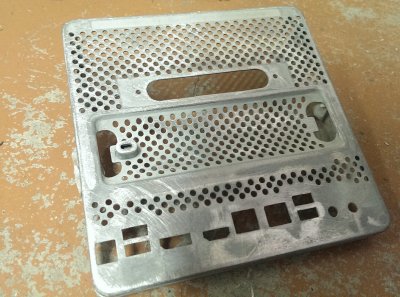
I started by cutting off part of a larger sheet of galvanised steel I had lying around. I had originally purchased it for a PowerMac G5 project but due to the lack of tools back then, I decided it was easier to buy a second case and scrap it for parts instead (See here).
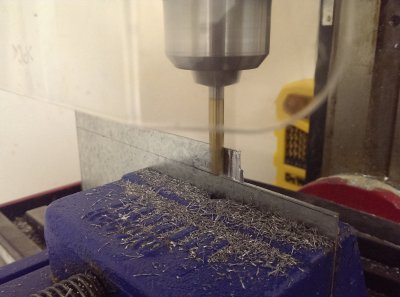
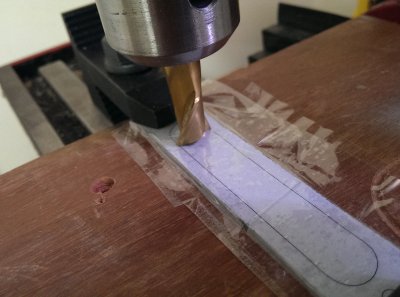
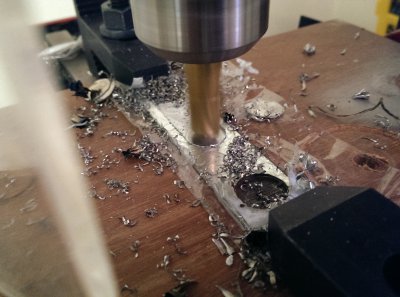
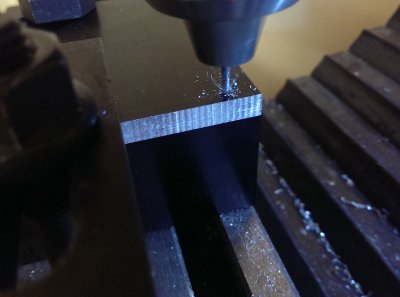
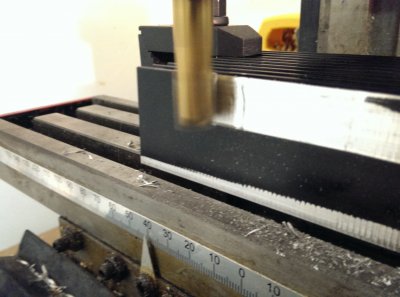
I cut out a rough region with tinsnips and milled it down to a more precise size.
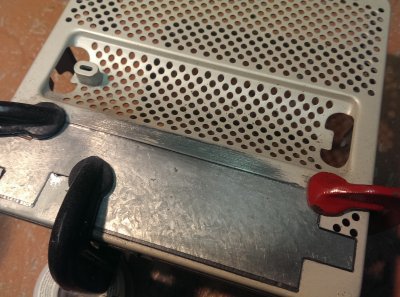
Placing the plate over the approximate I/O region, I picked a side and started ball parking some dimensions. After drawing the prototype outline on SketchUp, I iteratively printed the pattern onto an OHT sheet and checked the fit on the Cube's bottom plate. It was easy to tweak sizes as the toner rubbed off with a bit of metho. The final outline is posted at the end.
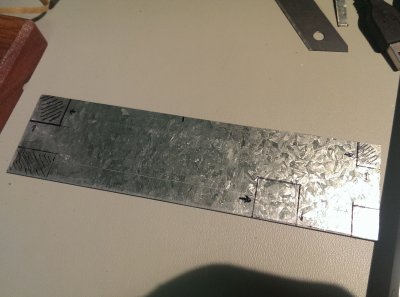
After I was satisfied with the fit, I transferred the outline onto the galvanised steel plate, making sure to mark the waste side of the lines.
I made sure to cut outside the markings so I could manually file back to the actual outline by hand as required.
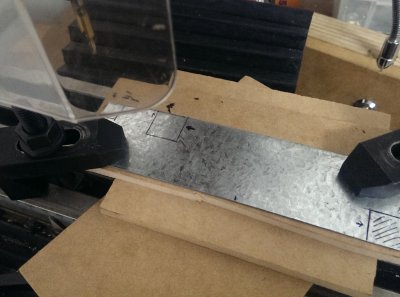
Once I was satisfied, I made the negative cut into the Cube's plate and checked the fit.
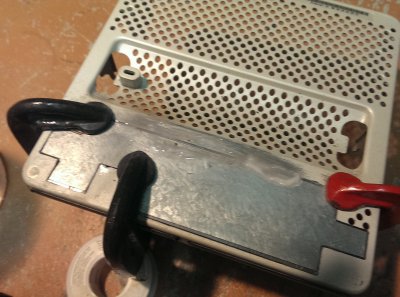
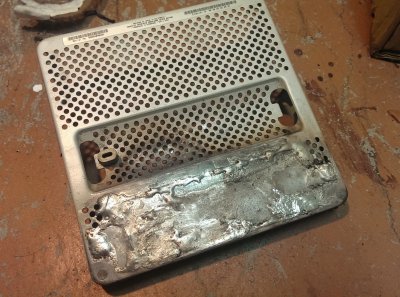
Butt joint cuts were made into the galv. plate to ensure a rigid joint.
The interfaces were coated in flux; you can never have too much flux.
At this point, I realised I had forgotten to check I actually had propane left in my torch. As Murphy would have it, I didn't. So I had to make do with my butane micro. The result was ugly, but It held solid.
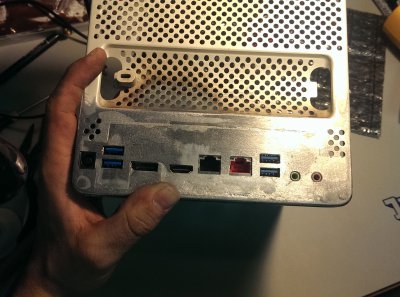
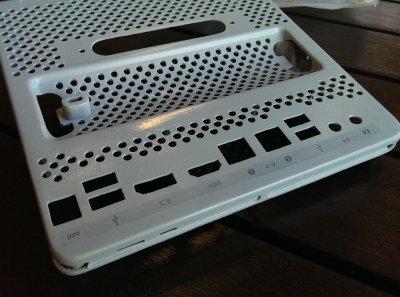
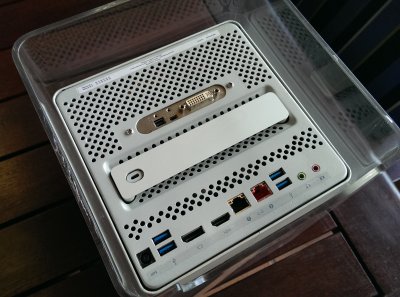
Moving onto the I/O, I scanned the port side of the DQ77KB and printed it 1:1.
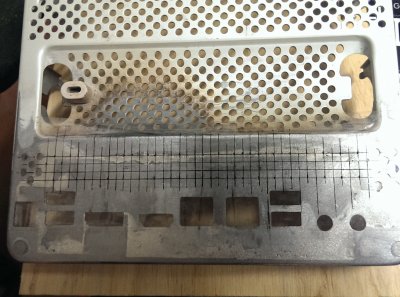
Next up was the cheese grater finish. I drew a bunch of lines projected from the holes on the north end of the plate and did the same laterally from the few holes I had on the left and right.
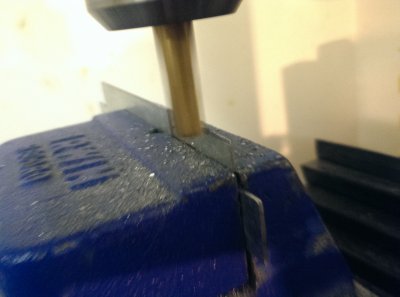
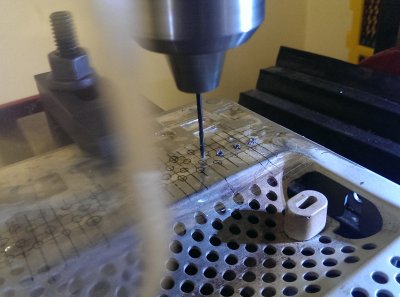
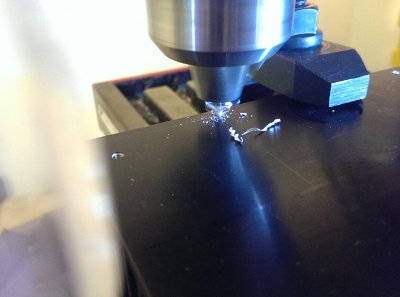
I predrilled each hole first, and followed through with the 3mm bit.
Not bad…
Cut out another sheet of galv...
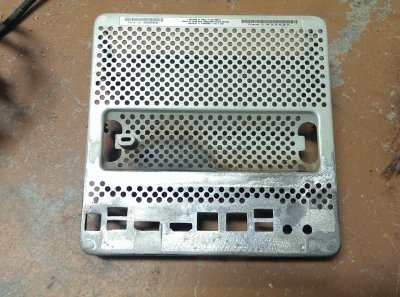
Result.
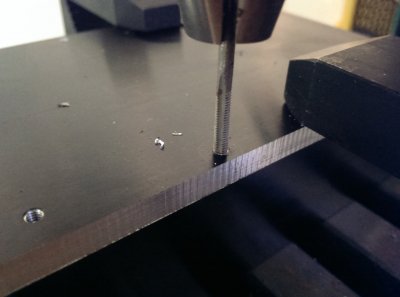
Tapping…
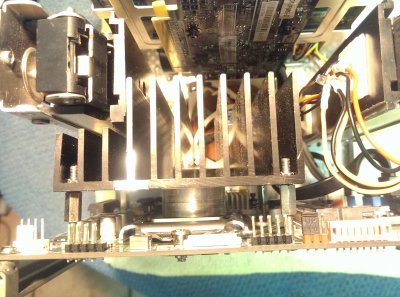
Next I cut back a few fins so it would all fit nice and snug.
Now let's turn up the heat!
Brazed some nuts to the corner pillars.
Filled in the air gaps with Selleys® KNEAD IT™.
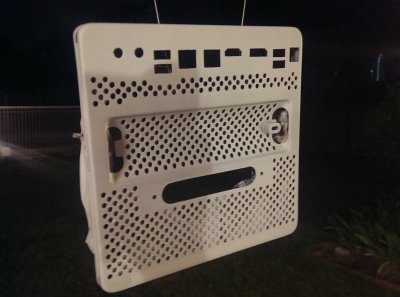
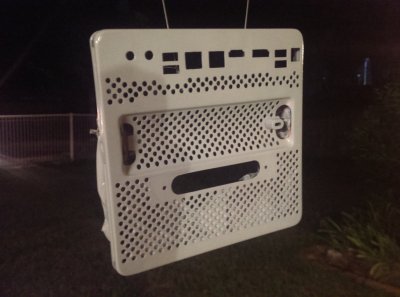
After sanding the back plate with 60 grit and bathing it in vinegar to remove the oily galv. coating, on to painting!
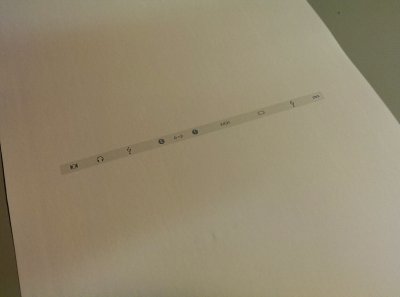
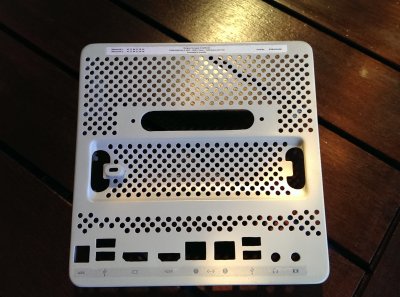
I printed off the IO decals mirrored. Available below.
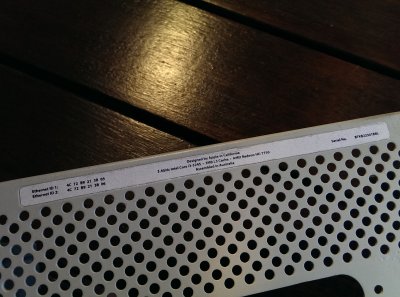
Printed the specs decal on photo paper as the crevasse was too tight to spread heat evenly.
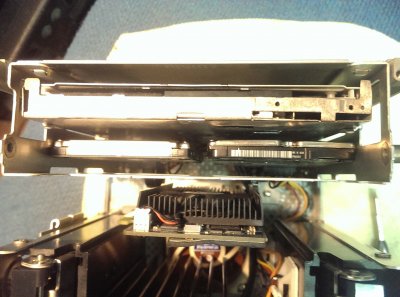
Parts installed. DVD drive, 2x 2.5" HDD, Sapphire HD7750
Still waiting on
I started by cutting off part of a larger sheet of galvanised steel I had lying around. I had originally purchased it for a PowerMac G5 project but due to the lack of tools back then, I decided it was easier to buy a second case and scrap it for parts instead (See here).
I cut out a rough region with tinsnips and milled it down to a more precise size.
Placing the plate over the approximate I/O region, I picked a side and started ball parking some dimensions. After drawing the prototype outline on SketchUp, I iteratively printed the pattern onto an OHT sheet and checked the fit on the Cube's bottom plate. It was easy to tweak sizes as the toner rubbed off with a bit of metho. The final outline is posted at the end.
After I was satisfied with the fit, I transferred the outline onto the galvanised steel plate, making sure to mark the waste side of the lines.
I made sure to cut outside the markings so I could manually file back to the actual outline by hand as required.
Once I was satisfied, I made the negative cut into the Cube's plate and checked the fit.
Butt joint cuts were made into the galv. plate to ensure a rigid joint.
The interfaces were coated in flux; you can never have too much flux.
At this point, I realised I had forgotten to check I actually had propane left in my torch. As Murphy would have it, I didn't. So I had to make do with my butane micro. The result was ugly, but It held solid.
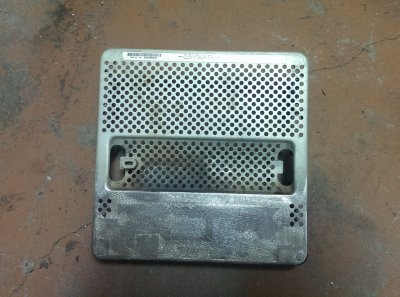
After a quick grind down, I was satisfied.
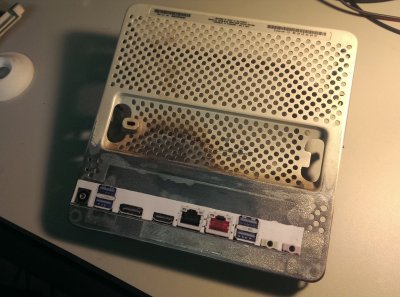
Moving onto the I/O, I scanned the port side of the DQ77KB and printed it 1:1.
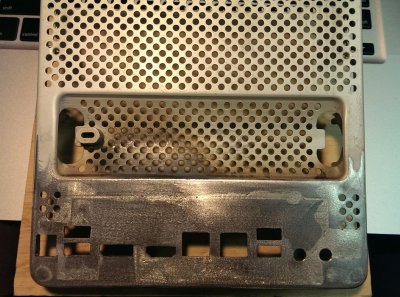
After much drilling and painstaking manual filing (close to 7 hours to complete all the openings), the ports were done...
…and it fit like a glove.
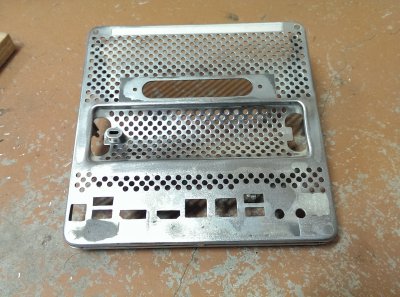
Next up was the cheese grater finish. I drew a bunch of lines projected from the holes on the north end of the plate and did the same laterally from the few holes I had on the left and right.
I predrilled each hole first, and followed through with the 3mm bit.
Not bad…
Cut out another sheet of galv...
Milled out the pattern…
Result.
I cut out the heatsink from the mid frame and predrilled some holes matching the LGA1155 socket.
To size.
Tapping…
Next I cut back a few fins so it would all fit nice and snug.
Now let's turn up the heat!
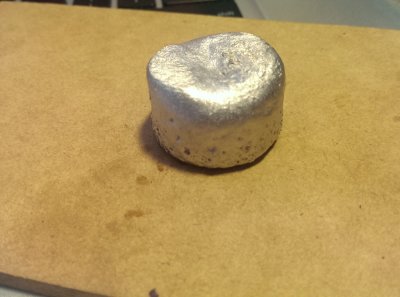
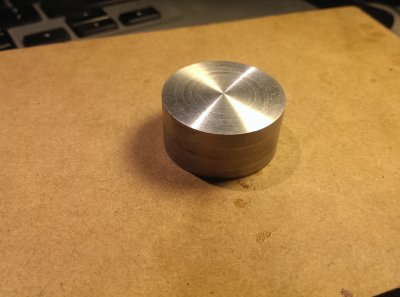
Poured die.
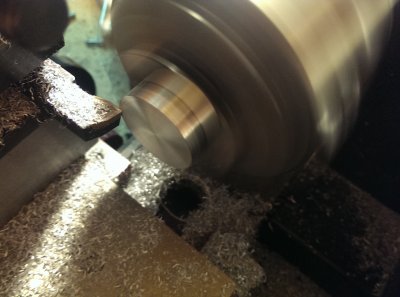
Machining…
Et voila.
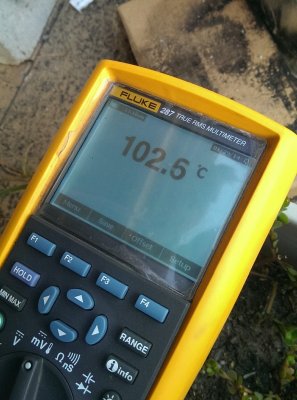
Dat heat retention… 4 hours later.
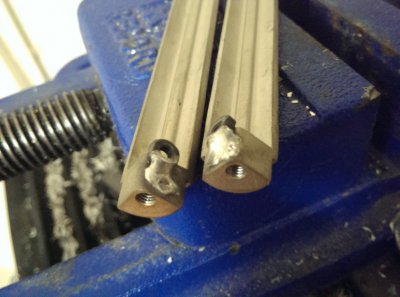
Brazed some nuts to the corner pillars.
Brazed in standoffs for a central fan. Behold, the ugly Noctua beige.
Filled in the air gaps with Selleys® KNEAD IT™.
After sanding the back plate with 60 grit and bathing it in vinegar to remove the oily galv. coating, on to painting!
Primer:
Finish:
I printed off the IO decals mirrored. Available below.
Taped it over the bottom plate…
… and ironed on.
Printed the specs decal on photo paper as the crevasse was too tight to spread heat evenly.
Satin enamel and finished back.
Parts installed. DVD drive, 2x 2.5" HDD, Sapphire HD7750
Heatsink + Aluminium shim.
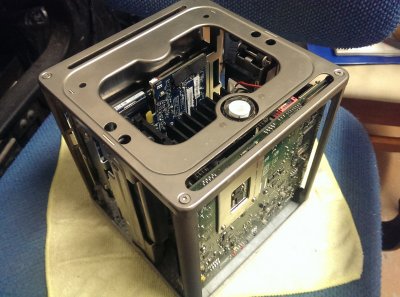
The guts.
Still waiting on
[*=left]PCI-E Riser
[*=left]Power supply
[*=left]Power button

