Contribute
Register

Ersterhernds iMac G5 (iSight 20 A1145) Project

Status
Not open for further replies.
I'm a little scared to begin my G4, as I've never used a dremmel, soldered anything, or worked on anything near similar to this.

18 months ago I was in the same boat. Didn't even own a soldering iron, if I remember correct...


Cheers!
 
As I wait patiently for the 12V/24V step-up converter to arrive, I have also created a second possible configuration in case the conflict between my PicoPSU and step-up converter isn't solved with the new one.

The PowerStream 100W PSU in this build is capable of between 12V to 24V output by simply moving the switch on the bottom to whatever desired Voltage is needed. I will simply move the output to 24V, splice an additional wire for the inverter at 24V, then downconvert the NUC and PicoPSU to 19V via a buck converter. To turn the backlights on and off I will install a 5V relay capable of carrying enough current; it will be triggered on/off by 5V from the PicoPSU.

This alternate solution should be effective in the event that I need it. In fact it was the reason I chose the PowerStream Power Brick in the first place.

Time wil tell.


Ersterhernd
 
I'm currently in a 6-week recovery from minor abdominal surgery, so in my off-time decided to embark upon yet another iMac mod to fill in my time of physical immobility.

Get well soon!

I knew, that you will do a G5 20" project sooner or later. Looks good so far. :thumbup:

Good luck

MacTester
 
Build Log 13 - Installation of 12V to 24V DC/DC Step-Up Converter

Up until this point in the project, I had only successfully run OSX Mavericks while connected to an external power supply. There was an issue with the PicoPSU WI-25-120 shutting itself off with my temporary step-up converter installed. The new one (smaller size) arrived from Singapore, so I tested it's functionality with the PicoPSU. The result was positive.

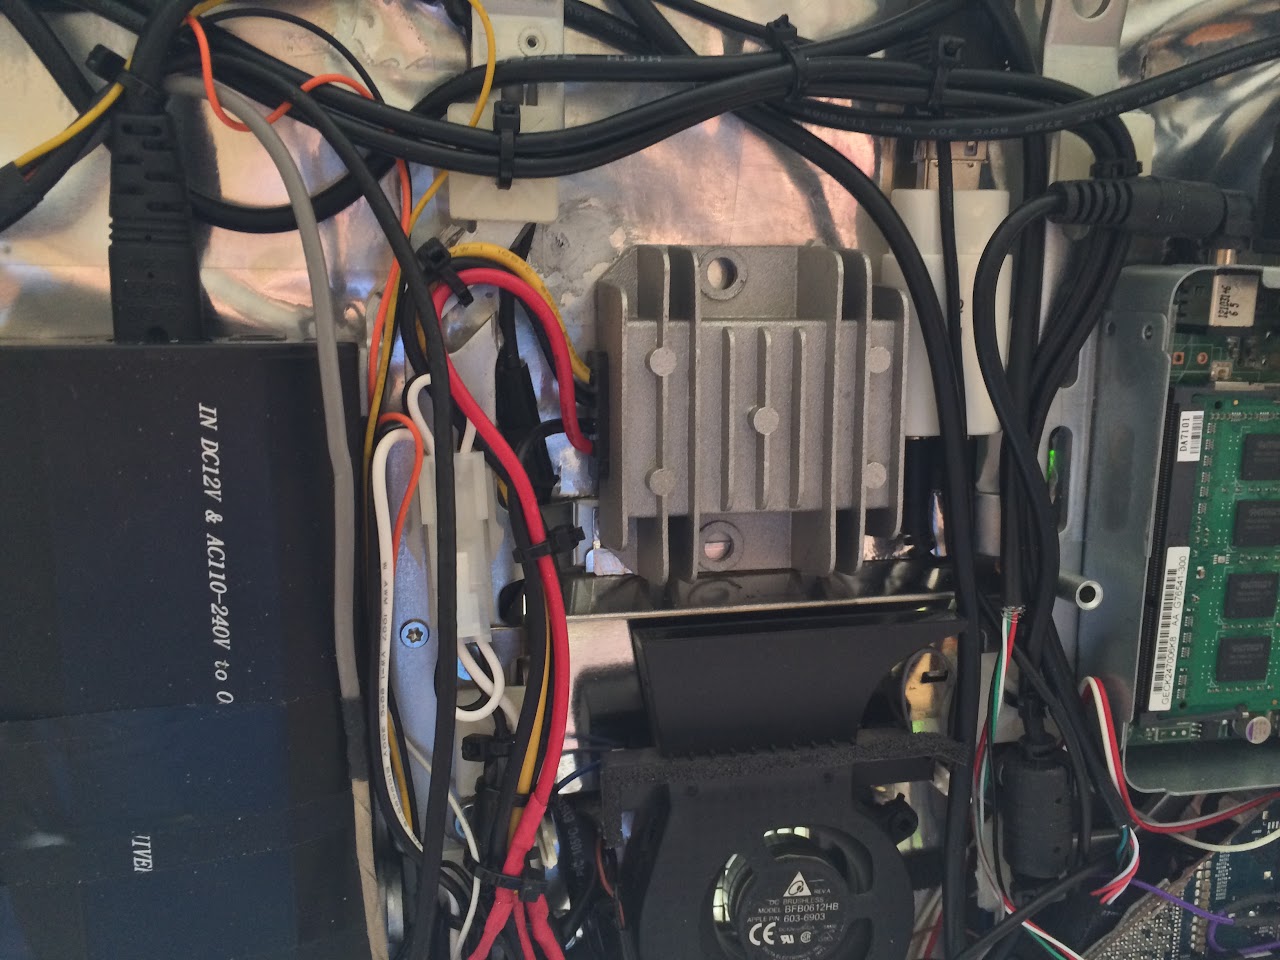
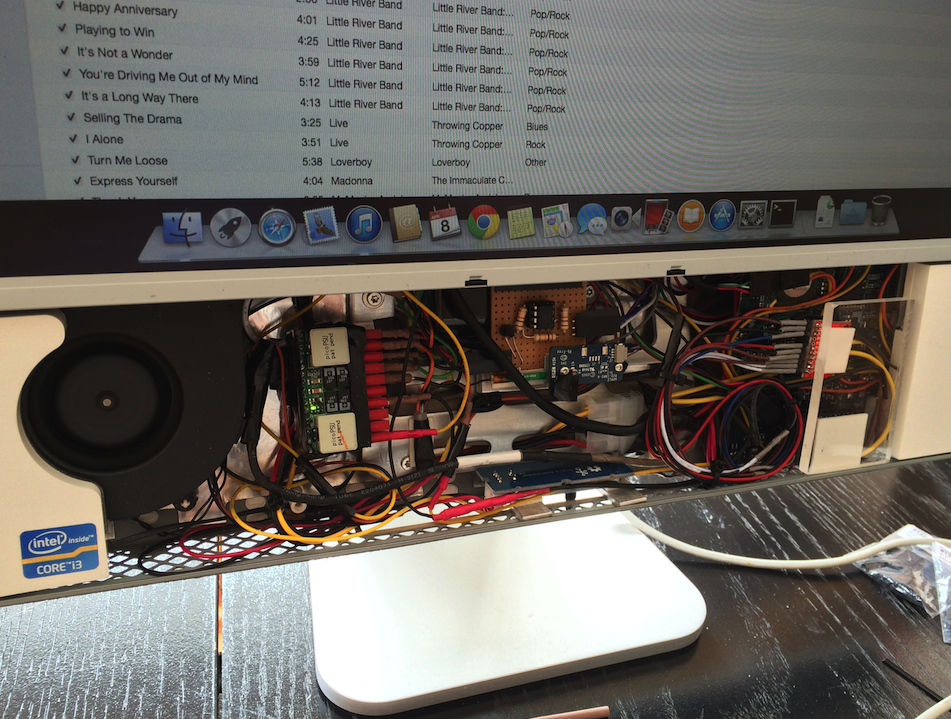
Installed, I had to run 12V wire to the step-up converter and 24V wire out of it to the Inverter. The unit fit perfectly into the prescribed space I had planned for it. The center fan is perfectly positioned to blow fresh air over the step-up converter to continuously cool it. Photos of the installed unit are shown below.


he2cc.jpg


he2cc.jpg


Unfortunately, to my surprise, I had a similar immediate shut-down issue with the PicoPSU once the setup was installed. I found that if I changed some of the wiring to a higher guage (thinner 12V supply wire) that the amperage overload on the PicoPSU at startup was remedied. It was an elusive problem that took a full day to figure out and solve, but it works great now.


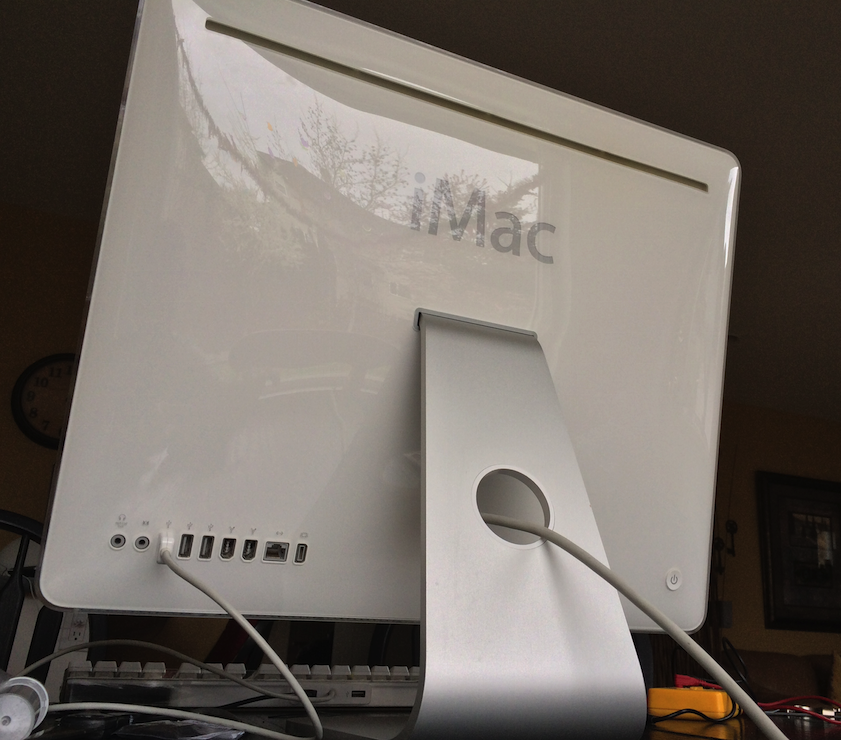
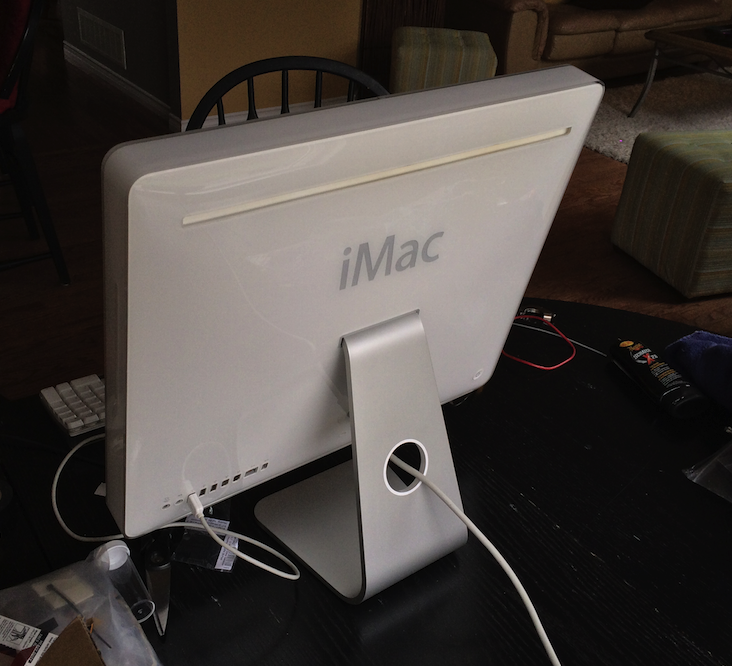
Here's a photo of the rear side of the LCD, with secured cables and inverter. Its very nice to have such long cables from the iMac G4 neck, as it makes testing with the LCD removed very easy. Nothing moves with the clear 3M tape securing the parts in position. The iMac G4 inverter is so thin that it adds no thickness to the LCD whatsoever. It was literally the perfect part for this design, and fortunately worked without any issues.

9t5c.jpg


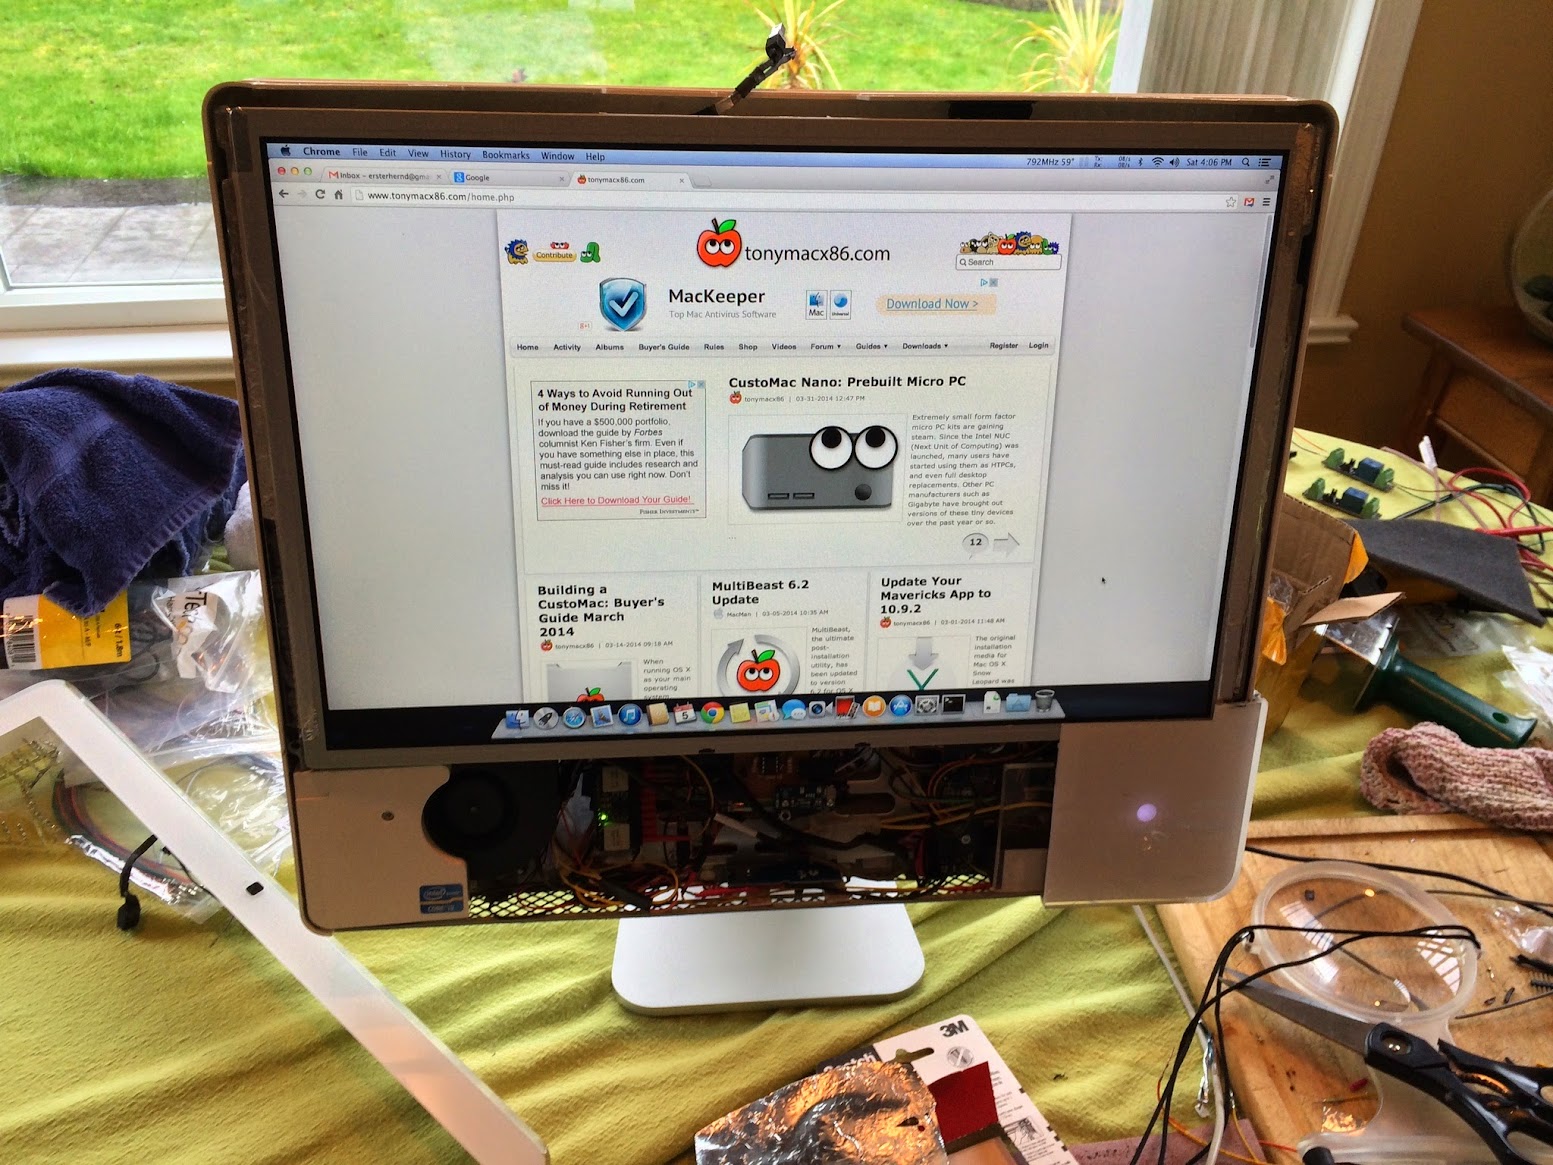
The 24V requirement in the larger iMacs adds an element of difficulty not found in the 17" models. Here is the system running Mavericks 10.9.2 under its own power, closed up for the first time.

if5c.png


Ersterhernd
 
Build Log 14 - Center Fan Replacement

The 20" iSight G5 models were notorious for loud buzzing fans. The culprit was the center-mounted CPU cooling fan that draws air in through a small vent on the rear of the iMac. This particular iMac was showing the same problem, the buzzing of the CPU fan could be heard all the way into the next room.

This noise level was unacceptable for me, so I looked at a couple of different options. I decided on the re-use of the center fan from a 17" G5 iMac, as I had one sitting in the closet. Much to my surprise, its molded shape mated up perfectly with the seating position of the larger 20" model fan, giving a full seal on the rear vent to effectively draw in fresh air. Also, it gave me back a little extra space to route wires around it.

I used a couple of small pieces of 3M sticky pad, and the mounting is solidly in position. It worked absolutely terrific, and is identically quiet to my 17" G5 running in the same room.


dqn4.jpg


Ersterhernd
 
I've completed a hardware summary video of this build. Only the 5V audio to go, so its more or less done, as soon as the PAM8403 amp gets here from China.


YouTube Link


[video=youtube;N2xkfuVvtOA]https://www.youtube.com/watch?v=N2xkfuVvtOA[/video]


Ersterhernd
 
The screen is installed, just waiting for the PAM8403 audio amp to mount inside. I powered it up and all looks good, nothing shorted out and the temperatures keep in check. In the 50's during idle, 60's under load. The LCD mounted in tightly with the four stock screws, and sits perfectly flush with the case border around each edge. Once the amp is in, the front bezel can snap back on and it'll be good to go!


IMG_0093.JPG


IMG_0094.JPG


All three USB ports of the rear I/O work perfectly. All the other ports were left non-functional as they were not required in this build. WiFi with the front bezel in place gives about 8-9 MBps over local network transfers, which is close to the 11 Max that my routers typically push.


Ersterhernd
 
Build Log 15 - Audio Amplifier

The audio for this iMac is supplied by a Startech ICUSBAudio device through the iMac G5 internal speakers. Unfortunately, if left un-amplified, the sound is audible, but not loud enough to fully enjoy. A 5V PAM8403 amplifier must be installed inbetween the PNP USB device and the speakers.

I ordered a handful from China for about 3 dollars each, and today they finally arrived.


The PAM8403 5V amp wired into the iMac.

screenshot_35-1.png


screenshot_37.png


The entire bottom section of the iMac with the PAM8403 installed to a piece of perspex.

screenshot_36-1.png


The volume can be pushed almost all the way to the top of the slider before the speakers begin to distort. The level of audio is far better than unamplified, running it around 30-40% volume is great for normal use, where it took max volume to be usable without amplification.


Ersterhernd
 
Build Log 16 - First Boot with Case Closed

A big day for me today, the first closing up of the machine for testing. It all fit perfectly back together and all components work great. Initial temperature observations are warmer than the 17" G5 I completed last month. Idle is around 58-60. YouTube 1080p fullscreen video puts up to a steady 74 degrees. The fans are running at bare minimum speed to keep the machine quiet. I cannot believe how clean the system looks, considering it was so beat up when I first got it home.


The first photos of the iMac G5 20" project in its closed-up state

screenshot_38.png


screenshot_40.png


screenshot_39.png


The slot cut out of the the bottom of the iMac where the brightness control slider is located. LCD brightness control works flawlessly via fingertip control.

screenshot_41.png


The 'breathing' pulse function of the LED while in sleep mode

[video=youtube;gM3zcV7ultA]https://www.youtube.com/watch?v=gM3zcV7ultA[/video]


Onwards with further testing now, but a pretty exciting moment to see it working for the first time!


Ersterhernd
 
Status
Not open for further replies.
Back
Top