Hi guys,
here's a little step by step of my G4/G3 mod.
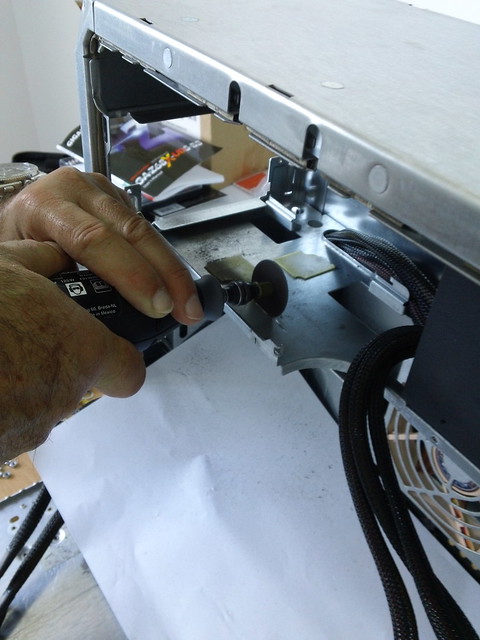
There were a lot of drilling and cutting involved so a dremel-like drill is THE tool to possess !
As you can see in the previous posts, I was unsure whether a full ATX motherboard would fit or not: it does ! Here's what I did:
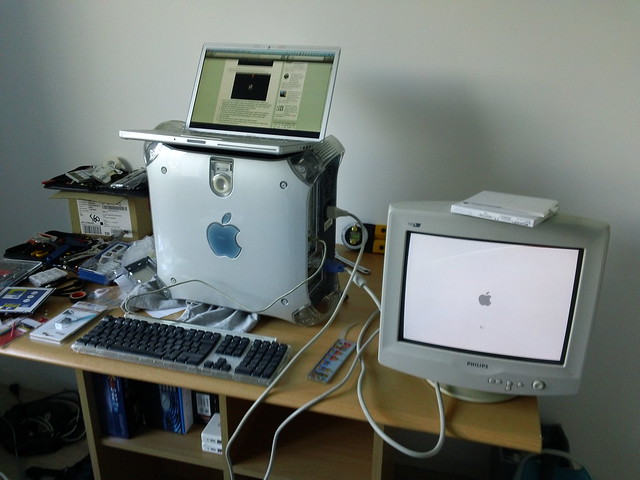
First you've got to clear the case in order to put the new MB
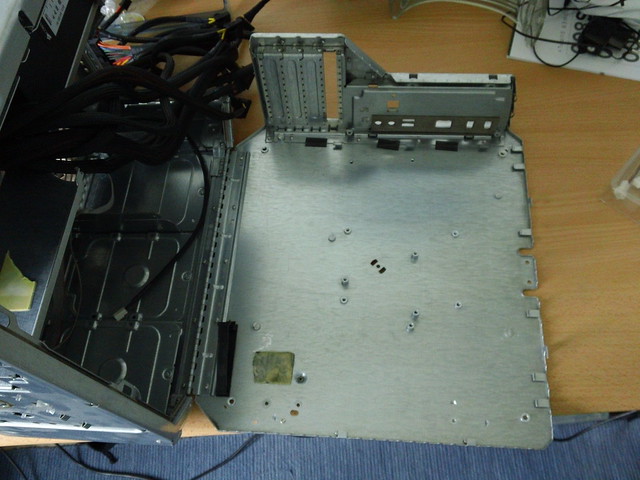 DSC00274
 par
duke.polymtl, sur Flickr
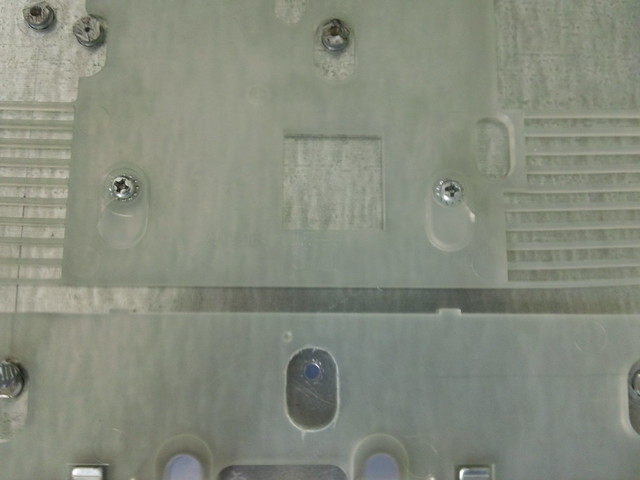
Obviously drilled holes to secure the G4 MB with screws are not at the right place and new ones must be drilled. Old support tubes should also be removed as seen on the previous picture (their base is well welded and you have to cut them as close as possible to the metal case).
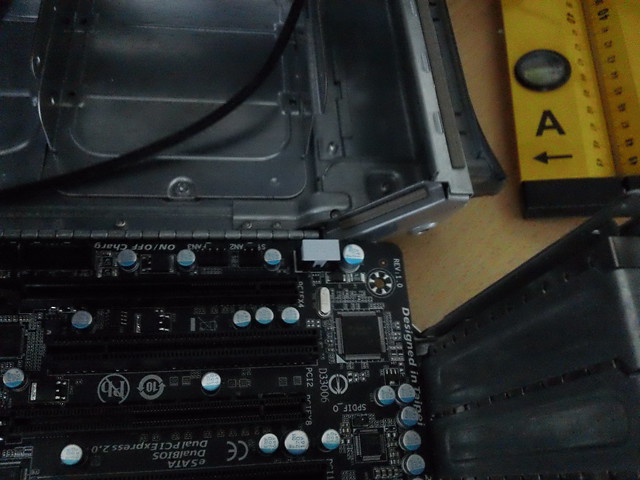
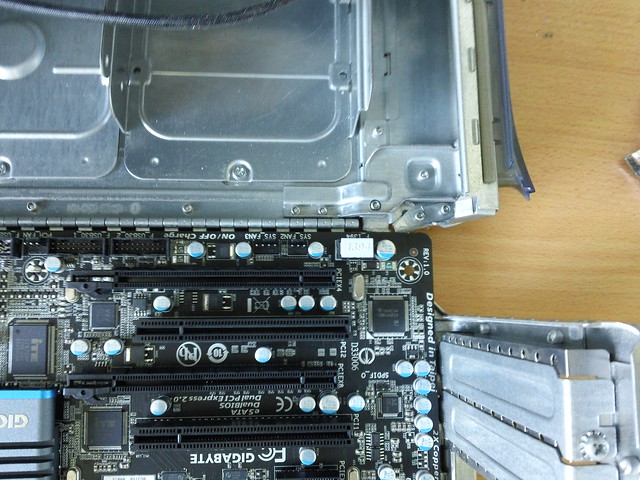
My goal was to place the new MB in such a position that current slots for extension PCI cards could be used as is.
 DSC00277
 par
duke.polymtl, sur Flickr
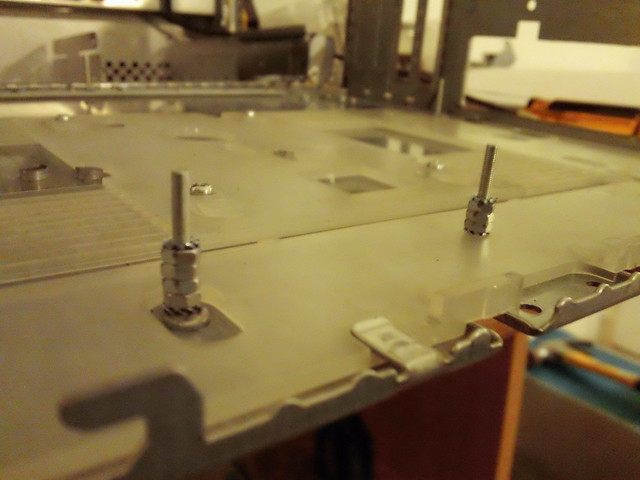
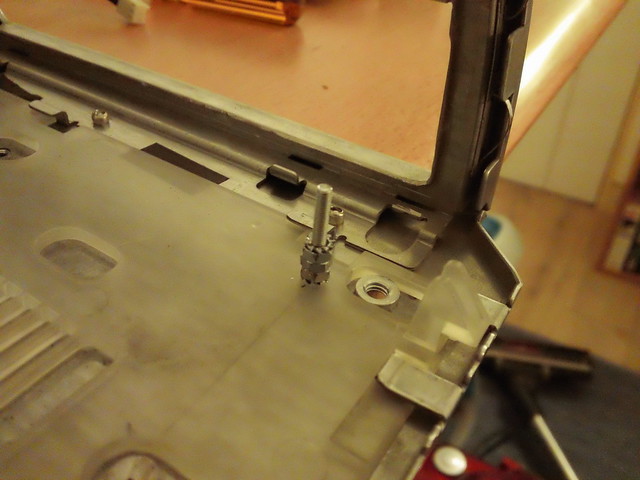
So first you've got to build new "tubes" to support the motherboard:
You must be really precise while drilling new holes and be sure about the MB's place on the case. Then a simple and efficient way to fix the MB is to place small bolts and secure the MB on them:
 DSC00282
 par
duke.polymtl, sur Flickr
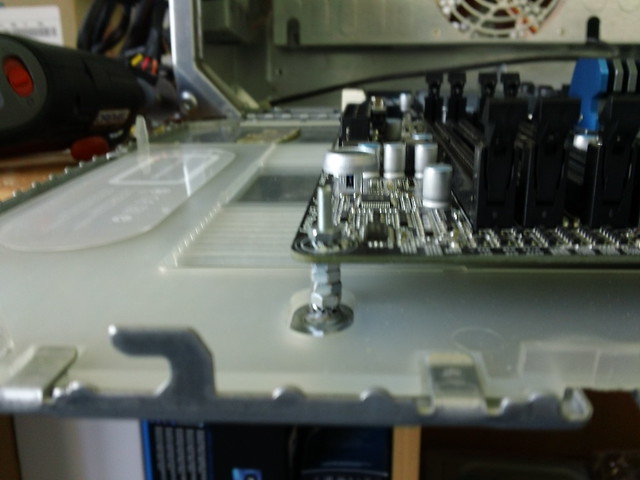 DSC00291
 par
duke.polymtl, sur Flickr
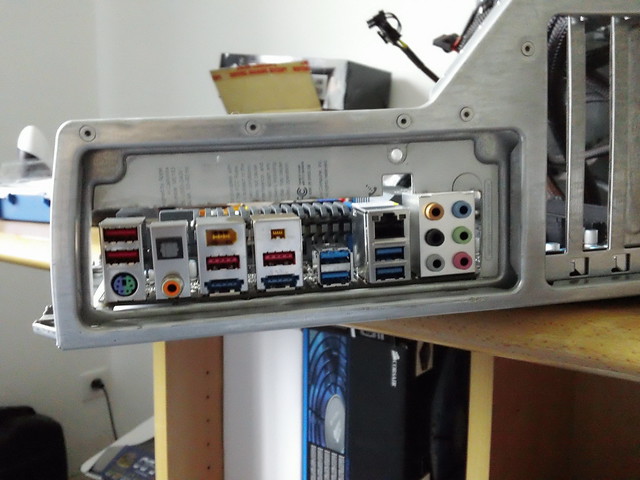
However in order to do so, you've got to place the MB as close as possible to the case otherwise it will prevent you from closing it:
 DSC00278
 par
duke.polymtl, sur Flickr
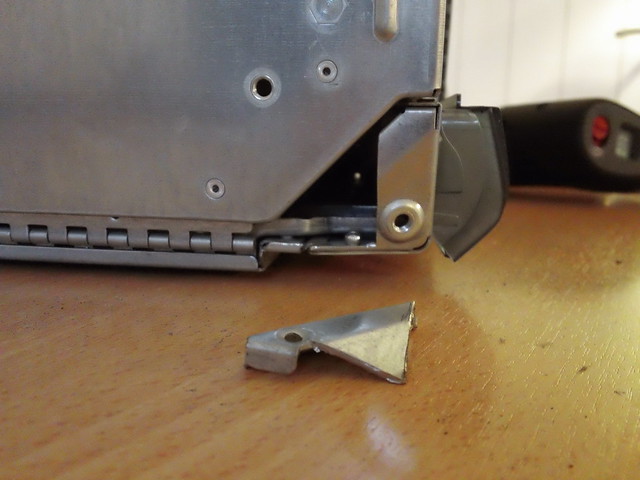
Because the MB is square and the side case corners are cut, you must also cut one corner of the rear case (and sandpaper it, a lot...)
 DSC00290
 par
duke.polymtl, sur Flickr
 DSC00279
 par
duke.polymtl, sur Flickr
After doing that, I discovered that the plastic insulation under the MB was also used to open and close the case itself. The new support bolts blocked it and prevented closing the case.
 DSC00283
 par
duke.polymtl, sur Flickr
So don't forget to cut a racetrack shaped hole around each bolt !
 DSC00296
 par
duke.polymtl, sur Flickr
Once you've finished that, you may think that you're done, you're not !
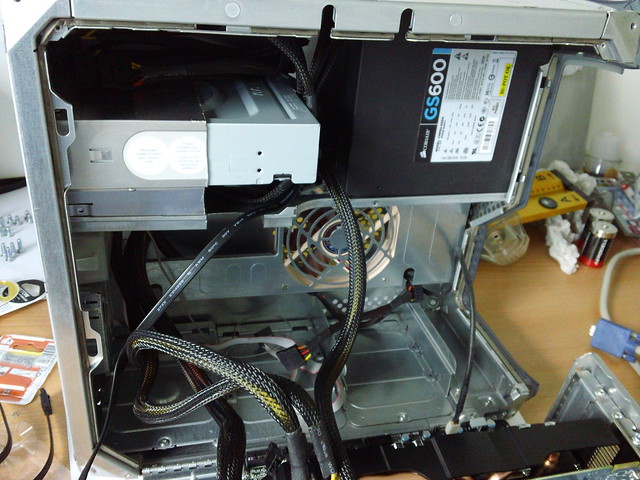
The motherboard's power supply wires are also preventing you from closing the case as they are blocked by the optical drive...
 Whole lotta drillin' !!!
 DSC00293
 par
duke.polymtl, sur Flickr
 DSC00294
 par
duke.polymtl, sur Flickr
Still I thought that it was the end, I was wrong, again !
There are two things I didn't notice before everything was plugged in :
1) I can only put one RAM module else you've got to remove the internal optical drive (I chose to keep the internal OD which is a MUST for installing the OS... and re-installing it many times ...)
2) The "very convenient" power button on the MB was blocked by the OD case when closing the case...

So I had to cut half of the internal OD case !
 DSC00300
 par
duke.polymtl, sur Flickr
That was not enough to get rid of this issue.
I also had to lower the MB a bit by removing one support nut on the support bolt closest to the power button. However you must be careful because the screws securing the plastic open/close system get very close to the MB, and only one nut should be removed. The MB is slightly twisted but works fine, and now you can close the case.
That's it, you're done for the most part !
I was not yet able to figure out how the original Apple On/Off - Led - Reset card works and connect it to the relevant pins on the MB. As a result the only way to start is the Power button on the MB itself... If someone has an idea
")
 DSC00304
 par
duke.polymtl, sur Flickr
I have to say that it was really fun to undertake this case mod, I cannot say the same about OSX's installation... I currently have no sound and no way to boot without iBoot, any help would also be greatly appreciated !!!
If you've got any question (I may have forgotten to mention intermediate steps) don't hesitate !
a+
Duke
