
shilohh
Moderator
- Joined
- Jan 1, 2012
- Messages
- 1,752
- Motherboard
- Asus Prime Z490-A
- CPU
- i9-10850K
- Graphics
- RX 5700 XT
- Mac
- Mobile Phone
Asus Rampage IV Extreme - DSDT Guide: Extract & Edit your own DSDT
I will leave the guide mostly in it's original state for those who prefer earlier BIOS. The updated lists of patches should be self explanatory but feel free to post your questions.
BIOS 4206 use Shilohhs_R4E_DSDT_Patches_3.0.rtf
BIOS 3602 and earlier use Shilohhs_R4E_DSDT_Patches_2.6.rtf
The DSDT edits in this guide are specifically for the Asus Rampage IV Extreme - Socket 2011 - X79 Motherboard, but some may work on similar systems.
This guide will walk you through extracting and editing a DSDT from your specific RIVE build.
Before We Start
A DSDT is ACPI data from your system's BIOS. It can change depending on you BIOS version, BIOS settings and PCI hardware installed so:
1) Make sure you are updated to the BIOS you want to extract the DSDT from and set up your BIOS completely and correctly for your system.
2) Make sure you have all your PCI devices functioning correctly and installed in the locations you want them.
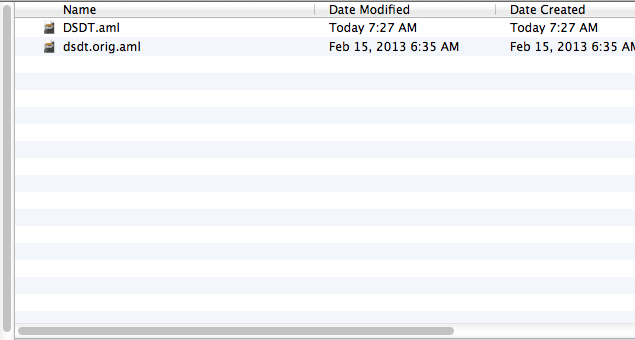
3) Remove DSDT.aml from /Extra, if present, and re-boot. Make sure that your system is booted from the bootloader on your actual boot drive (without using the USB installer to boot).
Getting Started
Download and open "DSDTSE V2 Beta" and my list of DSDT patches.
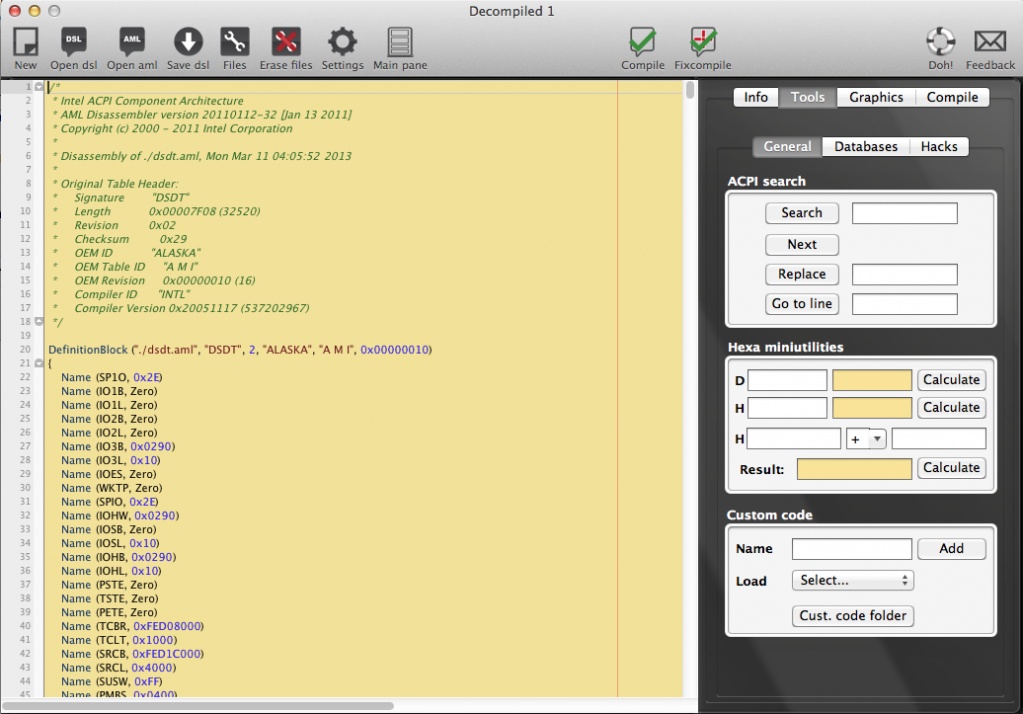
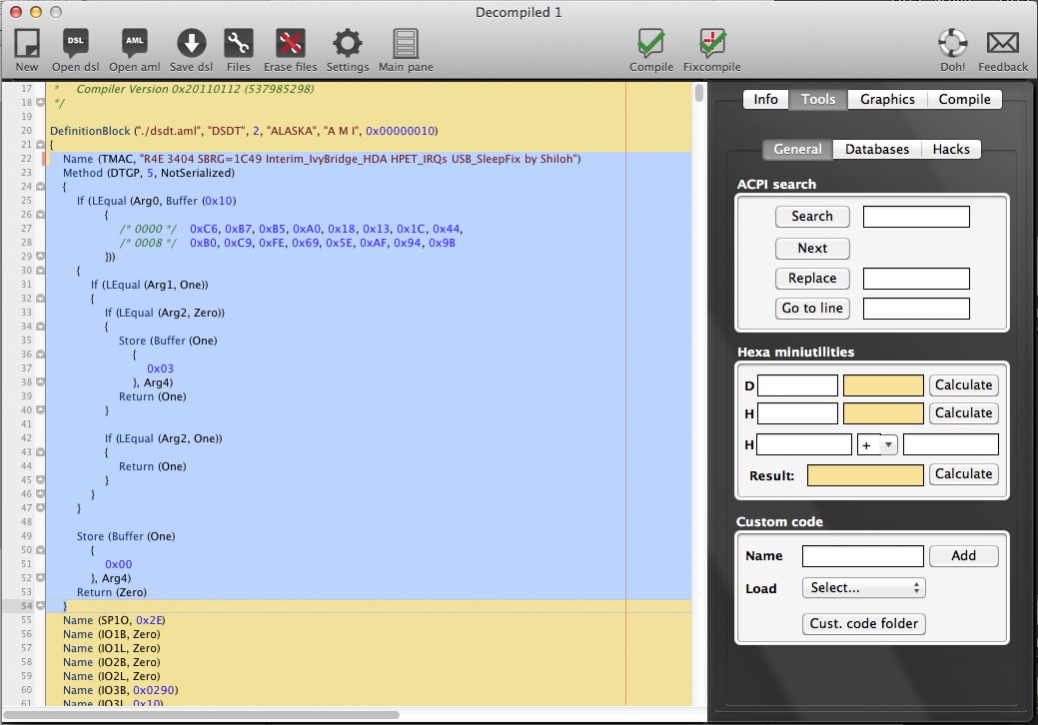
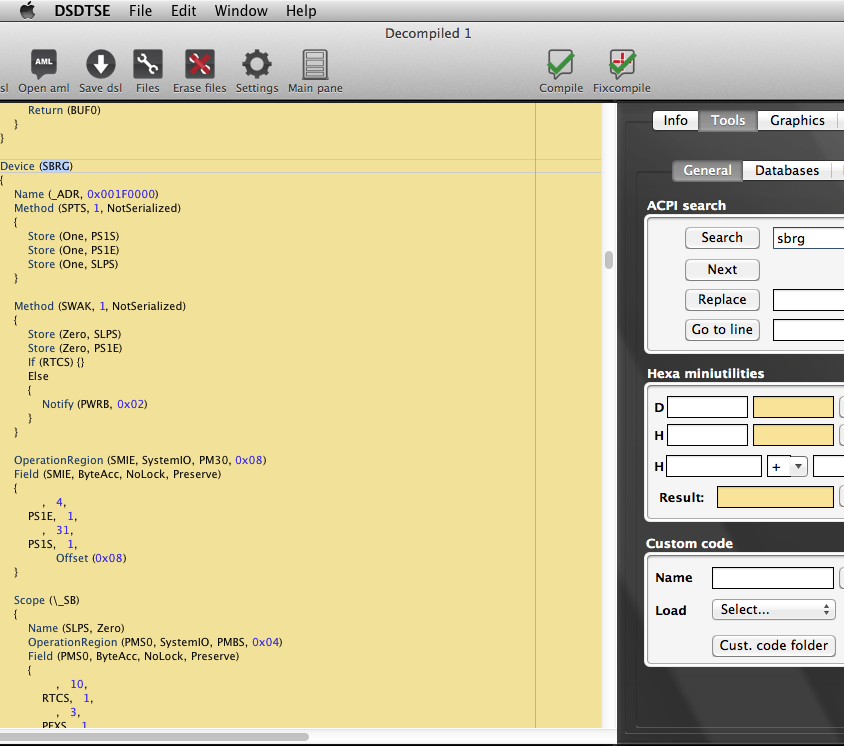
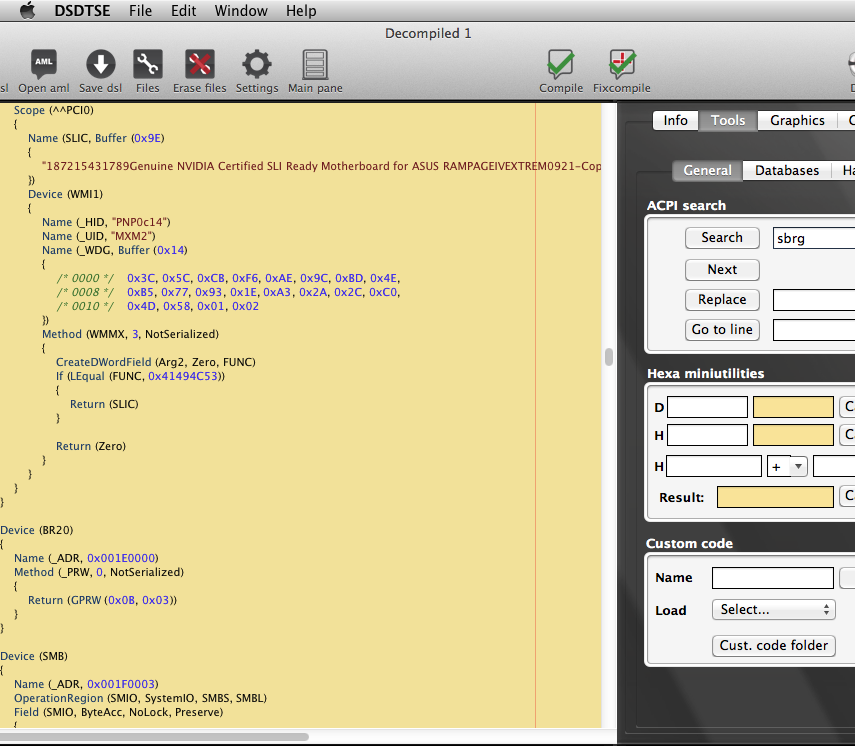
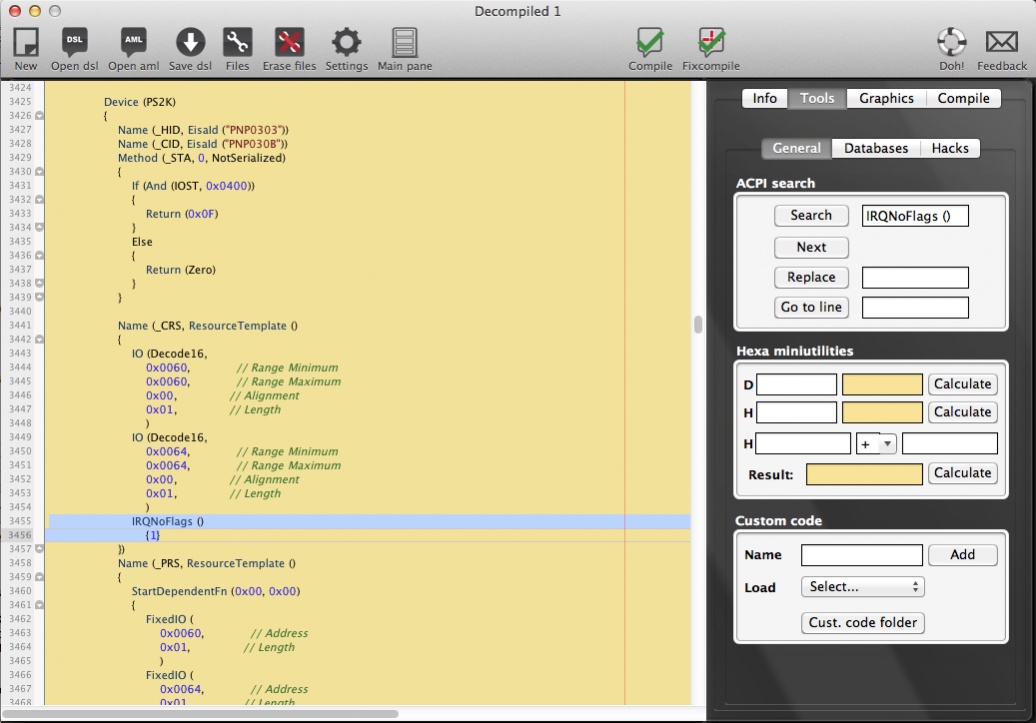
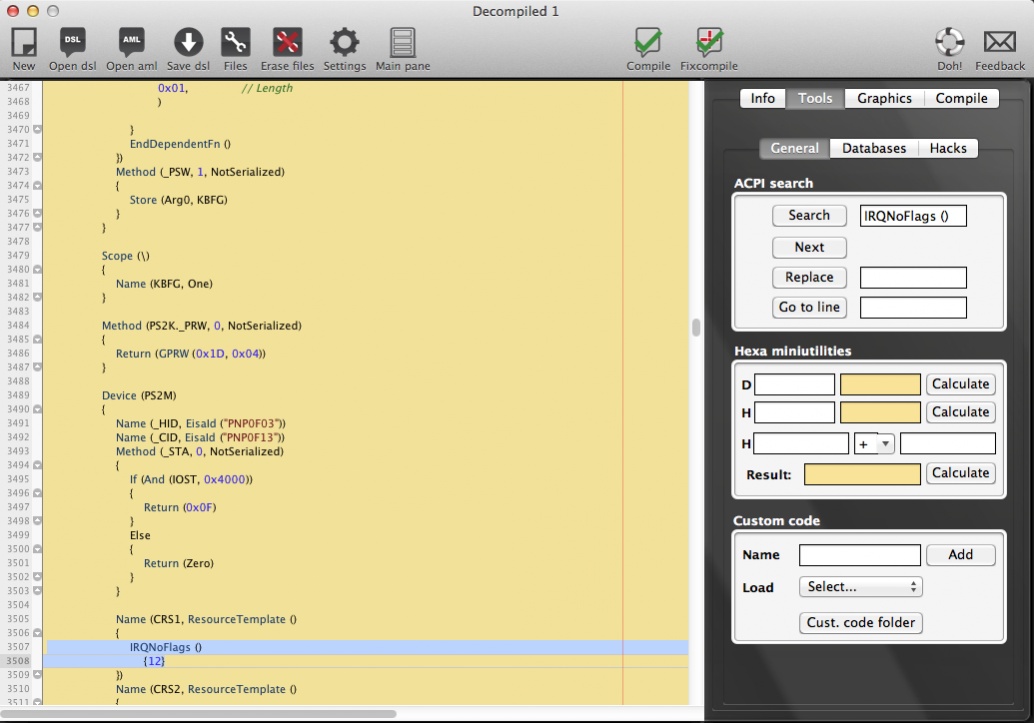
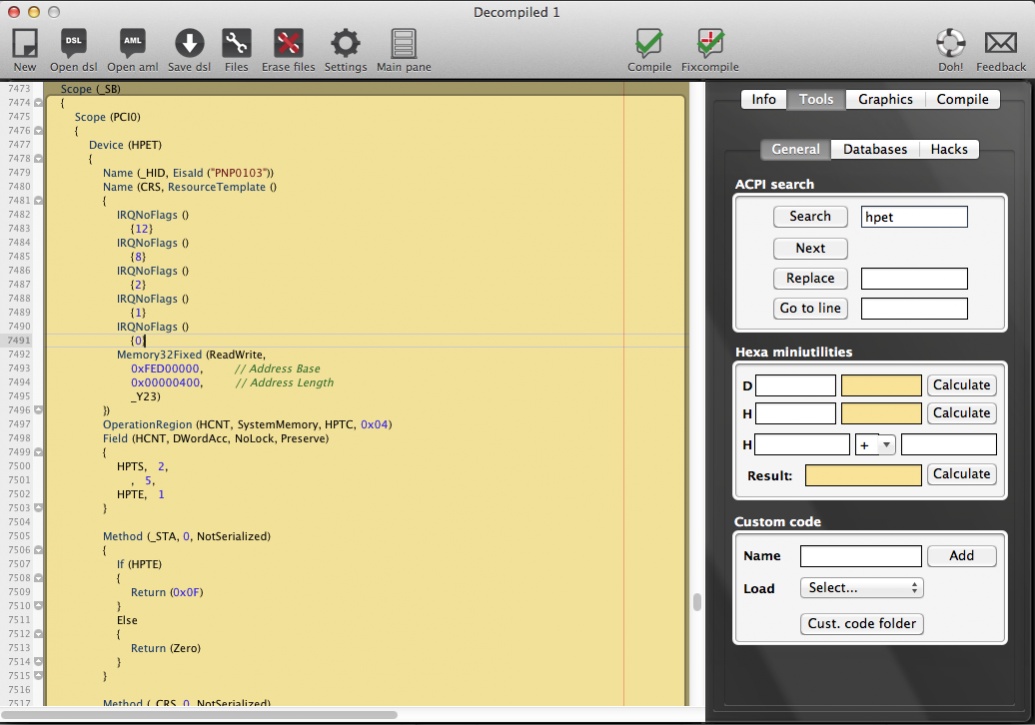
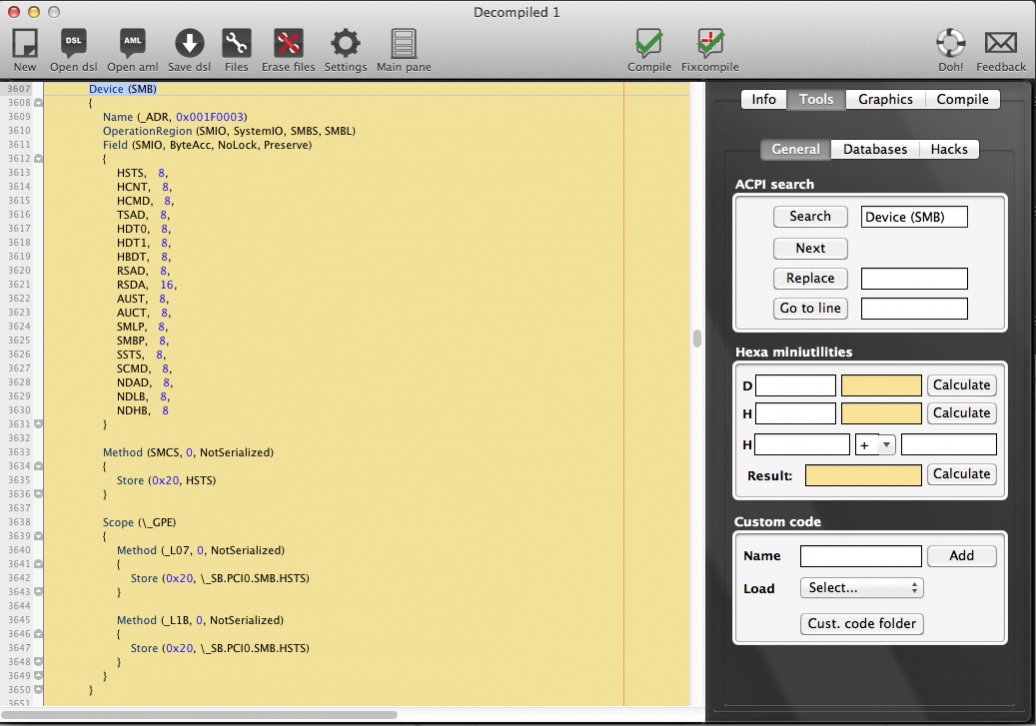
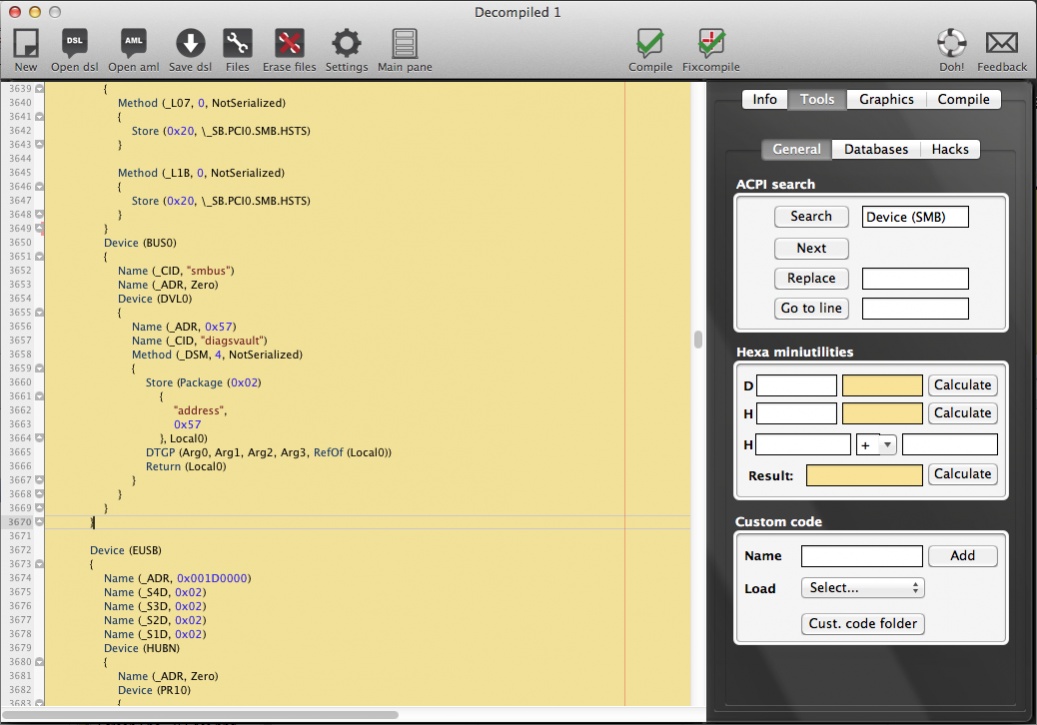
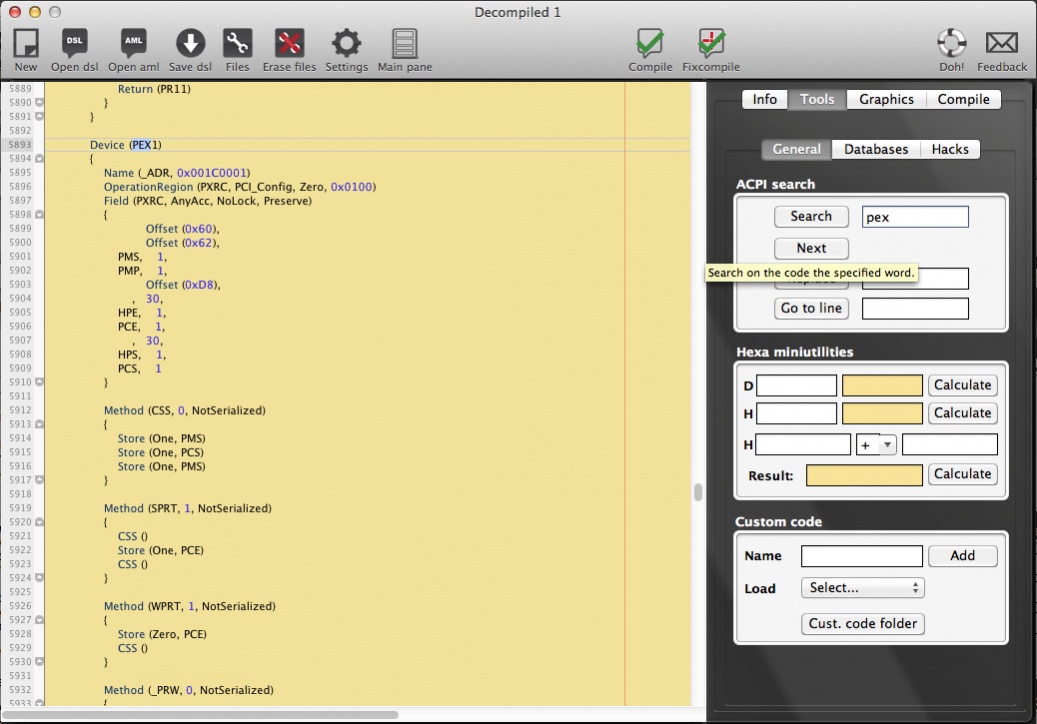
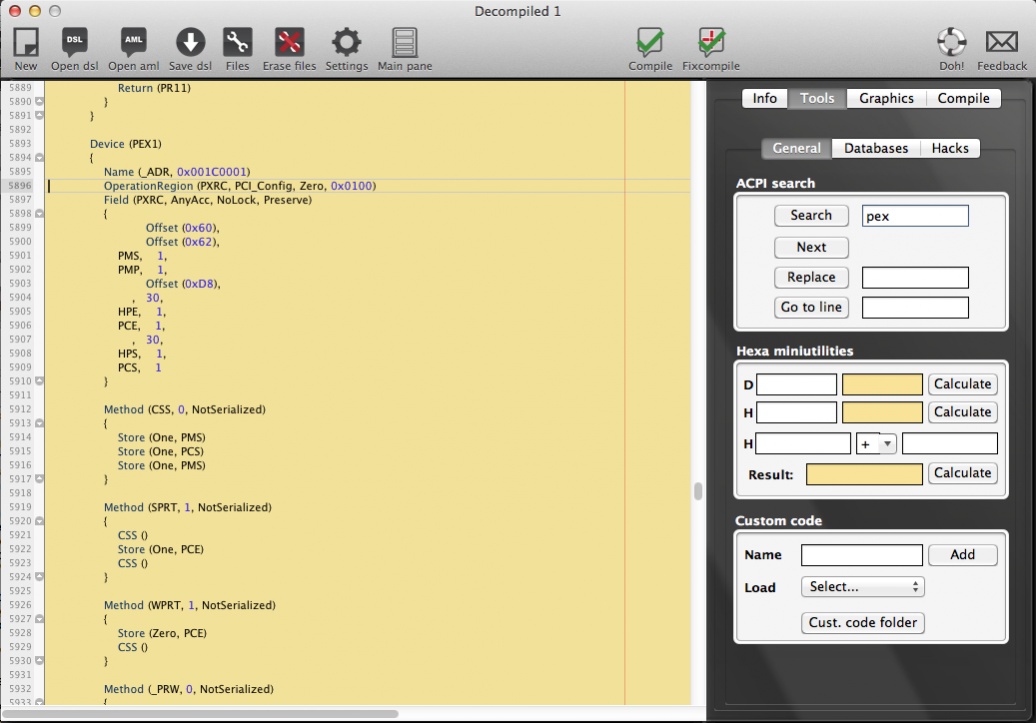
On the main pane, click "Extract DSDT".

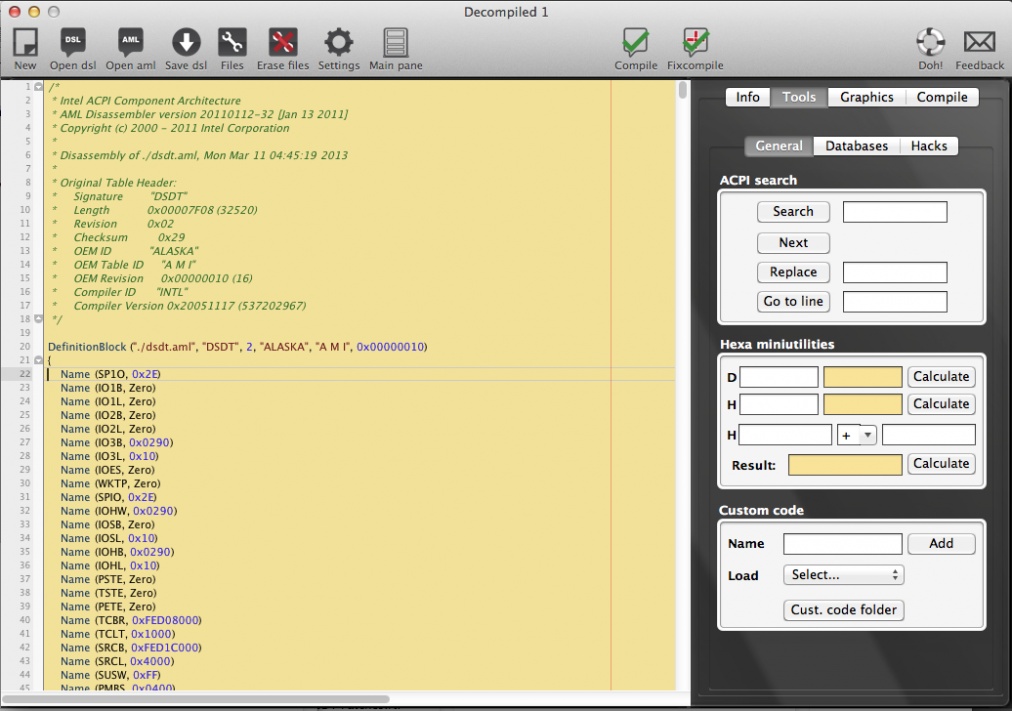
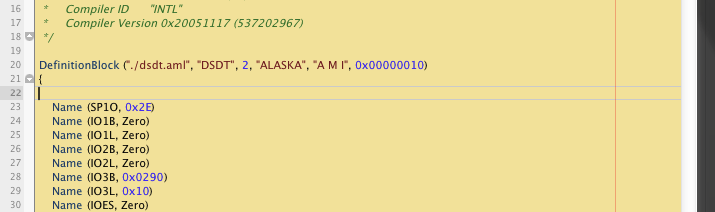
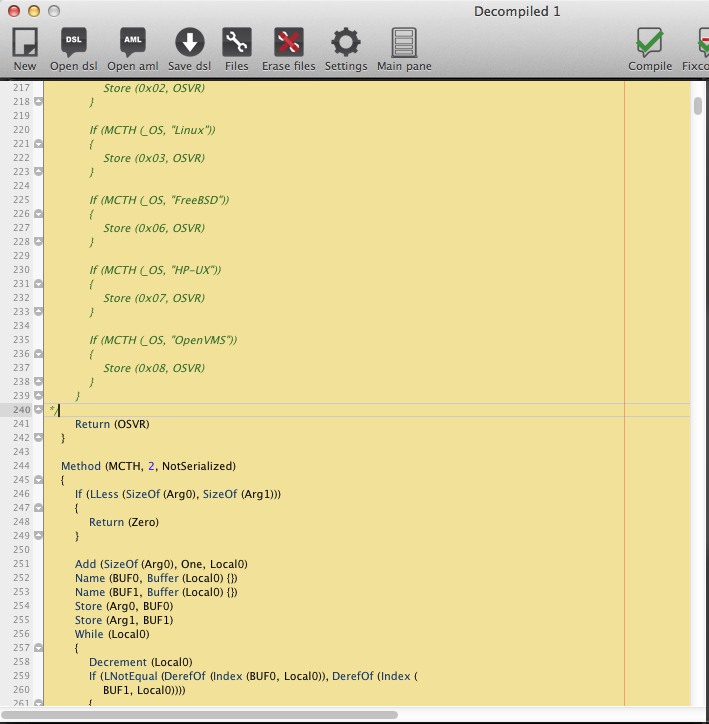
Your DSDT will be extracted from your active BIOS in a "Decompiled" window.
If for some reason DSDTSE will not extract it, open terminal and paste:
Then hit enter. Open dsdt.aml with DSDTSE when it appears on your desktop.
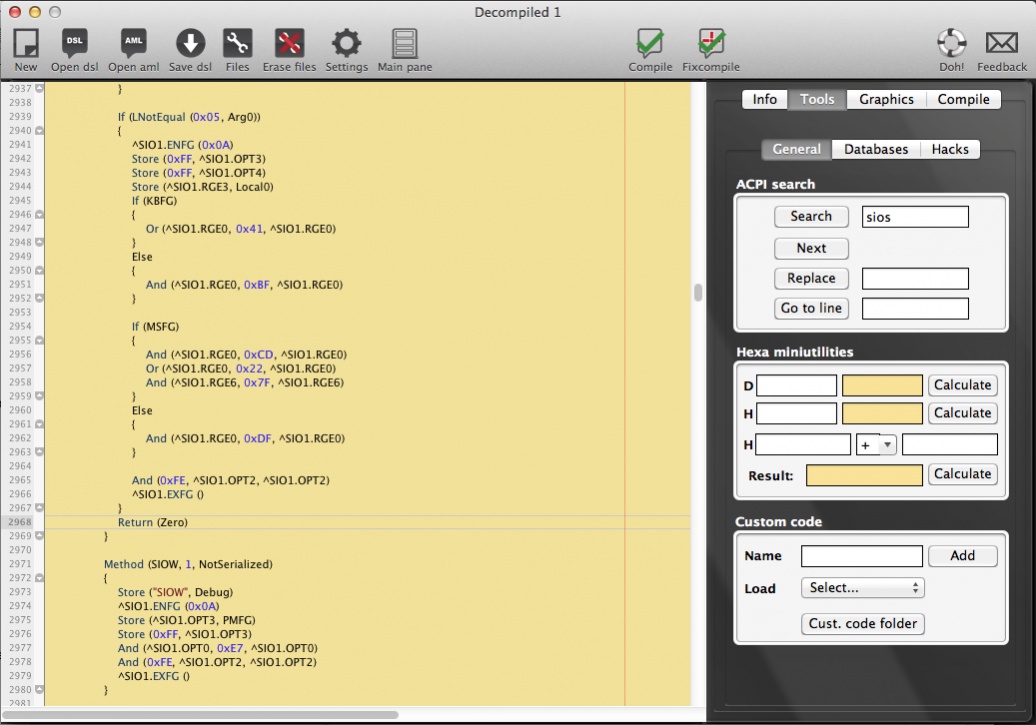
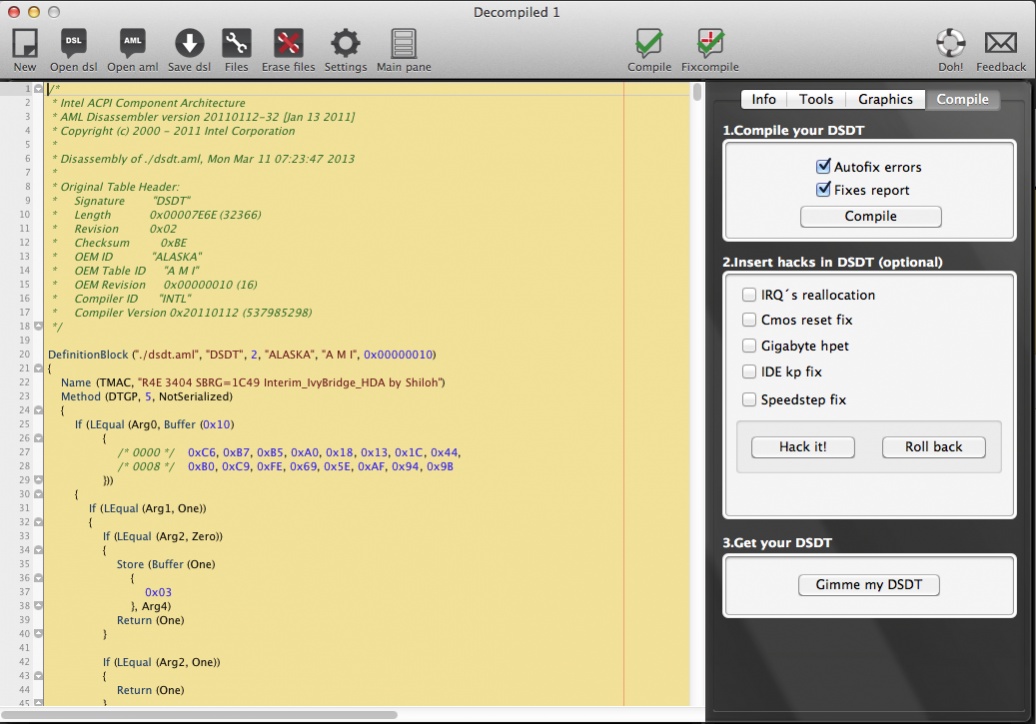
Click compile. You will be presented with a "Compile error" window.

Click "OK". An "Error" window will open showing you all the current errors, warnings, and remarks.

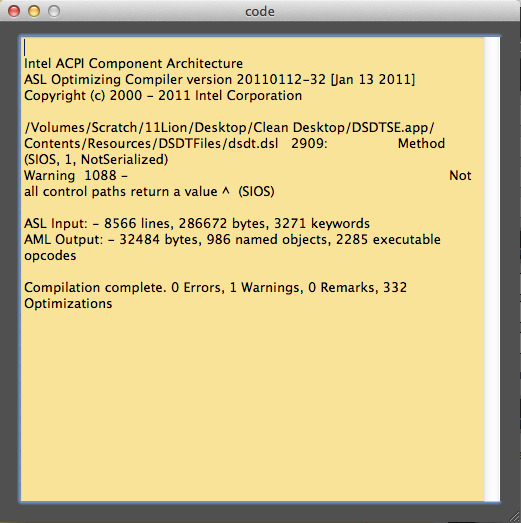
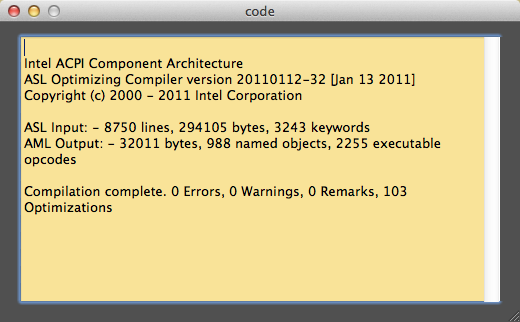
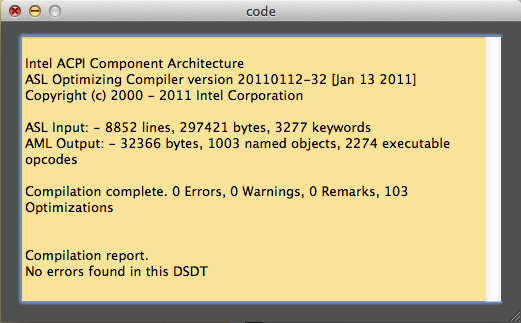
Note there are lots of errors. Close the window. Click "Fixcompile". The DSDT should compile successfully and another "Code" window will open. In the "Code" window, note that the DSDT's errors have all been fixed except for one warning.
Close the "Code" window.
Continued in the following posts.
See my New MacIASL guide that supersedes this one.
Using a DSDT that was extracted on a different build with different devices installed, may not work on your system even if you have an identical motherboard and BIOS.
My Current BIOS is 4206. 4310 Killed my CPU multiplier over clock. Beware of anything newer as well. 4403 didn't work w my OC either.
UPDATE 9/26/2013:
Some of the edits in this guide are not needed in BIOS 4206. See: Shilohhs_R4E_DSDT_Patches_3.0.rtf
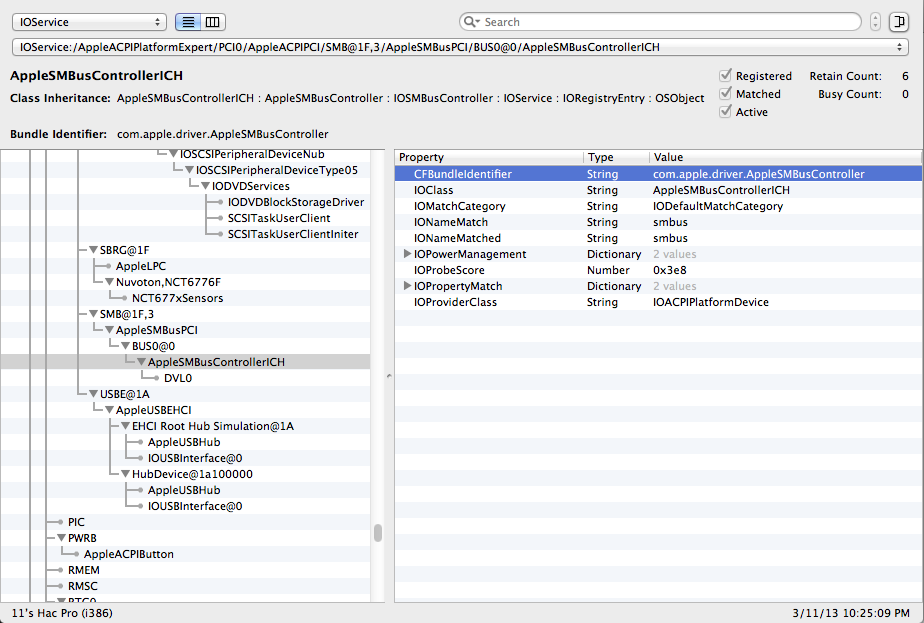
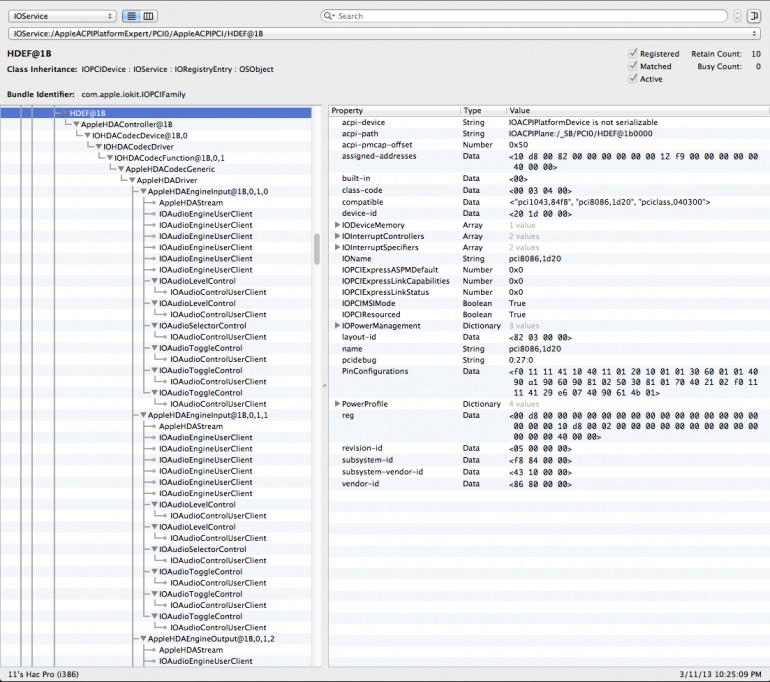
Also, onboard audio now works in 10.8.5 with toleda's new patched AppleHDA and HDAEnabler from Multibeast 5.5.2 but you must use kernel flag npci=0x2000 instead of npci=0x3000. You may now use the ALC898 "Without DSDT" option from Multibeast 5.5.2+ instead of DSDT injection of HDEF. DSDT injection from this guide still works and is my preferred method. EDIT: Some people are having issues with the patched 10.8.5 AppleHDA.kext from MultiBeast 5.5.2. The "Interim 898 Lion AppleHDA kext" (Interim IvyBridge) still works in 10.8.5 but you must use npci=0x2000 instead of npci=0x3000 and add HDEF to your DSDT as shown by this guide.Using a DSDT that was extracted on a different build with different devices installed, may not work on your system even if you have an identical motherboard and BIOS.
My Current BIOS is 4206. 4310 Killed my CPU multiplier over clock. Beware of anything newer as well. 4403 didn't work w my OC either.
UPDATE 9/26/2013:
Some of the edits in this guide are not needed in BIOS 4206. See: Shilohhs_R4E_DSDT_Patches_3.0.rtf
I will leave the guide mostly in it's original state for those who prefer earlier BIOS. The updated lists of patches should be self explanatory but feel free to post your questions.
BIOS 4206 use Shilohhs_R4E_DSDT_Patches_3.0.rtf
BIOS 3602 and earlier use Shilohhs_R4E_DSDT_Patches_2.6.rtf
The DSDT edits in this guide are specifically for the Asus Rampage IV Extreme - Socket 2011 - X79 Motherboard, but some may work on similar systems.
This guide will walk you through extracting and editing a DSDT from your specific RIVE build.
Before We Start
A DSDT is ACPI data from your system's BIOS. It can change depending on you BIOS version, BIOS settings and PCI hardware installed so:
1) Make sure you are updated to the BIOS you want to extract the DSDT from and set up your BIOS completely and correctly for your system.
2) Make sure you have all your PCI devices functioning correctly and installed in the locations you want them.
3) Remove DSDT.aml from /Extra, if present, and re-boot. Make sure that your system is booted from the bootloader on your actual boot drive (without using the USB installer to boot).
Getting Started
Download and open "DSDTSE V2 Beta" and my list of DSDT patches.
On the main pane, click "Extract DSDT".
Your DSDT will be extracted from your active BIOS in a "Decompiled" window.
If for some reason DSDTSE will not extract it, open terminal and paste:
Code:
perl -e 'open(CMD, "ioreg -lw0 \| grep DSDT|") or die; while(<CMD>) { chomp; if($_ =~ /\"DSDT\.?\d?\"=<([^>]*)>/) { $buff = $1; open(PIP, "|xxd -r -p > ~/Desktop/dsdt.aml") or die; print PIP "$1"; } }'Then hit enter. Open dsdt.aml with DSDTSE when it appears on your desktop.
Click compile. You will be presented with a "Compile error" window.
Click "OK". An "Error" window will open showing you all the current errors, warnings, and remarks.
Note there are lots of errors. Close the window. Click "Fixcompile". The DSDT should compile successfully and another "Code" window will open. In the "Code" window, note that the DSDT's errors have all been fixed except for one warning.
Close the "Code" window.
Continued in the following posts.
Attachments
Last edited by a moderator:


")