- Joined
- May 11, 2012
- Messages
- 84
- Motherboard
- ga-h77-ds3h ga-z77n-wifi 1155
- CPU
- i3-2105 i5-3570k
- Graphics
- gigabite radeon hd 6670
- Mac
- Classic Mac
- Mobile Phone
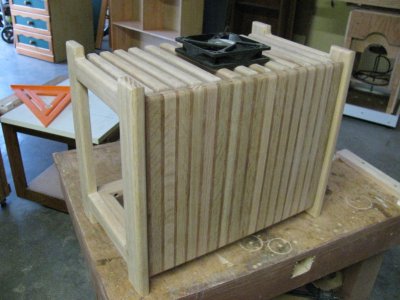
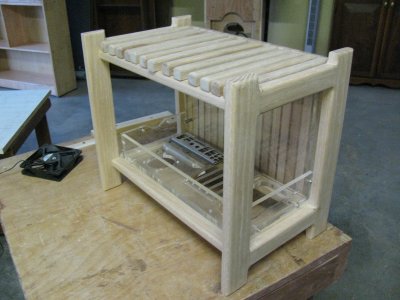
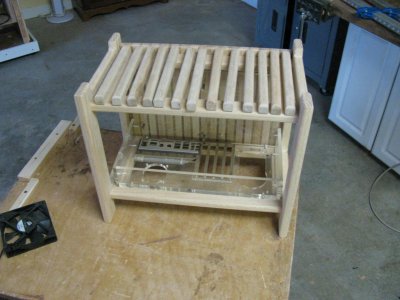
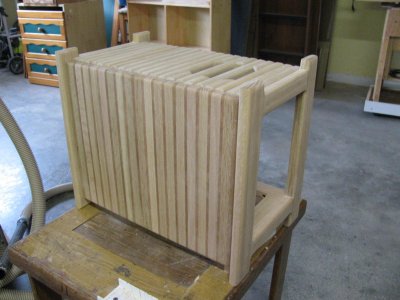
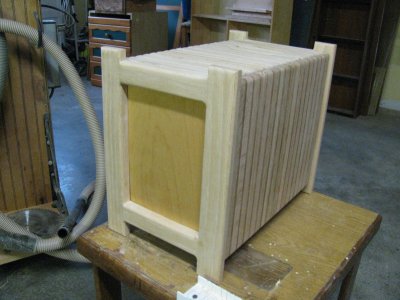
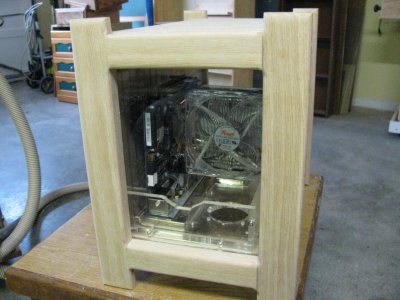
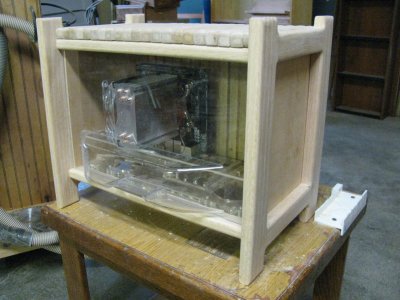
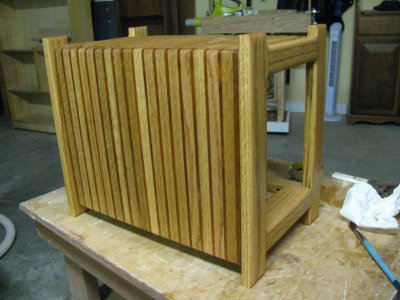
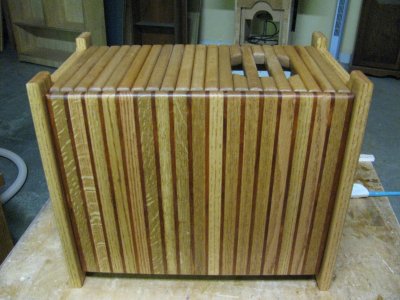
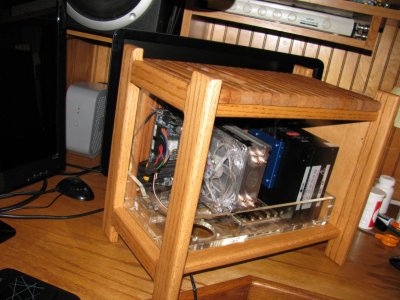
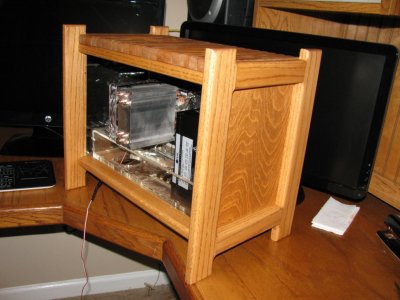
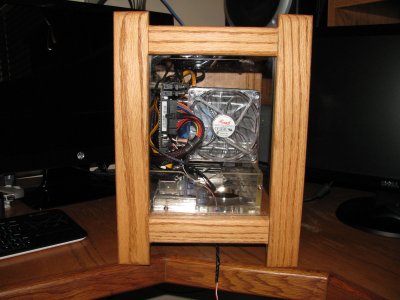
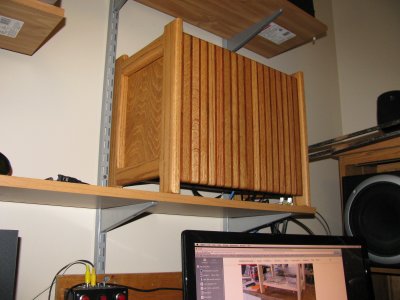
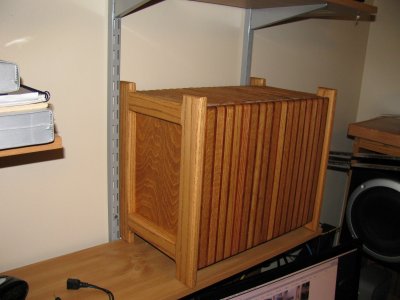
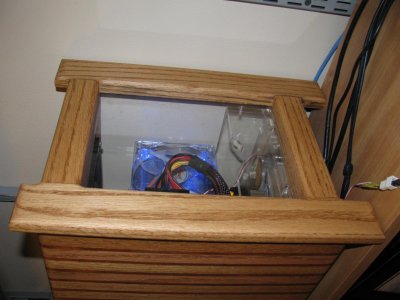
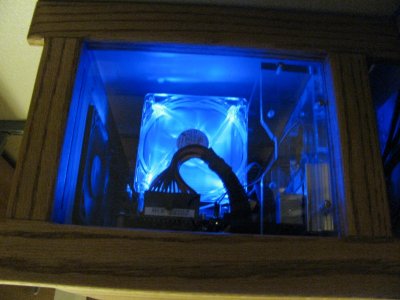
Here is the finished build, I will leave the rest of the post intact.
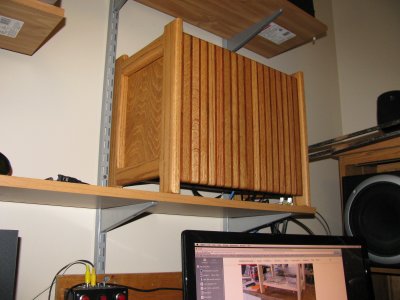



Been trying for months to come up with a design for a wood case that is a little different.
I think I may have figured it out.
It will be a mix of two different furniture pictures I have found.
I just love the style of these shelves and also this small chest.
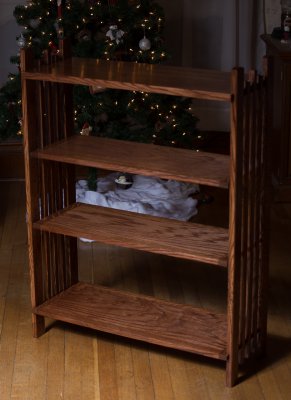

So it will be a blend of these two styles.
Before I can build any thing else I needed to figure out the mother board and power supply tray.
Here's what I came up with.
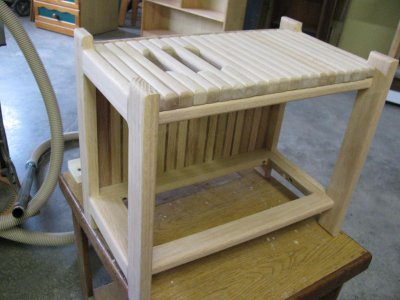
This is what the bottom will look like.
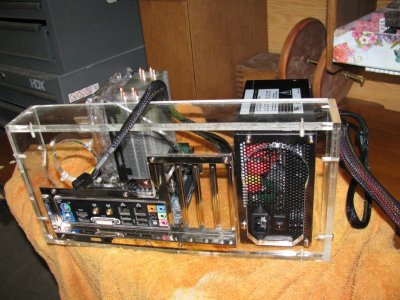
The tray will slide in from the side, may add a window but there really isn't that much to see.
Here's the side and a couple to get a better look at the tray.
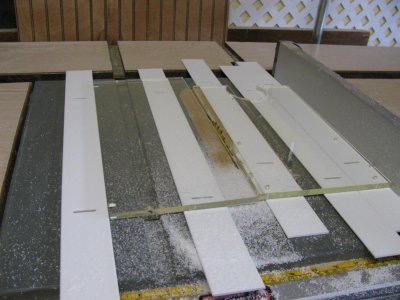
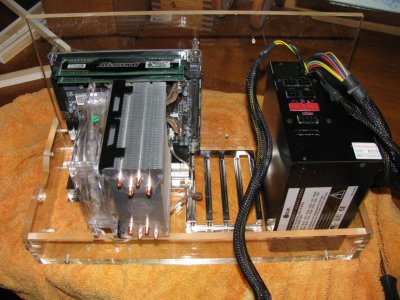
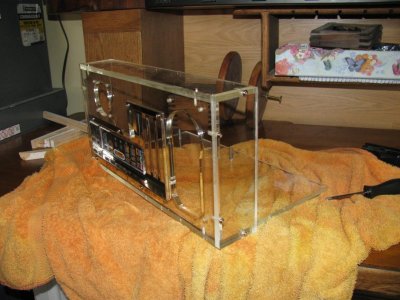
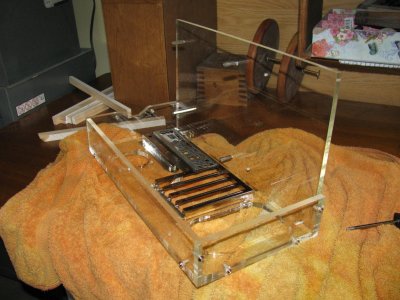
I probable should have taped up the plastic to cut it but the plastic shutter parts did quite will.
I need to sleep on the next step.
Have to figure how I need to make the corners till then it's Woe Nelly.
Well I started cutting some wood.
Even after narrowing it down to two cases I'm still having a hard time getting started,
just couldn't figure out what I want.
Once I had the tray size nailed down I could start on the frame.
Still can go in any direction but it's a start.
Here's the plans.
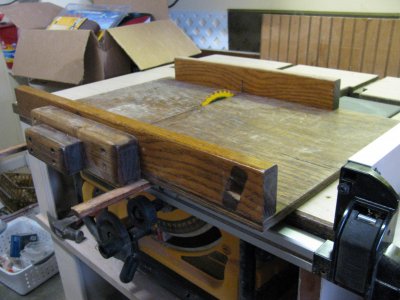
I use a large cut out from a counter top to draw on.
It has square edges so I can use a speed square to lay out my ideas and kinda like a chalk board is easy to erase.

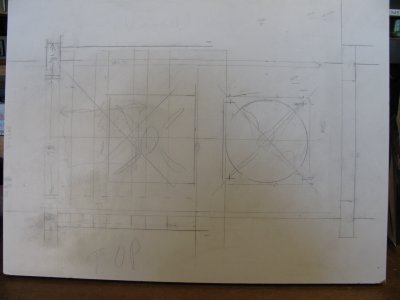
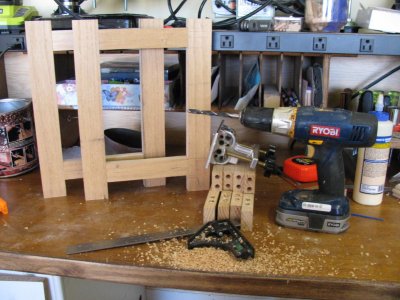
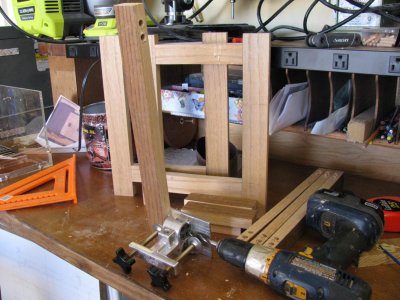
I'm old school so use dowels to put things together.
By using dowels I can put it together with out glue and check if it's really going to work.
The tool I use for drilling my holes is called a Dowel Crafter.
I've been using one for 30 years you would have a hard time finding one they have been out of production for years, but to me it's one of the best hand dowlers there is.
I've got a pocket jig kit but haven't taken the time to figure it out yet.
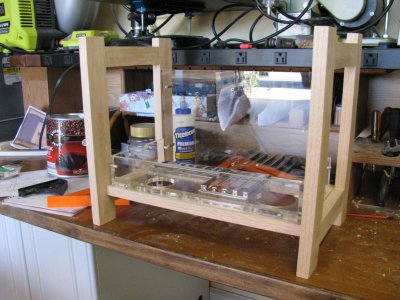
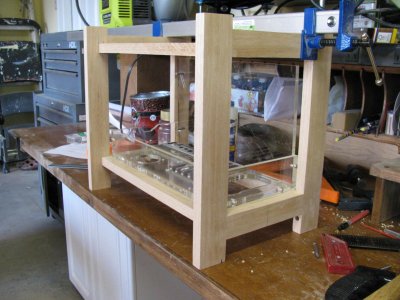
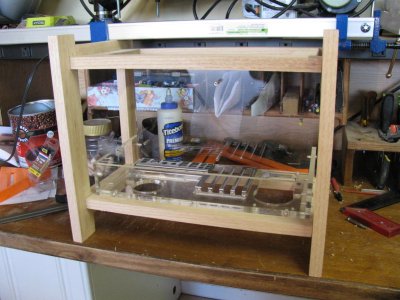

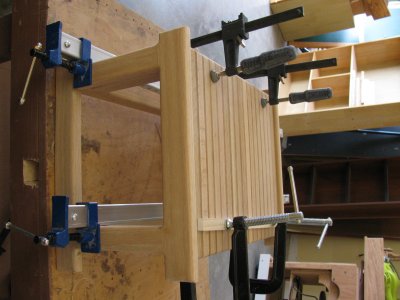
I've got the frame figured out and put together with out glue, now I need to see what I can do to close it up.
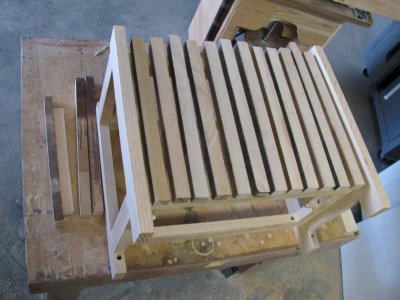
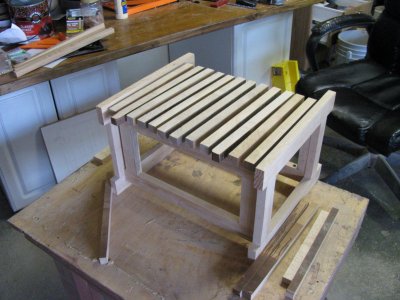
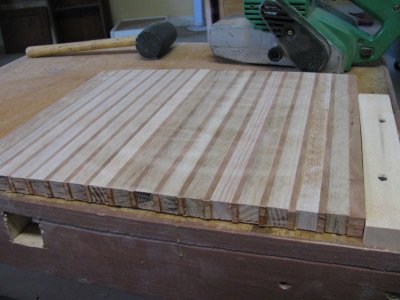
I have some scrap maple that I am trying for looks, not cut to length or anything.
Got any ideas let me know.


Been trying for months to come up with a design for a wood case that is a little different.
I think I may have figured it out.
It will be a mix of two different furniture pictures I have found.
I just love the style of these shelves and also this small chest.


So it will be a blend of these two styles.
Before I can build any thing else I needed to figure out the mother board and power supply tray.
Here's what I came up with.
This is what the bottom will look like.

The tray will slide in from the side, may add a window but there really isn't that much to see.
Here's the side and a couple to get a better look at the tray.


I probable should have taped up the plastic to cut it but the plastic shutter parts did quite will.
I need to sleep on the next step.
Have to figure how I need to make the corners till then it's Woe Nelly.
Well I started cutting some wood.
Even after narrowing it down to two cases I'm still having a hard time getting started,
just couldn't figure out what I want.
Once I had the tray size nailed down I could start on the frame.
Still can go in any direction but it's a start.
Here's the plans.
I use a large cut out from a counter top to draw on.
It has square edges so I can use a speed square to lay out my ideas and kinda like a chalk board is easy to erase.


I'm old school so use dowels to put things together.
By using dowels I can put it together with out glue and check if it's really going to work.
The tool I use for drilling my holes is called a Dowel Crafter.
I've been using one for 30 years you would have a hard time finding one they have been out of production for years, but to me it's one of the best hand dowlers there is.
I've got a pocket jig kit but haven't taken the time to figure it out yet.


I've got the frame figured out and put together with out glue, now I need to see what I can do to close it up.


I have some scrap maple that I am trying for looks, not cut to length or anything.
Got any ideas let me know.


