- Joined
- Nov 20, 2012
- Messages
- 166
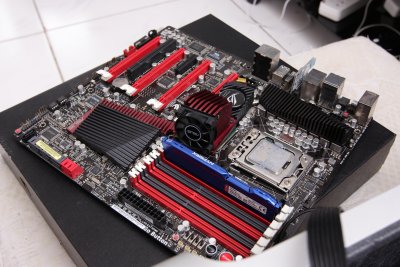
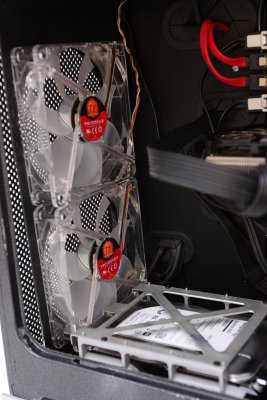
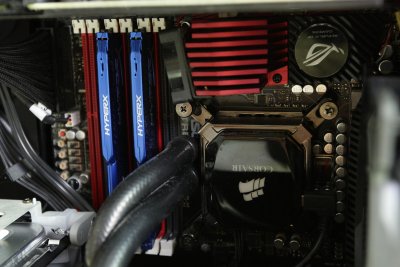
- Motherboard
- Asus Maximus Viii Gene
- CPU
- Intel i7 6700k
- Graphics
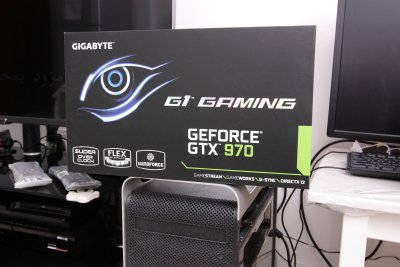
- Evga 980Ti Classified
- Mac
- Classic Mac
- Mobile Phone
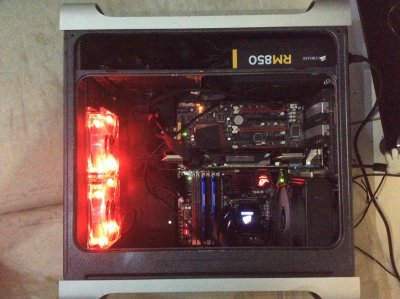
Void G5 Mark I
Reason for the build:
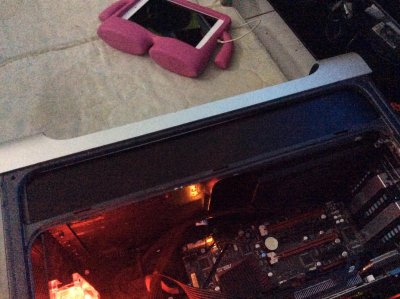
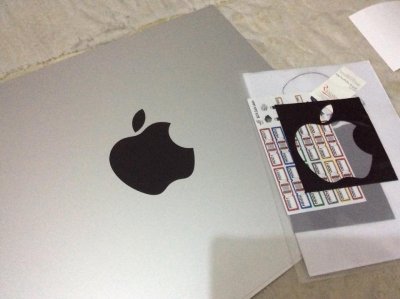
I really like how Apple made the Power Mac G5 and the Mac Pro. I always read the forums and saw all the creative works of the modders here and was really inspired on modding. So I took the plunge and started my first mod.
My Original Power Mac G5:


Hi everyone... I would like to show my very first Mod. Hope everyone will like it.
Thanks everyone...
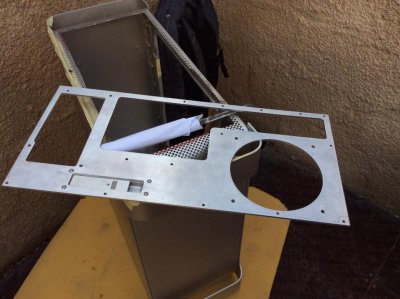
Void G5 Mark I

Thanks everyone...
Void G5 Mark I
Reason for the build:
I really like how Apple made the Power Mac G5 and the Mac Pro. I always read the forums and saw all the creative works of the modders here and was really inspired on modding. So I took the plunge and started my first mod.
My Original Power Mac G5:
Last edited by a moderator:
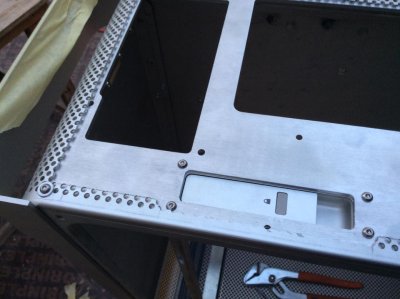
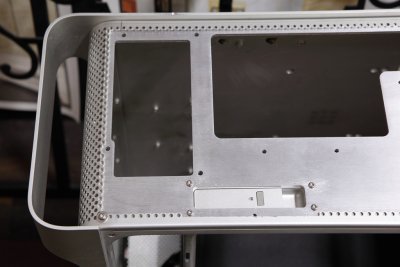
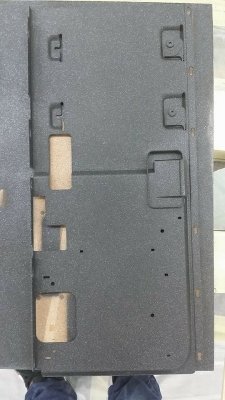
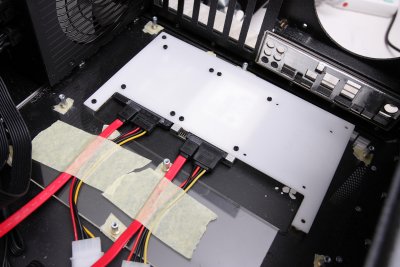
 i will check again your log how you put the plate.