Contribute
Register

Vishaakje's iMac 20" mod

Status
Not open for further replies.
Joined
Jun 29, 2012
Messages
10
Motherboard
Hackintosh Pro
CPU
i5
Mac
  1. iMac
  2. MacBook Pro
  3. Mac Pro
Classic Mac
  1. Power Mac
Mobile Phone
  1. Android
  2. iOS
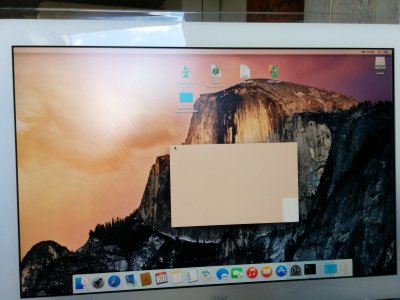
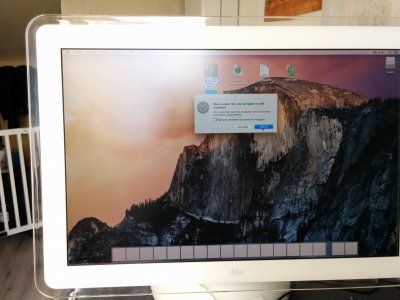
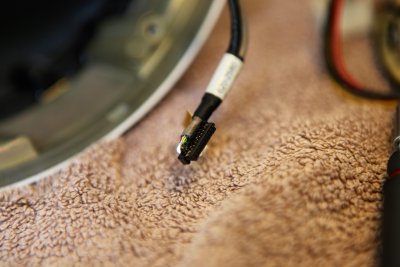
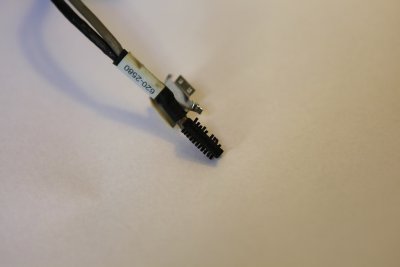
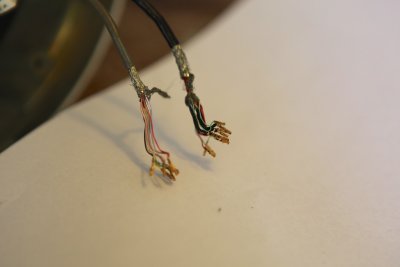
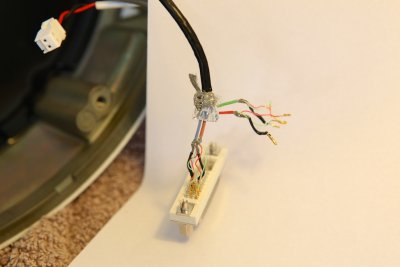
So as promised I would post my build progress. I've just gutted the iMac and started the build. I'll be using the original PSU and an intel NUC, but details will follow once I get the thing done. I'm making pictures as I go so I'll post some here regularly.

In advance: Sorry if the updates are slow, I have my own company and a family so my time is sparse. Also if my english is incorrect, I'm dutch (The Netherlands) so sorry :)

And more importantly: Giant thanks to Dremel Junkie and Ersterhernd, I would never have started this mod without your detailled build reports.

I've attached some images, don't see an editor to get the images into the post unfortunately.

Update: Most of the stuff I'll be using is ordered from Conrad Electronics. For people in the Benelux or Germany I'll post the part numbers later.
 

Attachments

  • imac vish 1.jpg
    imac vish 1.jpg
    225.6 KB · Views: 269
  • imac vish 2.jpg
    imac vish 2.jpg
    180.9 KB · Views: 283
  • imac vish 4.jpg
    imac vish 4.jpg
    93.1 KB · Views: 253
  • imac vish 6.jpg
    imac vish 6.jpg
    93.3 KB · Views: 231
  • imac vish 7.jpg
    imac vish 7.jpg
    91 KB · Views: 254
  • imac vish 23.jpg
    imac vish 23.jpg
    84.5 KB · Views: 240
  • imac vish 17.jpg
    imac vish 17.jpg
    115.2 KB · Views: 236
  • imac vish 11.jpg
    imac vish 11.jpg
    100.5 KB · Views: 282
Good start ! :angel:

i'm from Belgium, also Dutch speaking ! And 2 iMac G4's 17 inch.

Maybe I can come over and help building the iMac G4 mod? :thumbup:

It would be awesome to have a iMac G4 with OS X Yosemite, i7 processor, retina display + touch screen & Blu-Ray player :mrgreen:

I hope you can give the part numbers soon :)
 
Take your time and enjoy the project, the iMac G4 was made for modding!

Keep the pics coming. Good Luck!
 
Thanks for the encouragements :)

I've taken pictures all along, so I'll be able to update soon. Found out some pretty nice things already!

Turns out the NUC has a 19v power brick but dismantling the NUC and hooking it up to the 'always on' part of the native PSU it runs super smooth on 12v :D
This means it'll save me loads of space in the iMac.

So everything is working smooth now:
- Native PSU
- Screen switches on when NUC is started (took the 5v from the DVI, splitted 4 ways with a 6,8 and 1 kOhm resistor just like advised by Dremeljunkie).
- NUC runs of the 12V lines provided by the native PSU
- No flickering in the screen or artifacts (so far, fingers crossed)

I'll probably leave the NUC in there as a tiny motherboard and ditch the case. This way I can solder on leads to the native power button and maybe some ports (the ethernet port would be nice).

Super busy in my company at the moment so not much time, but once I find some I'll try and make a decent update with pics.

@proXify
Het is echt een tof project, absoluut een aanrader om op te pikken maar je moet er echt geduld en tijd in steken anders lukt het nooit. Ik heb nog een 20" staan waar ik wil kijken of er nog zwaardere hardware in past. Zat zelf te denken aan bijvoorbeeld een Gigabyte BRIX pro of gaming. Moet daar nog induiken om te kijken wat het beste als hackintosh functioneert.

@rest : Sorry in Dutch :D

Edit:
Anybody some tips on how to make the connections to the DVI more secure. I was thinking about insulating liquid rubber.
 
Allright, the thing is looking good! I love the iMac.

I'm running into a brain bender though.

The system fan is a Noctua fan I bought and it runs on standard 12v, but.... From the native PSU you only get 12v 'always on' lines so the fan would always be on if the system is plugged in. Not so smart.

Being a dumbass I cut NUC's fan wires and tapped into that to power the bigger fan. I say dumb because I should have measured voltage first... The NUC's fan runs on 1.2 volts.

Does anybody have a smart idea on where to get a switched 12v line to the fan?
If you're keeping the optical drive, run the fan and drive off a picoPSU. You'll need one anyway.

Either way be prepared to build a transistor switch. You'll use it to switch on either the picoPSU like shown on either here or DremelJunkie, or the 12V to the fan. Either way your transistor must be rated for more than your fan's current draw. Use the 5V pin from NUC's front panel header to trigger this switch.

That's brilliant, I won't be keeping an optical drive. But switching from the 5V should work nicely. Thanks you! I'm off googling for parts :)
 
Allright, a lot has happened :)

The first time around getting everything wired up I used liquid electrical tape to secure the connections to the DVI connector. I was so happy moving along I didn't test it enough and it proved to be a bad move. It would ignite the backlights but no screen whatsoever, despite testing before closing up. After hours an hours of fiddling around I decided to take a bald move: Cut the damn thing off.

I ended up soldering the iMac cables onto a HDMI cable (figuring out pin-cable numbers first and then matching to the iMac cable colors using the graphics on dremeljunkies site and measuring every single wire). If this build ends up working I'll post everything here with pictures.

Right so everything is where I wanted it to be:
- Screen works fine (shows boot and install screens flawless)
- Native PSU with no extra's added (no pico psu or power brick)
- Original power button soldered onto the NUC

Beeing super happy I thought: Might as well install Yosemite on there now. Following nab's guide (http://www.tonymacx86.com/user-buil...-nuc-dc3217iye-i3-3217u-ethernet-edition.html) I thought I'd be fine, but now the trouble starts....

What's wrong?
1) The USB keyboard doesn't always work upon starting up. Bypassing the USB port extenders and plugging directly into the NUC seems to reduce the problem but not solve it. Tried 2 apple keyboards for this that both work fine on my mac pro.

2) And this is a big one: Once in the installed OSX, it starts showing artefacts really fast. Everything works but isn't readable anymore :( To me it seems strange that during the 20m+ installation there where 0 artefacts. The screens show that the shadows around windows cause trouble, then the icons start screwing up and in the end I'll get a million orange or blue artefact blocks wherever a change in the screen happens.

I'll install mountain lion, arch linux or windows (yuk) later to check if it's hardware related or just yosemite has hiccups.
------------
edit:
running ubuntu now (since they have a nice and easy live USB boot option) and it runs fine. Running youtube movies and trying to stress the machine a bit but not a single artifact yet. Makes me a bit more optimistic! Feeling like a dumb*ss for trying Yosemite that's just a week or so old :)

Ran a 1080p movie in Ubuntu for about half an hour without a hickup, so I think it's safe to say it's an OSX related issue. I'll be installing 10.8.5 later on, that version would be more than enough for what I have in mind with this iMac.
 

Attachments

  • IMG_20141020_134959.jpg
    IMG_20141020_134959.jpg
    538.5 KB · Views: 247
  • IMG_20141020_135010-1.jpg
    IMG_20141020_135010-1.jpg
    486.8 KB · Views: 382
  • IMG_20141020_135216.jpg
    IMG_20141020_135216.jpg
    527.1 KB · Views: 311
I feel your pain about the artifacts. My 20" G4 build caused me major grief with the Haswell NUC, but not a single issue with the i3 version. Windows7 worked just fine, as did Linux but not OSX. Good luck in solving it. I wish I knew what to suggest...


Ersterhernd
 
I feel your pain about the artifacts. My 20" G4 build caused me major grief with the Haswell NUC, but not a single issue with the i3 version. Windows7 worked just fine, as did Linux but not OSX. Good luck in solving it. I wish I knew what to suggest...
Ersterhernd

Deleted the progress because I'm running Yosemite right now without a problem! :D

Main thing was to cap the video card memory at 128Mb, now all glitches are gone. When installing Yosemite the main thing is to use the Clover boot loader and not install Chimaera through Multibeast. The nuc's ethernet worked out of the box, but I still installed the intel drivers through multibeast. Following NUB's hackintosh guide proved perfect, I've just got to get the TRIM command working now.

I'll use the system now for a couple of days to find out if everything is working properly. In my setup I've ditched the Noctua fan in the top of the iMac all together and the system isn't running hotter than 60 degrees celsius, but again I'll have to look into this in the next couple of days to find out, otherwise I'll still install the system fan. Beauty now is that it's virtually silent.

Maybe the best news is... I've got another iMac 20" smiling at me :D :D I'm going to document that one even better (got a nice macro lens now) and make it a nicer build. Also I've got some original speakers with that one I would love to incorporate in the design. Lastly I will look into using another 3127 NUC, or maybe something completely different (like a Gigabyte BRIX).

For now, I'm super happy.
 
Status
Not open for further replies.
Back
Top