- Joined
- Nov 17, 2009
- Messages
- 7,367
- Motherboard
- Z370N WIFI
- CPU
- i7 8700K
- Graphics
- HD 630
- Mac
- Classic Mac
- Mobile Phone
Established users of macOS Catalina who wish to update directly to macOS Big Sur can do so just like a regular Mac would. This fully native method requires no USB creation or preparation and allows you to keep all of your files and settings.
Before you begin, we strongly recommend performing a full backup of your existing system using Carbon Copy Cloner. By doing this, you can always go back to your working macOS Catalina installation.
Guide: Update Directly to macOS Big Sur
Let us know how this guide works for you! Please post all help requests in Big Sur Desktop Support and Big Sur Laptop Support forum sections. Thanks and good luck!
Please post your question(s) as a standalone thread in the Big Sur Desktop Support forum section. Violators will have their post removed.
Related:
How to Create a macOS Big Sur Public Beta Installation USB
How to Prepare for Big Sur
macOS Big Sur Does NOT Boot with iMac14,2 System Definition
tonymacx86 Clover Theme (Updated for Big Sur)
Introducing the macOS Big Sur Critter!
Big Sur Desktop Support
Big Sur Desktop Guides
Big Sur Laptop Support
Big Sur Laptop Guides
Apple Announces "3rd Transition" for macOS: From Intel CPUs to Apple Silicon
macOS Big Sur Public Beta is Now Available
Apple Previews macOS 11.0 Big Sur - Available Fall 2020
Before you begin, we strongly recommend performing a full backup of your existing system using Carbon Copy Cloner. By doing this, you can always go back to your working macOS Catalina installation.
Guide: Update Directly to macOS Big Sur
1. Update your existing bootloader. Bootloader update to OpenCore 0.6.3 or Clover Release v5.1 r5126 required for installation. For the purposes of this guide, we will reference Clover locations. Note: Clover requires proper Quirks config.plist additions. See here for details.
2. Open Clover configuration folder on the root of your system drive or EFI Partition using EFI Mounter v3. Copy VirtualSMC.kext and any other extra necessary kexts to /EFI/CLOVER/kexts/Other/. If you need kexts, download them here. If you need precompiled SSDTs, download them here.
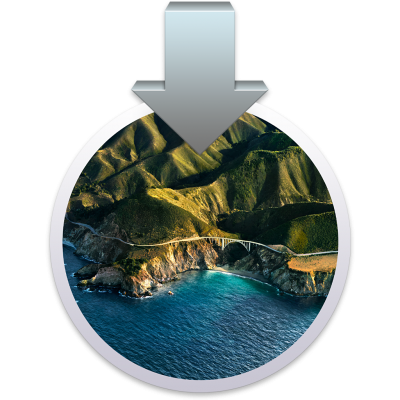
3. Download Install macOS Big Sur Application from the Mac App Store. When complete, the app will open. Please note, the Application will disappear after use.
4. Choose system drive for install (Example: Macintosh HD). When complete, the computer will automatically reboot.
5. At Clover boot screen, choose Boot macOS Install option (Example: Boot macOS Install from Macintosh HD). Choosing your system drive will go back to your previous installation without updating.
6. Complete the installation process- the computer will automatically reboot a few times.
7. At Clover boot screen, choose Boot macOS option (Example: Boot macOS from Macintosh HD). The computer will then complete the update.
Let us know how this guide works for you! Please post all help requests in Big Sur Desktop Support and Big Sur Laptop Support forum sections. Thanks and good luck!
Please post your question(s) as a standalone thread in the Big Sur Desktop Support forum section. Violators will have their post removed.
Related:
How to Create a macOS Big Sur Public Beta Installation USB
How to Prepare for Big Sur
macOS Big Sur Does NOT Boot with iMac14,2 System Definition
tonymacx86 Clover Theme (Updated for Big Sur)
Introducing the macOS Big Sur Critter!
Big Sur Desktop Support
Big Sur Desktop Guides
Big Sur Laptop Support
Big Sur Laptop Guides
Apple Announces "3rd Transition" for macOS: From Intel CPUs to Apple Silicon
macOS Big Sur Public Beta is Now Available
Apple Previews macOS 11.0 Big Sur - Available Fall 2020
Last edited:

