
- Joined
- Mar 31, 2011
- Messages
- 163
- Motherboard
- Dell Precision 5820
- CPU
- W2135
- Graphics
- WX7100
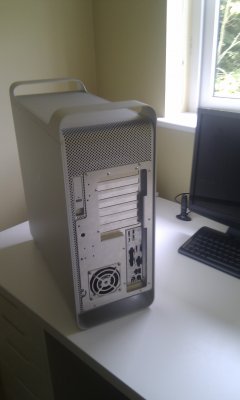
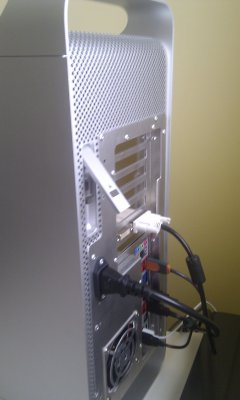
I had been been searching for a suitable Powermac G5 in good condition for a while and eventually picked one up with a faulty logic board .
Complete otherwise and included the original box , which certainly helps where couriers are involved.
Existing Hardware consisted of -
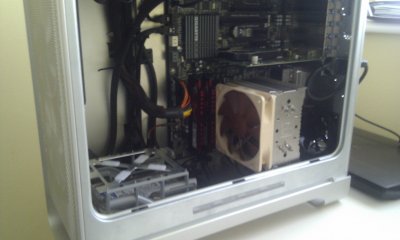
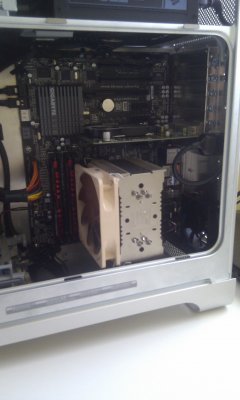
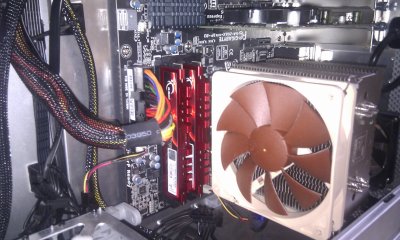
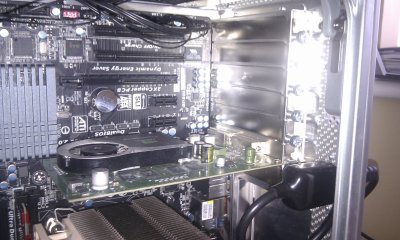
Gigabyte GA Z68x UD3P-B3 , Intel i5 2500k ,Corsair HX 750 Psu , Nvidia Quadro Fx570 , G-Skill 2x4gb Ripjaws X , Noctua NH-U12P , sony optiarc dvd ,belkin bluetooth usb ,
two WD hdd's 1 for osx and 1 for windows .And a couple of spare fans.
Extra's purchased for build -
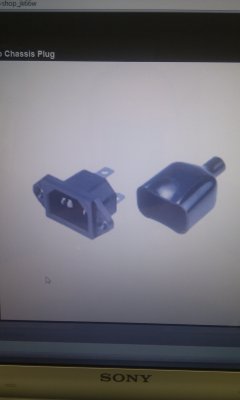
A Lian Li atx motherboard tray , front panel cable from Alohacab , chassis plug and boot .
I don't favour stripping down an atx psu to mount in the G5 psu enclosure for one simple reason ,any warranty is obsolete.
There is also the issue of noise and cooling from the original G5 psu fans.
But others here have done some very tidy work with that approach .It's just a personal preference.
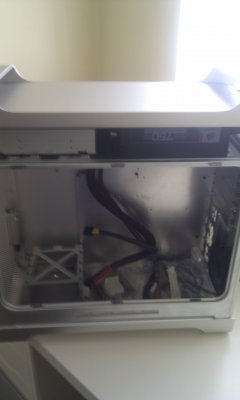
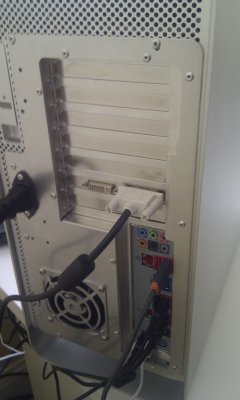
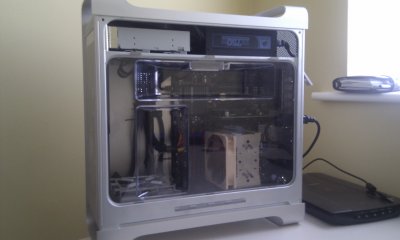
So with that in mind I set about mounting the atx psu on the upper shelf .
The lian li motherboard tray was then mounted directly under this upper shelf using the original stand off's to secure and rivet's to the rear of the case.
I 've also noticed that my graphics card ran a few degrees cooler in the g5 with the psu directly above it, not sure if anyone else
can confirm that?
As a simple no frills mod , there really isn't that much to it.
Just want to give a shout out to tony and all the contributor's of the site , I've found it a great resource for all things hackintosh.
Complete otherwise and included the original box , which certainly helps where couriers are involved.
Existing Hardware consisted of -
Gigabyte GA Z68x UD3P-B3 , Intel i5 2500k ,Corsair HX 750 Psu , Nvidia Quadro Fx570 , G-Skill 2x4gb Ripjaws X , Noctua NH-U12P , sony optiarc dvd ,belkin bluetooth usb ,
two WD hdd's 1 for osx and 1 for windows .And a couple of spare fans.
Extra's purchased for build -
A Lian Li atx motherboard tray , front panel cable from Alohacab , chassis plug and boot .
I don't favour stripping down an atx psu to mount in the G5 psu enclosure for one simple reason ,any warranty is obsolete.
There is also the issue of noise and cooling from the original G5 psu fans.
But others here have done some very tidy work with that approach .It's just a personal preference.
So with that in mind I set about mounting the atx psu on the upper shelf .
The lian li motherboard tray was then mounted directly under this upper shelf using the original stand off's to secure and rivet's to the rear of the case.
I 've also noticed that my graphics card ran a few degrees cooler in the g5 with the psu directly above it, not sure if anyone else
can confirm that?
As a simple no frills mod , there really isn't that much to it.
Just want to give a shout out to tony and all the contributor's of the site , I've found it a great resource for all things hackintosh.
Attachments
-
 IMAG0A.jpg730 KB · Views: 308
 -
 IMAG0B.jpg583.1 KB · Views: 298
 -
 IMAG0C.jpg562.5 KB · Views: 303
 -
 IMAG0D.jpg745.1 KB · Views: 341
 -
 IMAG0E.jpg747.4 KB · Views: 337
 -
 IMAG0F.jpg619.5 KB · Views: 309
 -
 IMAG0G.jpg692.5 KB · Views: 348
 -
 IMAG0H.jpg737.9 KB · Views: 339
 -
 IMAG0I.jpg643.3 KB · Views: 320
 -
 IMAG0J.jpg779.1 KB · Views: 313
 -
 IMAG0K.jpg800.8 KB · Views: 312
 -
 IMAG0L.jpg771.6 KB · Views: 309
 -
 IMAG0M.jpg678.4 KB · Views: 370
 -
 IMAG0N.jpg801.3 KB · Views: 350
 -
 IMAG0O.jpg816.9 KB · Views: 330
 -
 IMAG0P.jpg779.6 KB · Views: 329
 -
 IMAG0Q.jpg1 MB · Views: 320
 -
 IMAG0R.jpg1,016.8 KB · Views: 325
 -
 IMAG0S.jpg1 MB · Views: 324
 -
 IMAG0T.jpg720.4 KB · Views: 311
 -
 IMAG0U.jpg645 KB · Views: 400
 -
 IMAG0W.jpg515.4 KB · Views: 263
 -
 IMAG0X.jpg738.7 KB · Views: 315