- Joined
- Nov 19, 2019
- Messages
- 51
- Motherboard
- Gigabyte Z390 Designare
- CPU
- i9-9900K
- Graphics
- RX 5700 XT
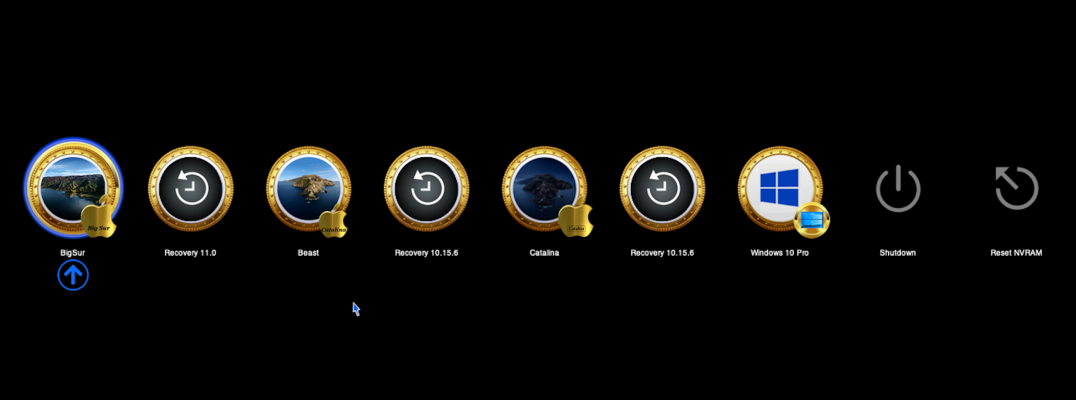
I've restructured my SSDs a bit so that with one I can try out BigSur , like be adventures csrutil and break my head  , make it bleed , see the problems
  etc.
etc.
The other SSD is for stability, currently has Catalina.
I've got two EFI folders for each of the SSDs that have BigSur and Catalina which are carbon copies except that they have different SerialNumber , MLB, System UUID. Everything seems to be working fine on both drives but I just wanted to ask here if anyone has as similar set up and what they did. Is there a mini guide or any recommendations that I could follow use ?
, make it bleed , see the problems The other SSD is for stability, currently has Catalina.
I've got two EFI folders for each of the SSDs that have BigSur and Catalina which are carbon copies except that they have different SerialNumber , MLB, System UUID. Everything seems to be working fine on both drives but I just wanted to ask here if anyone has as similar set up and what they did. Is there a mini guide or any recommendations that I could follow use ?