Contribute
Register

Standing on the Shoulders of Giants - AppleMacIdiot's G5 Mod

Status
Not open for further replies.
Joined
May 12, 2012
Messages
107
Motherboard
Gigabyte GA-B75M-HD3
CPU
i5-2500K
Graphics
GT 710
Mac
  1. MacBook Pro
  2. Mac Pro
Classic Mac
  1. Power Mac
Mobile Phone
  1. iOS
AppleMacIdiot's First G5 Mod [Updated]

AppleMacIdiot's First G5 Mod

So this is looooong overdue...
I finished a PowerMac G4 mod back in 2012 and threatened to follow it up with a G5 mod. Well, life had other plans. So after almost two years and a life-changing move to the other side of the planet, my new life in the US has finally settled down enough to get back on track with this little project. Yaaaaay!

In a stroke of luck, the G5 case I had gutted back home somehow survived the 3-month trip at sea relatively unscathed and I've also had a lot of time to think about this project. A LOT of time! It also seems that the community has done some pretty amazing work during this time and some great progress has been made, which I have factored into my plans - hence the title of my build.

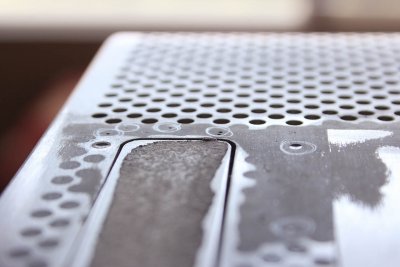
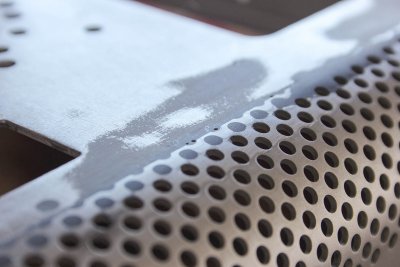
I purchased my case with some light water damage from what seems to have been a leaky liquid cooling system. I did some basic cleaning out when I originally gutted the system, but it seems the last two years haven't been kind to the damage and I have had some further cleaning, de-rusting and repair up to do.

In this first post I'll take a quick trip through the clean up and repair process, which is almost completed...

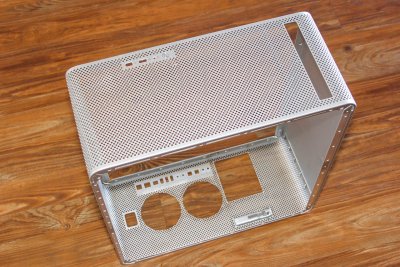
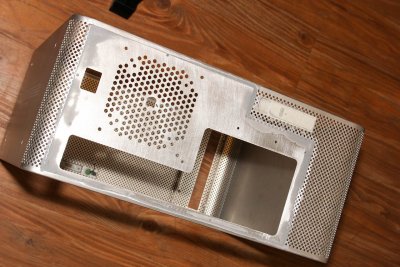
Here's my gutted case. You can see the discoloring near the bottom from my previous cleaning attempt.
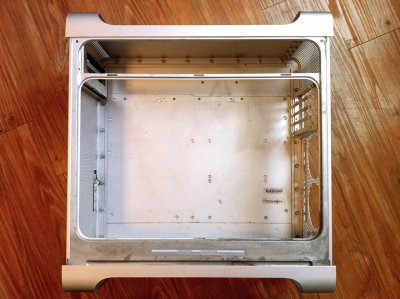
Jason_G5_Inside.jpg


The case stripped down even further to just the cage.
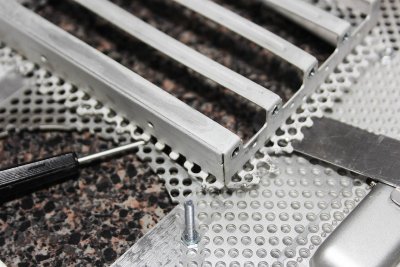
IMG_4325.jpgIMG_4338.jpgIMG_4340.jpg


Some slight rust on the main cage section.
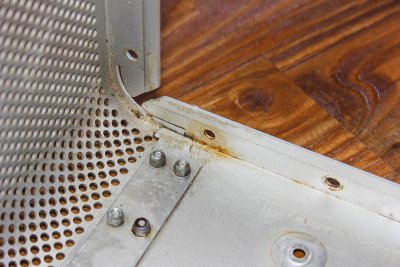
IMG_4334.jpg


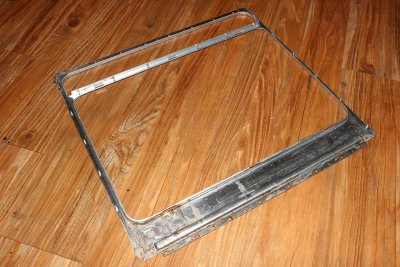
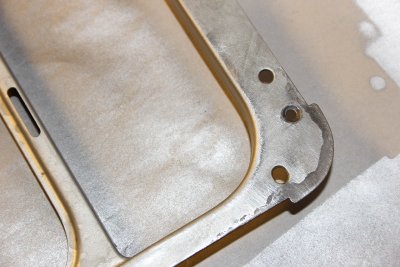
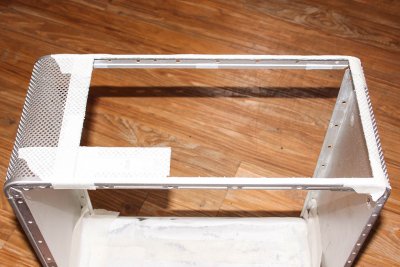
After drilling out the rivets and removing the locking / side-panel frame thingy you can see that it took the brunt of the water damage and rusted quite badly.
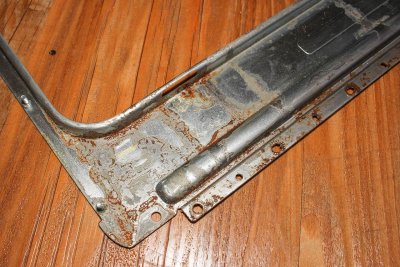
IMG_4246.jpgIMG_4244.jpg


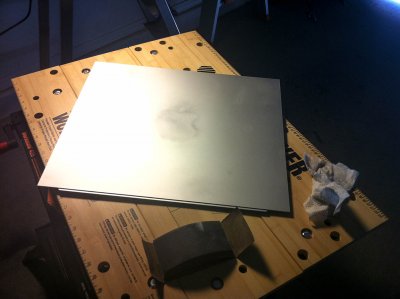
After some soaking in white vinegar and light scrubbing with a toothbrush things look considerably better. A little light sanding and buffing to smooth out any ridges and it's ready for some paint.
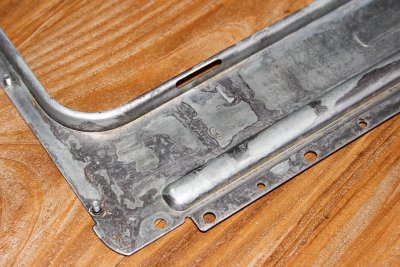
IMG_4252.jpgIMG_4322.jpg


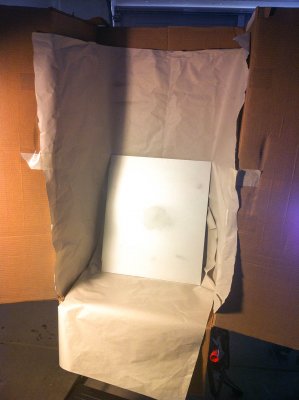
Ready for painting in my quick and dirty paint booth. As you can see, I'm using Rust-oleum Painter's Touch 2x Ultra Cover - Metallic Aluminum (249128). From my test samples the color is an almost exact match with the anodized aluminum of the case with about the same texture. My intention is to spray most of the case to cover up some other blemishes, light scratches and cover-up the body filling that I plan on later
2014-03-11 12.44.18.jpg


The results. Not 100% perfect, but a million times better than before I reckon!
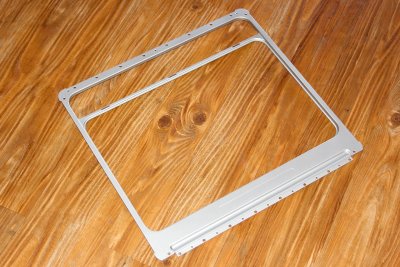
IMG_4349.jpgIMG_4350.jpgIMG_4353.jpgIMG_4318.jpgIMG_4351.jpg


Here's the part along side the original cage. The colour is a tone darker and a slightly cooler grey than the anodized case, but I'm still very happy with the result. In certain light you can't even tell the difference.
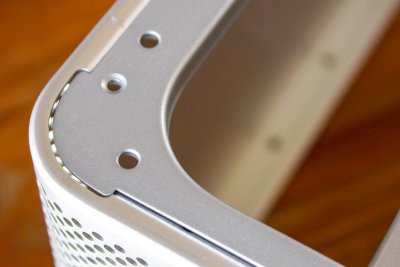
IMG_4366.jpg


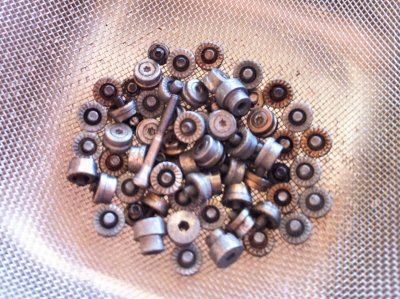
After stripping down the case,you can see that quite a bunch of the case screws were dirty, rusty, grimy, scratched or all of the above. I'm a stickler for even the slightest detail, so these needed attention.
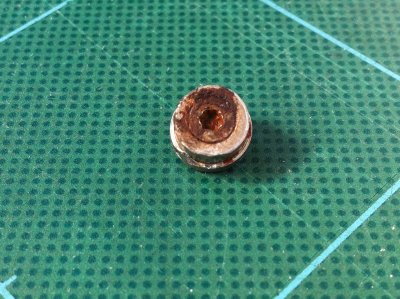
2014-02-10 13.30.59.jpg


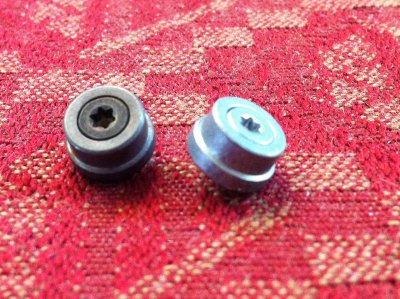
Soaking them in white vinegar for about 10 hours and rinsing them in rubbing alcohol cleaned them up really nicely, but as you can see the stripping process leaves them quite dull and off colour from the original screws.
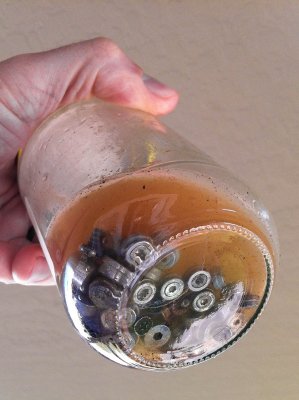
2014-01-29 12.16.44.jpg2014-01-29 15.19.36.jpg2014-01-30 17.03.41.jpg


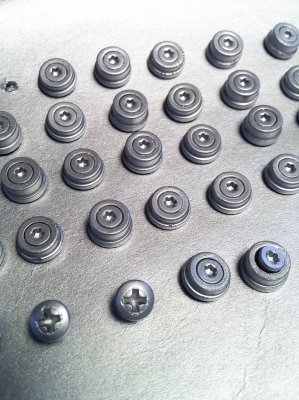
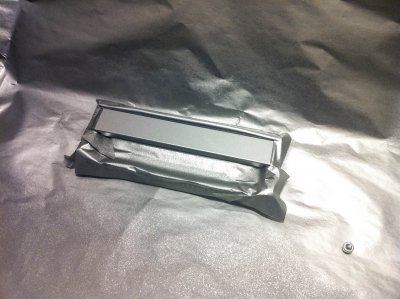
Pressing them into a sheet of thin card and spraying them with Rust-oleum sorted them out quickly and perfectly...
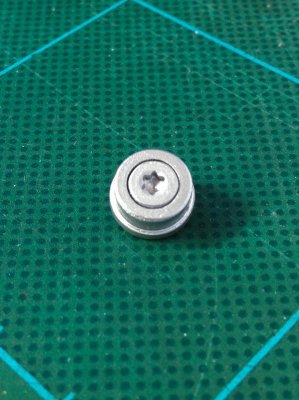
The result? Almost good as new! Yaaaaay!
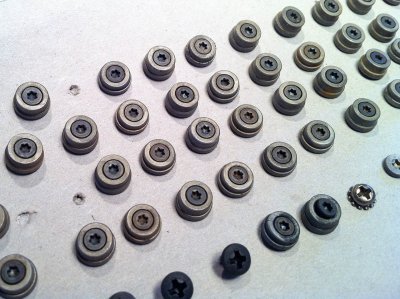
2014-02-10 11.44.26.jpg2014-02-10 11.48.43.jpg2014-02-10 14.02.10.jpg2014-02-10 13.33.17.jpg


That's about it for now. A little more wiping and cleaning the interior and I'll be ready for the next stage.
It has been really slow going thus far, but now that I've FINALLY started the ball rolling again, things should go much quicker in the coming weeks.


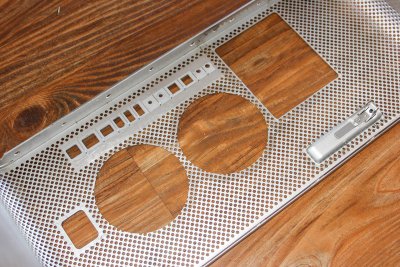
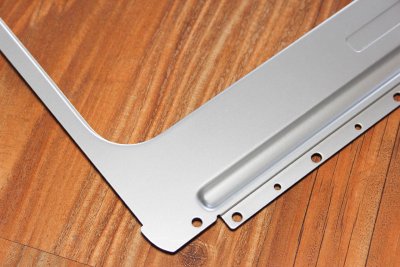
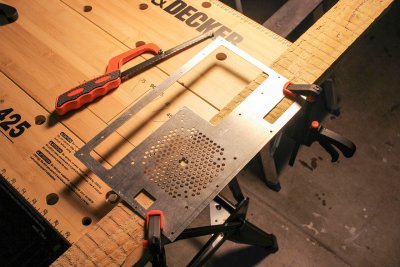
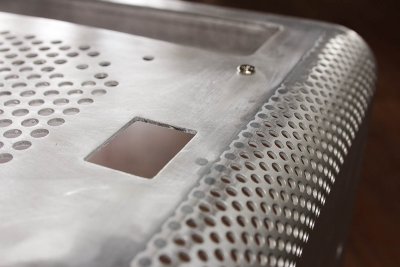
My next update will cover my up-coming attempts at cutting the rear of the case to make way for my custom backplate which I intend mount flush. Check out this sneak peak...
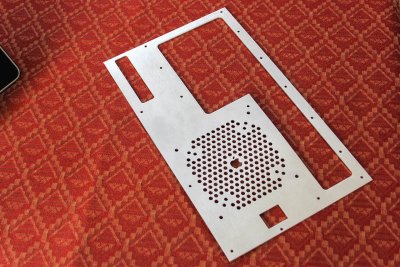
IMG_4234.jpgIMG_4236.jpg


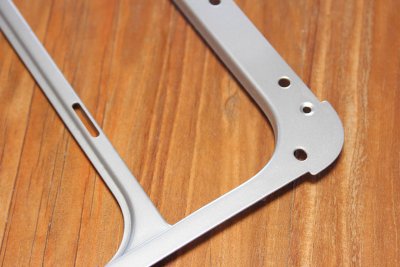
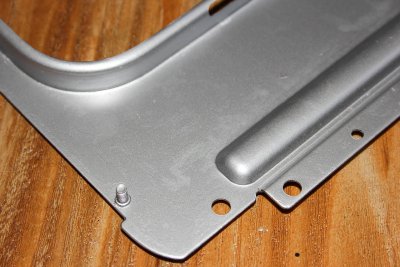
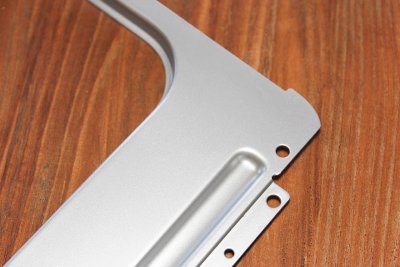
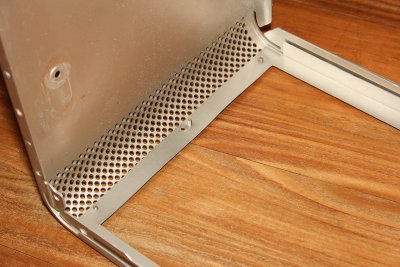
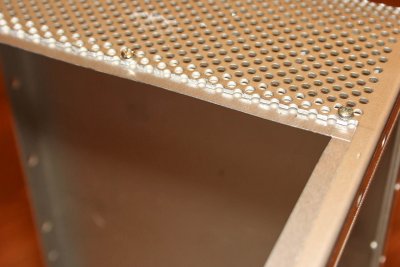
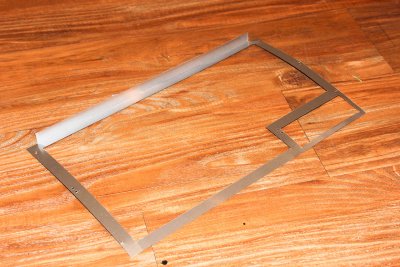
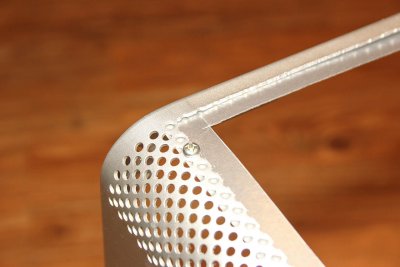
I also have some cool plans for an aluminium motherboard tray, an aluminum airflow / deflector system (similar to the Mac Pro) for improved airflow / fan mounting and a few other little goodies for good measure.

Stay tuned for more...
 
Great job on cleaning that case...I love that custom back plate as well...can't wait to see some updated pics of the build....I am new to the case mod and just started my fist G5 case mod...lots of fun for sure..hope to be done this week.
 
AppleMacIdiot's First G5 Mod - Update 1

Okay! So, I'm back. Again.
It has been a busy couple of weeks on this project and I have made a lot of progress so let's dive right in...

My last update left you with a sneak peak of my backplate.
But before I started cutting into my pride and joy, I felt that it was time for another quick test fit and some additional measuring for the cutting process. Everything looks great! Yay!
IMG_4384.jpg


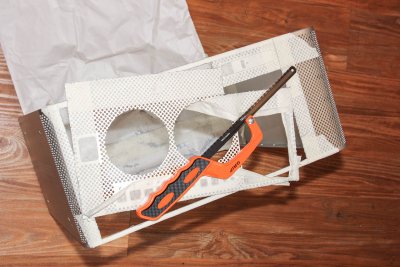
Time to cut! This had me seriously freaked out. There are like ten different ways to approach this part of the process and I've never cut anything like this before, so it was heart pounding stuff indeed! My ultimate goal here was clinical accuracy. So after some experimenting on some random off cuts of aluminium, I realised there was farr too much chatter and jumping around with my high-speed carbide cutting bit in my Dremel, and decided that slow, easy and by hand would give me the best results.
So I used my Dremel with the EZ Lock Cutoff Wheel EZ456 to get me started with each initial incision and then slowly and carefully worked my way around by hand with a hacksaw. Slow as hell and totally old-school, I know, but the results were far better and more accurate than I could have hoped for!
IMG_4396.jpgIMG_4397.jpgIMG_4402.jpg


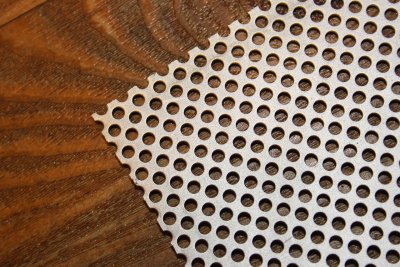
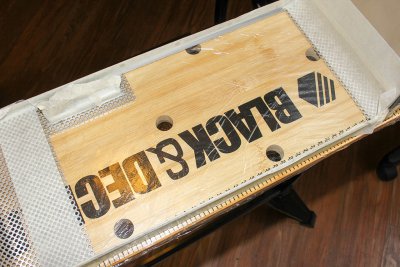
The backplate was initially laser cut to keep my options open, just incase I chickened out and didn't want to flush mount this bad boy. But I figured, hell! I have come too far to do a half-job now, so flush mounting was the only way forward! So, some careful measuring and marking on the backplate later and I was ready to cut it down to fit the neat little hole I had just cut in my case.
Used the same method above for cutting the backplate - ie. Dremel for the initial guide hole and hack saw the rest of the way.
IMG_4430.jpg


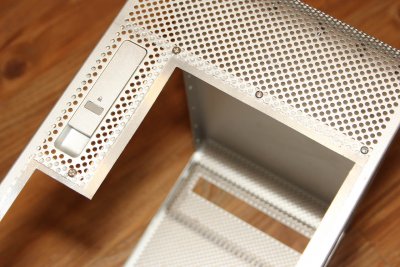
A quick test fit to see if my cutting was true and would you know it? It was perfect. Actually, too perfect with almost not gap to speak of! This wouldn't give the JB Weld much room to work with or stick to. So a bit of additional filing and sanding to increase the space around the opening and I was all set.
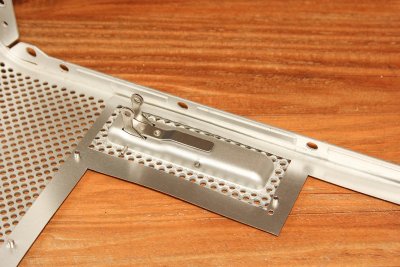
IMG_4432.jpgIMG_4435.jpg


Now the more astute of you will notice that I made a left turn in my cutting process above and instead of cutting a simple rectangle to match the rectangular backplate, I cut around the latch mechanism. My thinking in the end was two-fold.
A.) I wasn't entirely confident in my ability to remove the soldered on latch mechanism from the case without completely damaging it.
B.) You can't see it in the original test fit, but the backplate is slightly warped from the laser cutting process. I was warned this might happen due to the tight cluster of holes and the heat involved in the cutting process creating some expansion in the aluminum. In the end the result was only some slight warping, but I decided that the additional L-shaped angle from the cutting above, might help add some rigidity to the the structure when mounted and JB Welded.
A bold move, I know, but a risk worth taking.


Now for my second deviation from the plan...
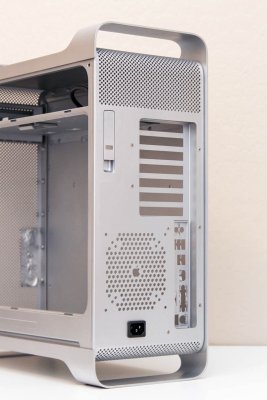
I had originally planned to use some pieces of left over aluminium from the cut out section of the case to attach the backplate to from the inside. I then went a step further and designed, cut and bent (for additional support) a whole fabricated mounting bracket of a single piece of thin aluminum to match (and over lap) the cut out section and backplate. It was awesome!
It lined up nicely and was unobtrusive in every way. So I took it yet another a step further and threw it in the trash heap of good ideas gone awry.
I just couldn't bare the thought of it in my build, even if it was, for the most part, going to be almost invisible. Besides, I think the piece was a little too thin and finicky in the end and I wasn't entirely sure it would add that much support to the structure anyway.
I kept the pics and plans for the piece as a backup and incase anyone was vaguely interested.
IMG_4421.jpgIMG_4419.jpgIMG_4423.jpgIMG_4417.jpgIMG_4426.jpgIMG_4416.jpg


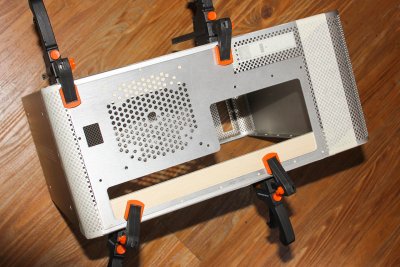
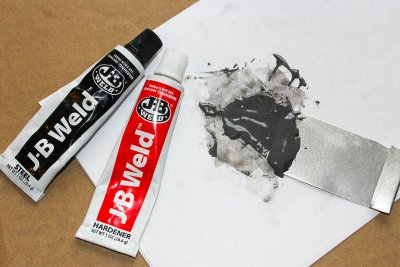
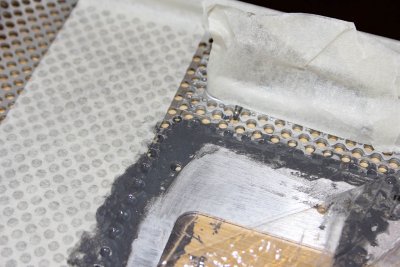
Moving on and taking some inspiration (and technique) from Neilhart's G5 Short Stack Mod (love your work, Neilhart), I took a HUUUUGE leap of faith in the strength of JB Weld and just glued it in there with a bunch of JB Weld and some clamps to hold everything in place until it had set completely.
IMG_4438.jpgIMG_4440.jpgIMG_4441.jpgIMG_4442.jpg


24 hours later... and the result? A complete hideous mess!
But a strong hideous mess. Nothing that some filing and sanding couldn't take care of.
IMG_4444.jpg


Some more JB Welding to fill in the extra holes around the latch mechanism and some of the unused mounting holes on the backplate itself. Then some more sanding. Lots more sanding...
IMG_4463.jpg


Drat! A few more tiny little dents to fill in. So... more JB Weld. More sanding...
IMG_4460.jpgIMG_4461.jpg


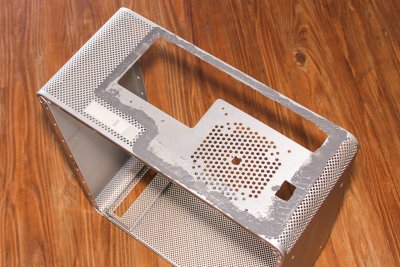
... and voila! This baby is ready for some paint!
IMG_4457.jpgIMG_4464.jpg


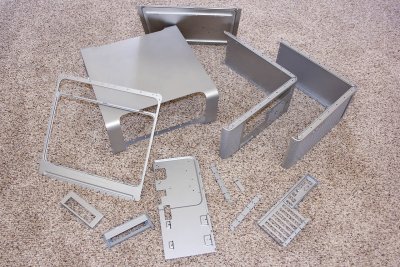
Painting seemed to take forever! I stripped the case down to its most basic individual components. Did some light sanding of the outside and a little more corrosion damage control in some places. Then very carefully and accurately masked the back and front of the power button and front panel with masking tape (sorry, I forgot to take pics!)
I then spent the next few days, emptying three cans of Rust-oleum Painter's Touch 2x Ultra Cover - Metallic Aluminum (249128) onto every square inch of the case and its component parts. I even sprayed the PCI Bracket and I/O Shield to match the rest of the case and to hide some of the brushed aluminium finish on the PCI Bracket that I couldn't quite sand smooth.
2014-03-28 14.46.39.jpg2014-03-28 14.53.15.jpg2014-03-28 15.33.54.jpg


A few coats later… and after tripping out for days on paint fumes the verdict was in... SUCCESS!
Whew! Now to reassemble all this stuff...
IMG_4493.jpg


Soooo, that's where my G5 mod stands right now.
I'm utterly thrilled with the results thus far and have learned so much already. I still have quite a way to go, but I am very happy right now and would like to think that the hardest part is behind me. I hope!!!


There are a few small cosmetic issues still to address on the outside of the case. Basically, a little bit of lumpiness at the back from some shoddy sanding of the JB Weld and it appears that some of the joins are slightly visible at certain angles (mostly due to the very slight warping of the backplate, I suspect), but I'm still trying to decided if they are even worth the effort seeing as they will spend most of their time hidden from sight at the rear of the case. I'm going to sleep on it and cover them and the reassembly in my next next (hopefully shorter) update.

Cheers for now...
 
AppleMacIdiot's First G5 Mod - Update 2

Another quick update with some pics...

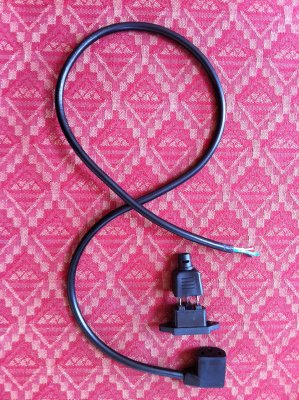
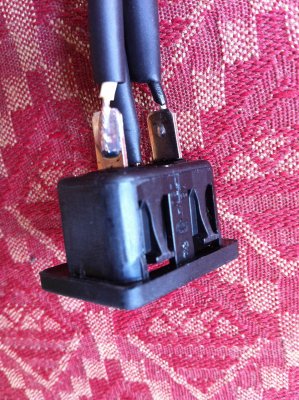
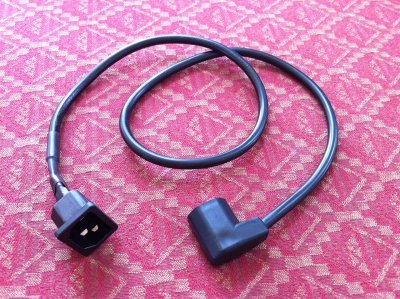
I spent a bit of time on the internal power cable extension that is going to run from the PSU to the outlet at the back of the case.

I had a cable from inside an old Cooler Master Elite 361 case knocking around and figured it was perfect for the task. I had also bought a nice IEC Snap-In Receptacle (from AllElectronics) for the case which I thought would look cleaner and slightly more 'Apple-esque' from the outside than the usual screw-in ones. This meant detaching the original receptacle and soldering and heat shrinking the new wires to the Snap-In piece. I was hoping to re-use the original connector cover, but it turned out to be far more effort than it was worth, so I just stuck with heat shrinking. Not too bad for my first attempt!
2014-04-10 09.13.19.jpg2014-04-10 12.54.24.jpg2014-04-10 13.00.42.jpg2014-04-10 13.01.26.jpg


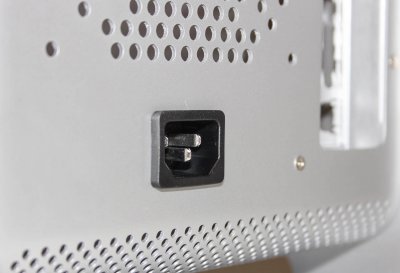
Here is the cable and receptacle attached to the case and fed through to the top tray where the PSU will ultimately reside.
IMG_4526.jpgIMG_4531.jpgIMG_4530.jpgIMG_4532.jpg


I then carefully put the case back together trying my hardest not to scratch any of the paintwork. Some painters tape in the right places and an extra hand from my wife made the process a whole lot easier. The painted screws inside look just great, blend in perfectly and held up pretty well when screwed back into place. The tray looks quite neat with the matching paint job too!
IMG_4505.jpgIMG_4522.jpgIMG_4507.jpgIMG_4546.jpg


Otherwise, this case has cleaned up wonderfully and the paint job looks about as good as you can get for the price of a few cans of Rustoleum. I'm not entirely sure that it is the most hardwearing coat in the world (power coating would be preferable) and I'm pretty sure the case will pick up scratches and scraps relatively easily, but I'm hardly going to be dragging this guy around that much anyway. It'll also be easy enough and cheap enough to touch up from time-to-time, should I need to.


Next up on this project is to get a motherboard tray into this thing. I have a piece of ±3mm aluminium with some plans to cut and drill it to spec and attach mobo standoffs and a HDD cage mounting brackets to. I have made an example from cardboard, but it needs a little more work, refinement and further test fittings before I move on to the aluminium version.

Until then…
 
Looks great and fingers crossed for the strength of good old JB!

:thumbup:

Just put the flush back on my own (very slow) G5 mod and must admit I was not as brave as you, so there are some reinforcing strips all around. I know it'll probably take me a couple of more weeks of spare time to get it looking anywhere near presentable though…..first coat of smoothing JB will go on soon and I am NOT looking forward to all that sanding….
 
This project is super! You have started with a case that was in very sad condition and brought it back to life. I can really appreciate the time and effort that you have put into the project. And thank you for the update and excellent photos.

I will watch for the next update.

Good modding,
neil
 
Thanks for the kinds words, guys!

It has been quite a learning experience with a lot of 'first times' for me. Thankfully, since talking ownership of this case years ago, you guys have been blazing the trail and sharing up some amazing inspiration, insight, ideas, techniques and resources. I'm not sure I would have made it this far without you – hence the title of the thread.

I still have some work ahead of me and I'm trying to resist the itch to rush ahead and start using this as my main rig! I still have some ideas to try out and experimentation to do before I transfer the guts of my G4 Hackintosh into this thing. Mostly, because I know that the second they're in there and working, I'll be far less willing to mess with the case and see out my initial vision for this build.

Until then...
 
Status
Not open for further replies.
Back
Top