- Joined
- Nov 15, 2012
- Messages
- 4
- Motherboard
- MacPro Hackintosh
- CPU
- i5 3570k
- Graphics
- NVidia GTX 660 TI
- Mac
- Classic Mac
- Mobile Phone
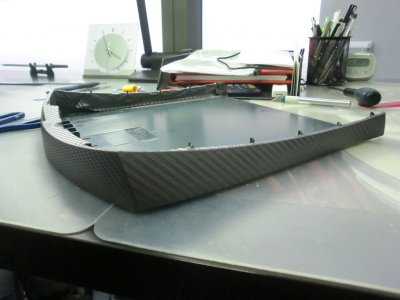
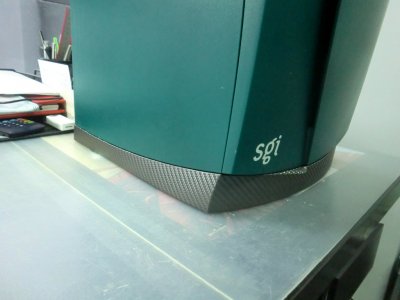
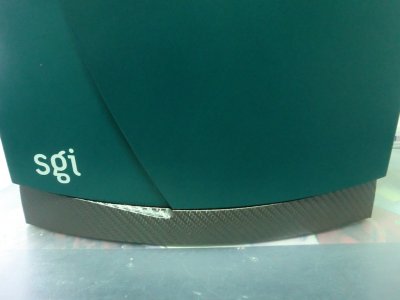
This is my second hackintosh mod that I've put together. The first was a G5 Power Mac, this one is a SGI Octane. In many ways I am much happier with this mod than the first one because I think it looks much cooler and came out a bit better and at much cheaper cost too.
I've got the full 4 part write up on the progress of this mod on my blog here for anyone who is interested. This post details some of the highlights of this mod.
The purpose for building this hackintosh was to replace my file/backup server that consisted of a MacBook Pro (2009) that was connected to a RAID enclosure. I wanted to have the entire server as one unit and I really wanted to move to software RAID as well.
These are the components I ended up putting into it:
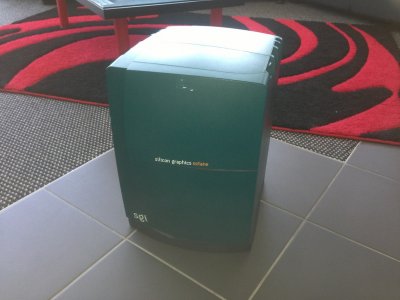
So this is what I started with when I acquired the SGI:
To fit all of my components inside, I had to remove the pop rivets that held the case together, use an angle grinder to cut away the supports that were in the middle of the case and then rivet back in the corner pieces.
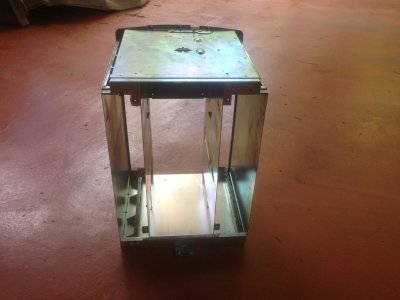
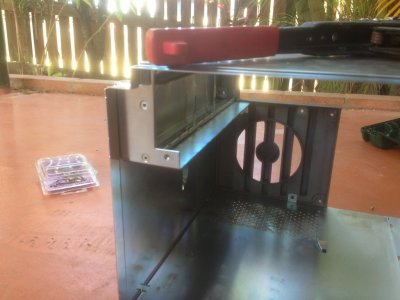
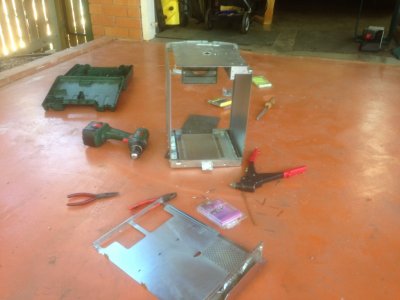
During this process I also fitted a hard disk cage with a fan.

The motherboard was mounted on a motherboard tray that I cut out from acrylic. The SGI had rails inside the case already so it was a pretty obvious decision to use a piece of acrylic that could slide in/out for the motherboard.


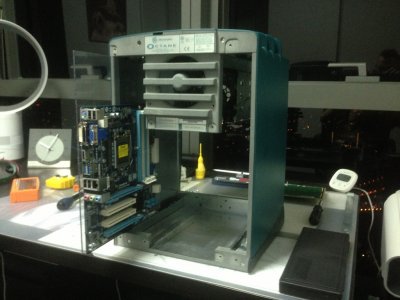
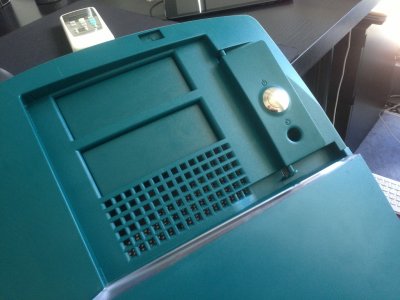
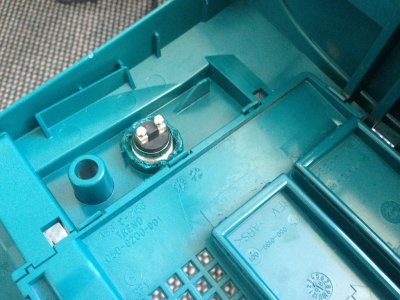
I had to add a push button (momentary switch) to the case to use as the power button. The original SGI had a plastic button on the front that pushed a button embedded on the motherboard, this wasn't really an option for a Hackintosh, so I had to melt some of this plastic out to fit a real button, but it turned out quite alright I think.
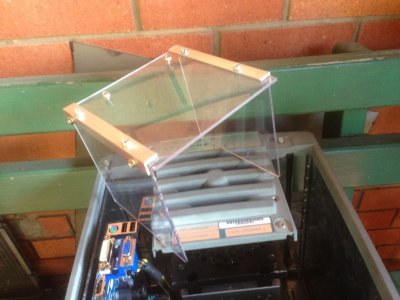
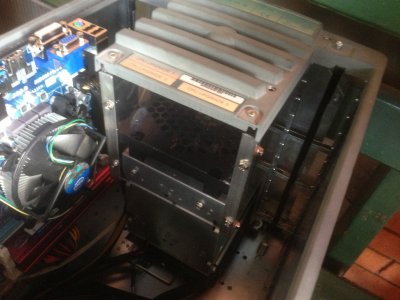
One of the things I was concerned with was getting cool air to the hard disk cage fan. Where I had to mount the cage, the fan ended up being pretty much in the centre of the case. Luckily it was also in line with the original exhaust, so I built an enclosure out of acrylic to direct the air from the exhaust port to the fan, this also means that the disk enclosure was more thermally isolated from the rest of the case.
The rear panel was made out of clear acrylic. It turned out quite nice I think. There are some rough bits that I'd like to smooth over in the future, but for now it serves it's purpose.
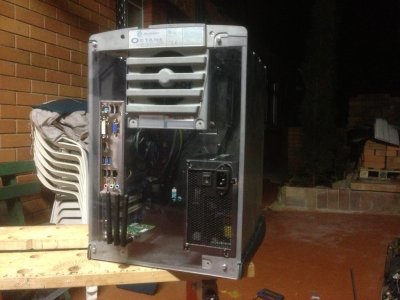
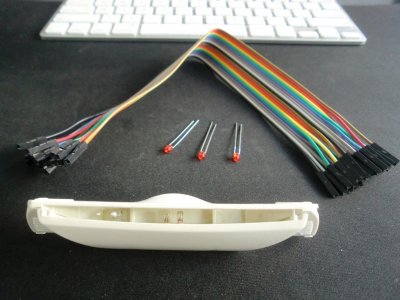
One other thing I had to modify was the front light bar which houses the LEDs for HDD activity and power. I've had to replace the power indicator bulbs with a couple of LEDs and tweak how they were wired in to make it compatible with an ATX motherboard.
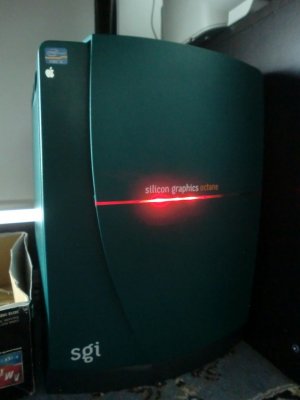
The end result was quite cool, although I am planning to change this in the future to use tri-colour LEDs instead.
Hope you enjoyed reading this write up
-i
I've got the full 4 part write up on the progress of this mod on my blog here for anyone who is interested. This post details some of the highlights of this mod.
The purpose for building this hackintosh was to replace my file/backup server that consisted of a MacBook Pro (2009) that was connected to a RAID enclosure. I wanted to have the entire server as one unit and I really wanted to move to software RAID as well.
These are the components I ended up putting into it:
- Corsair CX-430 V2 430W ATX power supply
- Gigabyte GA-B75M-D3H motherboard
- Team Xtreem DDR3 1600 8Gb (2x 4Gb) RAM CL9-9-9-24 (1.5V)
- Intel SSD 60GB 330 Series
- Intel BX80637I33225 CORE i3-3225 3.30GHz CPU
- TP-Link TL-WDN4800 WiFi Network Card
- 2x WD Green Caviar 2Tb disks WD20EARX
- 2x Hitachi Deskstar 7K2000 2Tb disks HDS722020ALA330
So this is what I started with when I acquired the SGI:

To fit all of my components inside, I had to remove the pop rivets that held the case together, use an angle grinder to cut away the supports that were in the middle of the case and then rivet back in the corner pieces.


During this process I also fitted a hard disk cage with a fan.

The motherboard was mounted on a motherboard tray that I cut out from acrylic. The SGI had rails inside the case already so it was a pretty obvious decision to use a piece of acrylic that could slide in/out for the motherboard.


I had to add a push button (momentary switch) to the case to use as the power button. The original SGI had a plastic button on the front that pushed a button embedded on the motherboard, this wasn't really an option for a Hackintosh, so I had to melt some of this plastic out to fit a real button, but it turned out quite alright I think.


One of the things I was concerned with was getting cool air to the hard disk cage fan. Where I had to mount the cage, the fan ended up being pretty much in the centre of the case. Luckily it was also in line with the original exhaust, so I built an enclosure out of acrylic to direct the air from the exhaust port to the fan, this also means that the disk enclosure was more thermally isolated from the rest of the case.


The rear panel was made out of clear acrylic. It turned out quite nice I think. There are some rough bits that I'd like to smooth over in the future, but for now it serves it's purpose.

One other thing I had to modify was the front light bar which houses the LEDs for HDD activity and power. I've had to replace the power indicator bulbs with a couple of LEDs and tweak how they were wired in to make it compatible with an ATX motherboard.

The end result was quite cool, although I am planning to change this in the future to use tri-colour LEDs instead.

Hope you enjoyed reading this write up
-i

