
- Joined
- Dec 23, 2012
- Messages
- 9
- Motherboard
- Hackintosh G5
- CPU
- G2020
- Graphics
- GT640
- Mac
- Classic Mac
- Mobile Phone
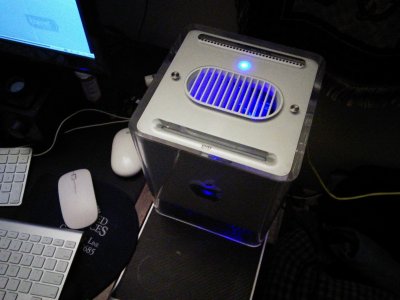
I have wanted to build a G4 cube ever since I finished my G5. I am however an old fart on a very tight budget. It takes me quite a while to build a project because I generally can buy one or two parts every month. As luck would have it I won an auction on eBay for dead G4 Cube for only $5.50 plus shipping.The seller included an Apple wireless keyboard that was not even mentioned in the ad. When I opened the box I was flabbergasted. It was probably one of my best buys on eBay in fifteen years.
Now that I had the Cube I had to start the project. I disassembled it entirely and sold some of the parts on eBay. In essence I got the Cube for free and made a few bucks. I read every post I could find about G4 cube builds. I got a lot of good ideas and inspiration from the builds on this site.
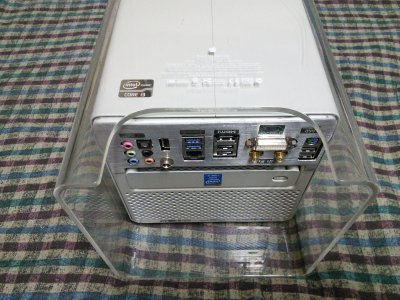
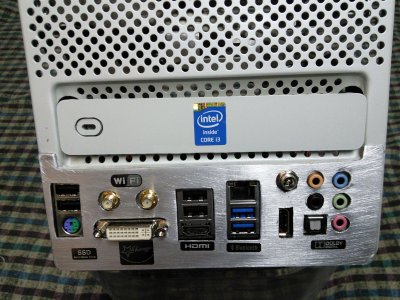
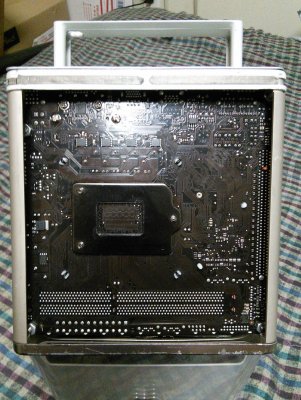
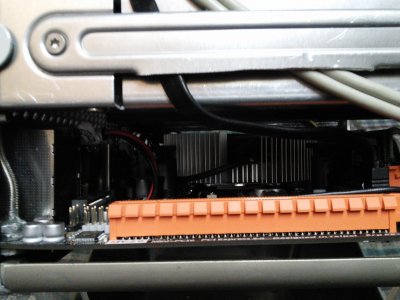
I was perplexed about which motherboard to chose. I knew I wanted a Gigabyte ITX board but that was my one criteria. After studying the layout of many different boards I settled on the Gigabyte GA B85N Phoenix WiFi. I choose it for it's layout and price. I don't think I could have chosen a better board. The built in WiFi and bluetooth don't work. I will need to replace at some point with a broadcom card The only inconvenient connector was for the Sata II plug that was not needed anyway.
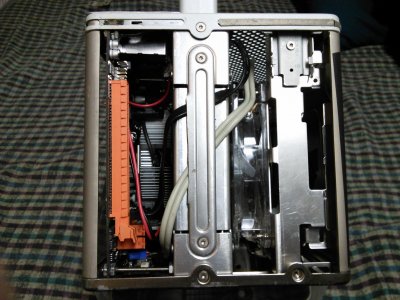
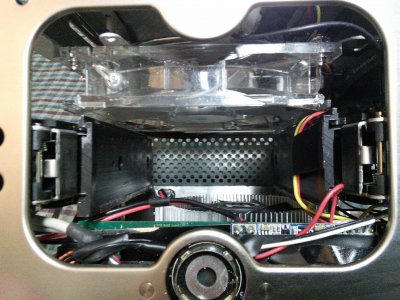
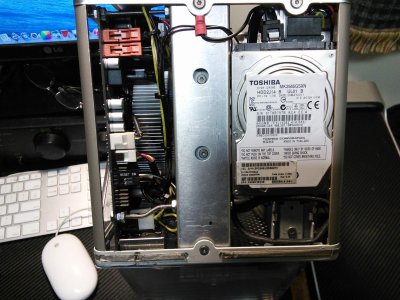
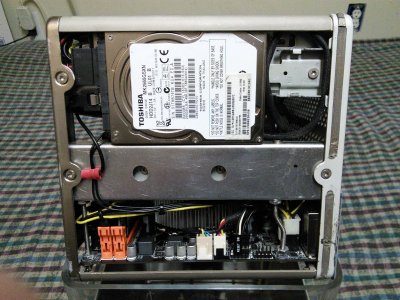
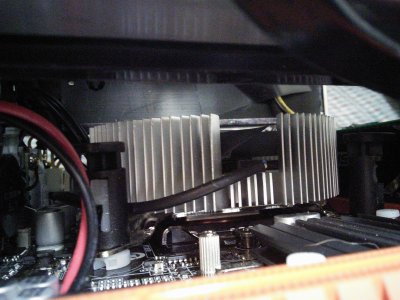
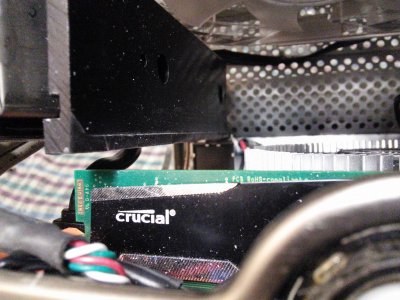
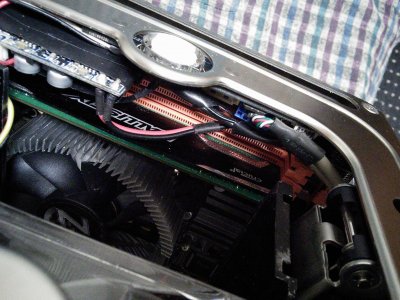
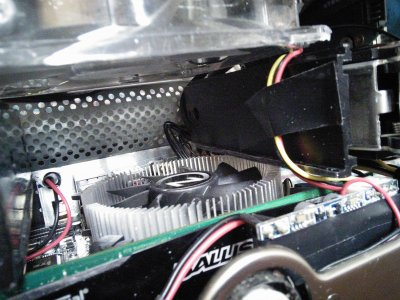
I bought a 160 watt Pico PSU again from eBay and started building and thinking. I think in a way it was good that I had to wait for some parts because I spent a lot of time staring at my progress and fitting parts in different place. The 2.5 hard drive fit perfectly into a little niche on the side like it was designed to fit. I chose to mount the motherboard upside-down with the cpu fan pointing inward using four long bolts. I had to bend a slight dog leg into in two of them.
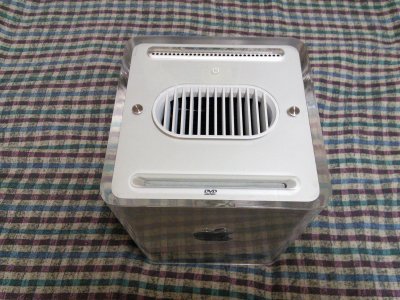
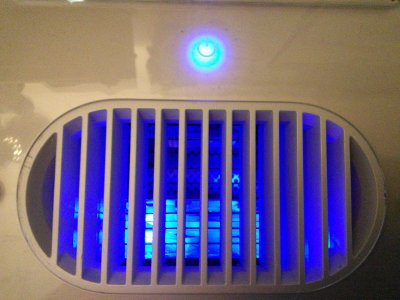
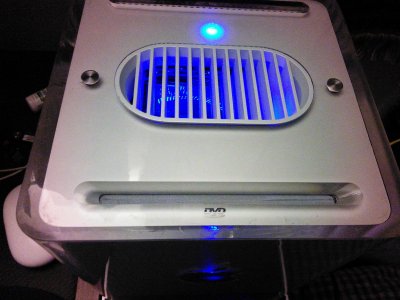
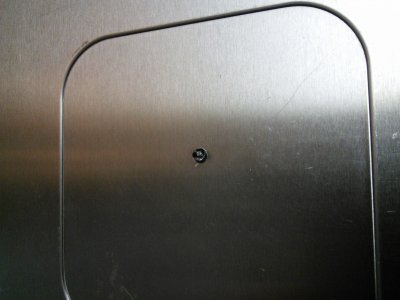
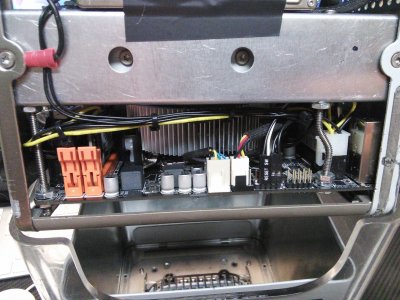
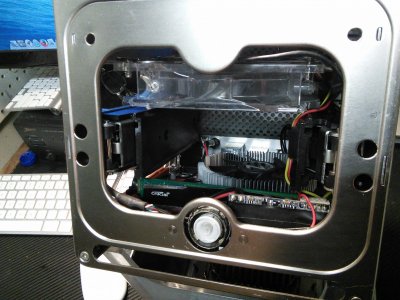
I re-used the touch sensor using directions found here. Basically one wire to pin 9 on the 24 pin and a ground. I clipped out the stock led and slid a blue led in its place and plugged the pigtail to the motherboard pins. I worked perfect the first time I also used a blue led behind the apple on the front. It glows for a hdd activity light
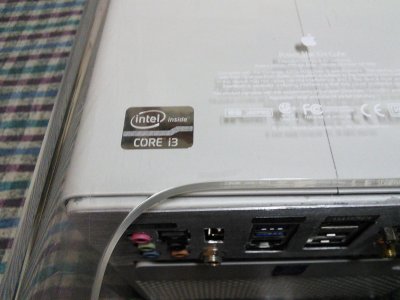
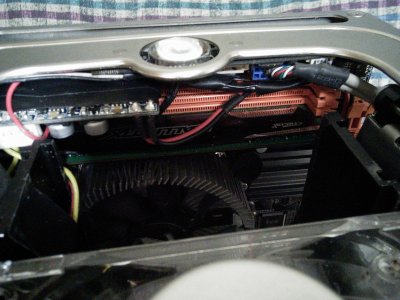
I choose the Intel I3 4360 for it's low power consumption and price. I found the Rosewill Z775 low profile cpu cooler and fan to fit perfectly with a quarter inch to spare. I mounted a 120 mm led fan where the HDD used to reside. It helps keep the inside nice and cool
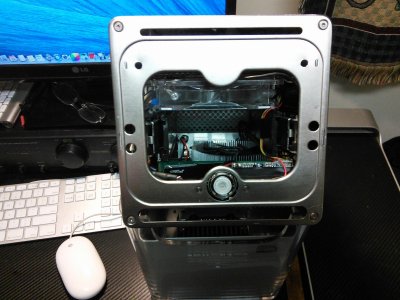
The only part I am not happy with is the backplate I had to craft from a sheet of aluminum. All I have is Dremel and a few small files. I bought some chrome stickers to snazz it up. but it still bugs be. I will probably make another at some point.
I was able to install Yosemite to the 2.5 hdd and it runs perfect I still want to install an msata and a dvd then it will be done, or maybe it will never be done
The total cost was a little above $300 but I already owned the hard drive and memory. They will be replaced with ssd and two low profile sticks of eight gbs
I like this better than the G5 hackintosh i built last year.
Now that I had the Cube I had to start the project. I disassembled it entirely and sold some of the parts on eBay. In essence I got the Cube for free and made a few bucks. I read every post I could find about G4 cube builds. I got a lot of good ideas and inspiration from the builds on this site.
I was perplexed about which motherboard to chose. I knew I wanted a Gigabyte ITX board but that was my one criteria. After studying the layout of many different boards I settled on the Gigabyte GA B85N Phoenix WiFi. I choose it for it's layout and price. I don't think I could have chosen a better board. The built in WiFi and bluetooth don't work. I will need to replace at some point with a broadcom card The only inconvenient connector was for the Sata II plug that was not needed anyway.
I bought a 160 watt Pico PSU again from eBay and started building and thinking. I think in a way it was good that I had to wait for some parts because I spent a lot of time staring at my progress and fitting parts in different place. The 2.5 hard drive fit perfectly into a little niche on the side like it was designed to fit. I chose to mount the motherboard upside-down with the cpu fan pointing inward using four long bolts. I had to bend a slight dog leg into in two of them.
I re-used the touch sensor using directions found here. Basically one wire to pin 9 on the 24 pin and a ground. I clipped out the stock led and slid a blue led in its place and plugged the pigtail to the motherboard pins. I worked perfect the first time I also used a blue led behind the apple on the front. It glows for a hdd activity light
I choose the Intel I3 4360 for it's low power consumption and price. I found the Rosewill Z775 low profile cpu cooler and fan to fit perfectly with a quarter inch to spare. I mounted a 120 mm led fan where the HDD used to reside. It helps keep the inside nice and cool
The only part I am not happy with is the backplate I had to craft from a sheet of aluminum. All I have is Dremel and a few small files. I bought some chrome stickers to snazz it up. but it still bugs be. I will probably make another at some point.
I was able to install Yosemite to the 2.5 hdd and it runs perfect I still want to install an msata and a dvd then it will be done, or maybe it will never be done
The total cost was a little above $300 but I already owned the hard drive and memory. They will be replaced with ssd and two low profile sticks of eight gbs
I like this better than the G5 hackintosh i built last year.
Attachments
-
 IMG_20141220_164936.jpg617.8 KB · Views: 456
 -
 IMG_20141220_164813.jpg916.9 KB · Views: 531
 -
 IMG_20141220_164751.jpg585 KB · Views: 522
 -
 IMG_20141220_164727.jpg883.9 KB · Views: 595
 -
 IMG_20141220_211854.jpg877.4 KB · Views: 468
 -
 IMG_20141220_211825.jpg696.7 KB · Views: 776
 -
 IMG_20141220_211500.jpg678.7 KB · Views: 462
 -
 IMG_20141220_211416.jpg514.7 KB · Views: 537
 -
 IMG_20141220_165459.jpg727.7 KB · Views: 745
 -
 IMG_20141220_165425.jpg517.4 KB · Views: 464
 -
 IMG_20141220_165325.jpg873.6 KB · Views: 583
 -
 IMG_20141220_165138.jpg971.9 KB · Views: 488
 -
 IMG_20141224_145303.jpg931.1 KB · Views: 476
 -
 IMG_20141224_145224.jpg520.4 KB · Views: 438
 -
 IMG_20141224_145132.jpg775.9 KB · Views: 455
 -
 IMG_20141224_144957.jpg613.1 KB · Views: 438
 -
 IMG_20141224_144608.jpg846.7 KB · Views: 416
 -
 IMG_20141224_145807.jpg794.4 KB · Views: 438
 -
 IMG_20141224_145723.jpg867.7 KB · Views: 404
 -
 IMG_20141224_145714.jpg871.6 KB · Views: 382
 -
 IMG_20141224_145607.jpg868.9 KB · Views: 357
 -
 IMG_20141224_145601.jpg534.8 KB · Views: 364
 -
 IMG_20141224_145418.jpg462.3 KB · Views: 377
 -
 IMG_20141224_145321.jpg635.1 KB · Views: 410
 -
 IMG_20141224_145936.jpg950.2 KB · Views: 380
 -
 IMG_20141224_145843.jpg863.6 KB · Views: 375
 -
 IMG_20141224_145906.jpg932.7 KB · Views: 394
 -
 IMG_20141224_145921.jpg888.5 KB · Views: 358